A Hyper plugin that makes it easy to attach fragment shaders to the terminal window.
Inspired by cool-retro-term.
 |
|---|
| A killer space shader made by Kali. Example |
 |
|---|
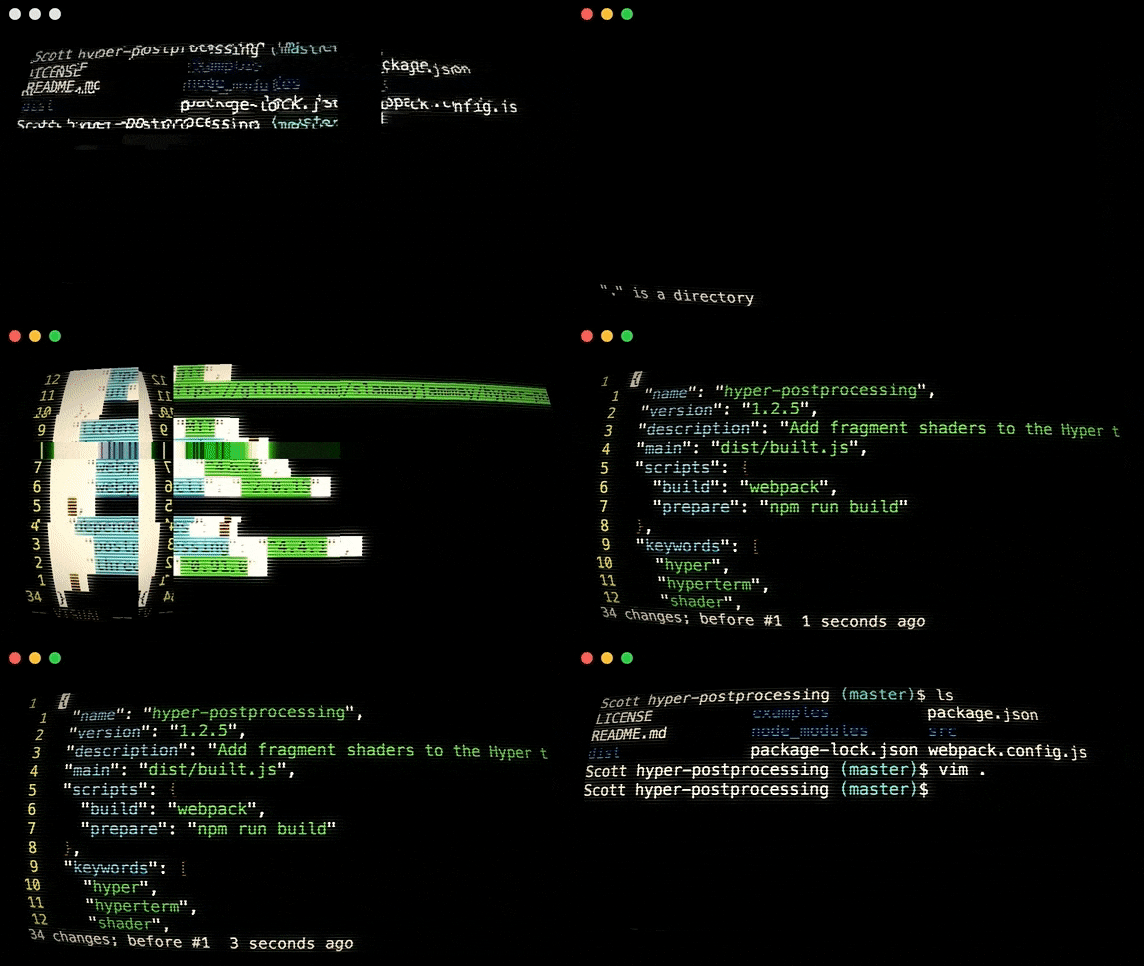
Glitch effect, as well as several more provided by postprocessing. Example |
 |
|---|
| Ripply effect, using a shader made by bitek. Example |
 |
|---|
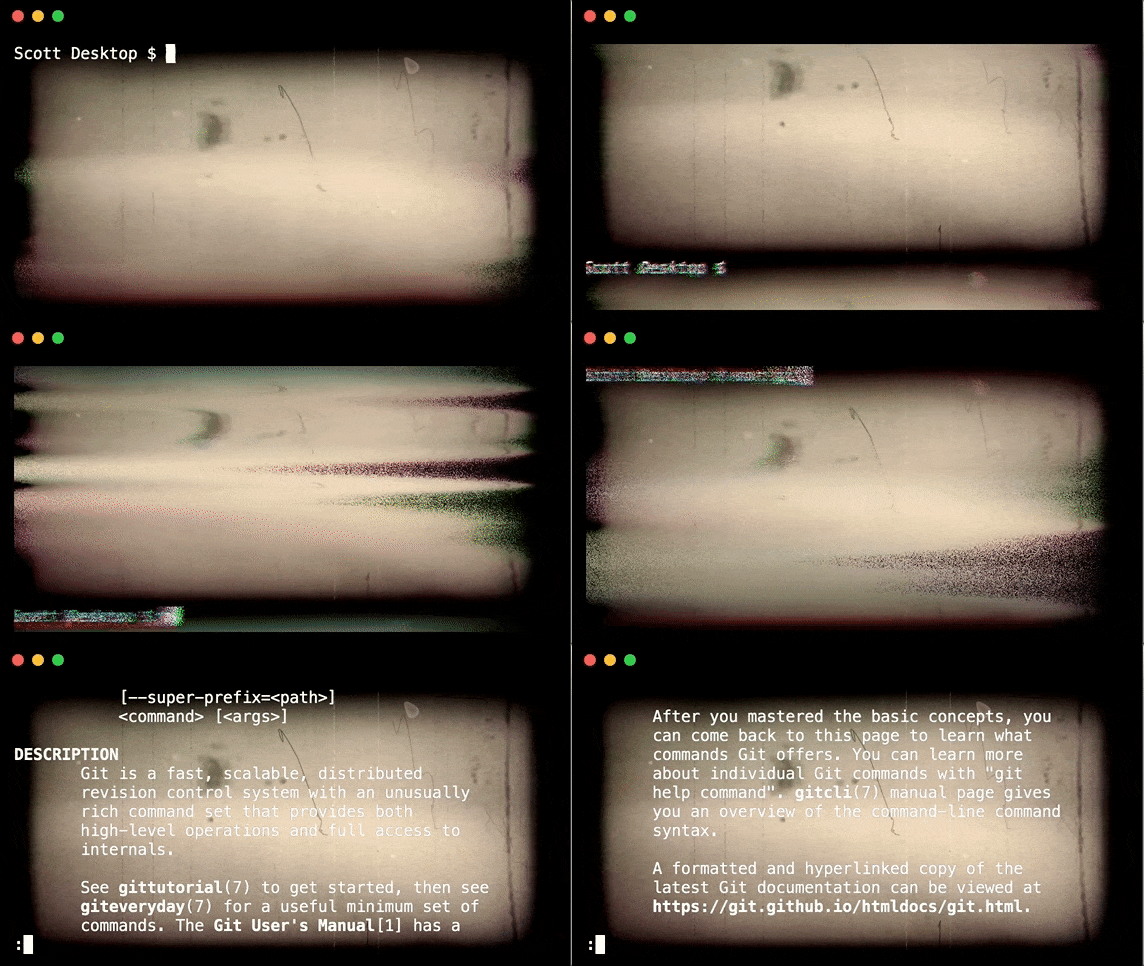
| Retro filmy effect, using a shader made by manoloide. Example |
 |
|---|
| An image blended through only where text is printed. Example |
 |
|---|
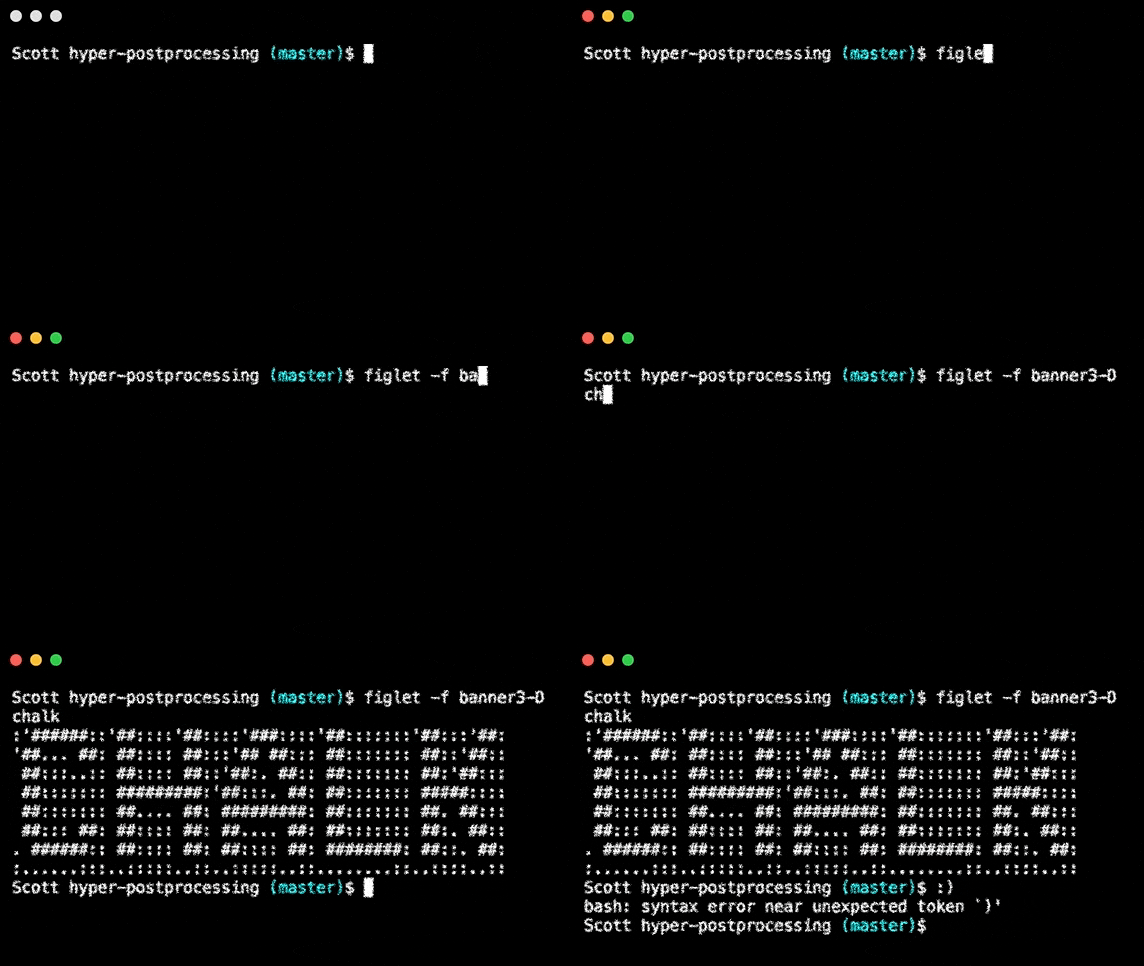
| A sketchy/chalky shader made by Ruofei Du. Example |
In your .hyper.js config file, add hyper-postprocessing to the list of plugins. Then to specify options for this plugin, add a key hyperPostprocessing inside the config entry:
module.exports = {
	config: {
		// ...,
		hyperPostprocessing: {
			// defaults to `${HOME}/.hyper-postprocessing.js`
			entry: 'path-to-entry-file.js'
		}
	},
	plugins: [
		// ...,
		'hyper-postprocessing'
	]
}The entry file will be required at Hyper startup. The exported object will be parsed and passed to postprocessing, which handles all effect rendering. Reading the postprocessing wiki is highly recommended to understand how the Effect Composer works. Any one of these options is acceptable:
-
A string, assumed to be a fragment shader. An Effect will be created with the given string, and will then be incorporated into an EffectPass.
-
An object specifying
vertexShader,fragmentShader,pass, orpasses. IffragmentShaderis present, the same steps in option 1 will be taken, givingvertexShaderif present. Ifpassorpassesis present, those passes will be added to the EffectComposer (must be valid instances of a postprocessing Pass). -
An array of options 1 or 2. If the array contains multiple adjacent strings, they will all be combined into one EffectPass. If the array given contains both strings and objects, only strings adjacent to one another will be combined.
-
A function that returns either option 1 or 2 or 3. An object containing the
hyperTermandxTerminstances will be passed to it.
Note: if exporting a custom pass, make sure to export an object with the "pass" key pointing to the pass:
/* path-to-entry-file.js */
const customPass = new CustomPass();

// module.exports = customPass; // no!
module.exports = { pass: customPass };
or if exporting a function:
/* path-to-entry-file.js */
module.exports = ({ hyperTerm, xTerm }) => {
  const customPass = new CustomPass();

  // return customPass; // no!
  return { pass: customPass };
};
Do not export the initial RenderPass that EffectComposer requires. This is done automatically.
postprocessing already provides a number of effects out of the box (demo). You can use examples/quick-start.js as a starting point to build your own effect, or see one of the example effects for a more custom approach.
sampler2D inputBuffer-- the xterm terminal imagefloat aspect-- the aspect ratio of the screenvec2 resolution-- the image width and height in pixelsfloat time-- the amount of time that has passed since the initial render
EffectPasses also gain additional uniforms, courtesy of postprocessing. These will not be available to passes that are not EffectPasses.
uniform vec2 texelSizeuniform float cameraNearuniform float cameraFar
This plugin comes bundled with three and postprocessing as dependencies in order to work upon installation, however those should be viewed more as peer dependencies -- if your entry file makes use of either of them you should install them yourself.
By default this plugin uses postprocessing v6.2.1 and its compatible version of three (v0.103.0), but can use other versions of those if needed. To do this you will need your entry file to export an object (or a function that returns an object) with a key of the dependency name and the value as the require'd dependency.
For example if you want to use postprocessing version X.X.X (and its hypothetically compatible version of three Y.Y.Y):
/* path-to-entry-file.js */
const pp = require('postprocessing'); // version X.X.X
const three = require('three'); // version Y.Y.Y

module.exports = {
  pass: pp.EffectPass(null, new pp.VignetteEffect()),
  postprocessing: pp,
  three: three
};