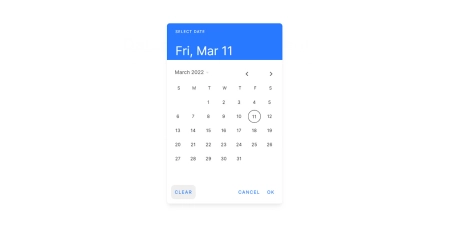
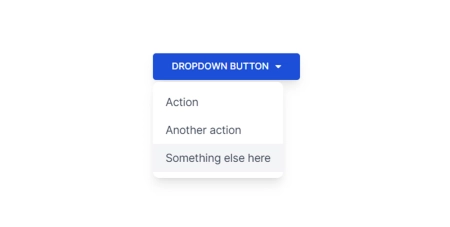
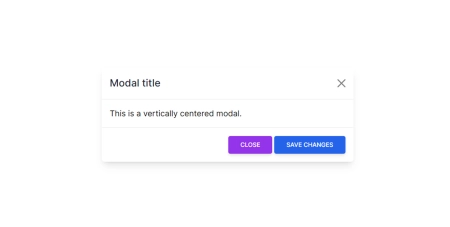
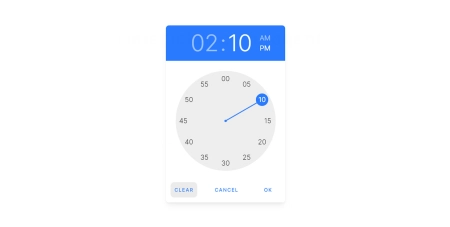
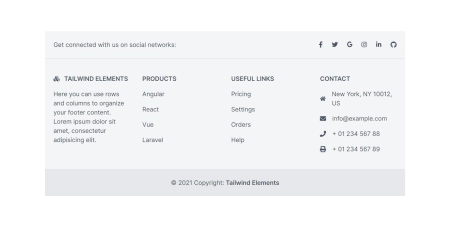
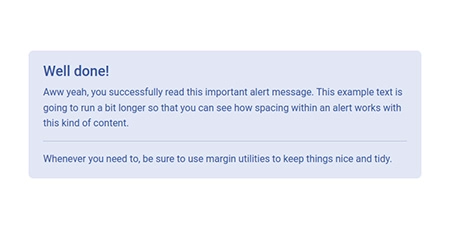
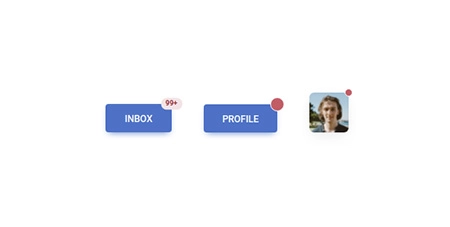
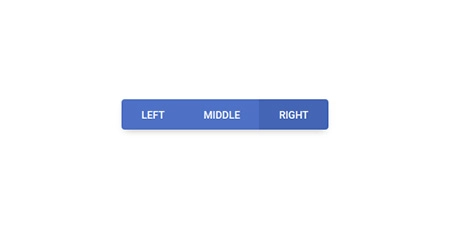
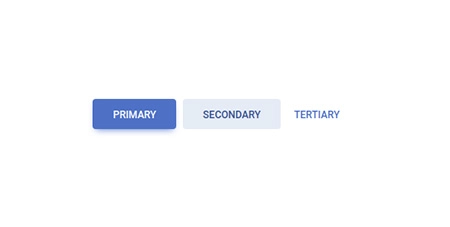
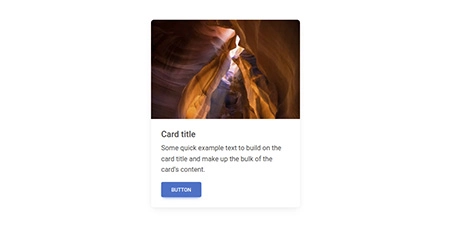
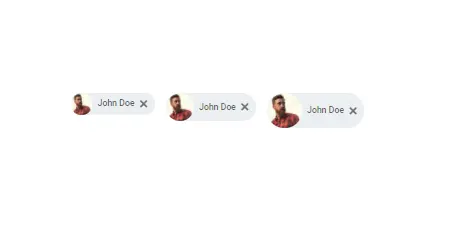
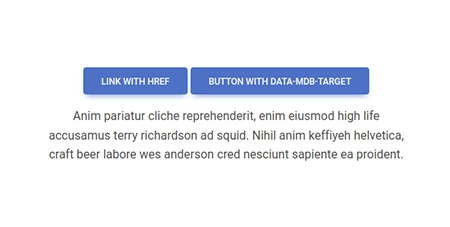
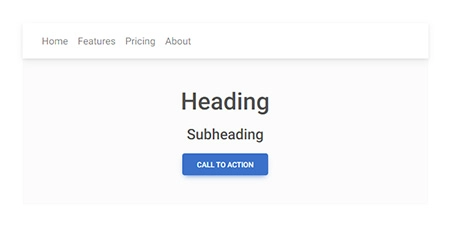
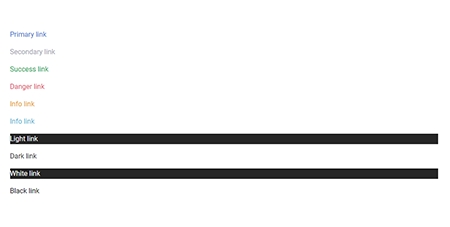
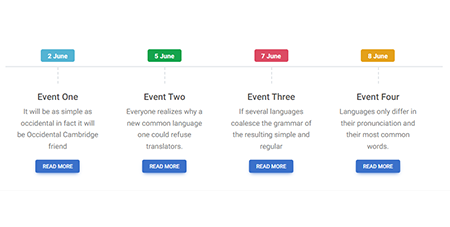
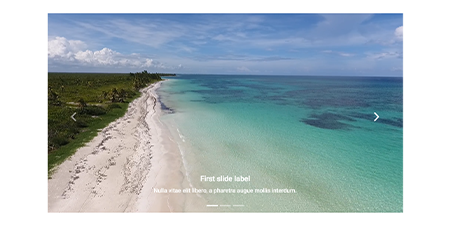
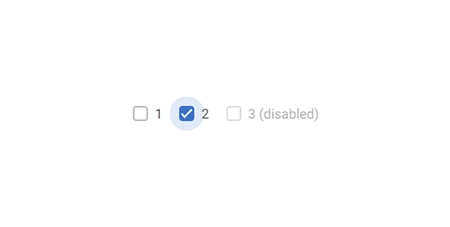
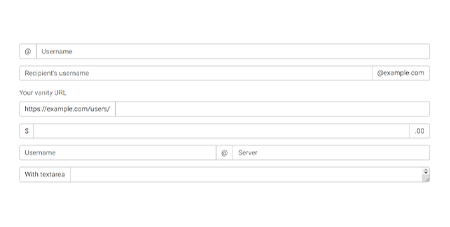
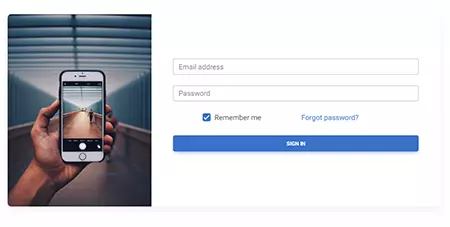
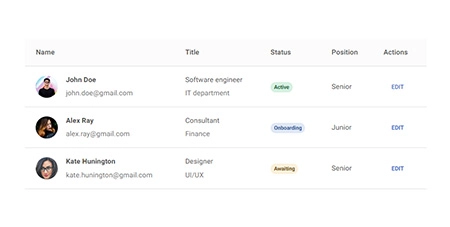
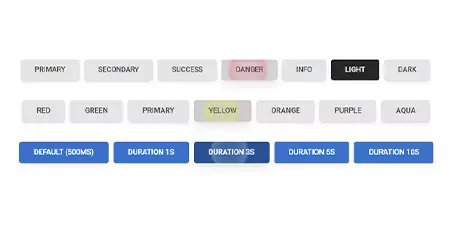
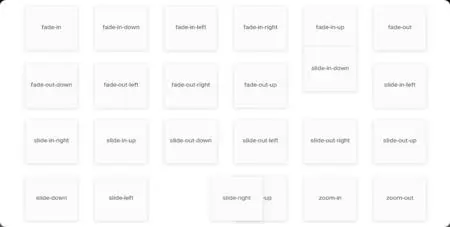
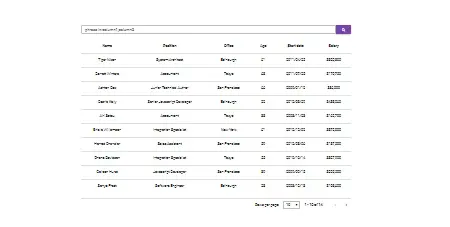
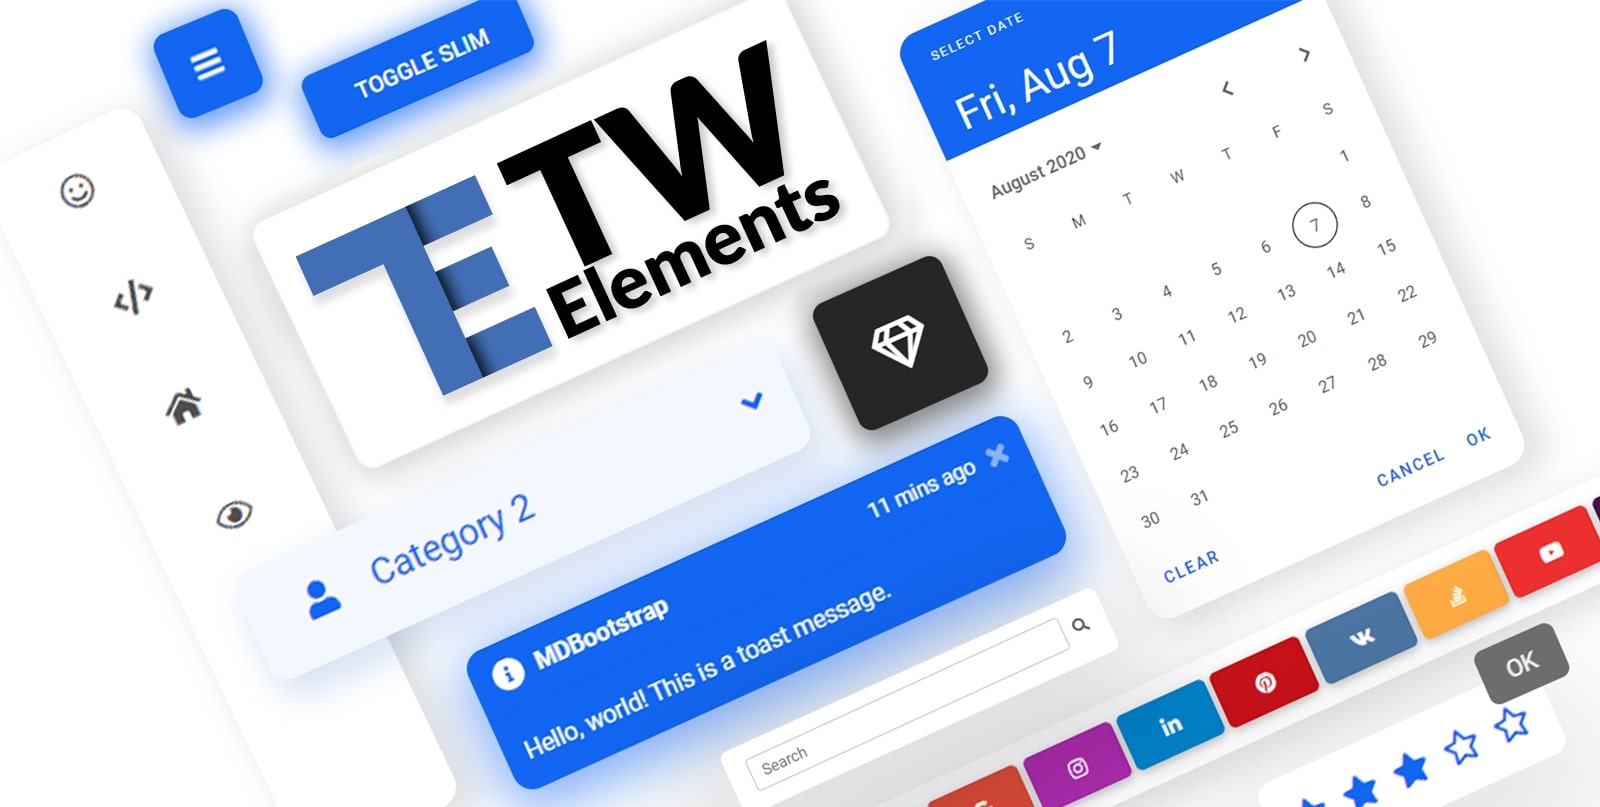
TW Elements is a huge collection of free, interactive components for Tailwind CSS.
|
|
- Motivate us with some words of encouragament ❤️
- Share your ideas & feature requests 💡
- Aks for help & help others in our community support 🙏
- Engage, discuss & have fun in our community 💬
If you want to help the project grow, start by simply sharing it with your peers!
- Share via Dev.to
- Share via Twitter
- Share via Facebook
- Share via LinkedIn
- Share via Pinterest
- Share via Reddit
- Share via StumbleUpon
- Share via Vkontakte
- Share via Weibo
- Share via Hackernews
- Share via Gmail
- Share via email
Thank you!
Check out the upcoming features - make sure to join the waiting list in order to get early access!

|
|
| Drag & drop builder | Templates |
A collection of stunning components made with attention to the smallest details. Forms, cards, buttons, and hundreds of others – in TW Elements you will find all the essential elements necessary for every project.
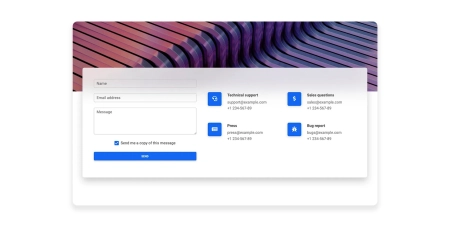
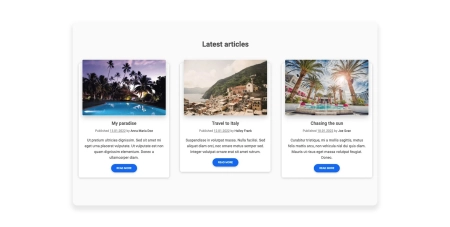
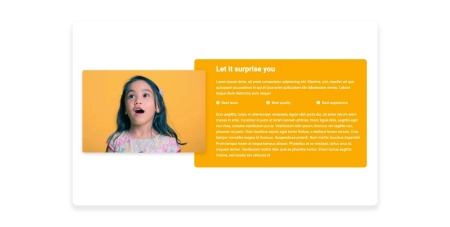
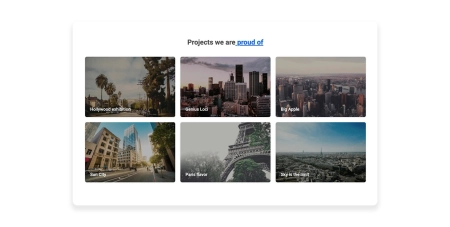
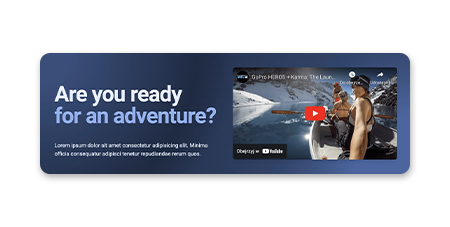
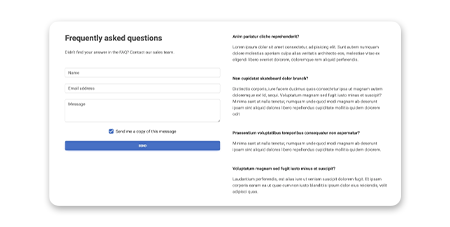
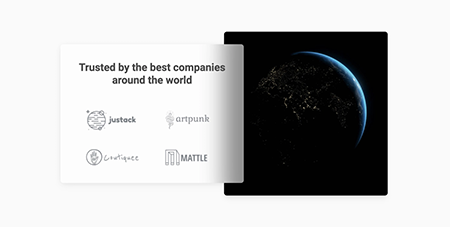
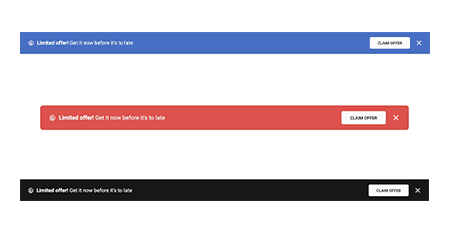
Responsive Landing page blocks built with Tailwind CSS. Plenty of design blocks examples such as Teams, services, projects, faq, and many more.

|
|

|
| Hero | Pricing | Call to action |
|
|
|
| Features | Contact | News/blog |

|

|

|
| Team | Stats | Testimonials |
|

|
|
| Content | Newsletter | Projects |
|
|
|
| Headers | FAQ | Logo Clouds |
|
|

|
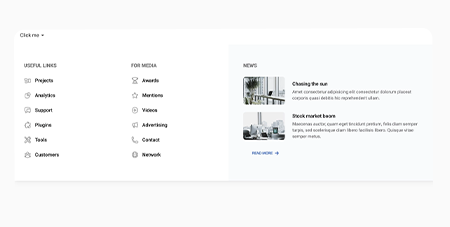
| Banners | Mega Menu | More coming soon |
TW Elements integrations with popular technologies.
- Django Integration
- Angular Integration
- Express Integration
- Laravel Integration
- Next Integration
- Nuxt Integration
- Django Integration
- Remix Integration
- Solid Integration
- Svelte Integration
- Sveltekit Integration
- Vue Integration
-
Before starting the project make sure to install Node.js (LTS) and TailwindCSS.
-
Run the following command to install the package via NPM:
npm install tw-elements
- TW Elements is a plugin and should be included inside the tailwind.config.js file. It is also recommended to extend the content array with a js file that loads dynamic component classes:
module.exports = {
  content: ["./src/**/*.{html,js}", "./node_modules/tw-elements/js/**/*.js"],
  plugins: [require("tw-elements/plugin.cjs")],
  darkMode: "class",
};- Dynamic components will work after adding the js file:
<script src="./TW-ELEMENTS-PATH/js/tw-elements.umd.min.js"></script>
Alternatively, you can import it in the following way (bundler version):
import 'tw-elements';
Create, deploy and host anything with a single command.
- To start using MDB GO / CLI install it with one command:
npm install -g mdb-cli
- Log into the CLI using your MDB account:
mdb login
- Initialize a project and choose Tailwind Elements from the list:
mdb init tailwind-elements-free
- Install the dependencies (inside the project directory):
npm install
- Run the app:
npm start
- Publish when you're ready:
mdb publish
You can easily test TW Elements by adding CDN scripts to your classic HTML template without the need for installing any packages.
Add the stylesheet files below in the head section:
<link href="https://fonts.googleapis.com/css?family=Roboto:300,400,500,700,900&display=swap" rel="stylesheet" />
<link rel="stylesheet" href="https://cdn.jsdelivr.net/npm/tw-elements/css/tw-elements.min.css" />
<script src="https://cdn.tailwindcss.com"></script>
<script>
  tailwind.config = {
    darkMode: "class",
    theme: {
      fontFamily: {
        sans: ["Roboto", "sans-serif"],
        body: ["Roboto", "sans-serif"],
        mono: ["ui-monospace", "monospace"],
      },
    },
    corePlugins: {
      preflight: false,
    },
  };
</script>
Require the js bundled file right before the body closing tag:
<script src="https://cdn.jsdelivr.net/npm/tw-elements/js/tw-elements.umd.min.js"></script>


