In the same way that Phone Gap allows you to create mobile apps for different platforms with web technologies, you can also create Native Desktop apps running of an embedded version of ServiceStack.
ServiceStack has a number of features that's particularly suited for these kind of apps:
- It allows your services to be self-hosted using .NET's HTTP Listener
- It supports pre-compiled Razor Views
- It supports Embedded resources
- It supports an embedded database in Sqlite and OrmLite
- It can be ILMerged into a single .exe
Combined together this allows you to encapsulate your ServiceStack application into a single cross-platform .exe that can run on Windows or OSX.
To illustrate this we'll encapsulate the Http Benchmarks project into a portable embedded Native Desktop app that can be run locally.
BenchmarksAnalyzer.exe lets you quickly visualize Apache benchmark outputs stored in plain .txt files or groups of benchmark outputs stored within .zip batches.
By default BenchmarksAnalyzer.exe will scan the directory where it's run from, it also supports being called with the path to .txt or .zip files to view or even a directory where output files are located. Given this there are a few popular ways to use Benchmarks Analyzer:
- Drop
BenchmarksAnalyzer.exeinto a directory of benchmark outputs before running it - Drop a
.zipor folder onto theBenchmarksAnalyzer.exeto view those results
Note: It can also be specified as a command-line argument, e.g: "BenchmarksAnalyzer.exe path\to\outputs"
The Benchmarks Analyzer app is available for download in a number of different flavors below:
BenchmarksAnalyzer.zip - Single .exe that opens the BenchmarksAnalyzer app in the users browser
BenchmarksAnalyzer.Mac.zip - Self-hosted app running inside a OSX Cocoa App Web Browser
BenchmarksAnalyzer.Windows.zip - Self-hosted app running inside a Native WinForms app inside CEF
BenchmarksAnalyzer.zip also comes with example data so you can run it to see an example of it in action:
- Database Performance in ASP.NET.zip - Example dataset containing Benchmark outputs in a single .zip
- server.labels - Holds Custom Labels to markup different servers in charts
- test.labels - Holds Custom Labels to markup different tests in charts
To view the built-in example just extract the .zip file and double-click on BenchmarksAnalyzer.exe
to run the Program to view the above example dataset with the custom configuration.
See the included README.txt for more Benchmark Analyzer features and how to markup the charts with custom labels.
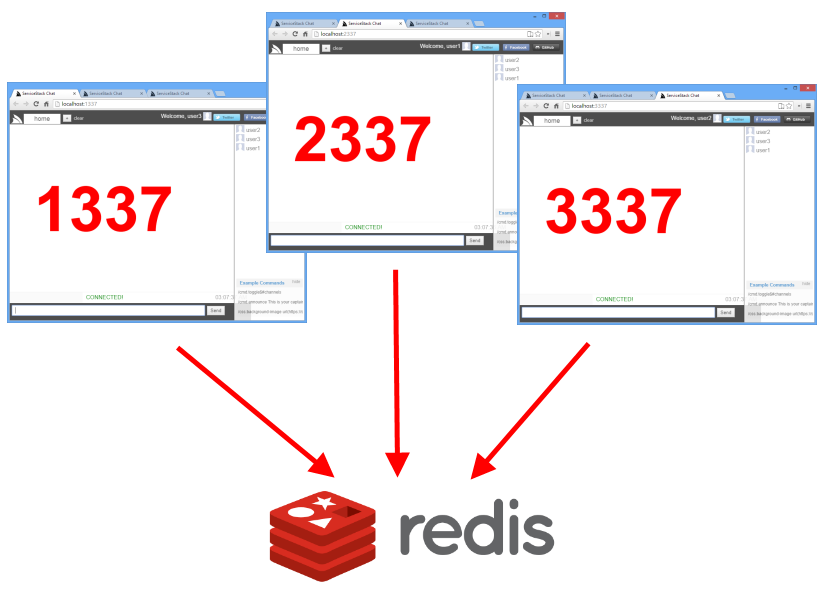
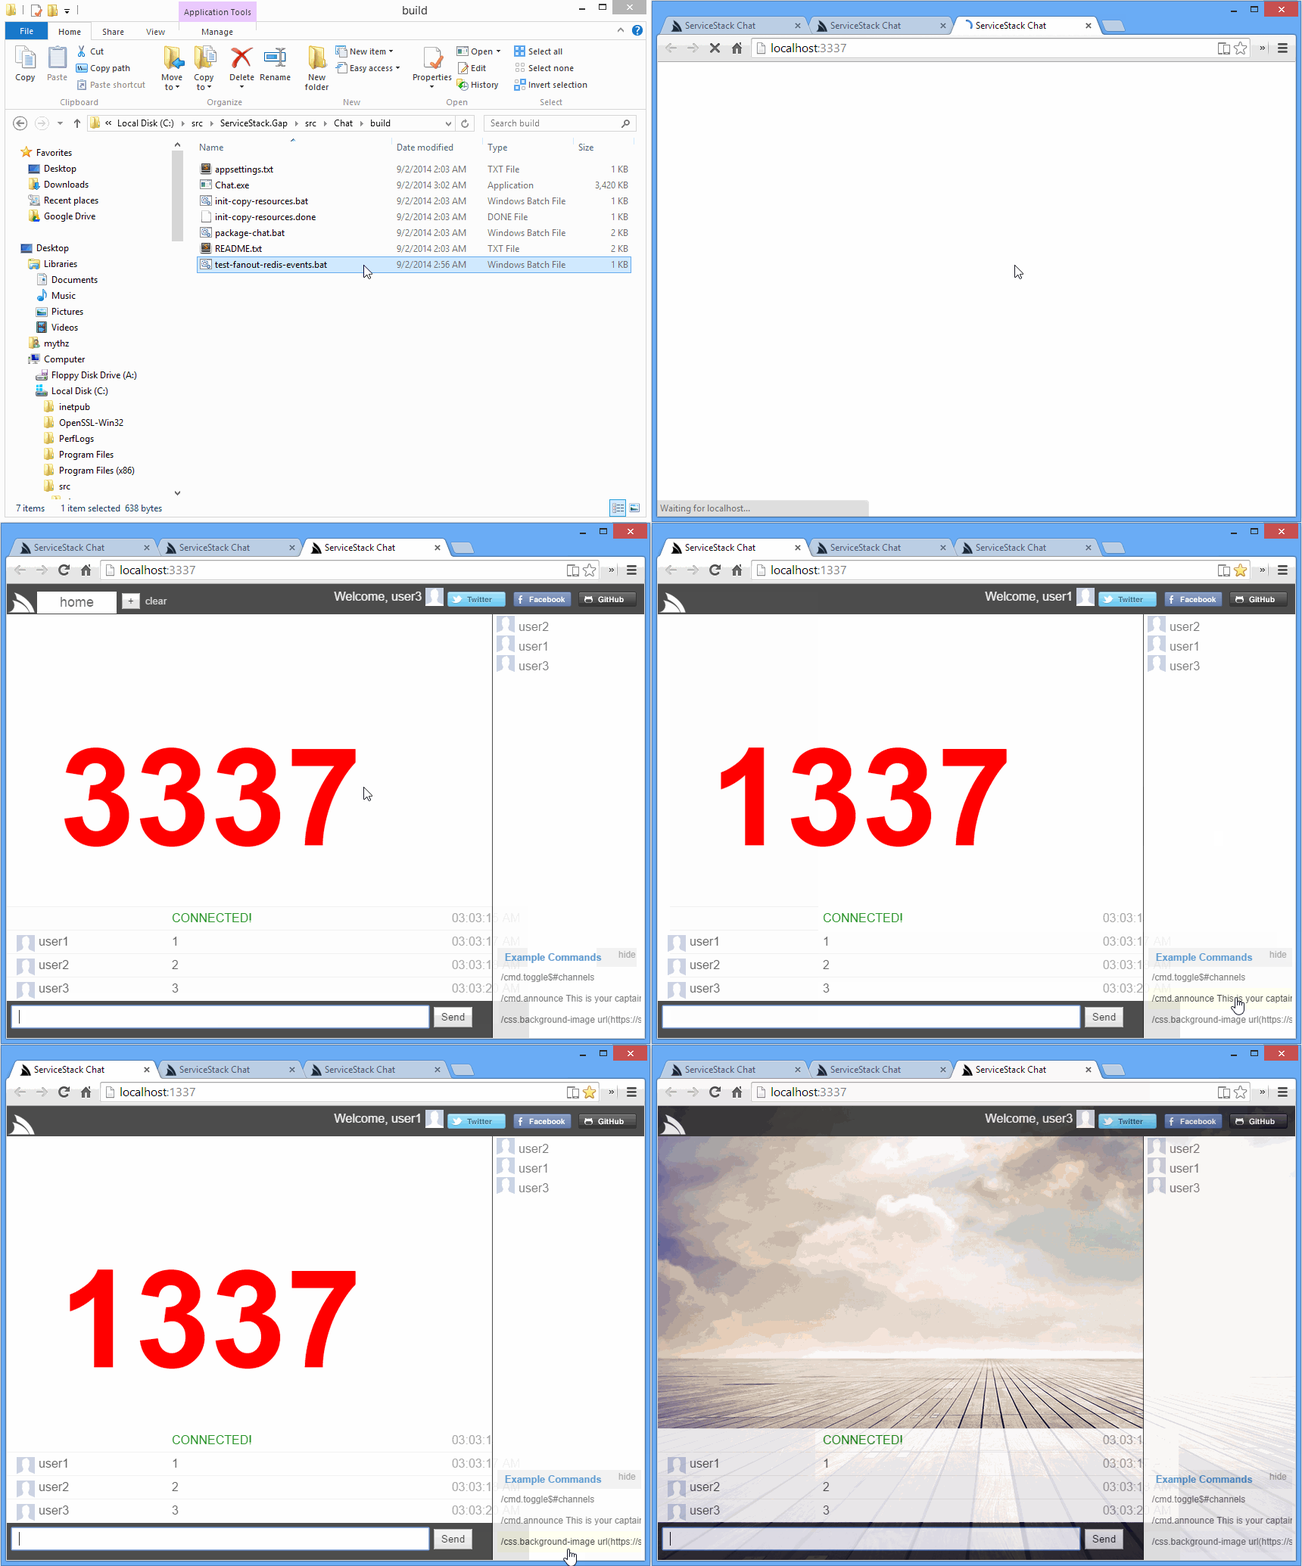
To showcase Redis ServerEvents in action, we've prepared a stand-alone ServiceStack.Gap version of Chat compiled down into a single Chat.exe that can run on either Windows and OSX with Mono which can be downloaded from:
Chat.zip (1.2MB)
Usage instructions for Redis ServerEvents Chat App
To create the portable version of Benchmarks Analyzer we simply copied the resources from HttpBenchmarks project into a new BenchmarksAnalyzer.Resources project that contains all the websites html/cshtml/js/css/img/etc assets.
We can then compile all the Razor Views and embed all the resouces inside the single BenchmarksAnalyzer.Resources.dll
by adding the ServiceStack.Gap NuGet package:
> Install-Package ServiceStack.Gap
All this package does is change all the *.cshtml pages BuildAction to Content and change the web assets to
EmbeddedResource so they all get compiled into the BenchmarksAnalyzer.Resources.dll. It also adds a MS Build task
to BenchmarksAnalyzer.Resources.csproj to get VS.NET to pre-compile the Razor views.
To get ServiceStack to make use of your compiled Razor Views you need to specify the Assembly ServiceStack
should scan when you're registering the RazorFormat, i.e:
Plugins.Add(new RazorFormat {
    LoadFromAssemblies = { typeof(Resources.BaseTypeMarker).Assembly },
});
To tell ServiceStack that it should serve resources embedded inside dlls we just need to add it the HostConfig:
SetConfig(new HostConfig {
    EmbeddedResourceBaseTypes = { GetType(), typeof(Resources.BaseTypeMarker) },
});
We need to specify base types instead of assemblies so their namespaces are preserved once they're ILMerged into a single .exe
There are a few things in httpbenchmarks.servicestack.net that doesn't make sense as a portable app, primarily it requires authentication and supports multiple OAuth providers. It also supports maintaining a history of test runs and a more complicated Admin UI to manage it.
As we want to make this app as easy as possible to use, we've removed the required authentication and have changed it to
suit a "one-shot stateless execution" where it doesn't save any state in the Sqlite database between runs, instead
it just automatically imports all the Apache Benchmark Outputs in .txt or .zip files in the directory where it's run from.
Luckily this is simple to do where we're able to re-use the existing HTTP Upload service that processses HTTP File uploads
of multiple .txt and .zip files, where instead of passing a HTTP Request with the uploads we inject it with a
BasicRequest context that contains File metadata sourced from the FileSystemVirtualPathProvider, e.g:
using (var admin = Resolve<AdminServices>())
{
	//...
	var dir = new FileSystemVirtualPathProvider(this, Config.WebHostPhysicalPath);
	var files = dir.GetAllMatchingFiles("*.txt")
		.Concat(dir.GetAllMatchingFiles("*.zip"));

	admin.Request = new BasicRequest
	{
		Files = files.Map(x => new HttpFile {
			ContentLength = x.Length,
			ContentType = MimeTypes.GetMimeType(x.Name),
			FileName = x.Name,
			InputStream = x.OpenRead(),
		} as IHttpFile).ToArray()
	};

	if (admin.Request.Files.Length > 0)
	{
		admin.Post(new UploadTestResults
		{
			TestPlanId = 1,
			TestRunId = testRun.Id,
			CreateNewTestRuns = true,
		});
	}
}
After running the import we can determine which page to open based on whether any files were imported or not. If some results were imported then we open up immediately to view the results, otherwise we open the Admin UI so users can manually upload the Apache Benchmark outputs themselves, e.g:
public string GetStartUrl()
{
    using (var db = Resolve<IDbConnectionFactory>().Open())
    {
        var testResult = db.Single<TestResult>(q => q.OrderBy(x => x.Id));
        var testPlan = testResult != null ? db.SingleById<TestPlan>(testResult.TestPlanId) : null;

        return testPlan != null
            ? BaseUrl.CombineWith("{0}?id={1}".Fmt(testPlan.Slug, testResult.TestRunId))
            : BaseUrl;
    }
}The Console Application works like any other Self Host app,
the only difference is because it needs to also run as a single ILMerged .exe we need to call
ExportMonoSqliteDll() to write the unmanaged sqlite3.dll out to a file so it can be found by Sqlite's ADO.NET provider.
Other than that we just show a friendly reminder when it can't find any files to import, e.g:
static void Main(string[] args)
{
    AppUtils.ExportMonoSqliteDll();

    var appHost = new AppHost("http://localhost:1337/")
        .Start();

    "Listening on {0}".Print(appHost.BaseUrl);
    "Type Ctrl+C to quit..\n".Print();

    var startUrl = appHost.GetStartUrl();
    if (startUrl == appHost.BaseUrl)
    {
        "No .txt or .zip Apache Benchmark Results found, skipping initial import...".Print();
        "Use ab utility to generate Apache Benchmark .txt files to analyze.".Print();
    }

    Process.Start(startUrl);
    Thread.Sleep(Timeout.Infinite);
}Whilst running a Self-Hosting app that launches the System browser provides a working solution, we can provide an even better integrated solution by instead viewing the application inside a Native Desktop App which is essentially just a lightweight shell containing a full-width browser widget.
Unfortunately the WebBrowser widget available in .NET WinForms and WPF applications is an old underperforming version of IE which doesn't yield a great experience for the types of Single Page Apps that you'd want to host within a Native Desktop App.
The best chance to get a great Desktop Web experience on Windows is to use the Chromium Embedded Framework builds for Windows hosted at cefbuilds.com. These builds provide native dlls for an embedded version of Chromium for Windows.
To be able to use them in .NET we need .NET bindings, which there are currently 2 Open Source .NET projects to do this:
We've decided on CefSharp for the WinForms App since it includes the CEF builds it's built against and requires very little boilerplate to wrap.
After Creating a New Windows Forms Application from VS.NET's Add New Project template:
- Reference all the
CefSharp.*.NET dlls in /lib - Open
Build > Configuration Manager...and change the Active Solution Plaform tox86 - Build the solution then copy all the native cef files in /lib/cef into the
/bin/x86/Releasedirectory
Note: The native CEF files will also need to be deployed with your app
From there, making use of the CEF WebBrowser widget is easy, just add a single Panel from the Toolbox to your
main Form (docked at full-width) using the designer. Then in the Forms constructor you can add a new instance
of WebView to the panel you just created, e.g:
public partial class FormMain : Form
{
    private readonly WebView webView;

    public FormMain(string loadUrl)
    {
        InitializeComponent();

        WindowState = FormWindowState.Maximized;
        webView = new WebView(loadUrl) {
            Dock = DockStyle.Fill,
        };
        this.panelMain.Controls.Add(webView);
    }
}The only thing that needs to be done before then is to call Cef.Initialize() with optional settings you can use
to modify its behavior which you can do in Program.Main():
[STAThread]
static void Main()
{
    Cef.Initialize(new CefSettings());

    Application.EnableVisualStyles();
    Application.SetCompatibleTextRenderingDefault(false);

    var appHost = new AppHost("http://localhost:1337/")
        .Start();

    Application.Run(new FormMain(appHost.GetStartUrl()));
}
Other than that all we have to do is start ServiceStack's AppHost and pass the url we want to the form to launch with.
Xamarin.Mac provides managed .NET bindings to access OSX's underlying Obj-C/C API's letting you create full-featured native apps using C#.
We can use Xamarin Studio to create Mac apps with C#, by Creating a Xamarin.Mac Project from the New Solution dialog:
Xamarin Studio includes integration with XCode which lets you design your Application's UI using Interface Builder by double-clicking on any .xib (Interface Builder file). A new Mac project already includes an empty MainWindow.xib which holds the layout of the Main Window in your Mac app, double-clicking it will open it inside a new XCode project.
The WebKit-based WebView widget built-in OSX provides a high-quality web browser that we can use in our app by finding it in XCode's Object Library (located in the bottom-right corner of XCode) and dragging it onto our MainWindow.
To make this widget available in C# we then need to create an Outlet for the WebView widget by pressing Ctrl whilst clicking on the WebView and dragging the connecting line onto the body of the MainWindow.h header file, e.g:
This will open up a small dialog that lets you name the Outlet for the webView which is used for the property name in C#.
Unfortunately as WebView is not a core component XCode will show some build errors saying it can't find WebView. To resolve this we need to add the WebKit Framework to your project (similar to NuGet package in .NET). To do this we need to:
- Click on the BenchmarksAnalyzer.Mac XCode project file in the Project Navigator
- Click on the BenchmarksAnalyzer.Mac target to open its settings window
- Click on the Build Phases tab
- Expand the Link Binary With Libraries section and clock on the
+button - Select Webkit.framework to add it to your project
Now that it's added to your project we can reference it by going back to MainWindow.h header file and add the import statement:
#import <WebKit/WebKit.h>
To the list of imports, after saving the file we can close XCode and return to Xamarin Studio which will resync the changes you made so they're available in your C# source files.
If you look into MainWindow.designer.cs source file you will notice there's a WebView webView { get; set; } property in the code-behind partial MainWindow class. We can interact with this widget when the Main Window is first loaded by overriding the AwakeFromNib() method with our custom initialization logic:
public partial class MainWindow : MonoMac.AppKit.NSWindow
{
    ...

    public override void AwakeFromNib()
    {
        base.AwakeFromNib();

        webView.MainFrameUrl = "http://google.com";
    }
}Starting a ServiceStack Self-Host App is the same as any other app where we initialize it on AppStart which for Mac apps is conventionally in the Main.cs file, i.e:
public static class MainClass
{
    public static AppHost App;

    static void Main(string[] args)
    {
        App = new AppHost("http://localhost:1337/")
            .Start();

        NSApplication.Init();
        NSApplication.Main(args);
    }
}
As we've made AppHost a static property we can access it from anywhere to retrieve the starting url, e.g:
webView.MainFrameUrl = MainClass.App.GetStartUrl();Which once run, will open your ServiceStack application withing a full-width OSX App, e.g:


