-
Notifications
You must be signed in to change notification settings - Fork 0
2nd Assignment📁


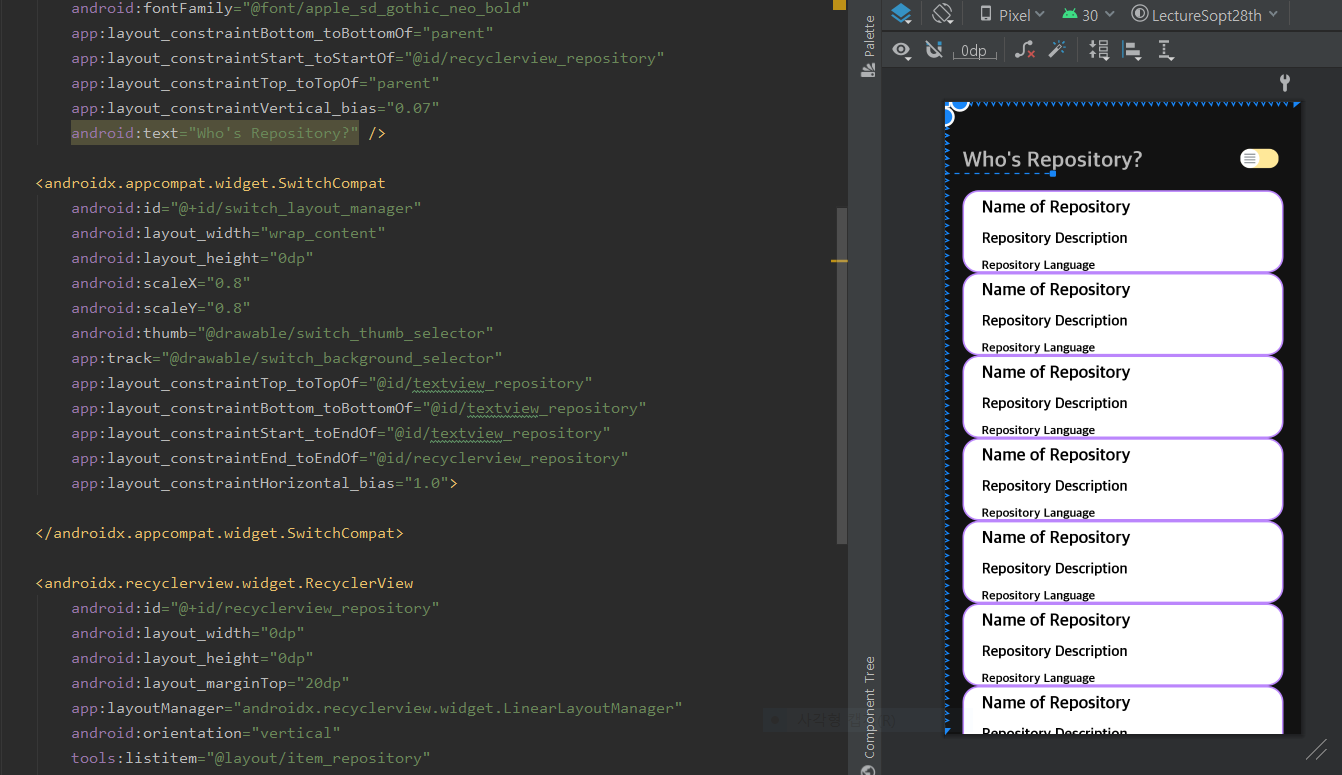
✅ 초기 RecyclerView는 LinearLayout으로 설정하였습니다.
✅ SwitchCompat을 이용하여 GridLayoutManager로 변경할 수 있도록 하였습니다.
✅ Switch의 상태변화를 감지하는 MutableLiveData를 ViewModel에 만들었습니다.
✅ 이후 BindingAdapter에 Listener를 설정하여 xml에서 실시간으로 check여부를 받아올 수 있도록 설정했습니다.
<BindingAdapter.kt>
@InverseBindingAdapter(attribute = "android:checked", event = "android:checkedAttrchanged")
fun getIsChecked(switch: SwitchCompat): Boolean{
    return switch.isChecked
}

@BindingAdapter("android:checked")
fun setIsChecked(switch: SwitchCompat, isChecked: MutableLiveData<Boolean>){
    if (isChecked.value != switch.isChecked) switch.isChecked = isChecked.value!!

}

@BindingAdapter("android:checkedAttrchanged")
fun setCheckedChangeListener(switch: SwitchCompat, listener: InverseBindingListener){
    switch.setOnCheckedChangeListener { _ , _ -> listener.onChange() }
}
🔄 notifyDataSetChange()를 호출하면 모든 데이터를 호출하여 모든 데이터를 갱신하는 것은 많은 비용이 발생합니다.
⭕ DiffUtil의 ItemCallback을 이용하여 갱신 전 데이터와 갱신 후 데이터의 차이점을 계산하여 효율적으로 업데이트할 수 있도록 하였습니다.
⭕ 또한 이러한 DiffCallback을 조금 더 편리하게 사용하기 위해서 ListAdapter를 이용하였습니다.
<GithubRepoAdapter.kt>
class GithubRepoAdapter(private val listener: ItemClickListener): ListAdapter<RepositoryModelItem, GithubRepoAdapter.GithubRepoViewHolder> (
    githubDiffUtil
) {
    companion object {
        val githubDiffUtil = object : DiffUtil.ItemCallback<RepositoryModelItem>(){
            override fun areItemsTheSame(
                oldItem: RepositoryModelItem, newItem: RepositoryModelItem
            ): Boolean {
                return oldItem.hashCode() == newItem.hashCode()
            }

            override fun areContentsTheSame(
                oldItem: RepositoryModelItem, newItem: RepositoryModelItem
            ): Boolean {
                return oldItem == newItem
            }
        }
    }

    inner class GithubRepoViewHolder(val binding: ItemRepositoryBinding): RecyclerView.ViewHolder(binding.root)
}
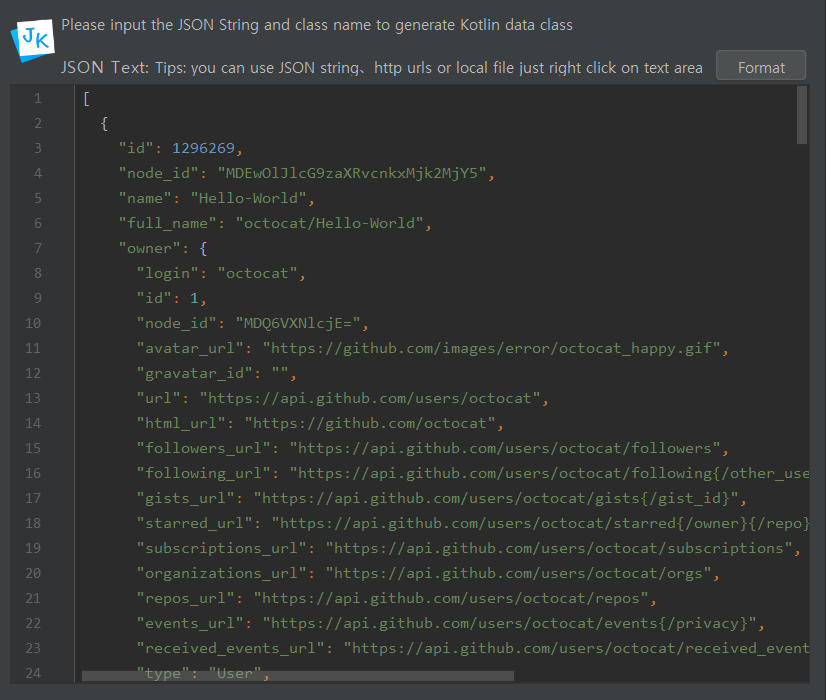
➡ Data Class는 Json To Kotlin Class를 이용하여 자동으로 생성하였습니다.**
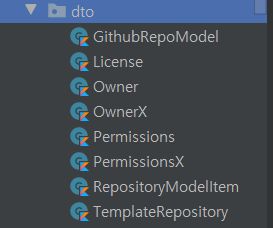
RxJava를 이용하기 때문에 return type은 Single로 지정해주었습니다.
<GithubRepoApiService.kt>
interface GithubRepoApiService {
    @GET("/users/{username}/repos")
    fun getRepository(@Path("username") username: String?): Single<GithubRepoModel>
}
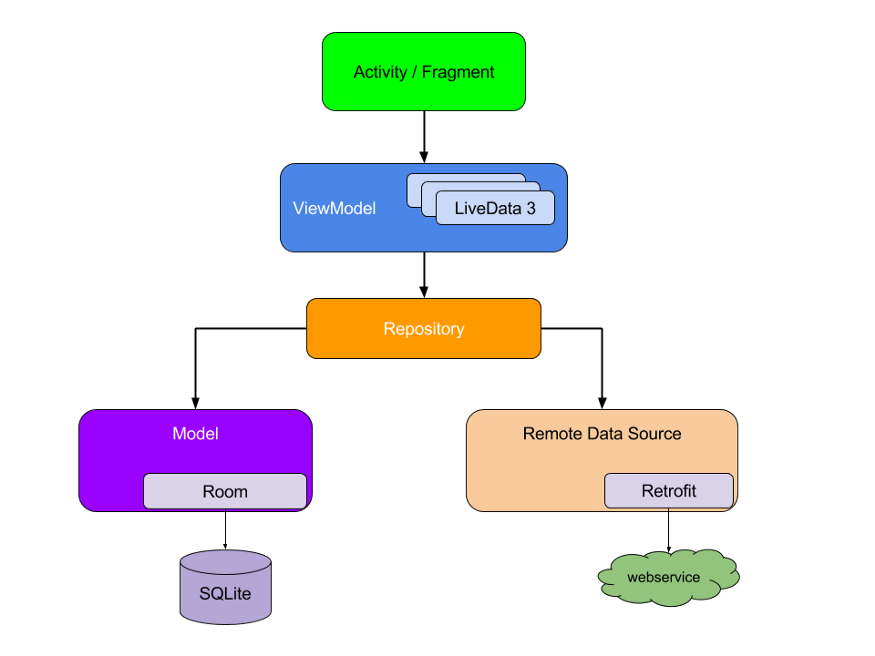
✅ DataSource를 통해서 local 혹은 remote에서 데이터를 가져옵니다.
✅ Repository는 이러한 DataSource를 캡슐화 시켜주고, ViewModel과 Data Layer의 Coupling을 느슨하게 만들어줄 수 있습니다.
<GithubRepoDtaSource.kt>
interface GithubRepoDataSource {
    fun getGithubRepo(username: String?): Single<GithubRepoModel>
}
<GithubRepoDtaSourceImpl.kt>
class GithubRepoRepositoryImpl @Inject constructor(
    private val dataSource: GithubRepoDataSource
): GithubRepoRepository {
    override fun getGithubRepo(username: String?): Single<GithubRepoModel> {
        return dataSource.getGithubRepo(username)
    }
}
<GithubRepoRository.kt>
interface GithubRepoRepository {
    fun getGithubRepo(username: String?): Single<GithubRepoModel>
}
<GithubRepoRositoryImpl.kt>
class GithubRepoRepositoryImpl @Inject constructor(
    private val dataSource: GithubRepoDataSource
): GithubRepoRepository {
    override fun getGithubRepo(username: String?): Single<GithubRepoModel> {
        return dataSource.getGithubRepo(username)
    }
}
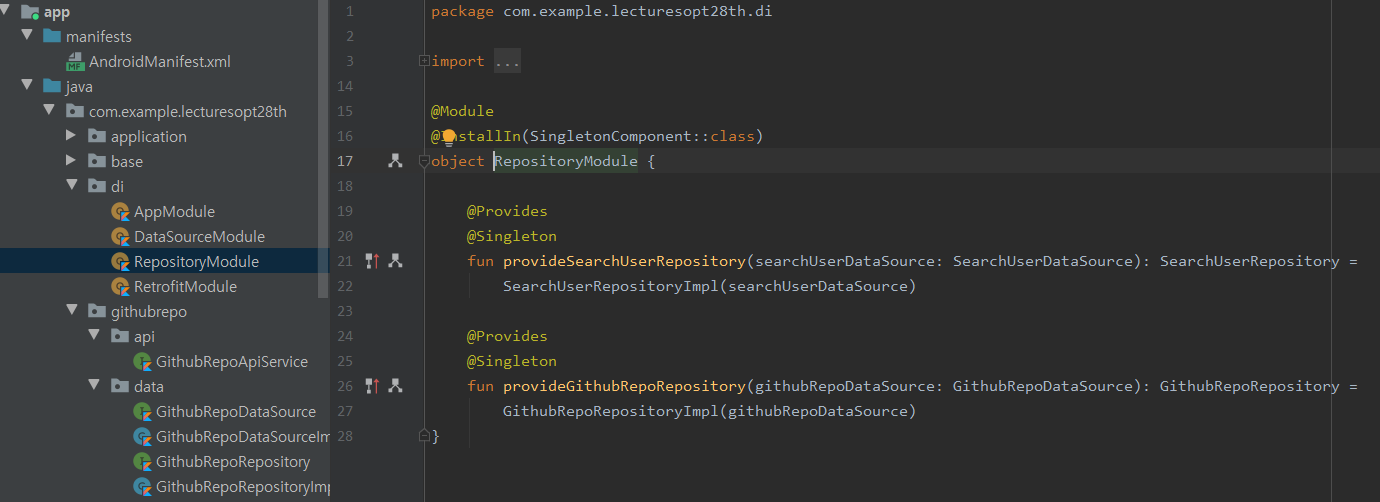
DataSourceModule.kt, RepostoryModule.kt, RetrofitModule.kt을 통하여 각각 필요한 객체들의 의존성을 생성해주었습니다.
<GithubRepoViewModel.kt>
@SuppressLint("CheckResult")
fun getGithubRepo() {
    _repositories.postValue(UiState.loading(null))
    repository.getGithubRepo(userName.value)
        .subscribeOn(Schedulers.io())
        .observeOn(AndroidSchedulers.mainThread())
        .subscribe({
  _repositories.postValue(UiState.success(it))
        }, {
 it.printStackTrace()
            _repositories.postValue(UiState.error(null, it.message)) })
}
Swipe와 Drag를 구현하기 위해서 ItemTouchCallback이라는 클래스를 만들었습니다.
각각의 이벤트에 대한 행동은 Interface를 생성하여 뷰에서 처리하였습니다.
<ItemTouchCallback.kt>
class ItemTouchCallback(private val listener: ItemTouchListener): ItemTouchHelper.Callback() {
    override fun getMovementFlags(
        recyclerView: RecyclerView,
  viewHolder: RecyclerView.ViewHolder
    ): Int {
        return makeMovementFlags(
            ItemTouchHelper.UP or ItemTouchHelper.DOWN or ItemTouchHelper.START or ItemTouchHelper.END,
  ItemTouchHelper.LEFT)
    }
    override fun onMove(
        recyclerView: RecyclerView,
  viewHolder: RecyclerView.ViewHolder,
  target: RecyclerView.ViewHolder
    ): Boolean {
        listener.moveItem(viewHolder.adapterPosition, target.adapterPosition)
        return true
  }

    override fun onSwiped(viewHolder: RecyclerView.ViewHolder, direction: Int) {
        viewHolder?.adapterPosition?.let { listener.deleteItem(it) }
  }

	override fun isLongPressDragEnabled() = true
	override fun isItemViewSwipeEnabled() = true
}
<ItemTouchListener.kt>
interface ItemTouchListener {
    fun deleteItem(position: Int)
    fun moveItem(pos1: Int, pos2: Int)
}
Swipe삭제시 Dialog를 띄워주었습니다.
뷰에서 바로 AlertDialog를 만들어 줄 수도 있지만 이번에는 DialogFragment를 이용하였습니다.
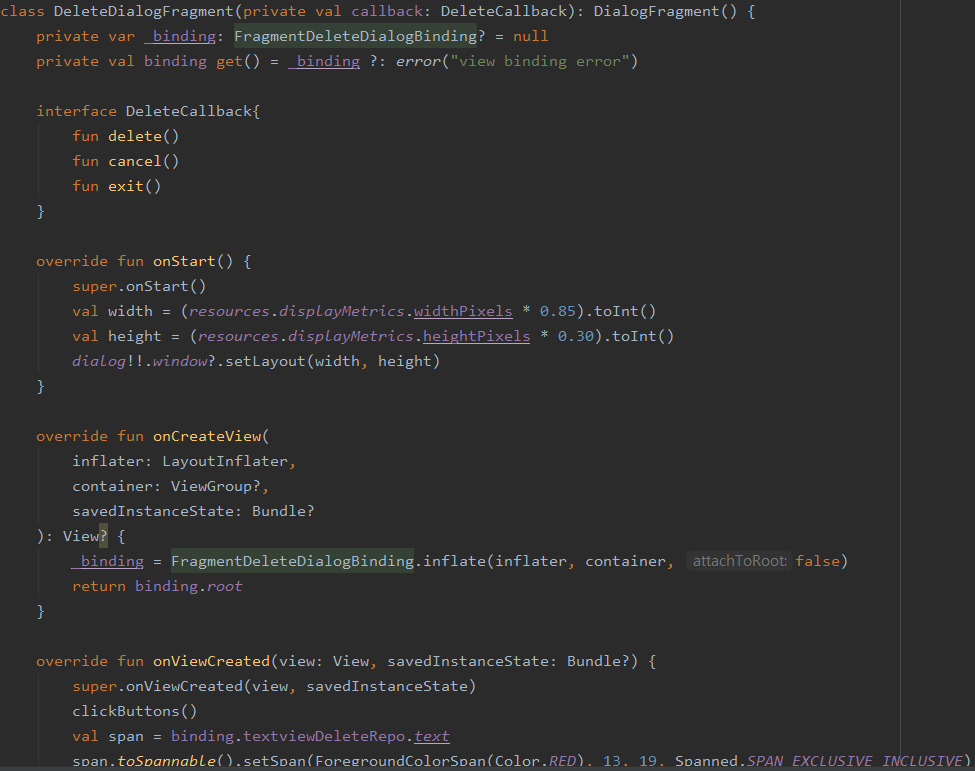
🔙 Item 삭제시 삭제가 완료되었다는 SnackBar를 호출하고 Undo버튼을 누르면 삭제 이벤트가 취소되고 원래의 상태로 복구됩니다.
private fun showDeleteDialog(position: Int) {
    val dialog = DeleteDialogFragment(object : DeleteDialogFragment.DeleteCallback {
        override fun delete() {
            githubRepoAdapter.notifyItemRemoved(position)
            viewModel.removeRepository(position)
            val snackbar = Snackbar.make(binding.root, "Repository removed Successfully", Snackbar.LENGTH_SHORT)
            snackbar.setAction("Undo") {
  recoverRepository(position)
            }.show()
        }
        override fun cancel() {
            githubRepoAdapter.notifyItemChanged(position)
        }
        override fun exit() {
            githubRepoAdapter.notifyItemChanged(position)

        }
    })
    dialog.show(childFragmentManager, "Delete Dialog")
}
ViewModel에는 reMapReopsitories()라는 함수를 만들어 아이템의 포지션을 바꿔주도록 하였습니다.
currentPosition과 targetPosition은 ItemTouchCallback의 onMove메서드가 호출될 때 받아올 수 있습니다.
<GithubRepoViewModel.kt>
fun reapRepositories(currentPosition:Int, targetPosition: Int){
    val datas = _repositories.value?.data
  if (currentPosition< targetPosition){
        for (i in currentPosition until targetPosition){
            datas?.set(i, datas.set(i+1, datas[i]) )
        }
    } else {
        for (i in currentPosition..targetPosition+1){
            datas?.set(i, datas.set(i-1, datas[i]))
        }
    }
}