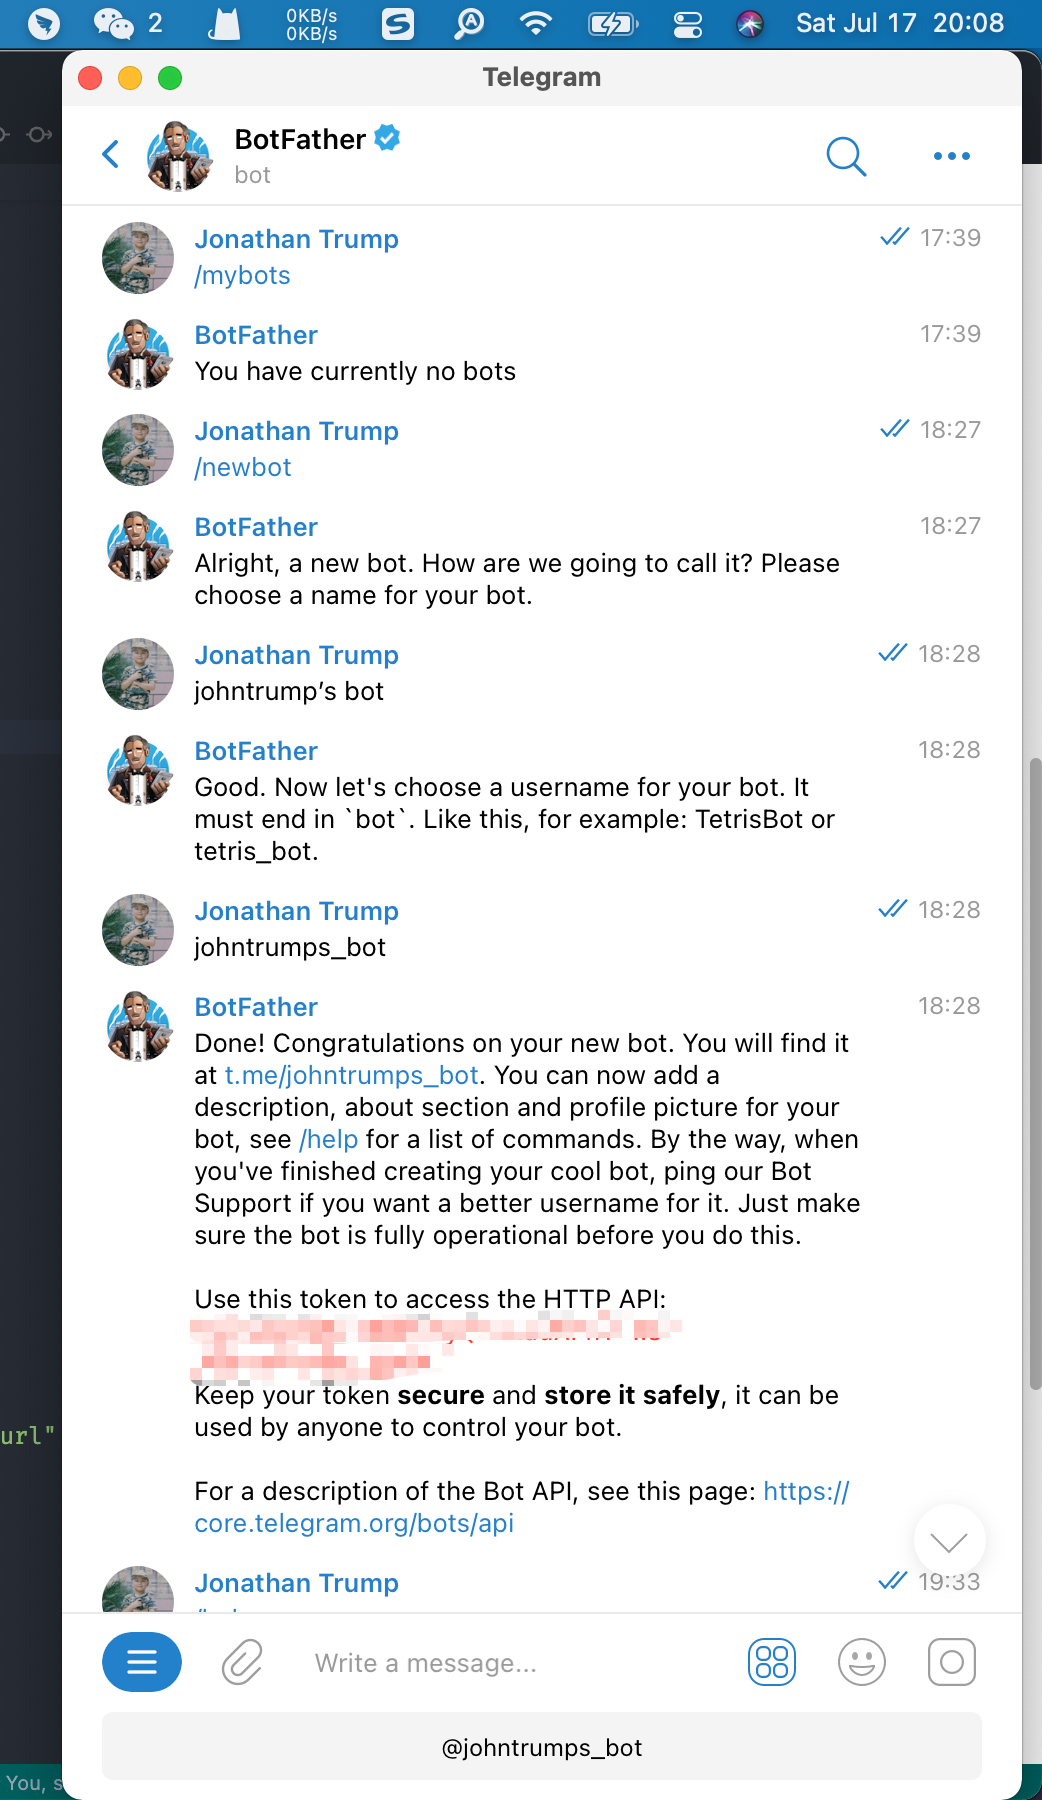
此仓库将演示如何注册 Telegram 机器人,并将其部署到 Vercel 上。
之所以选用 Vercel 是因为他是一个 Serverless 的云服务提供商,我的 Notion 博客就是部署在上面的,四舍五入约等于白嫖。
安装 Vercel: yarn install -g vercel
登录 Vercel: vercel login
我们写个简单的 demo,来验证一下
// api/webhook.js
module.exports = (request, response) => {
  response.json({
    body: request.body,
    query: request.query,
    cookies: request.cookies,
  });
};
本地预览项目: vercel dev
访问 http://localhost:3000/api/webhook?hello=world,这里我们会看到返回了一段 JSON。到目前为止,这个和普通的 Node 项目并没有啥区别。
// https://github.com/yagop/node-telegram-bot-api/issues/319#issuecomment-324963294
// Fixes an error with Promise cancellation
process.env.NTBA_FIX_319 = "test";

const TelegramBot = require("node-telegram-bot-api");

module.exports = async (request, response) => {
  const bot = new TelegramBot(process.env.TELEGRAM_TOKEN);
  try {
    const { body } = request;
    if (body.message) {
      const {
        chat: { id },
        text,
      } = body.message;
      const message = `✅ Thanks for your message: *"${text}"*\nHave a great day! 👋🏻`;
      await bot.sendMessage(id, message, { parse_mode: "Markdown" });
    }
  } catch (error) {
    // If there was an error sending our message then we
    // can log it into the Vercel console
    console.error("Error sending message");
    console.log(error.toString());
  }
  response.send("OK");
};
本地启动, TELEGRAM_TOKEN=<YOUR-BOT-TOKEN> vercel dev,Vercel 默认会在 3000 端口启动服务
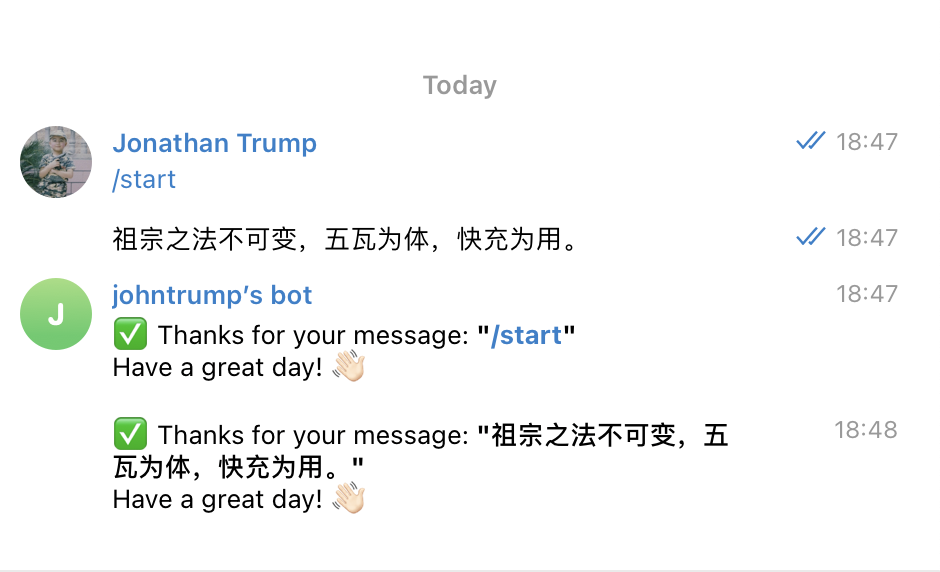
当你向机器人发送消息的时候, telegram-bot-server 会向其绑定的地址发起 POST 请求。这段代码就是在接受并处理 telegram-bot-server 的 POST 请求的。
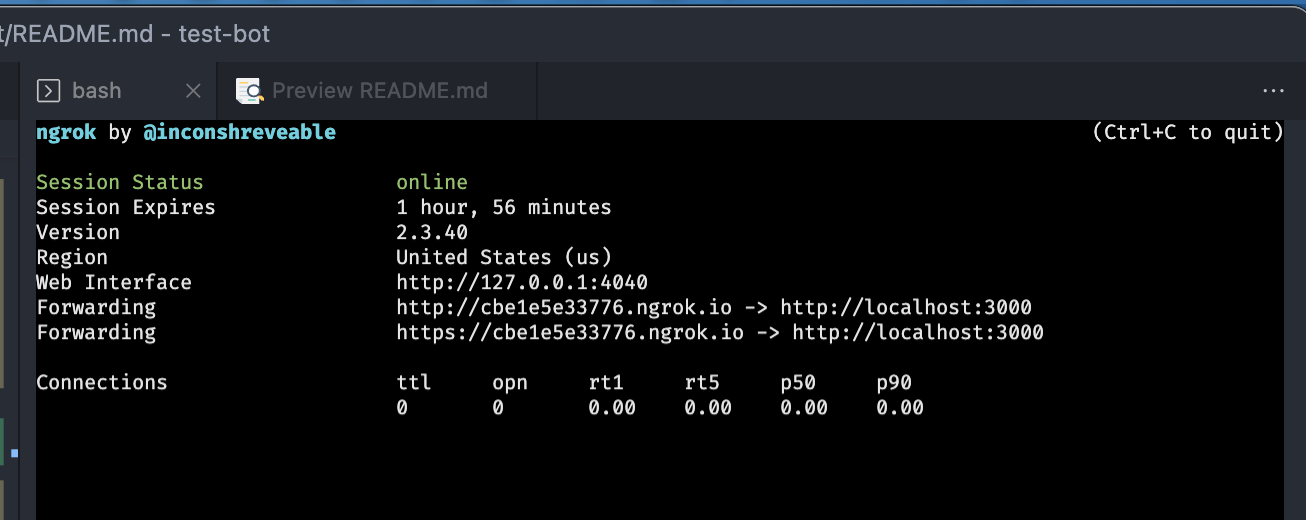
因为后面调用 Telegram API 注册 webhook 需要 HTTPS 的环境,并且需要一个外网可以访问的地址。我们可以使用 ngrok 将本地端口映射到外网上,并且会分配一个 HTTPS 的公网地址。
安装方法很简单,只需要 yarn install -g ngrok
使用起来也简单,比如我们项目的端口地址为 3000,我们想要将其暴露出去,只需要执行 ngrok http 3000
抛砖引玉一下,这玩意很好用。假如你在工作中想要把本地跑的 Demo 给远方的朋友看,可以使用它来实现内网穿透
注册 webhook 到机器人
curl -X POST https://api.telegram.org/bot<YOUR-BOT-TOKEN>/setWebhook -H "Content-type: application/json" -d '{"url": "https://8fbd312cf3d7.ngrok.io/api/webhook"}'部署很简单,只需要执行 vercel 一下就行了。你甚至可以关联到 GitHub 的仓库(这里需要将 vercel 机器人加入到仓库中),只要 master 分支有新的 commit,就会自动部署。
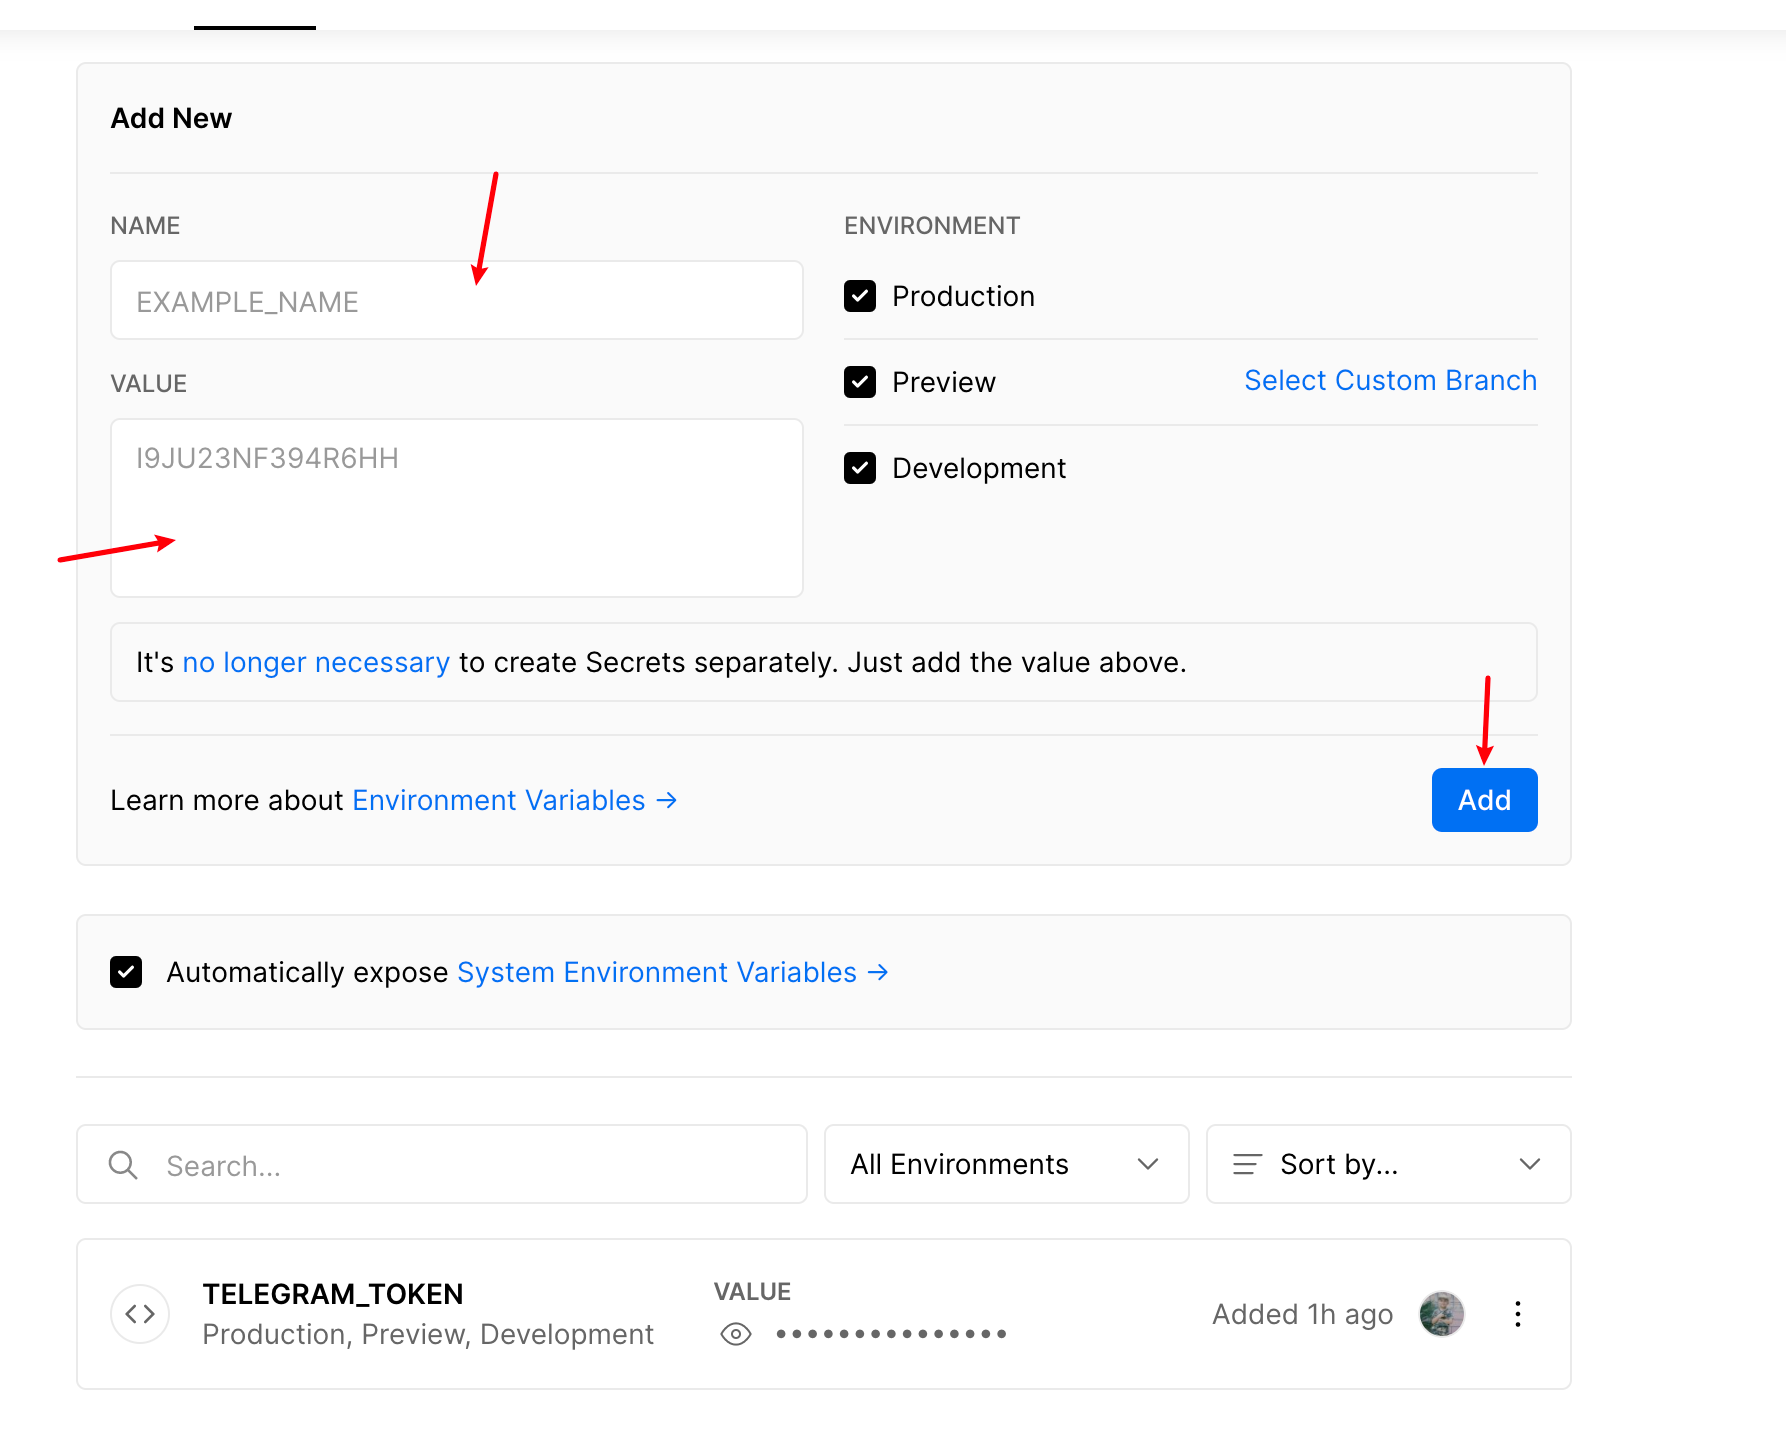
配置环境变量到 Vercel
https://vercel.com/<your-vercel-name>/<your-project-name>/settings/environment-variables


