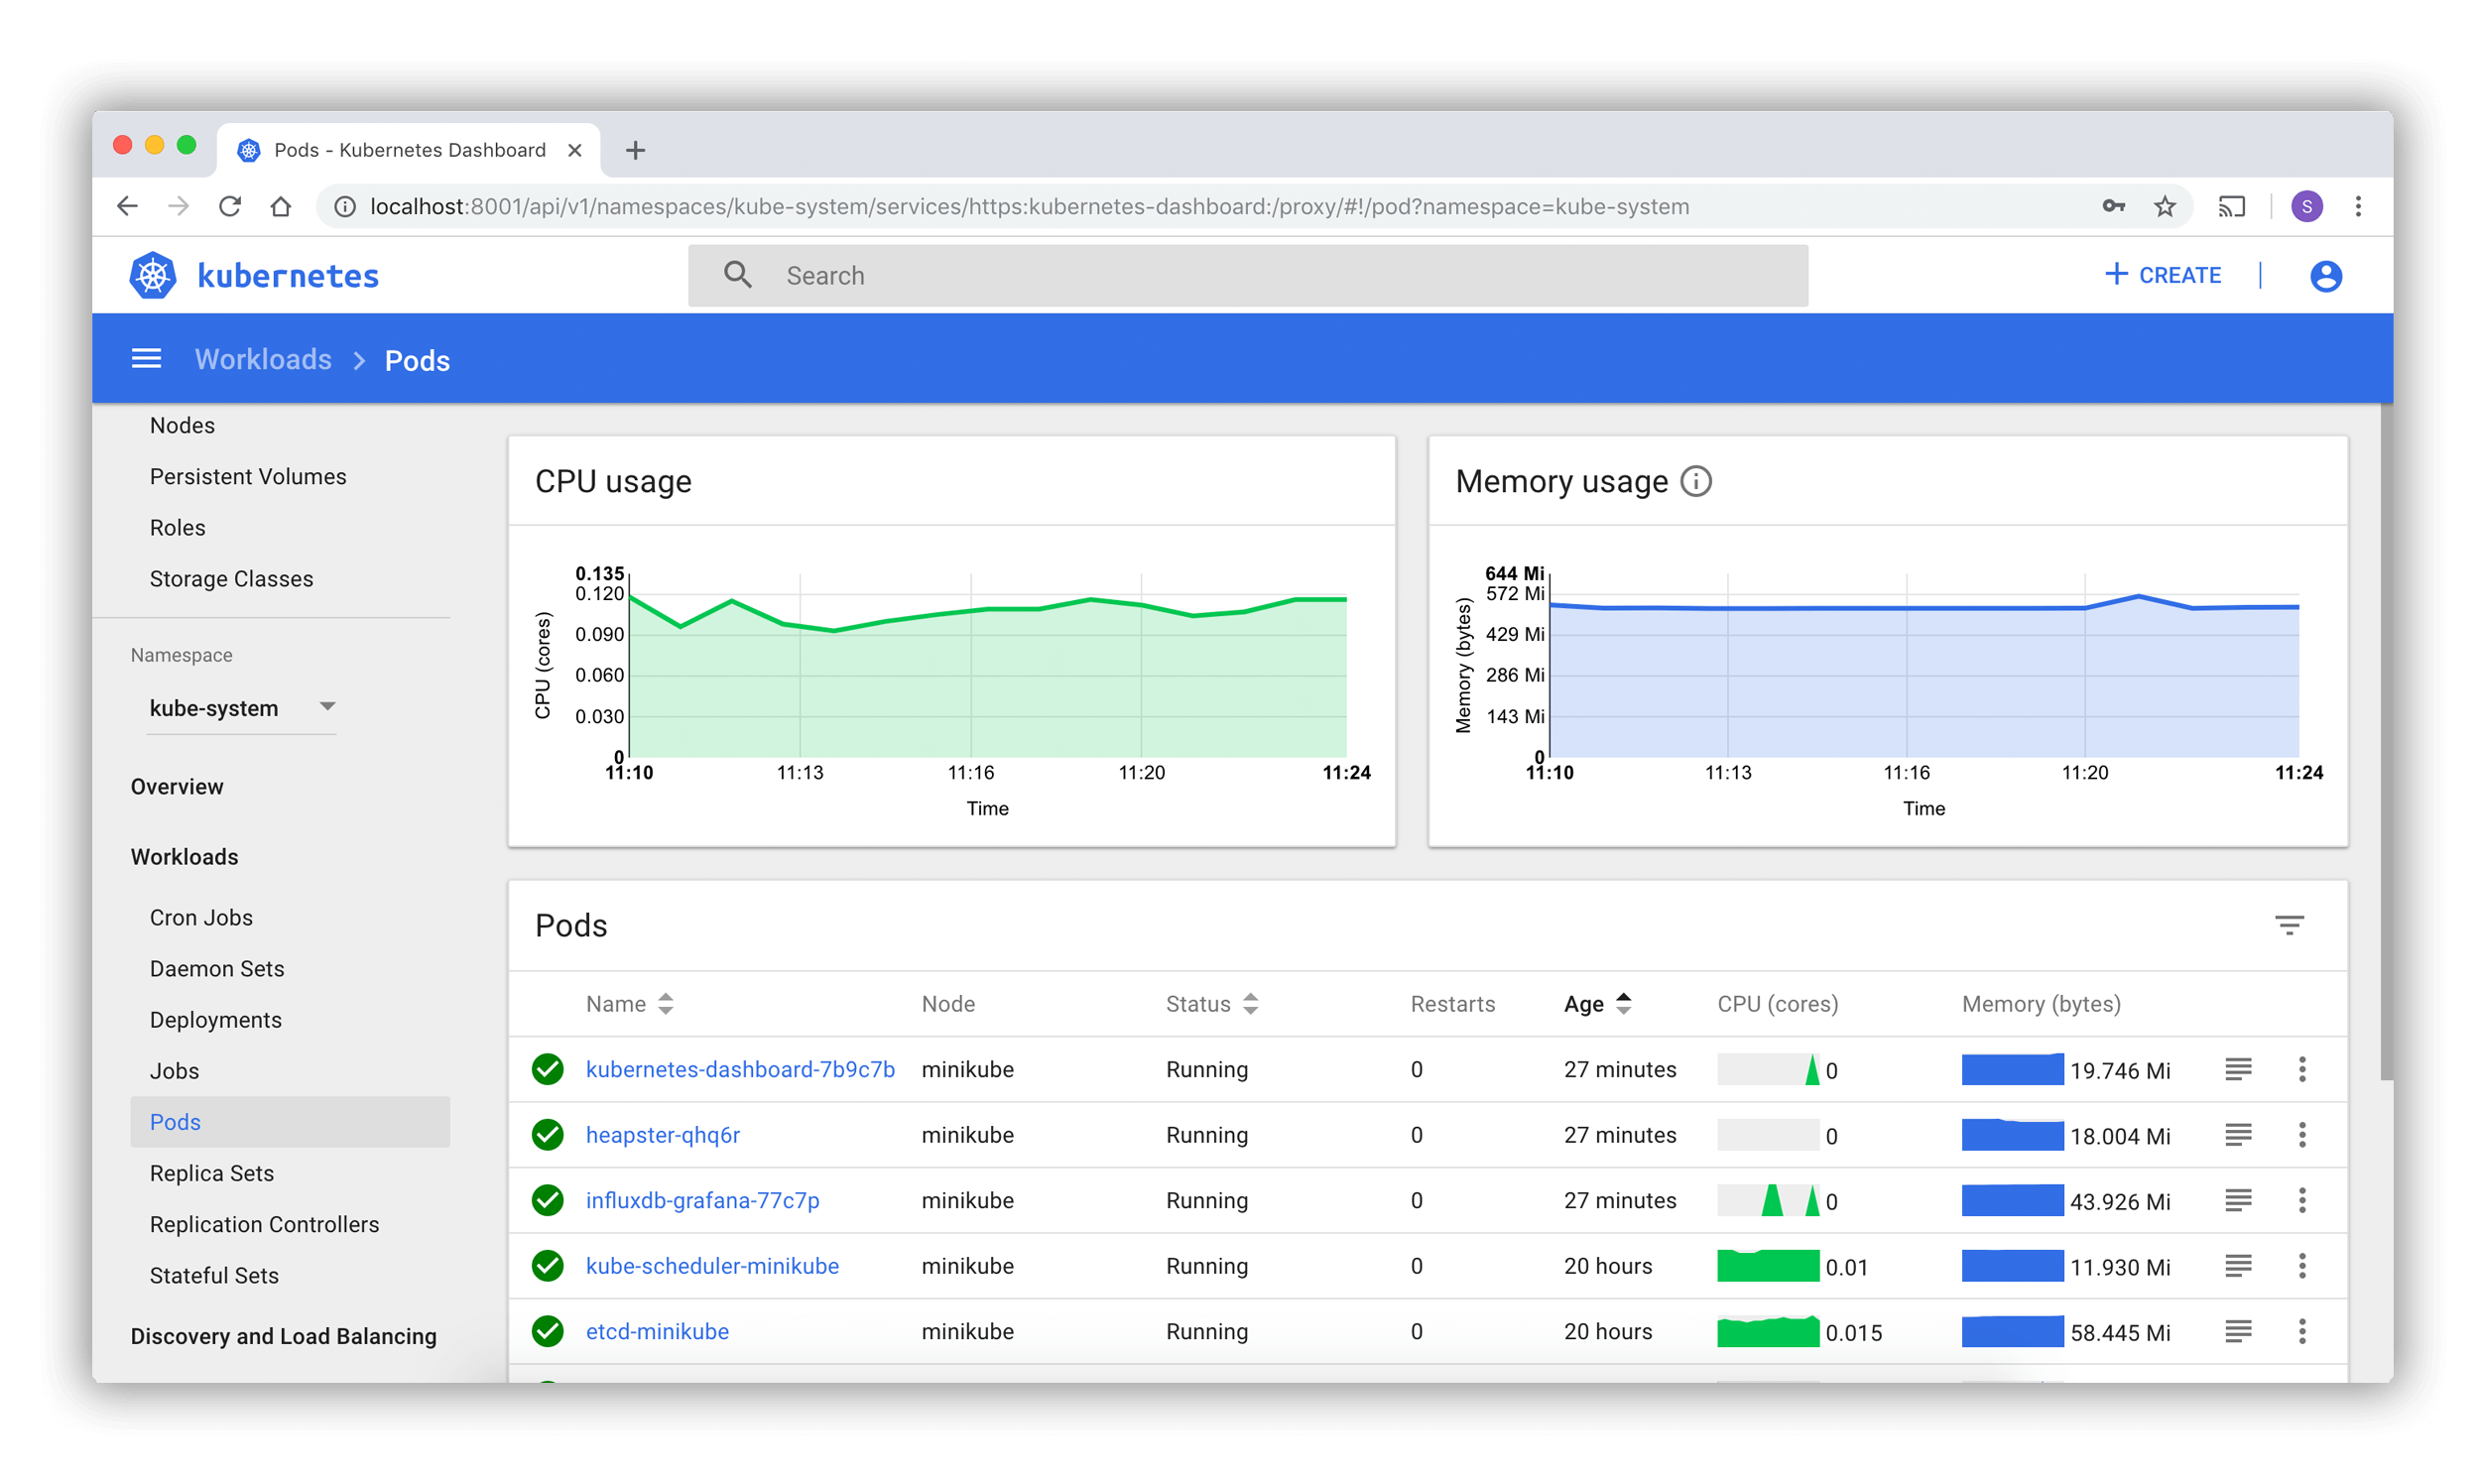
The Kubernetes Dashboard is a useful tool to view and manage a kubernetes cluster. To install it, we need to do the following
# Install Kubernetes Dashboard
kubectl apply -f https://raw.githubusercontent.com/kubernetes/dashboard/v2.0.0/aio/deploy/recommended.yamlThis is the account information that the dashboard will use to access your cluster resources. Typically you want this to be of the cluster-admin role
First, create a file called admin-user.yaml and paste the following in
apiVersion: v1
kind: ServiceAccount
metadata:
  name: admin-user
  namespace: kube-system

---

apiVersion: rbac.authorization.k8s.io/v1
kind: ClusterRoleBinding
metadata:
  name: admin-user
roleRef:
  apiGroup: rbac.authorization.k8s.io
  kind: ClusterRole
  name: cluster-admin
subjects:
- kind: ServiceAccount
  name: admin-user
  namespace: kube-system
Then we apply it
# Install Kubernetes Dashboard User
kubectl apply -f admin-user.yamlWe simply run kubectl proxy. Once the proxy is running simply navigate to the following url
In order to login we need to get the token for the account we created using the following
# Get dashboard token
kubectl -n kube-system describe secret $(kubectl -n kube-system get secret | grep admin-user | awk '{print $1}')