fwd-edu-breakout=github:climate-action-kits/pxt-fwd-edu/fwd-breakout
Dial=github:climate-action-kits/pxt-fwd-edu
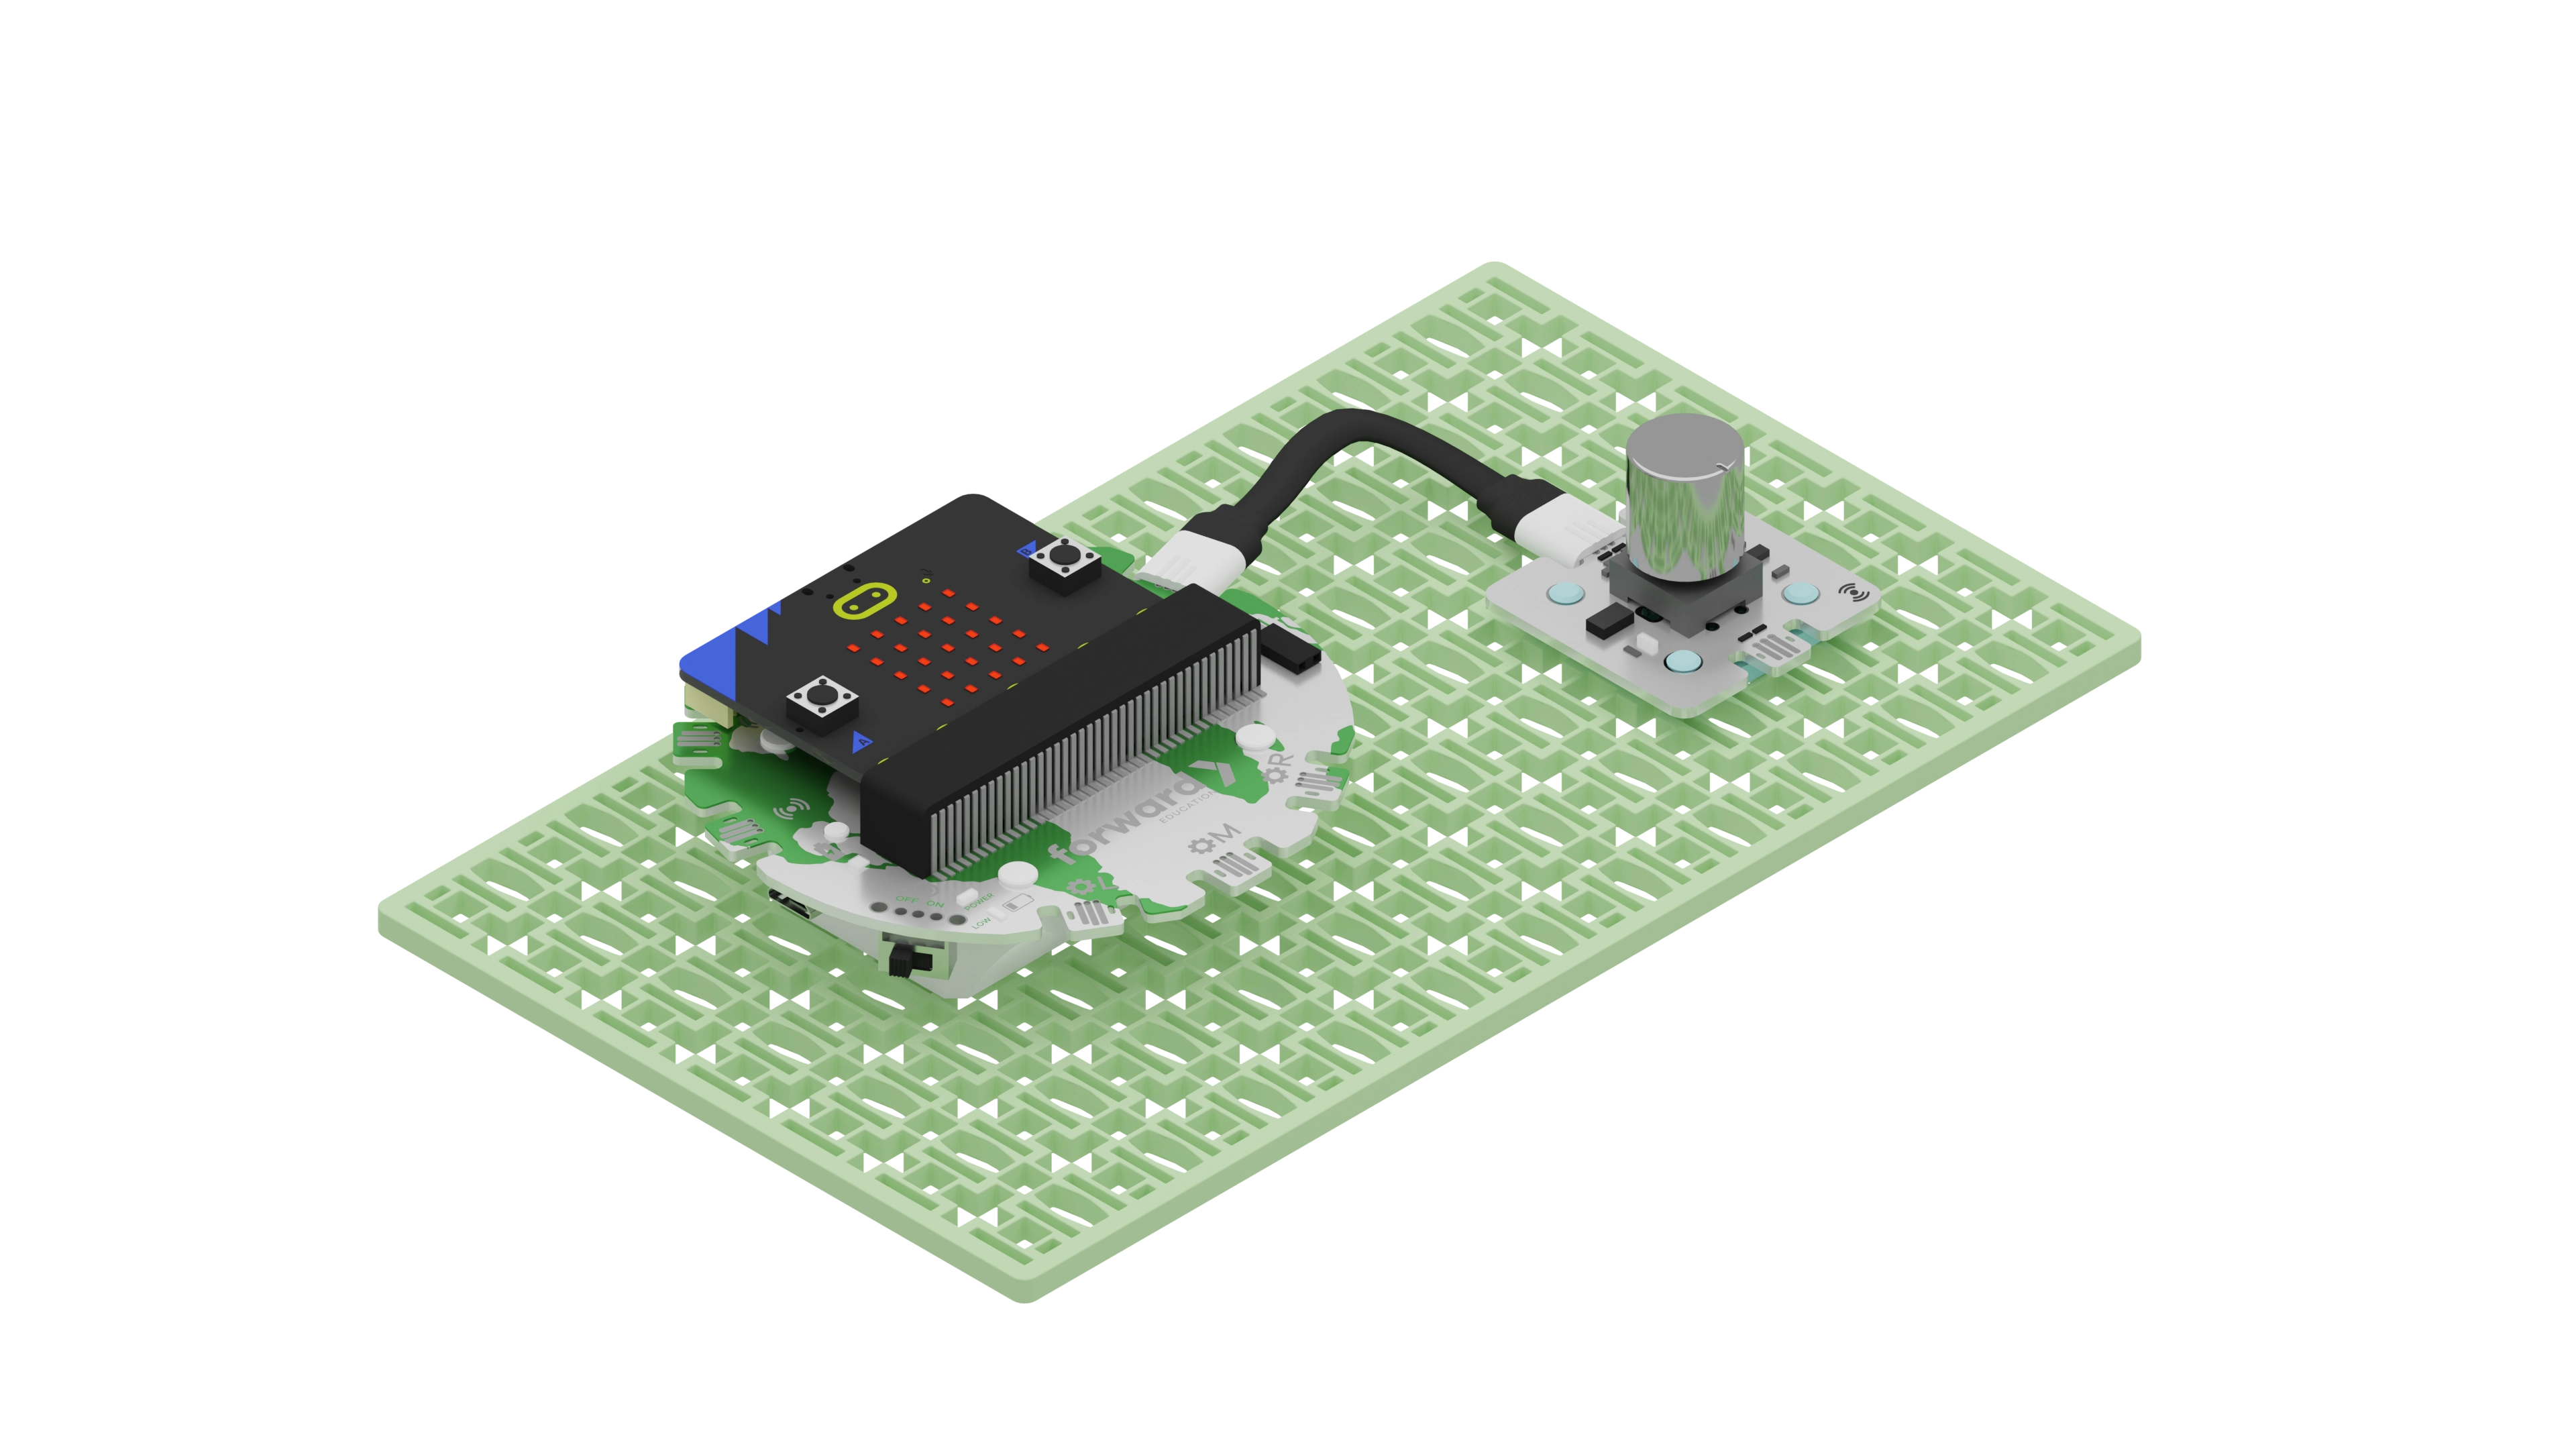
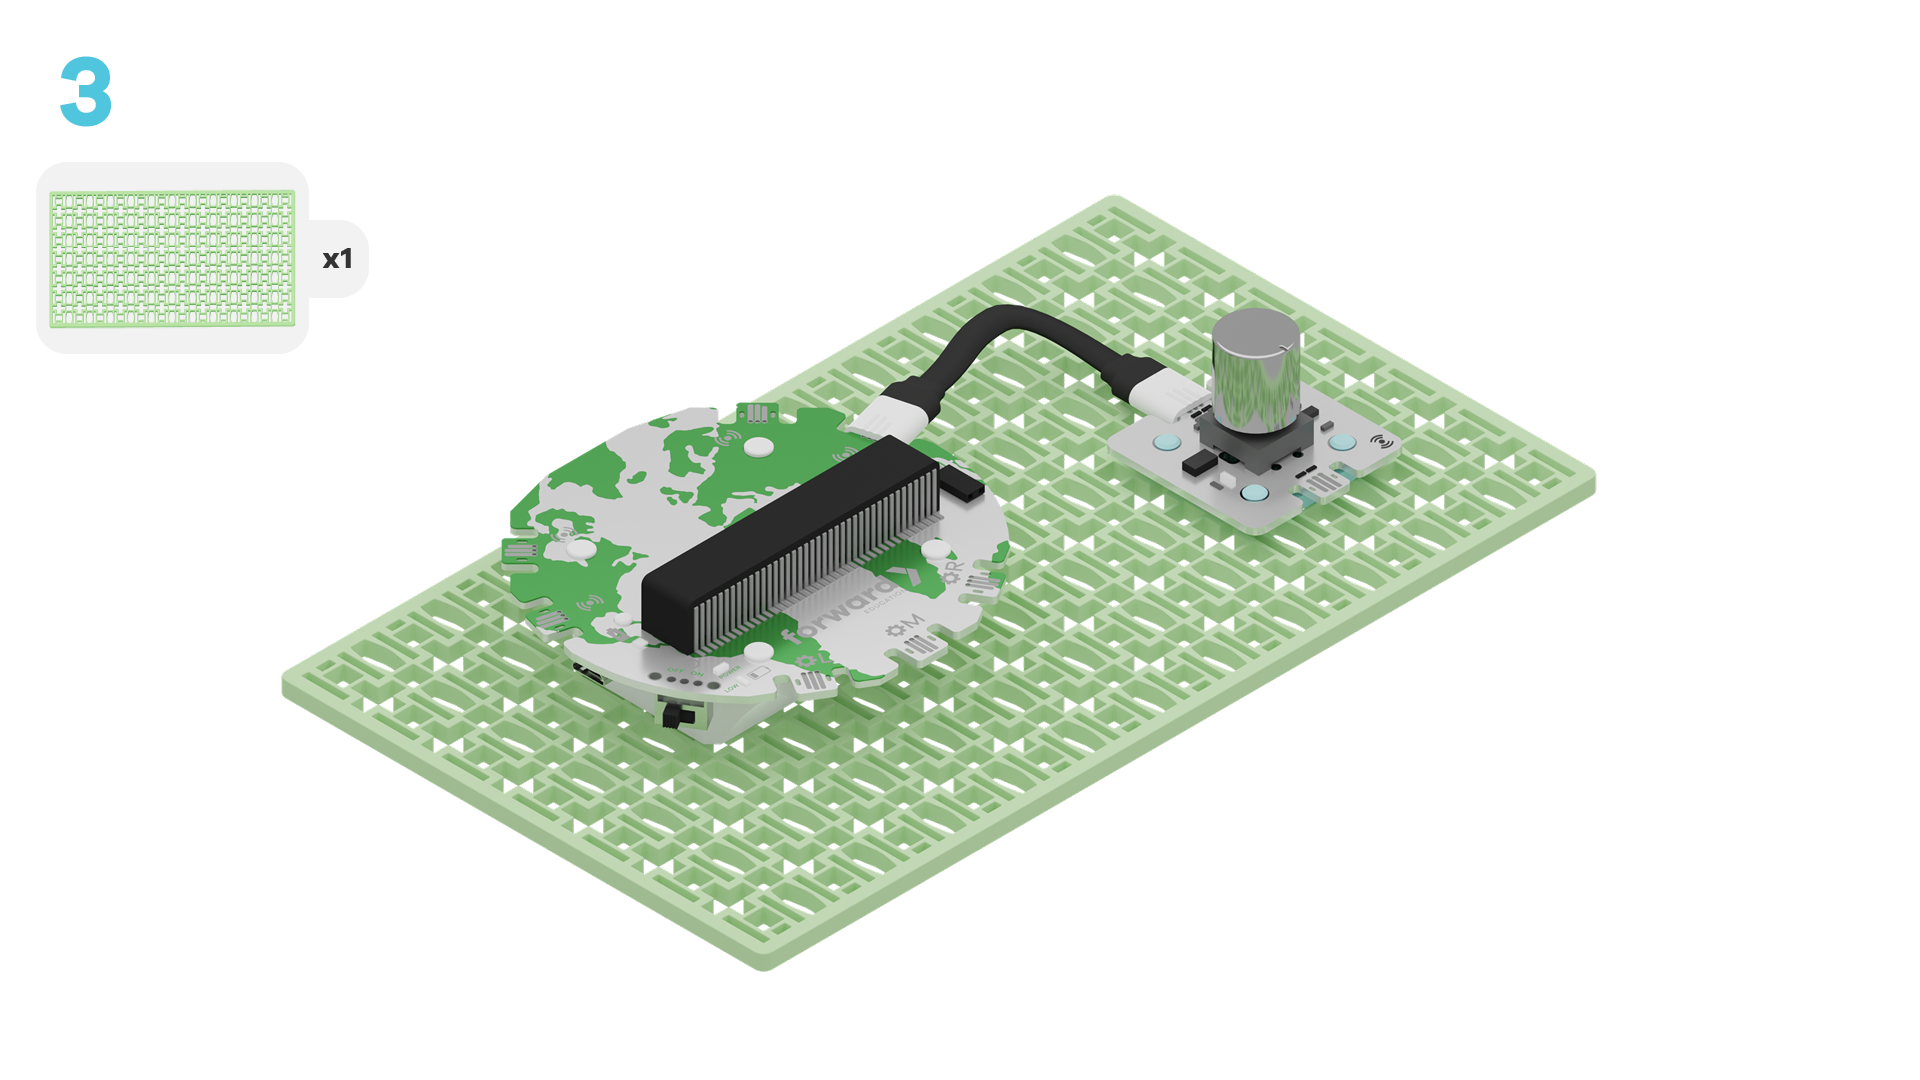
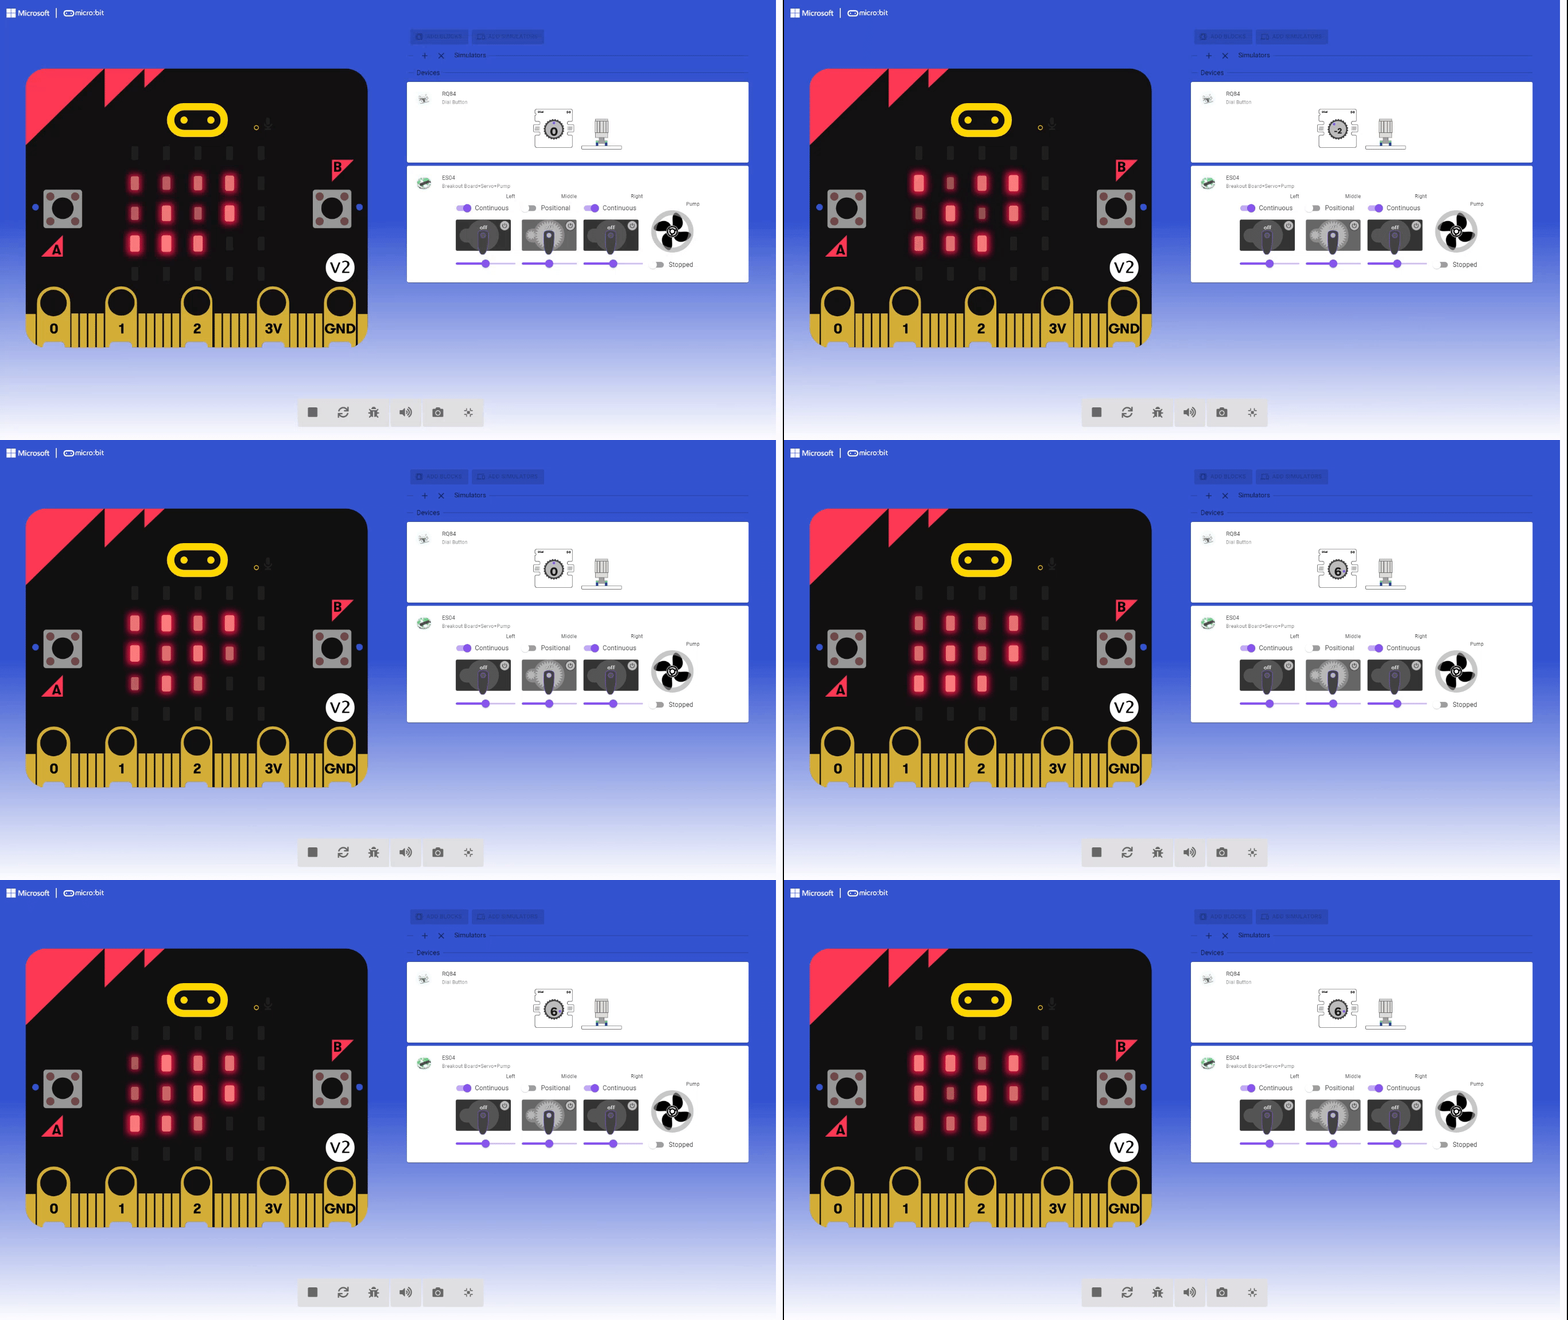
Welcome to Powering the Future with Wind Energy Level 1. For this project, we will use the Dial to trigger different symbols to show on the micro:bit LEDs. Here's what it will look like.
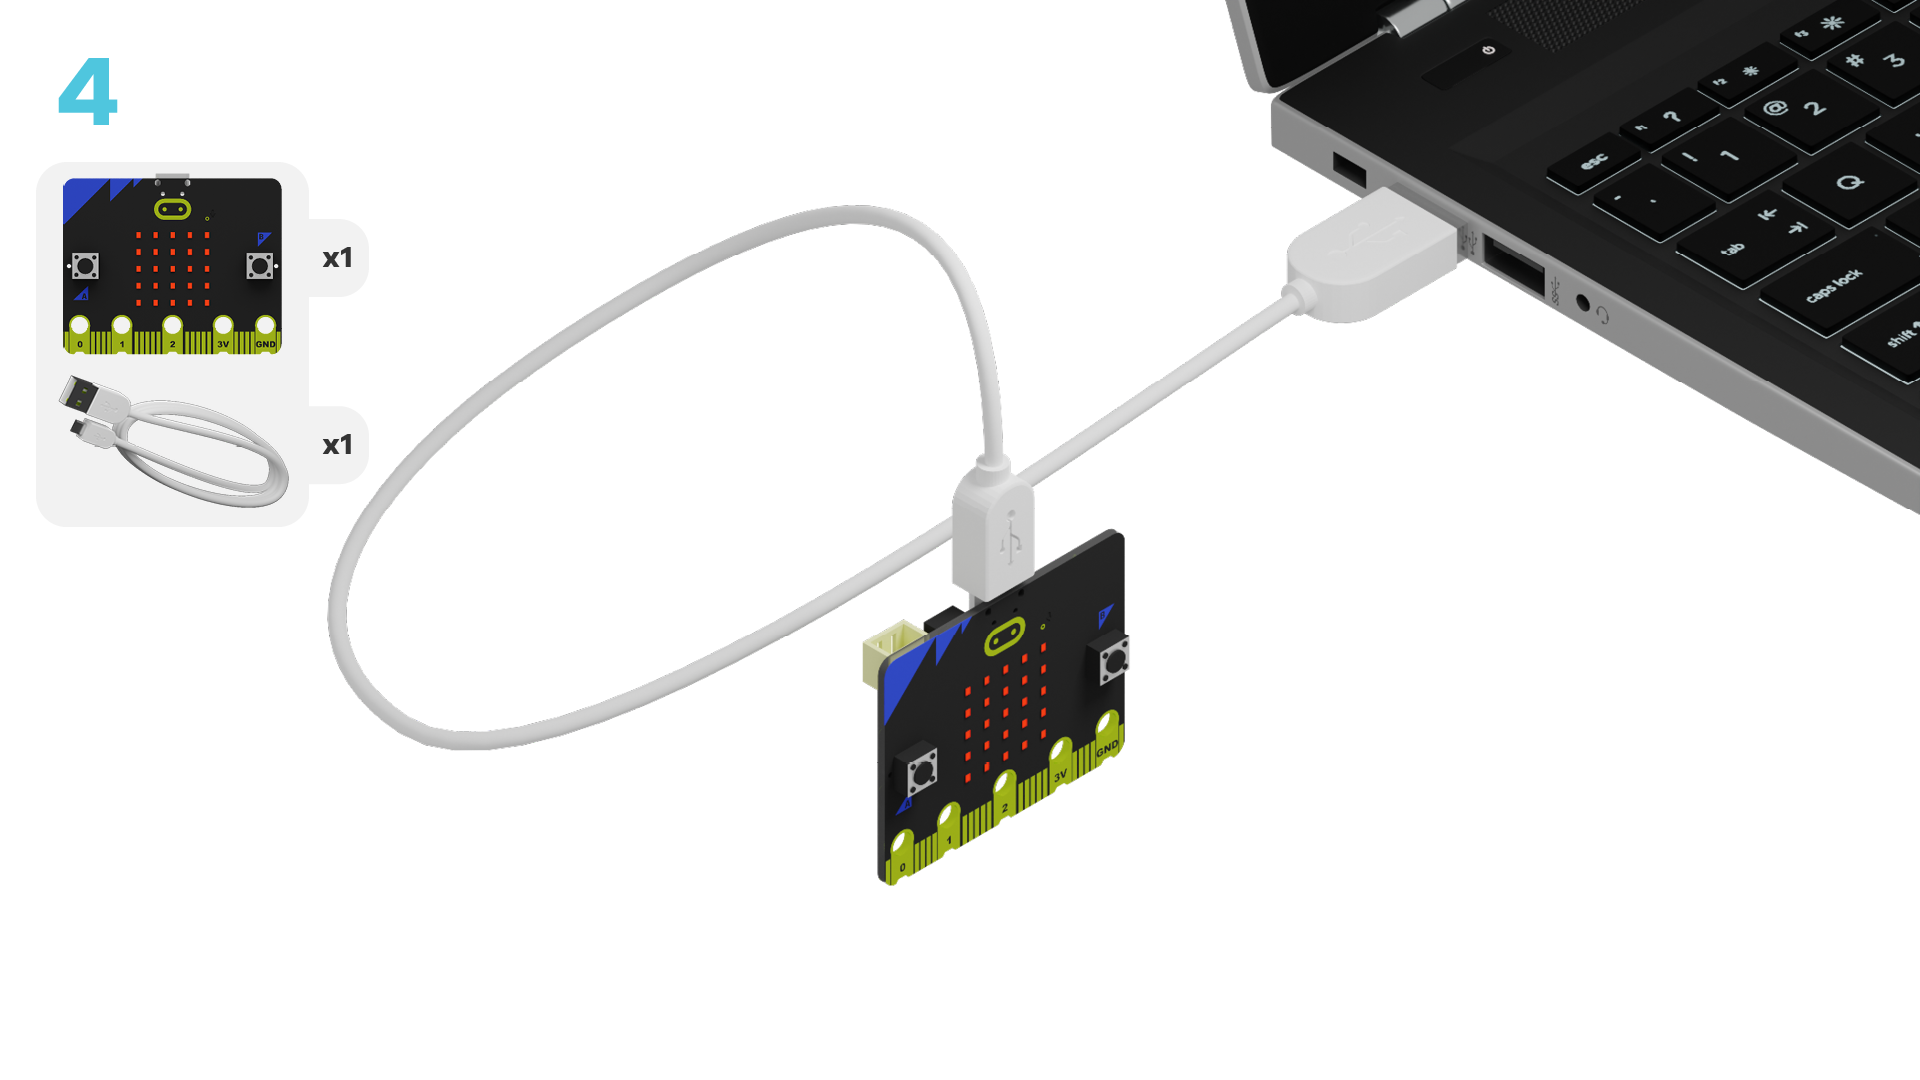
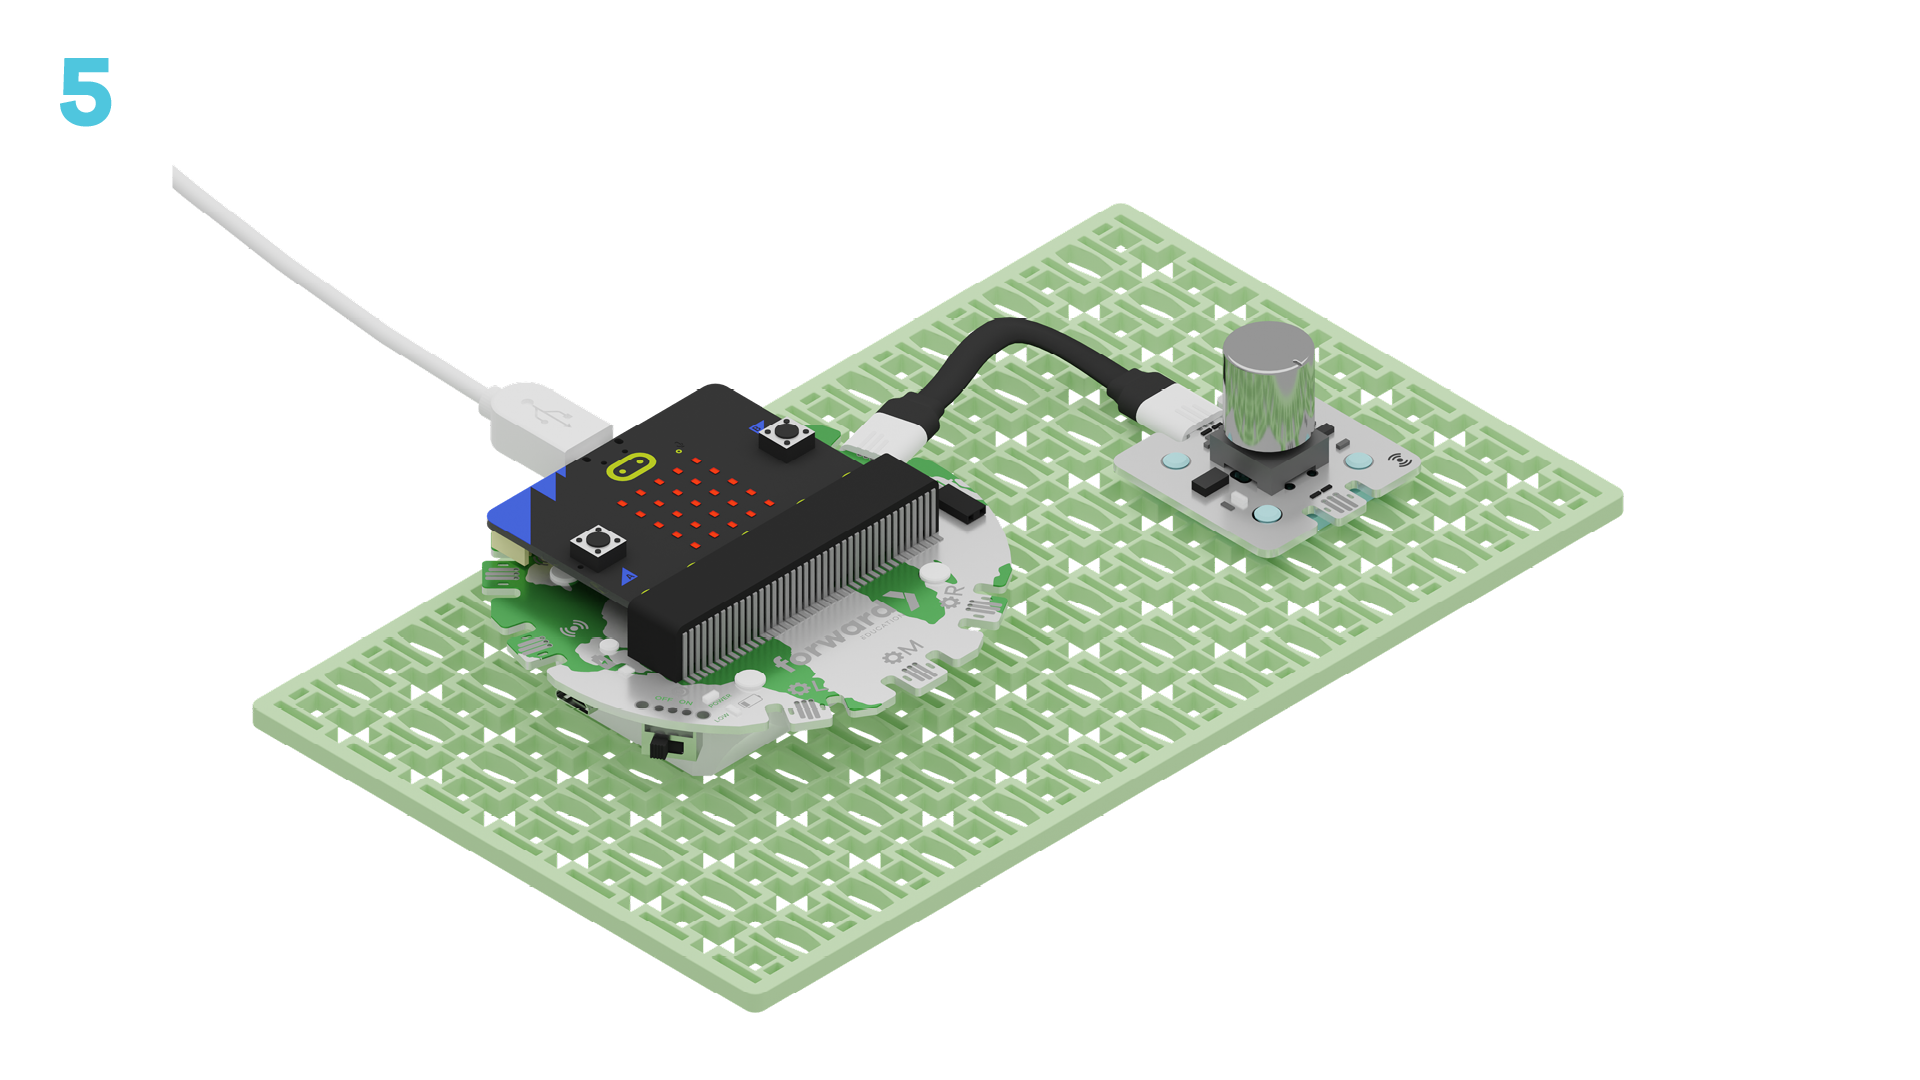
IMPORTANT! Make sure your Climate Action Kit Breakout Board is turned on and your micro:bit is plugged into your computer.

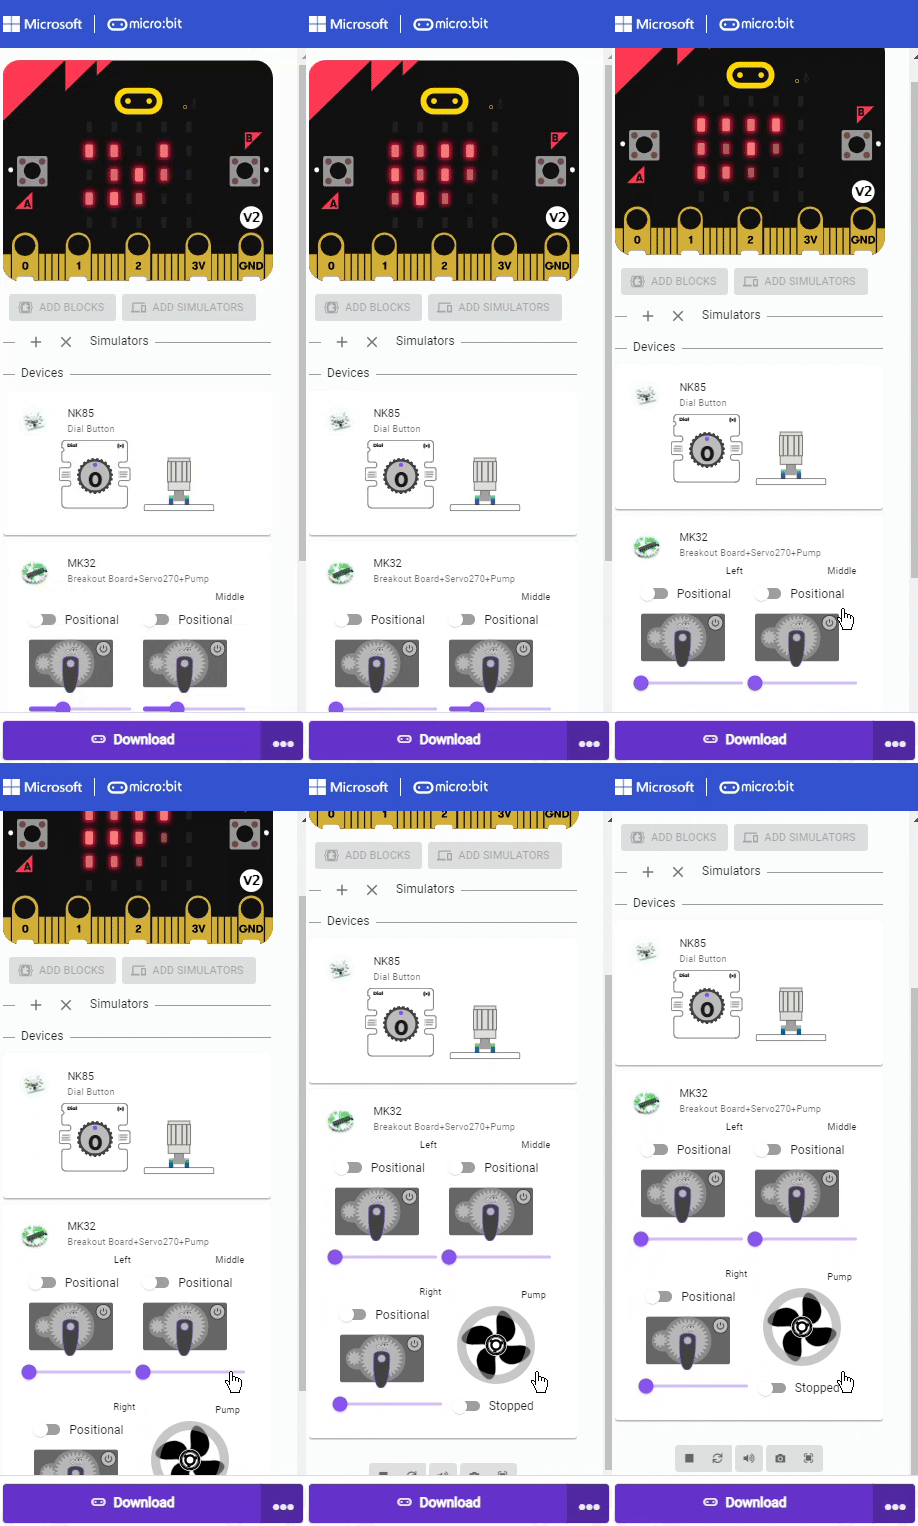
Click three dots besides |Download| button, and click on Connect Device.
Next, follow the steps to pair your micro:bit.
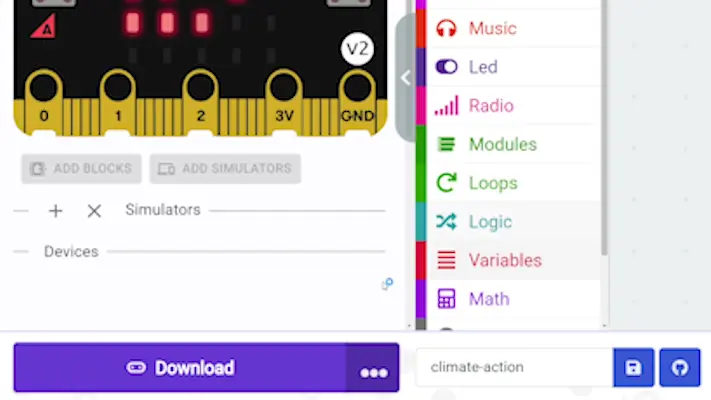
Next, click the |Download| button to download the blank project to start-up the simulators.
This is how the simulators should look after a successful download. You can see the Dial, and the Servo Motors along side the Pump.
Look below the @boardname@ simulator to see the Climate Action kit Breakout Board and the connected sensors.
Try turning the Dial on your project, the virtual simulator will react to it.
Start coding! Follow the steps at the top of the screen for your instructions. Click the lightbulb icon for a hint if you get stuck.
Coding your Project
Look at our coding workspace below. We have three sets of code blocks here. What do you notice is different about each of the ||fwdSensors:on dial1 turned difference|| blocks?
~hint What does this mean?
- One block is for clockwise direction
- One block is for counterclockwise
- One is for pushing down on the dial hint~
fwdSensors.touch.fwdOnTouch(jacdac.ButtonEvent.Down, function () {
    basic.showIcon(IconNames.No)
})
fwdSensors.dial1.fwdOnDialTurned(fwdSensors.DialDirection.CCW, function (difference) {
    basic.showIcon(IconNames.SmallSquare)
})
fwdSensors.dial1.fwdOnDialTurned(fwdSensors.DialDirection.CW, function (difference) {
    basic.showIcon(IconNames.Diamond)
})
What do you notice about each one of the ||show icon|| blocks in our code?
~hint What does this mean?
- Each block will display a different icon on the mirco:bit LED
- One icon for each direction hint~
Try changing the icons in the ||basic:show icon|| blocks for yourself! Click the dropdown arrow, and choose any pattern.
~hint What does this mean?
- Make sure you choose a different for each one. hint~
Click the |Download| button to download the code for your project.
Try testing your project in real life! This is what it should look like. What happens to the number when you turn left? Right?
Congratulations on finishing your coding project!
In the next step, you can click the |Done| button to finish the tutorial.
