Swift allows you to create beautiful mobile-friendly websites. Swift gives It is fast and easy to build ecommerce sites on Dynamicweb for both B2C and B2B. Using configuration and almost no coding.
Key features • Installation • Requirements • Hosting & Install DW • Database • License
- Mobile first 📱, responsive, scaleable and content resilient rendering. Ensuring painless mobile experience.
- Lighthouse 95+ points 💯 performance optimized implementation, ensuring users do not churn
- SEO 📝 is build in using content and product data
- Build designed pages 🎨 using visual drag and drop to create your content
- Web Accessibility Guidelines (WCAG) 🏆 Level AA compliance, make web content more accessible
- World Wide Web (W3C) 🌐 validated following website formatting standards
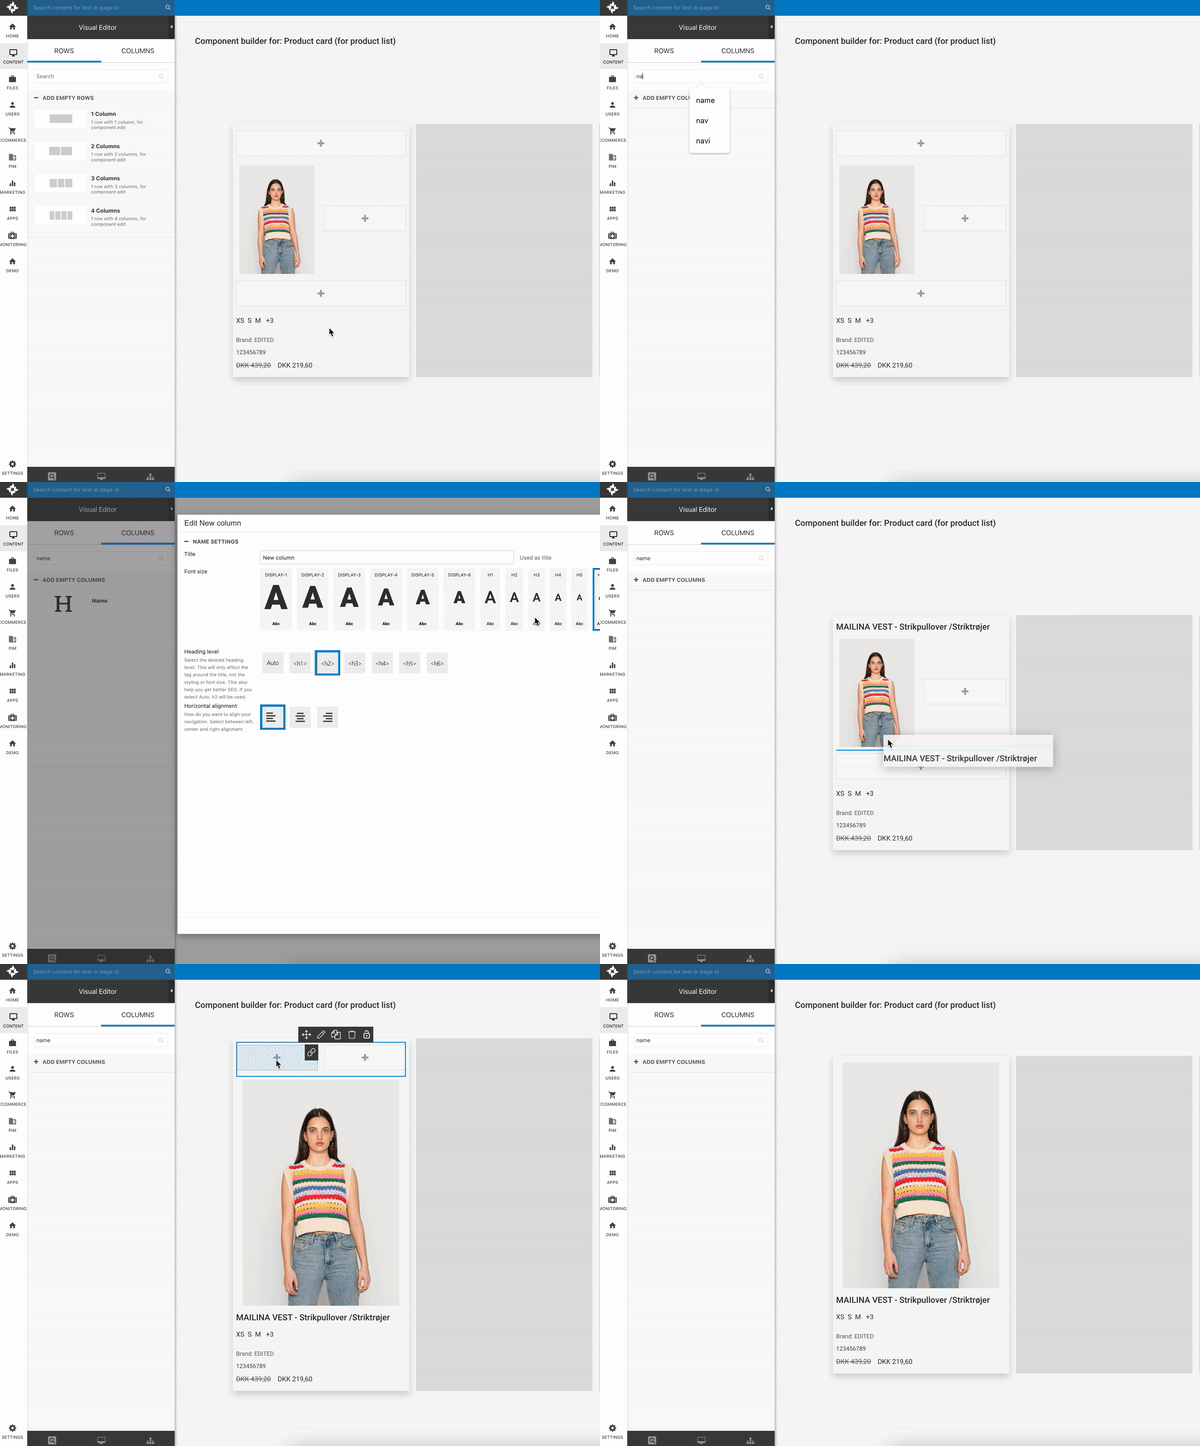
- Visual editor 🌈 building content pages, product list and product detail pages in a visual manner and with components
Swift is installed on top of a Dynamicweb application.
This repository contains a ./Files with design files, images, and other static resources
The basic install procedure is:
- Prepare the hosting environment
- Install the DynamicWeb application
- Set up a website in IIS Manager and add the Swift-folder as a virtual directory
- Download the Swift Product Image folder and insert the folder here
Swift/Files/Files/Images/Products - Build the Swift design
- Install the Swift database & connect solution to it
- Log in and install a license
-
Swift v1.26.7 requires DynamicWeb version 9.17.10 and Shipmondo dll v2.0.0 or newer, it can also run on DynamicWeb v10.7.0 or newer, if Shipmondo is used, it requires Shipmondo.dll version 10.0.5 (which needs to be installed) or newer
-
Swift v1.26.6 requires DynamicWeb version 9.17.10 and Shipmondo dll v2.0.0 or newer, it can also run on DynamicWeb v10.7.0 or newer, if Shipmondo is used, it requires Shipmondo.dll version 10.0.5 (which needs to be installed) or newer
-
Swift v1.26.5 requires DynamicWeb version 9.17.10 and Shipmondo dll v2.0.0 or newer, it can also run on DynamicWeb v10.7.0 or newer, if Shipmondo is used, it requires Shipmondo.dll version 10.0.5 (which needs to be installed) or newer
-
Swift v1.26.4 requires DynamicWeb version 9.17.4 and Shipmondo dll v2.0.0 or newer, it can also run on DynamicWeb v10.4.0 or newer, if Shipmondo is used, it requires Shipmondo.dll version 10.0.5 (which needs to be installed) or newer
-
Swift 1.26.3 requires DynamicWeb version 9.17.4 and Shipmondo dll v2.0.0 or newer, it can also run on DynamicWeb version 10.4.0 or newer, if Shipmondo is used, it requires Shipmondo.dll version 10.0.5 (which needs to be installed) or newer
-
Swift 1.26.2 requires DynamicWeb version 9.17.1 and Shipmondo dll v2.0.0 or newer, it can also run on DynamicWeb version 10.1.0 or newer, if Shipmondo is used, it requires Shipmondo.dll version 10.0.5 (which needs to be installed) or newer
See requirements for older Swift versions here
- The baseline database is a bacpac file created using the Microsoft SQL Server 2016 standard (version SQL server 15.0.2080.9) using SQL Server Management Studio 2019 version 15.018040.0.
Swift must be installed on a server or local machine running Windows and a recent DynamicWeb application.
| Links | |
|---|---|
| DW9 | Software/Hardware requirements |
| Hosting | Preparing the hosting environment |
| Install | Dynamicweb |
After following these guides you will have a freshly installed DynamicWeb solution, which is ready to run Swift.
| Download | |
|---|---|
| Database | Swift Demo database |
| Database | Swift Empty database |
| Image folder | Swift Product Image |
To use the Swift-design you must add the Files-folder from this repository as a virtual folder for the website you created in IIS Manager:
- Open IIS Manager and locate the website
- Right-click the website and click Add virtual directory
- Write
Filesin the Alias-field - Enter the physical path to the Swift
./Filesfolder - Click OK
This sets the downloaded ./Files folder as a virtual directory for the website, which means that you can easily upgrade the DynamicWeb application without having to move the .\Files folder every time.
Swift uses webpack to calculate dependencies and bundle scripts, images and other assets. This means that the design must be built after being cloned:
- Download and install Node.js
- Open a command prompt and navigate to folder Swift is cloned to
- Run
npm install - Run
npm run build:webpack - Run
npm run start
This repository contains a number of database files .bak or .bacpac - with demo data, e.g. pages, products, demo users, etc. You often want to use these as a starting point for a new Swift project.
To restore the database:
- Open SQL Management studio and connect to your server
- Right-click the server and open Properties > Security – verify that Server Authentication is set to SQL Server and Windows authentication mode
- Right-click the Databases-node and select Import Data-tier Application
- Select Import from local disk and select the
.bacpacfile – click next - Enter a name and click next
The connection between a solution and a database is stored inside a files called GlobalSettings. This file is part of the repo, so it will be overwritten every time you retrieve the latest version of Swift from here.
To solve this issue consider creating a GlobalSettings.database.config file inside the ./Files folder with the connection details:
<?xml version="1.0"?>
<Globalsettings>
<System>
    <Database>
      <Password>yourpassword</Password>
      <Type>ms_sqlserver</Type>
      <UserName>yourSQLusername</UserName>
      <Database>yourdatabasename</Database>
      <SQLServer>localhost</SQLServer>
      <DWWebIP>
      </DWWebIP>
      <SQLServer2>
      </SQLServer2>
      <Database2>
      </Database2>
      <UserName2>
      </UserName2>
      <Password2>
      </Password2>
      <IntegratedSecurity>False</IntegratedSecurity>
      <ConnectionString>
      </ConnectionString>
      <ConnectionString2>
      </ConnectionString2>
    </Database>
</System>
</Globalsettings>
Whenever the solution is accessed this file will be used in place of the database node in globalsettings-config – and it will not be overwritten.
-
After successfully connecting the database and solution you can go to yoururl.com/admin and log in with the administrator username and password.
-
After logging in you will be asked to Install a license.
-
If you instead see the DynamicWeb Installer the database and solution are not correctly linked. Try recycling the application pool and trying again.


