fwd-edu-breakout=github:climate-action-kits/pxt-fwd-edu/fwd-breakout
sonar=github:climate-action-kits/pxt-fwd-edu
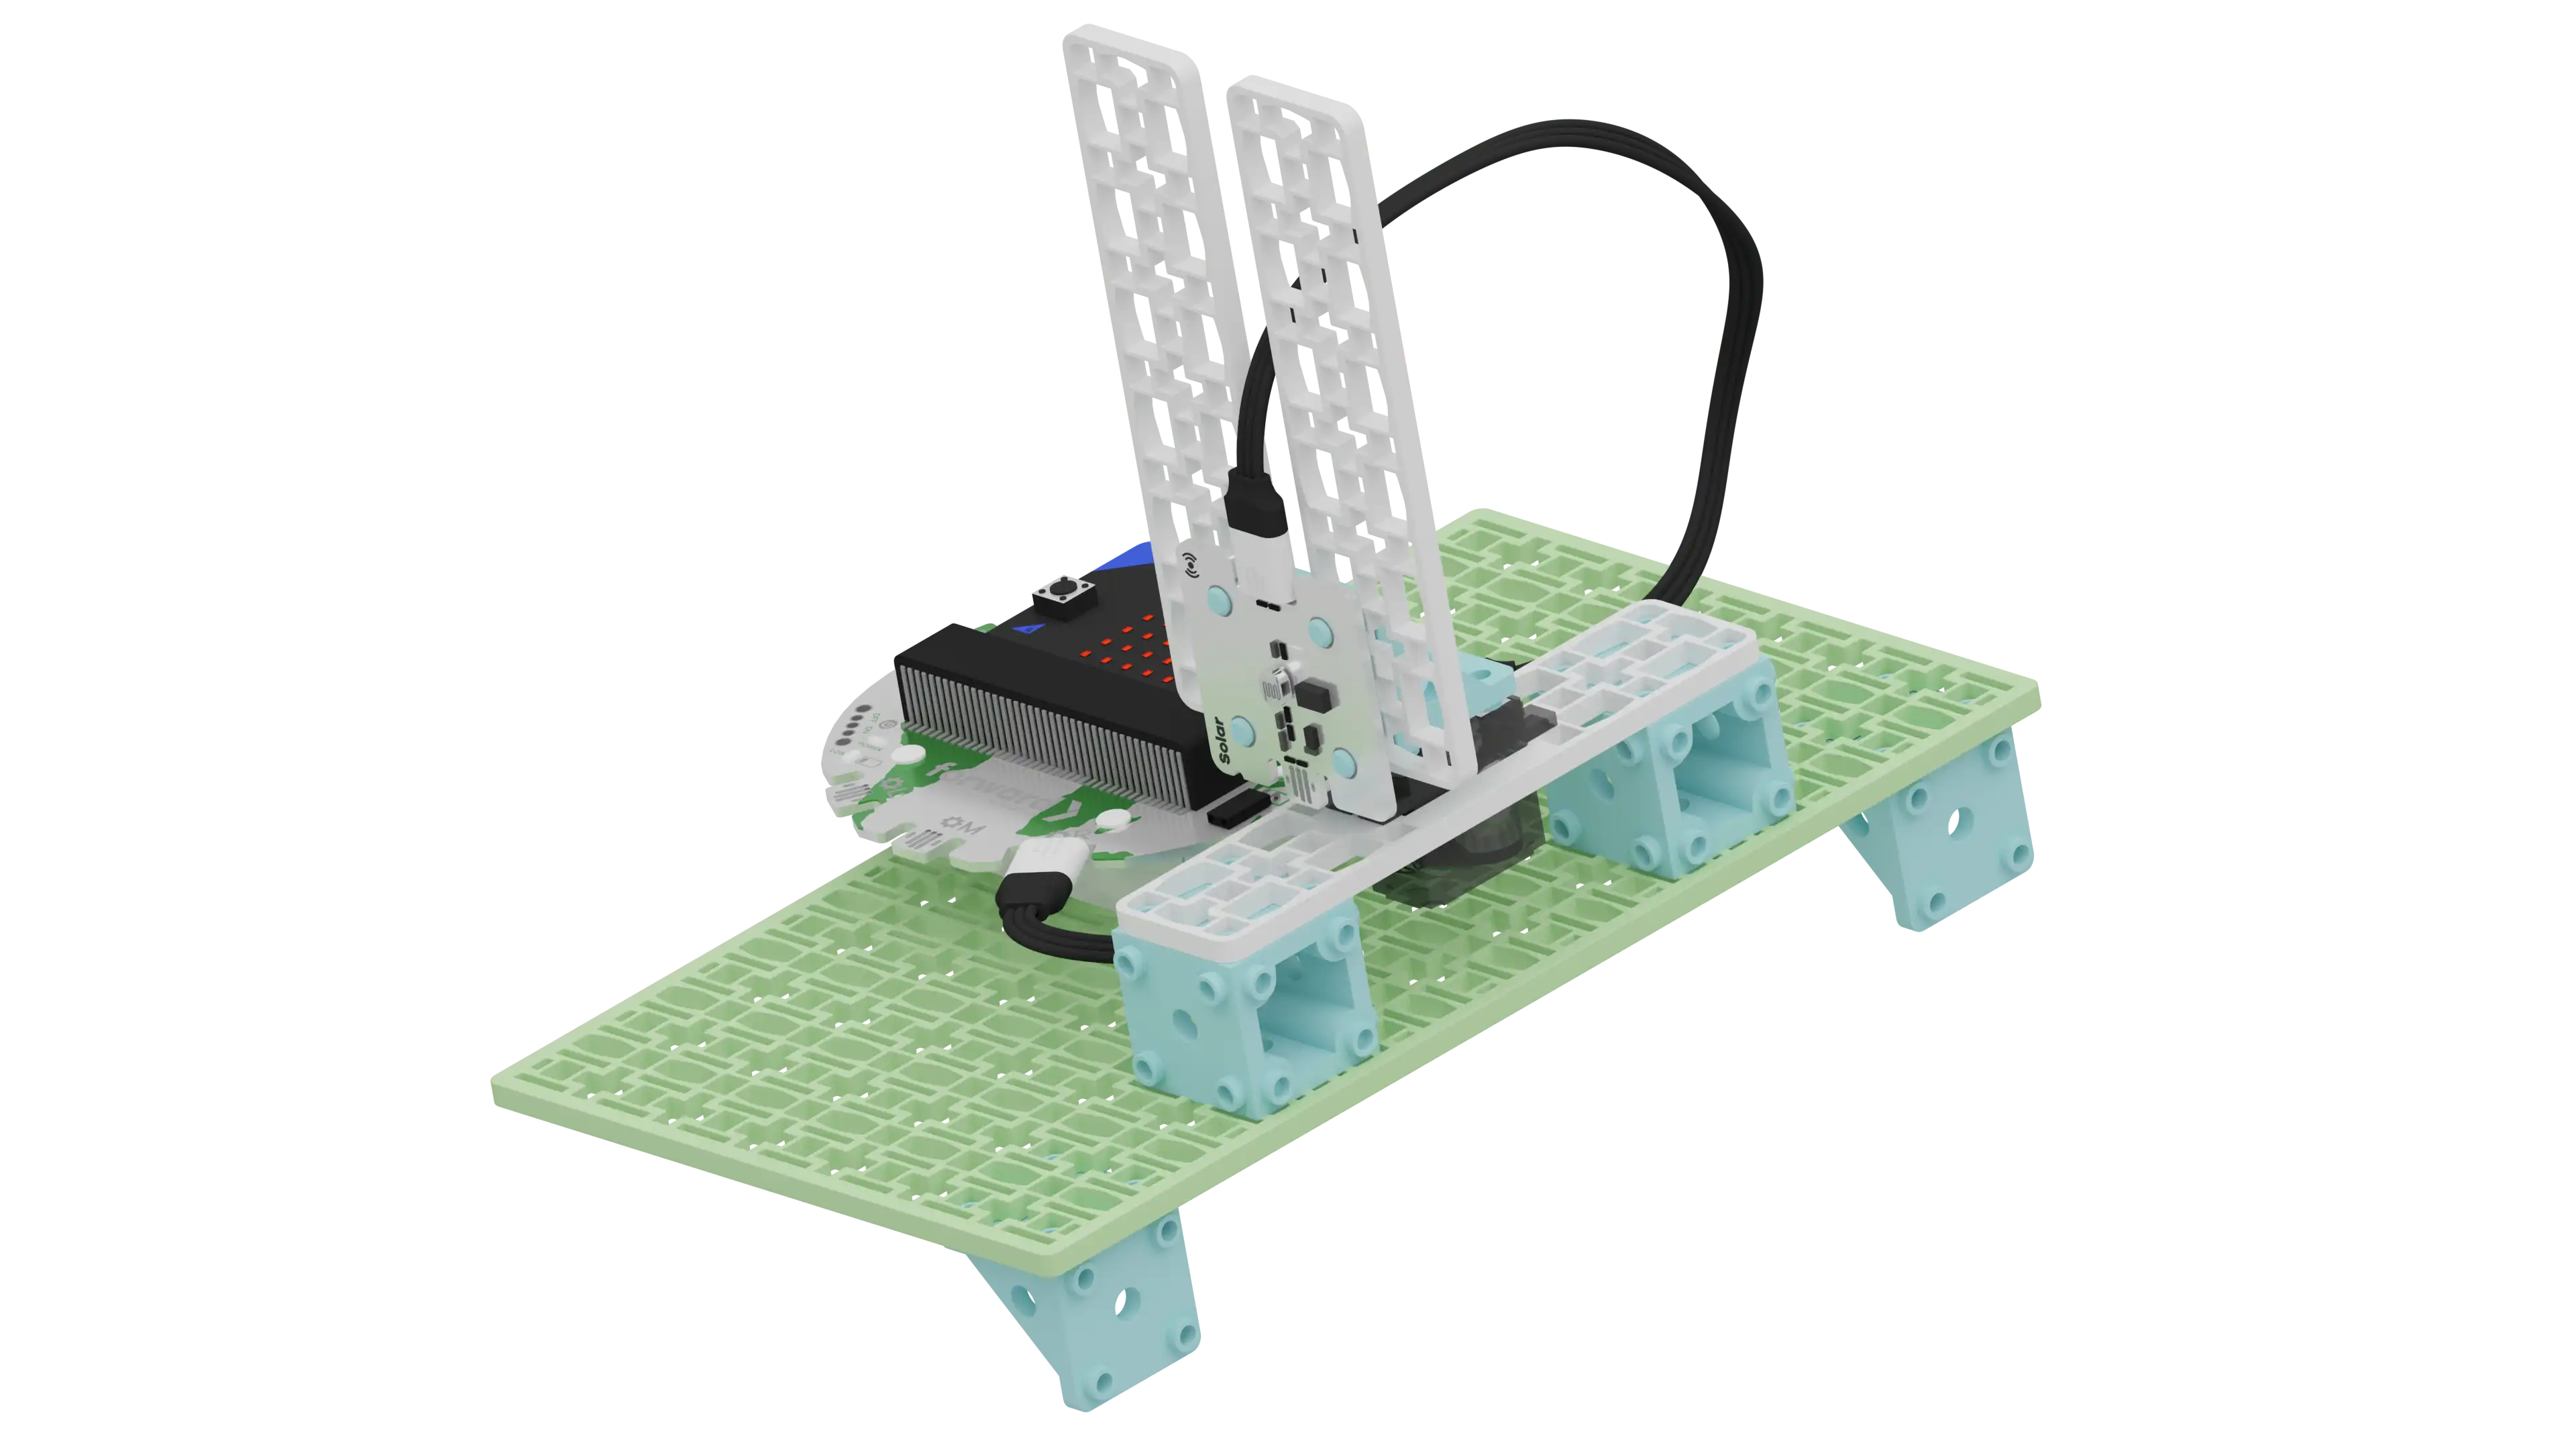
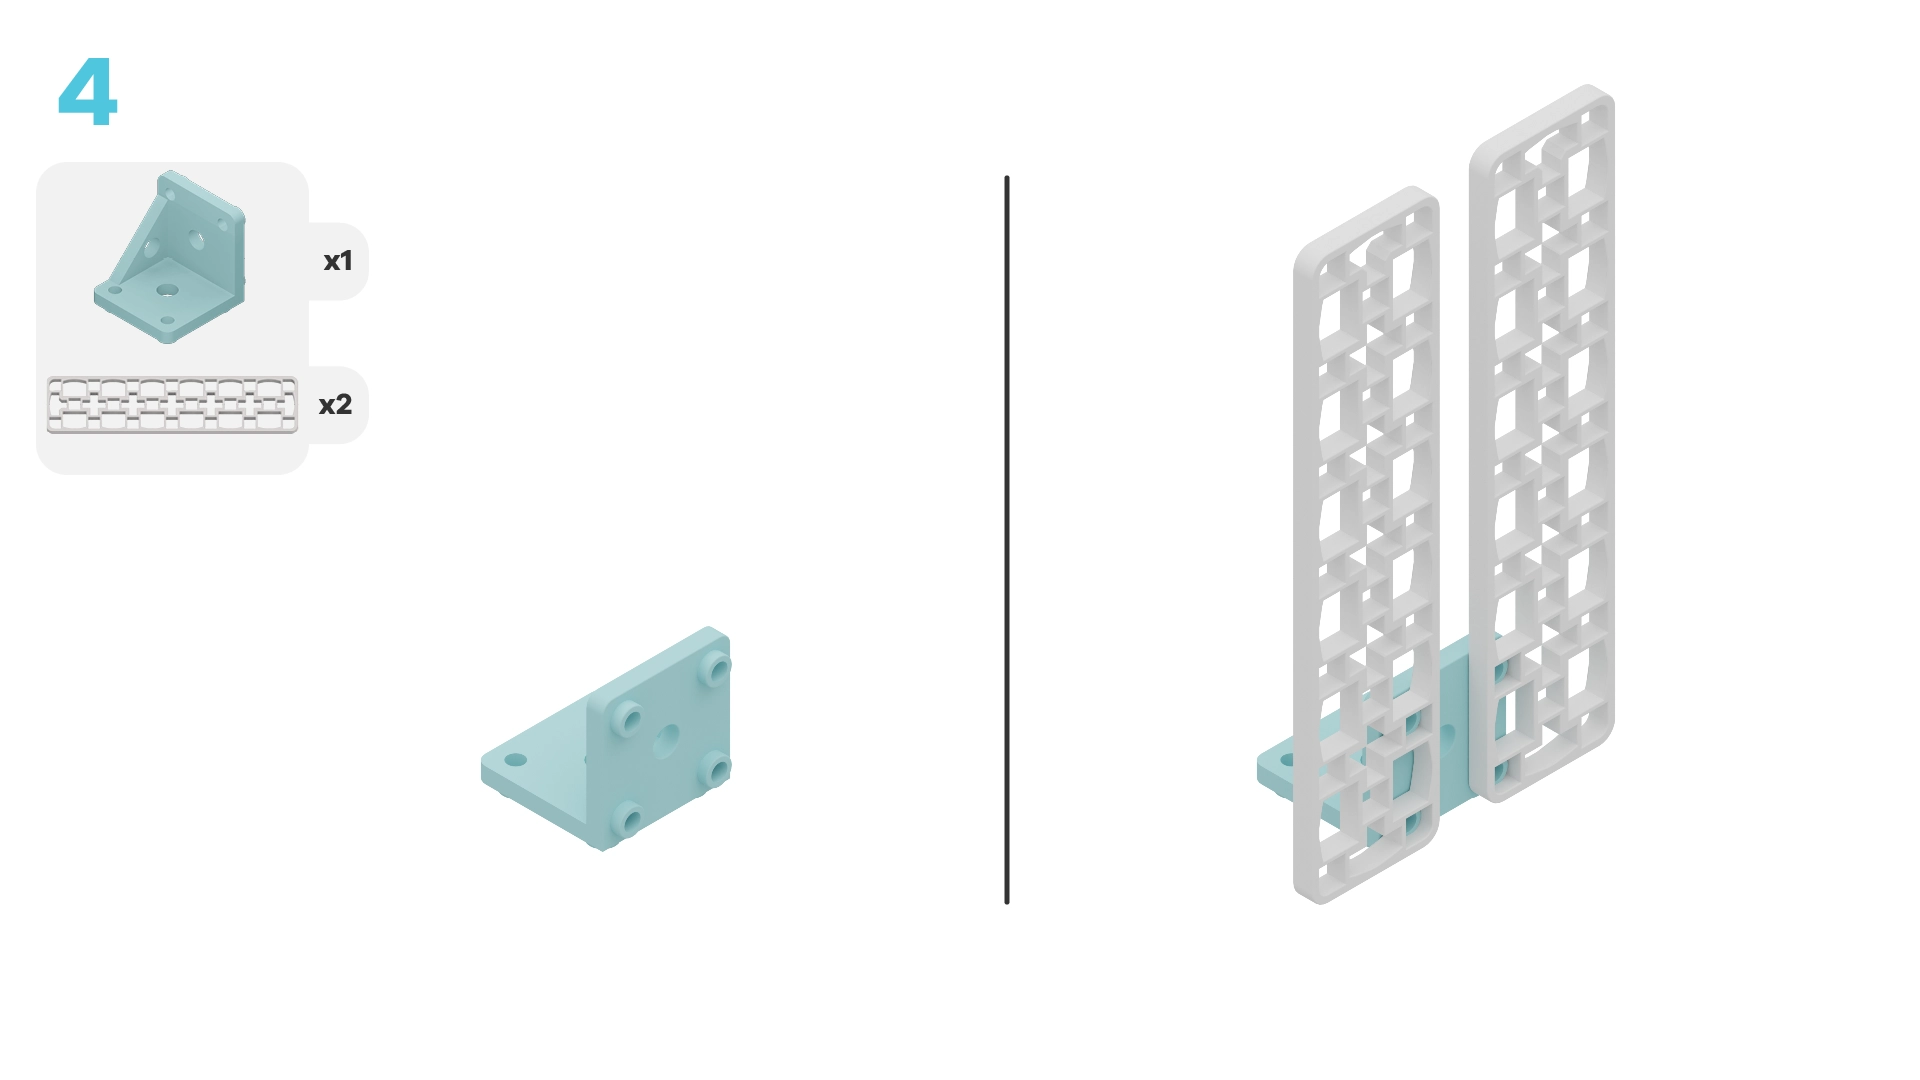
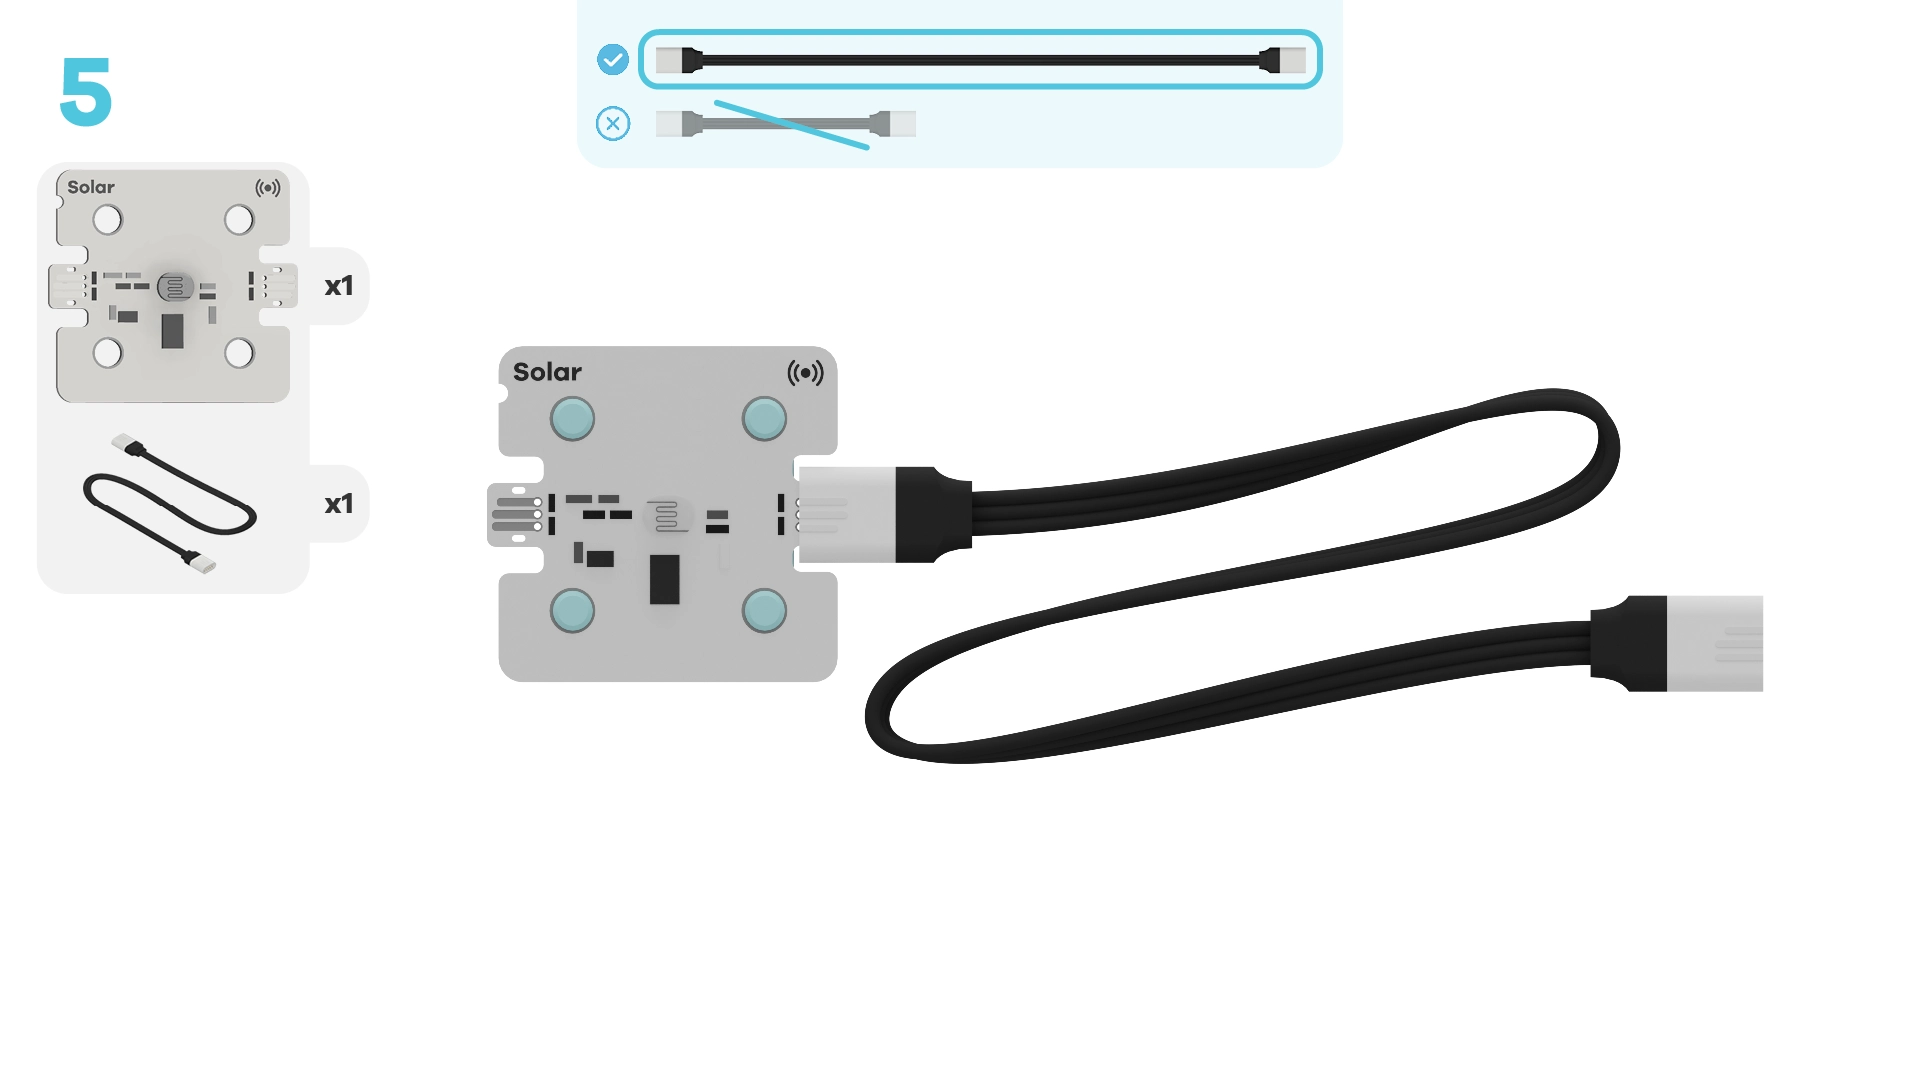
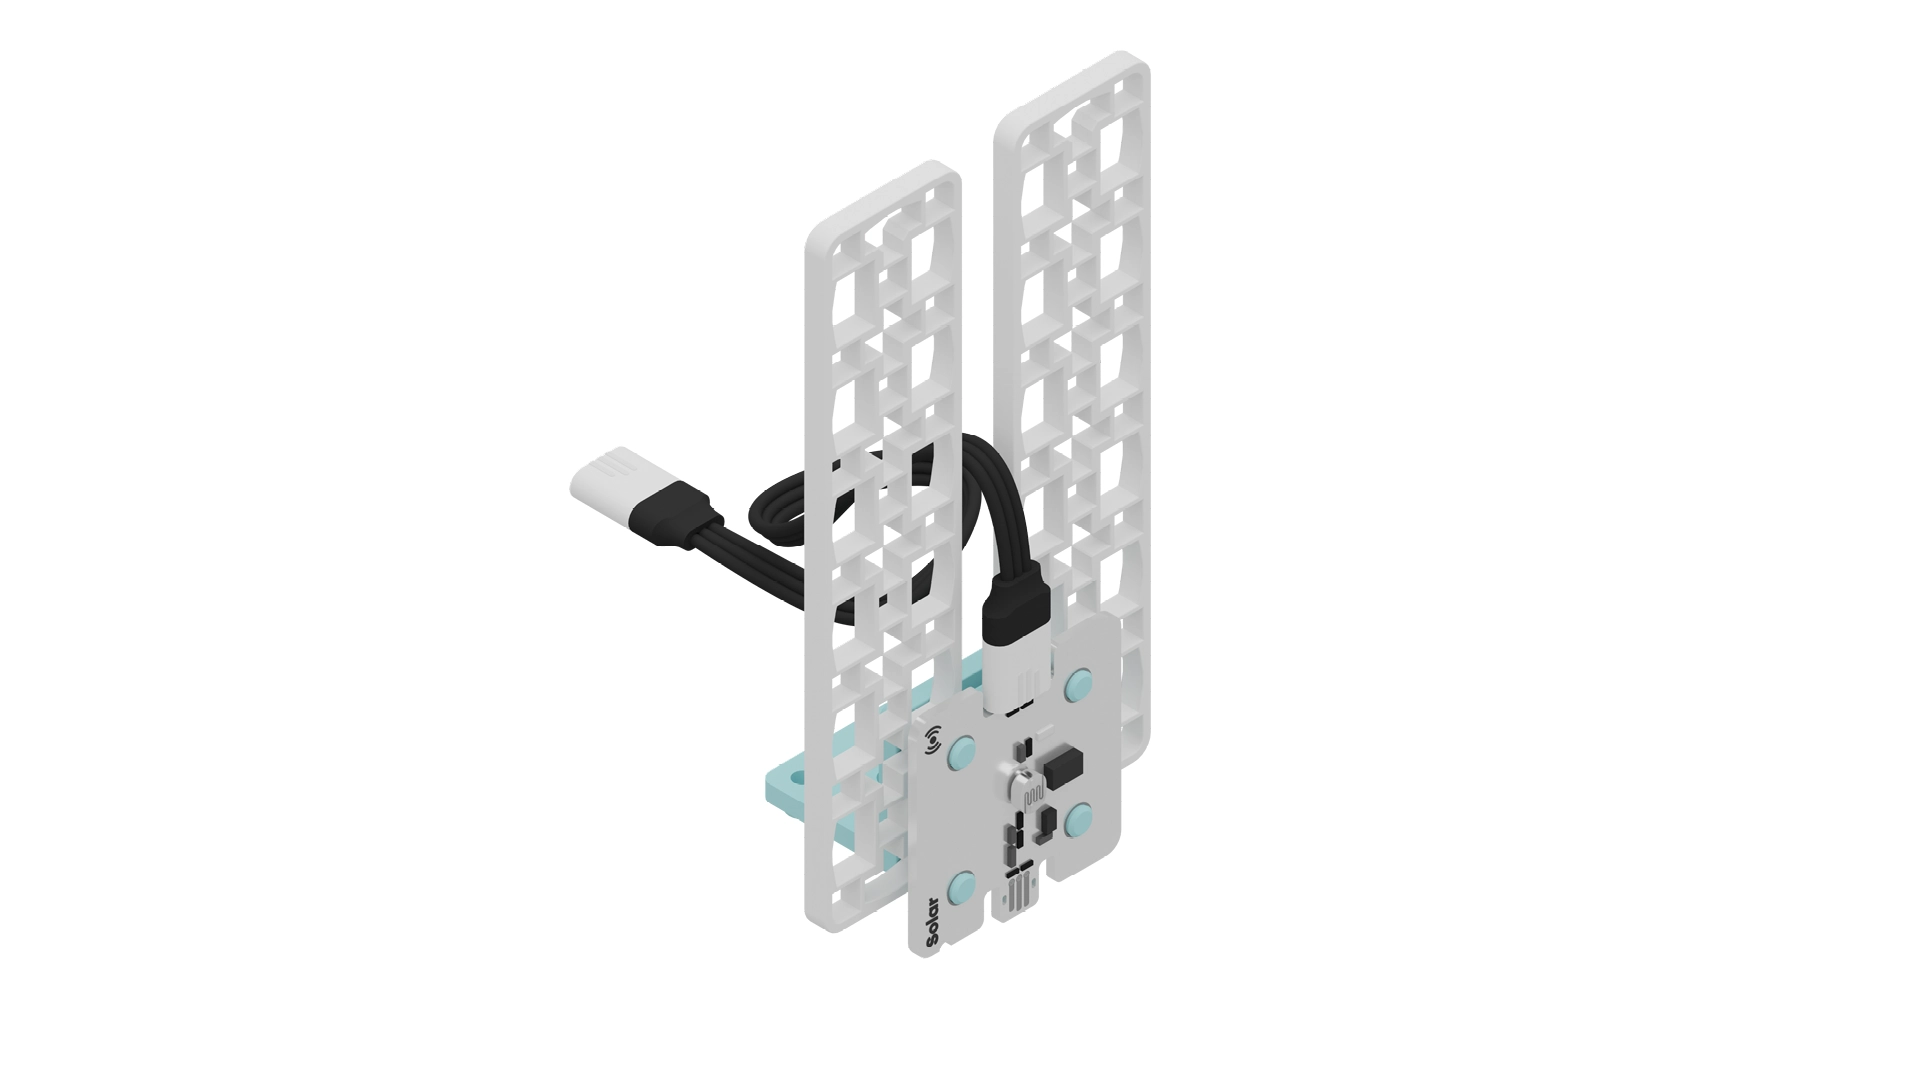
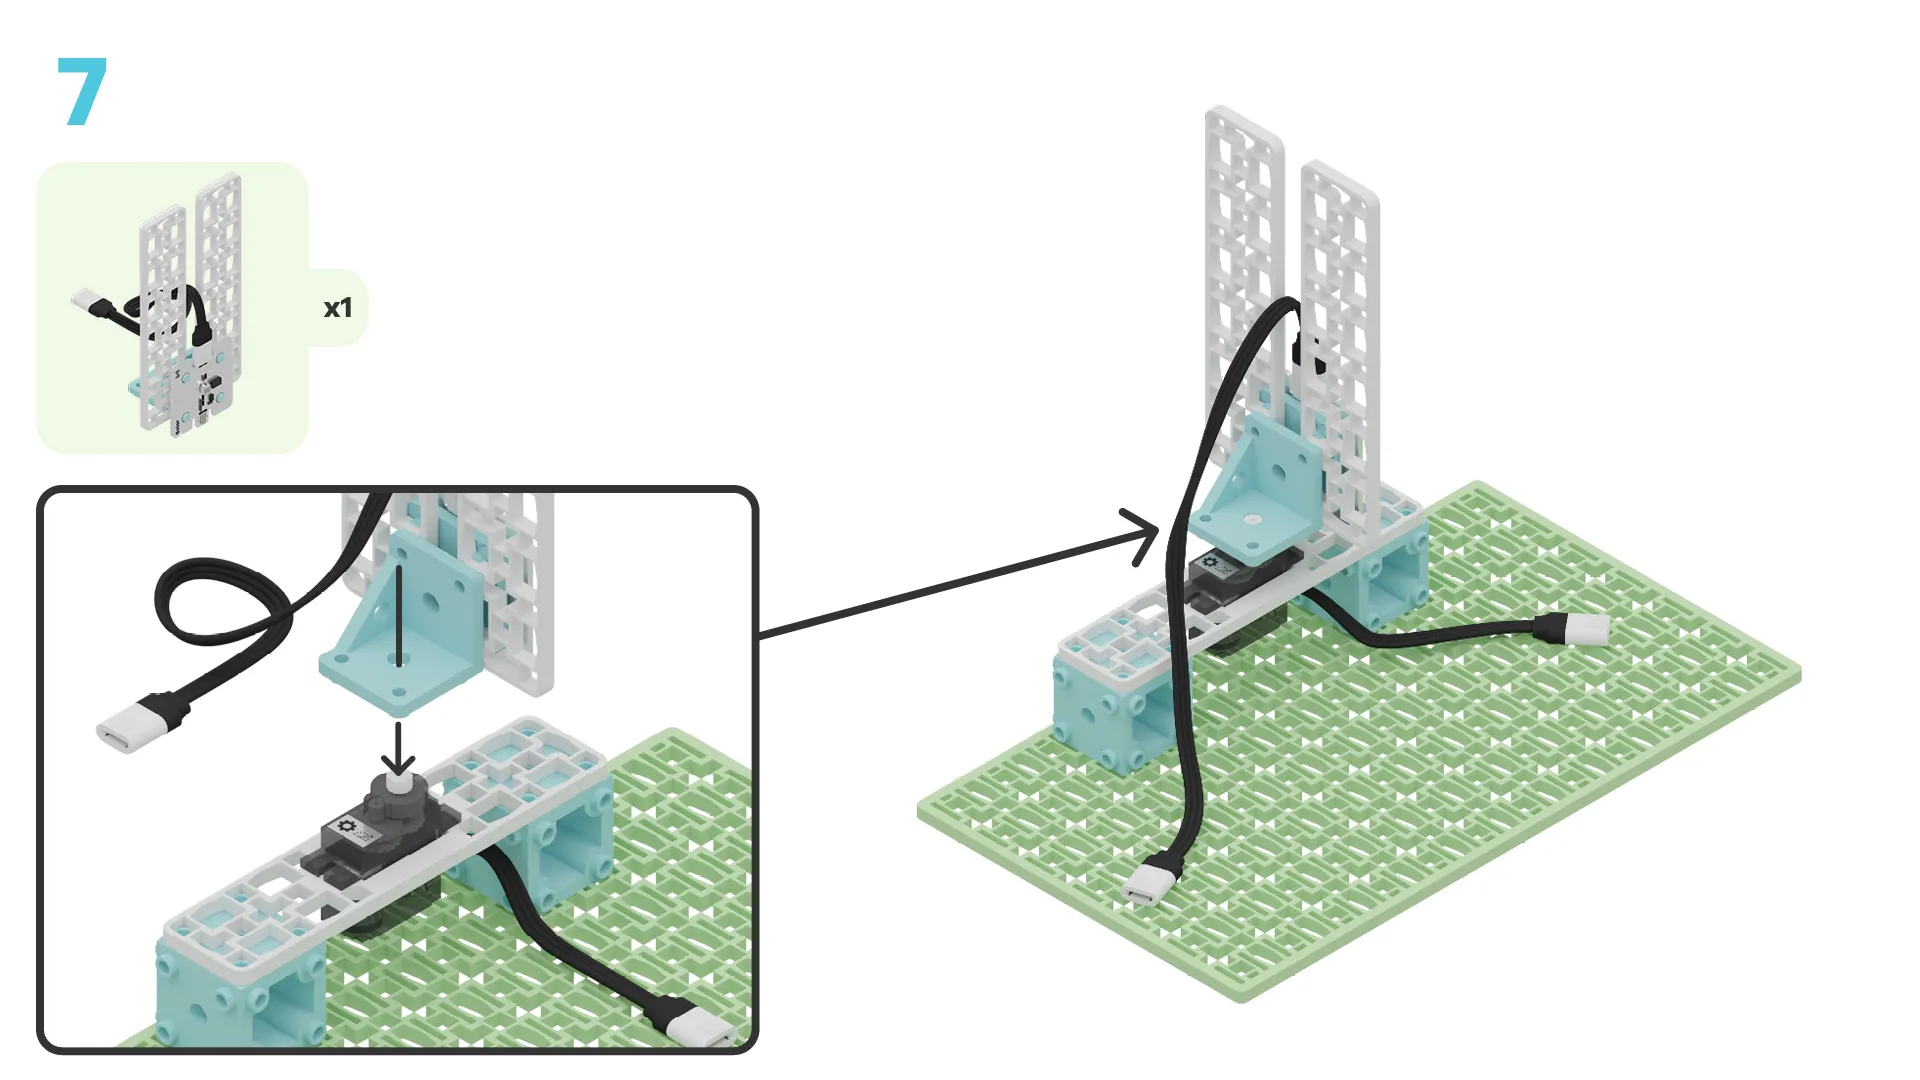
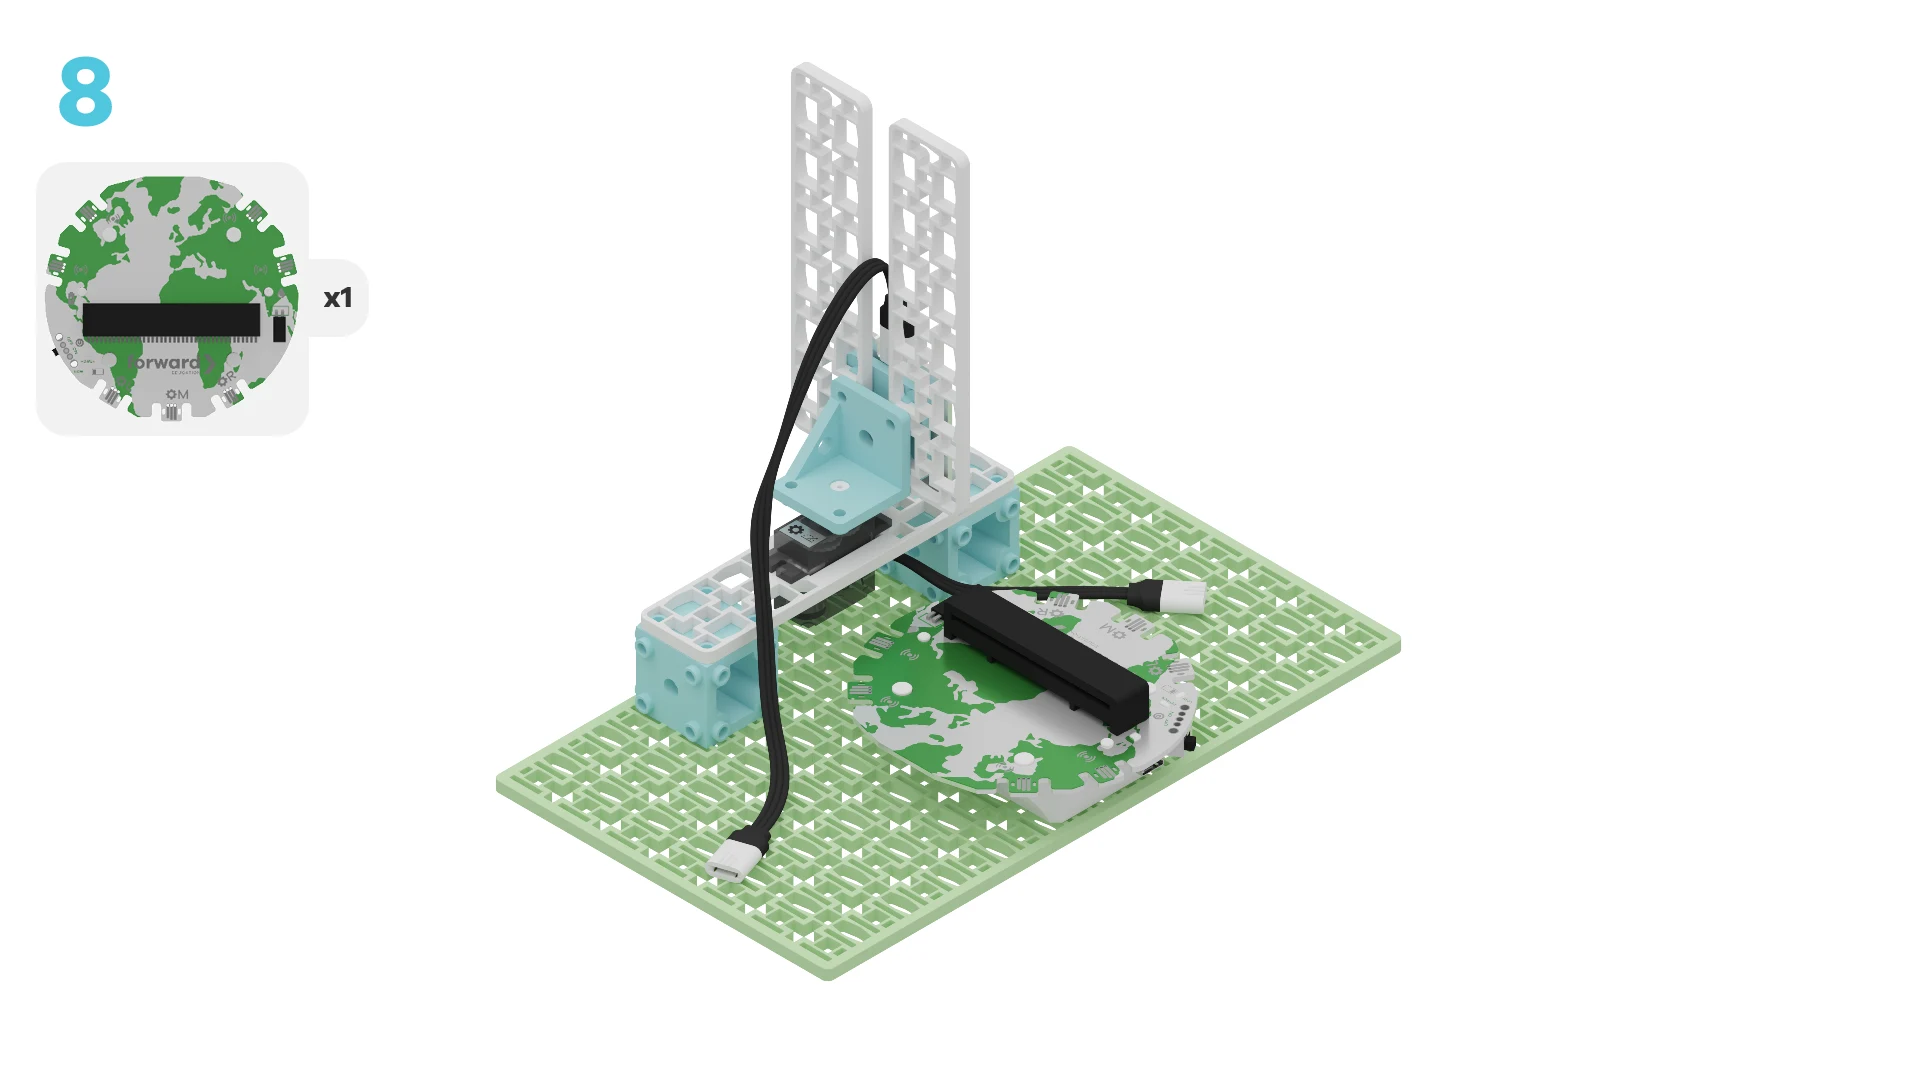
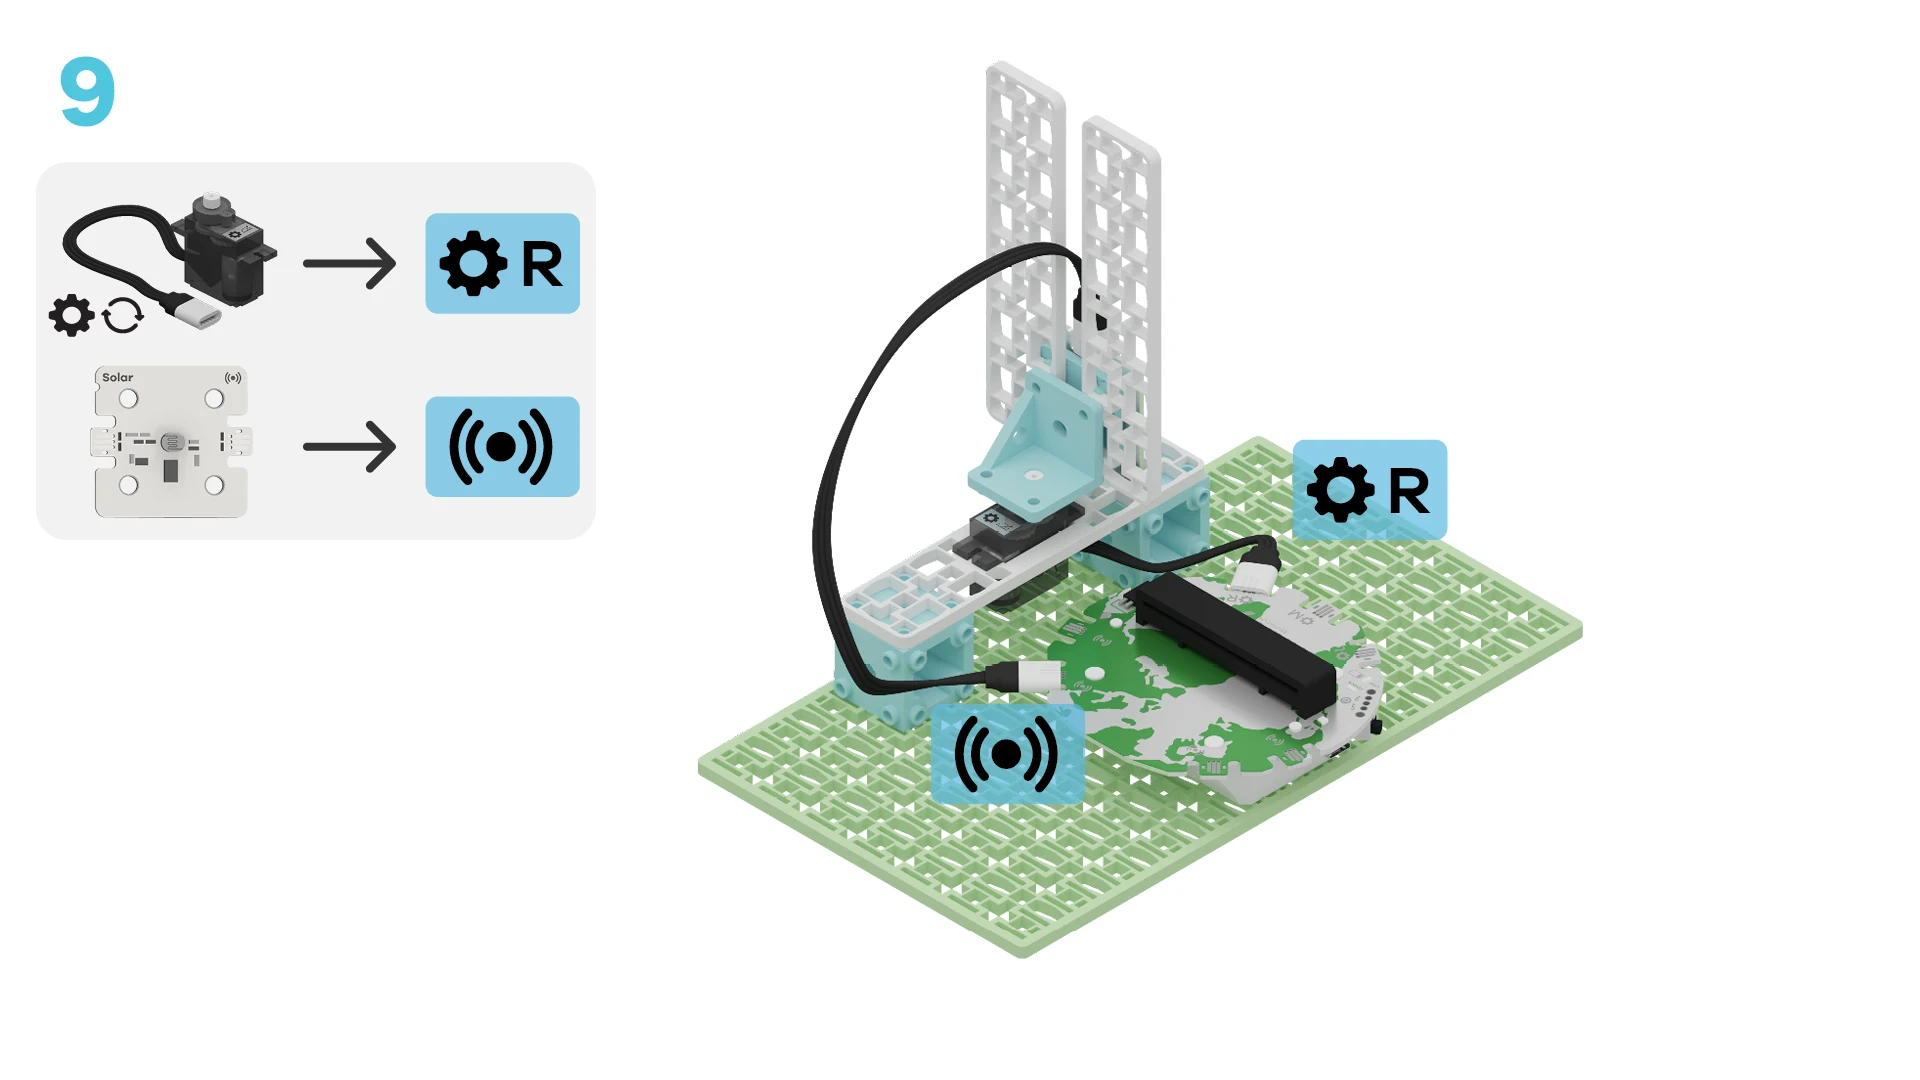
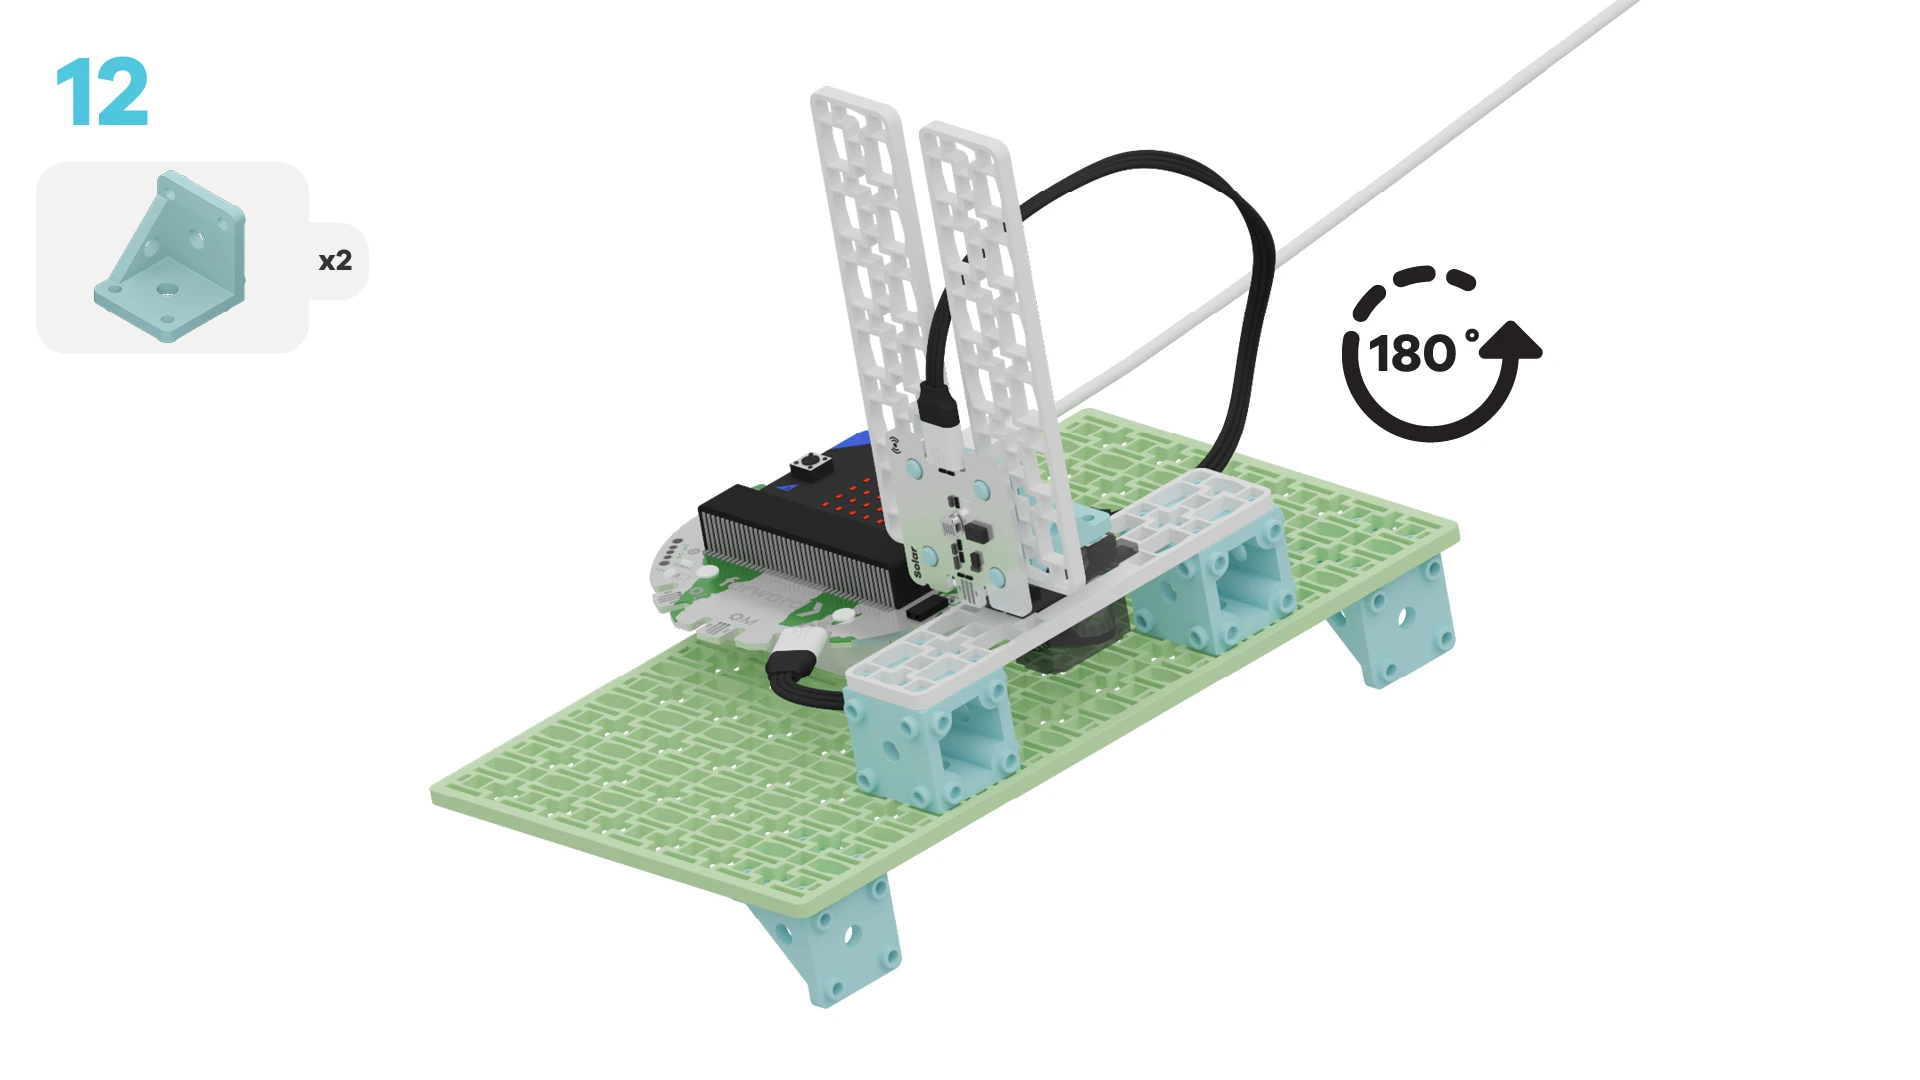
Let's build a solar panel prototype! We are going to do this in 4 parts:
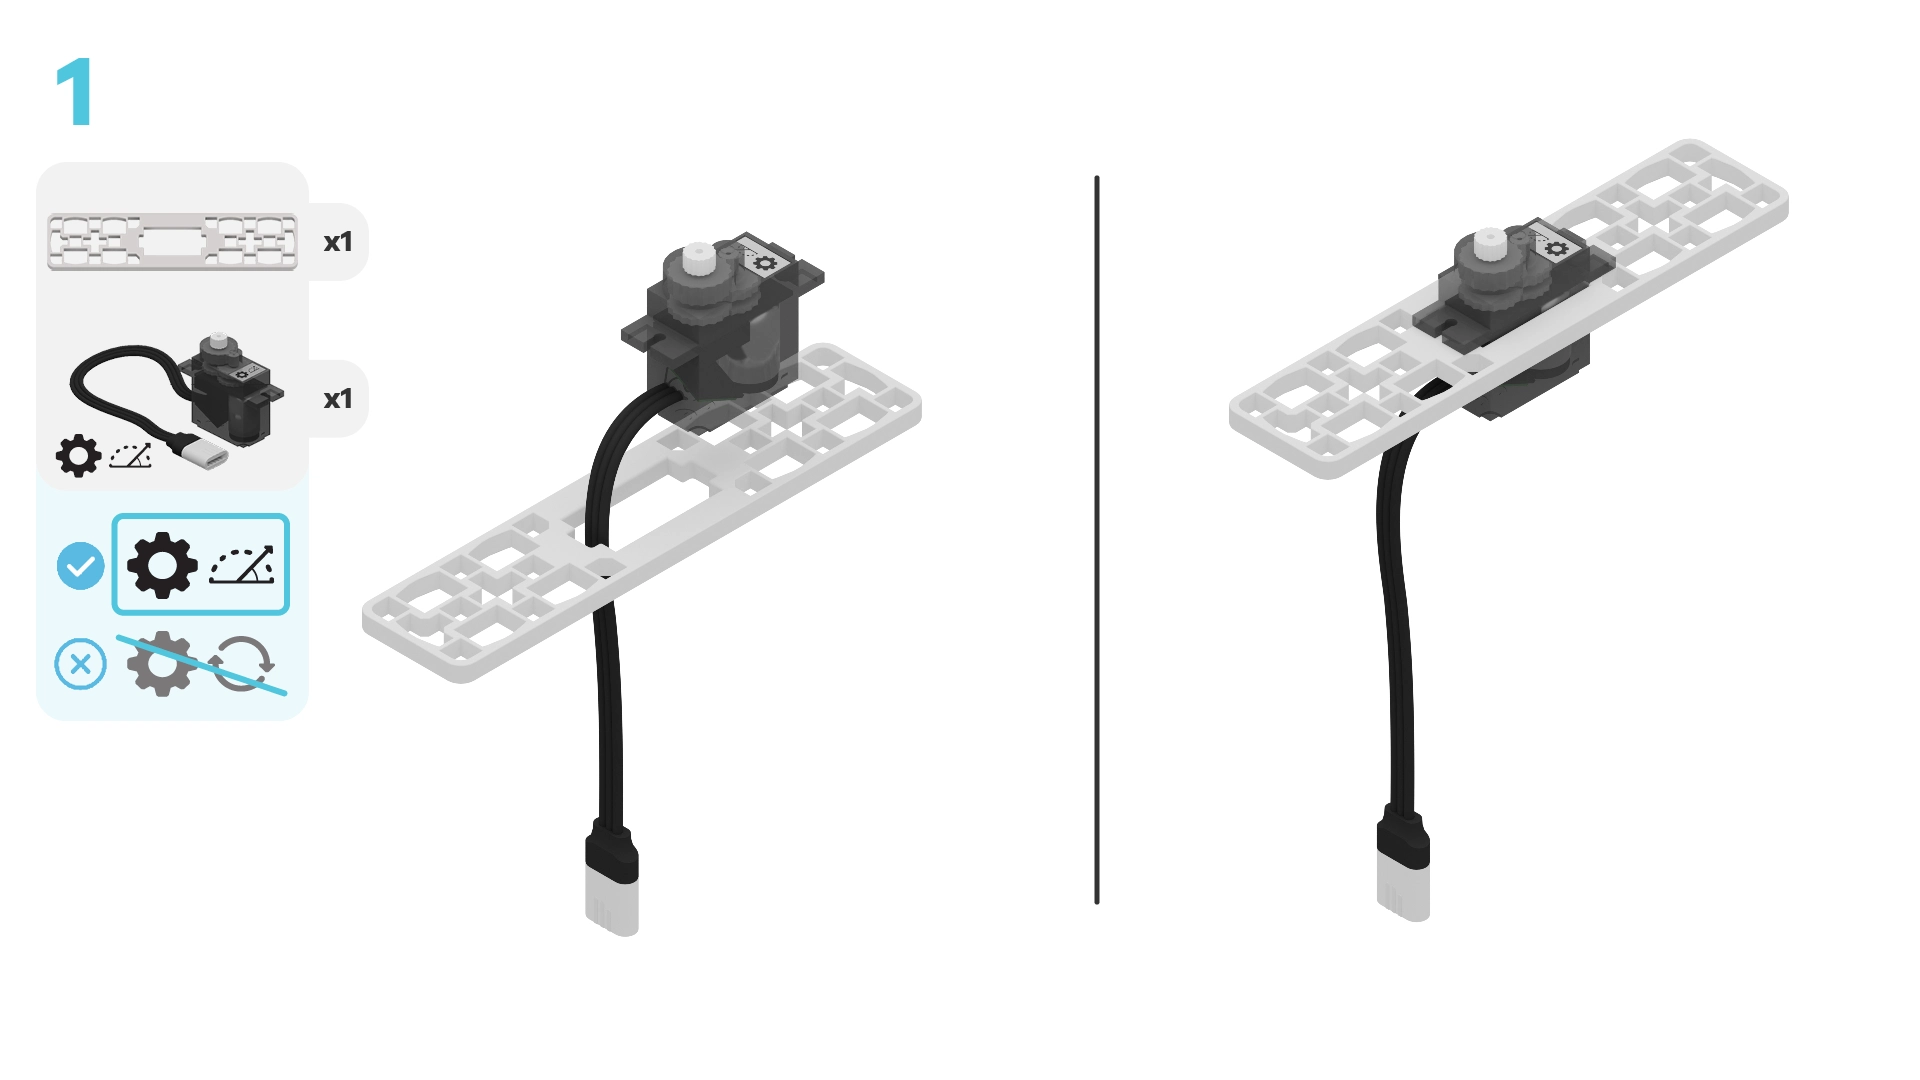
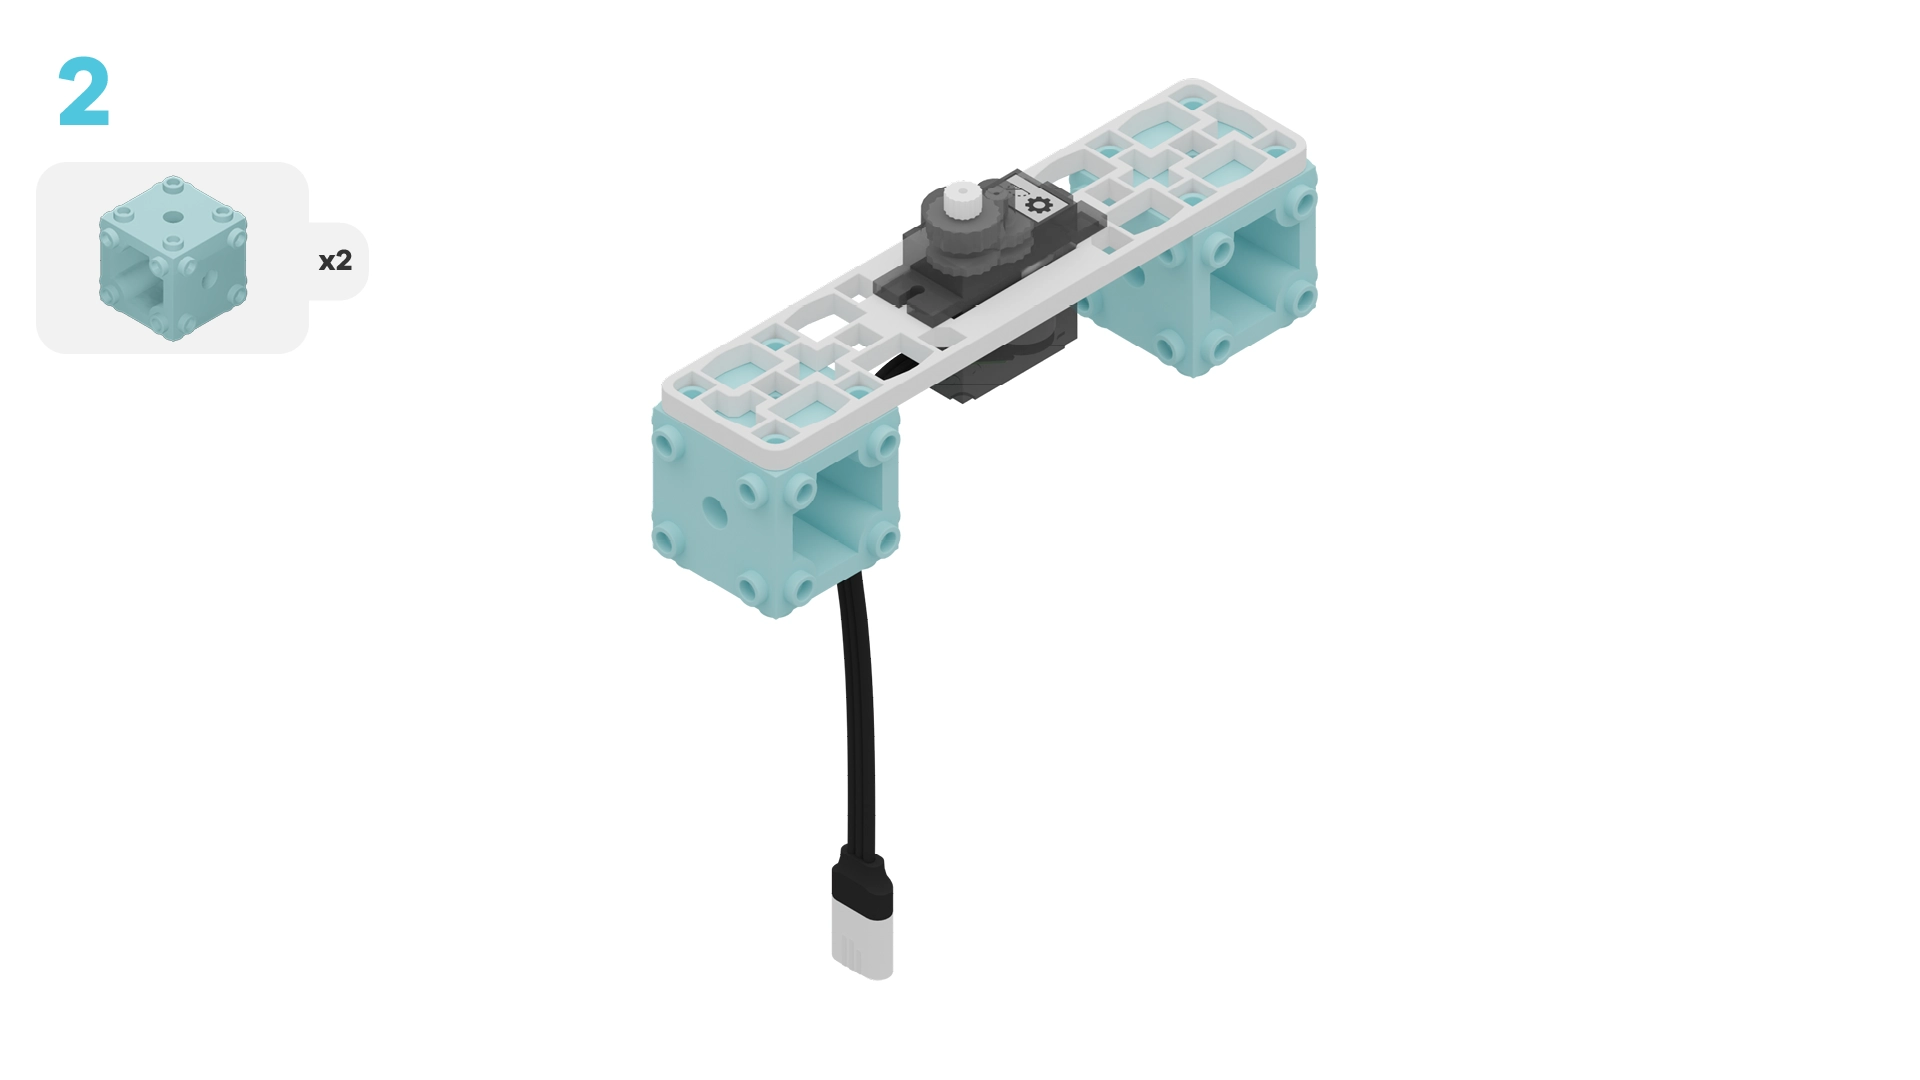
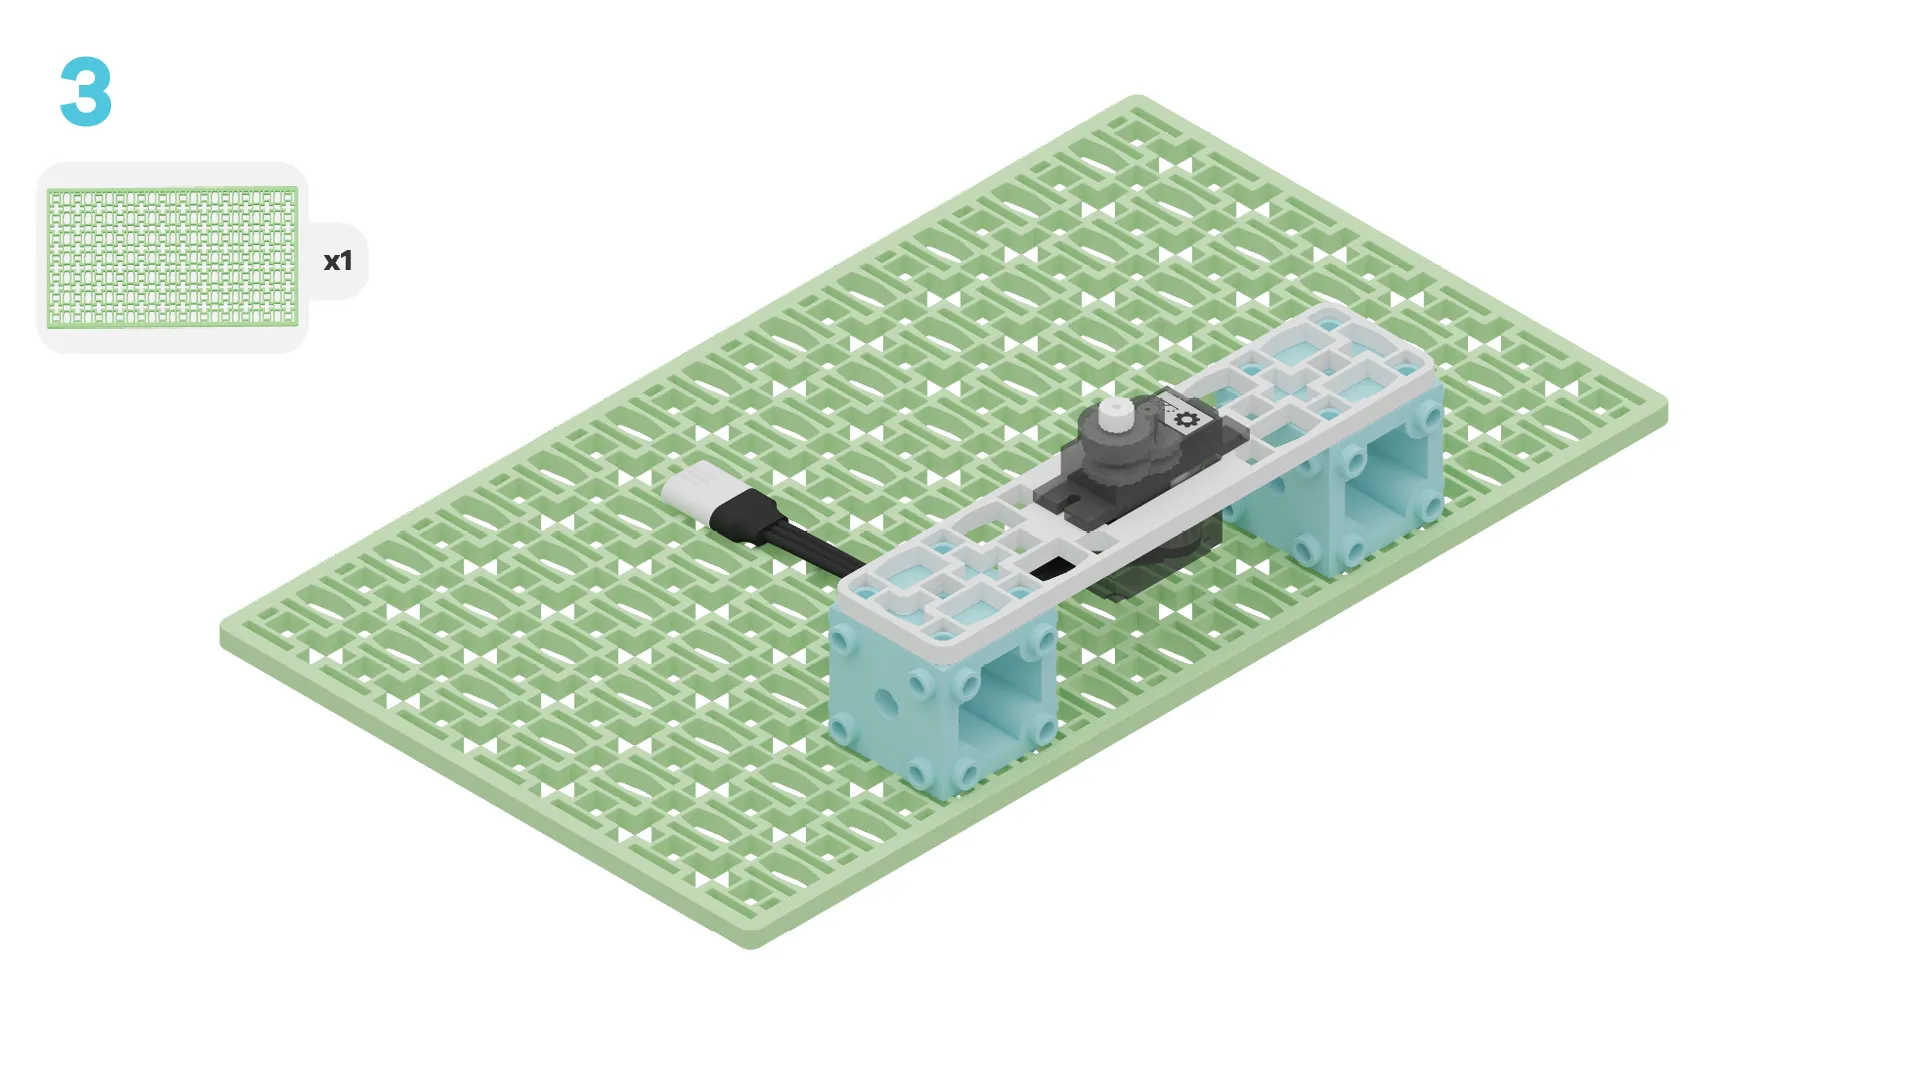
- Build our solar panel
- Add code to bring it to life
- Modify the code to learn how it works
- Complete a challenge to improve the function of our solar panel
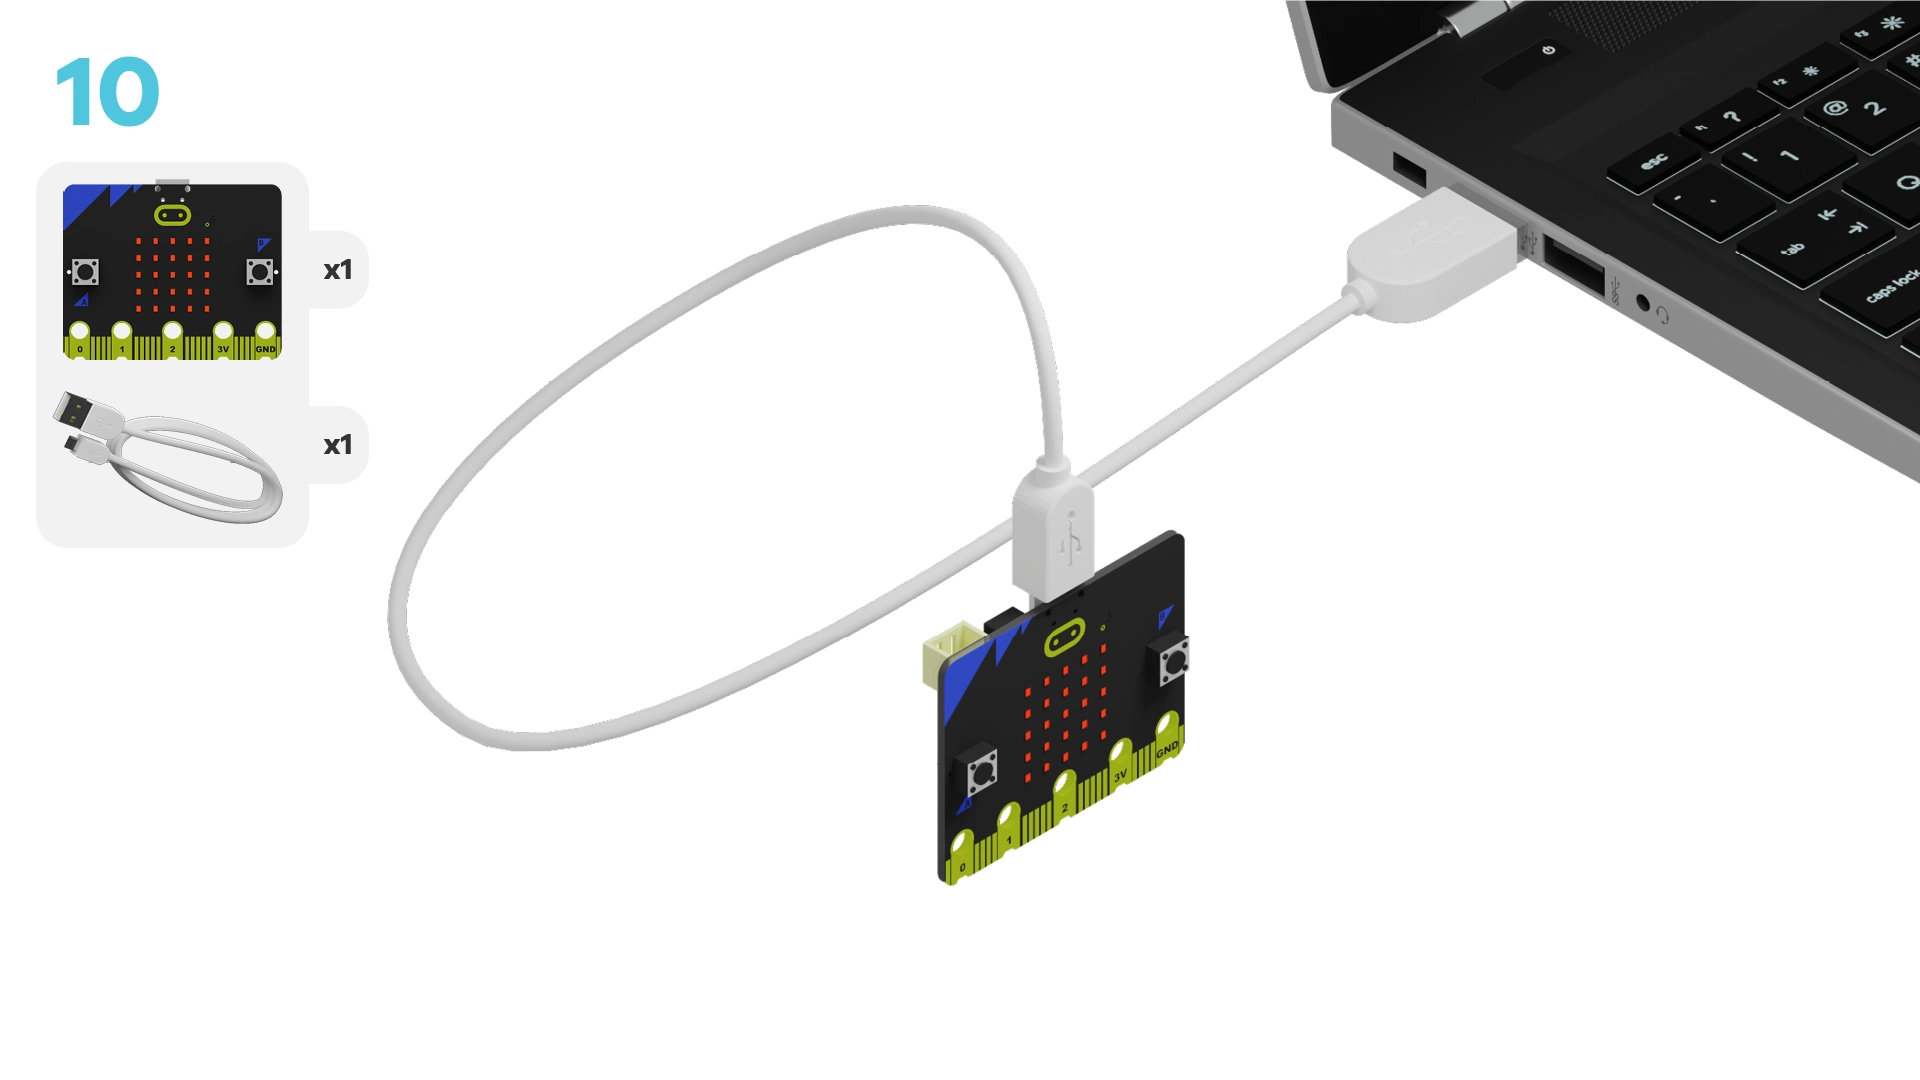
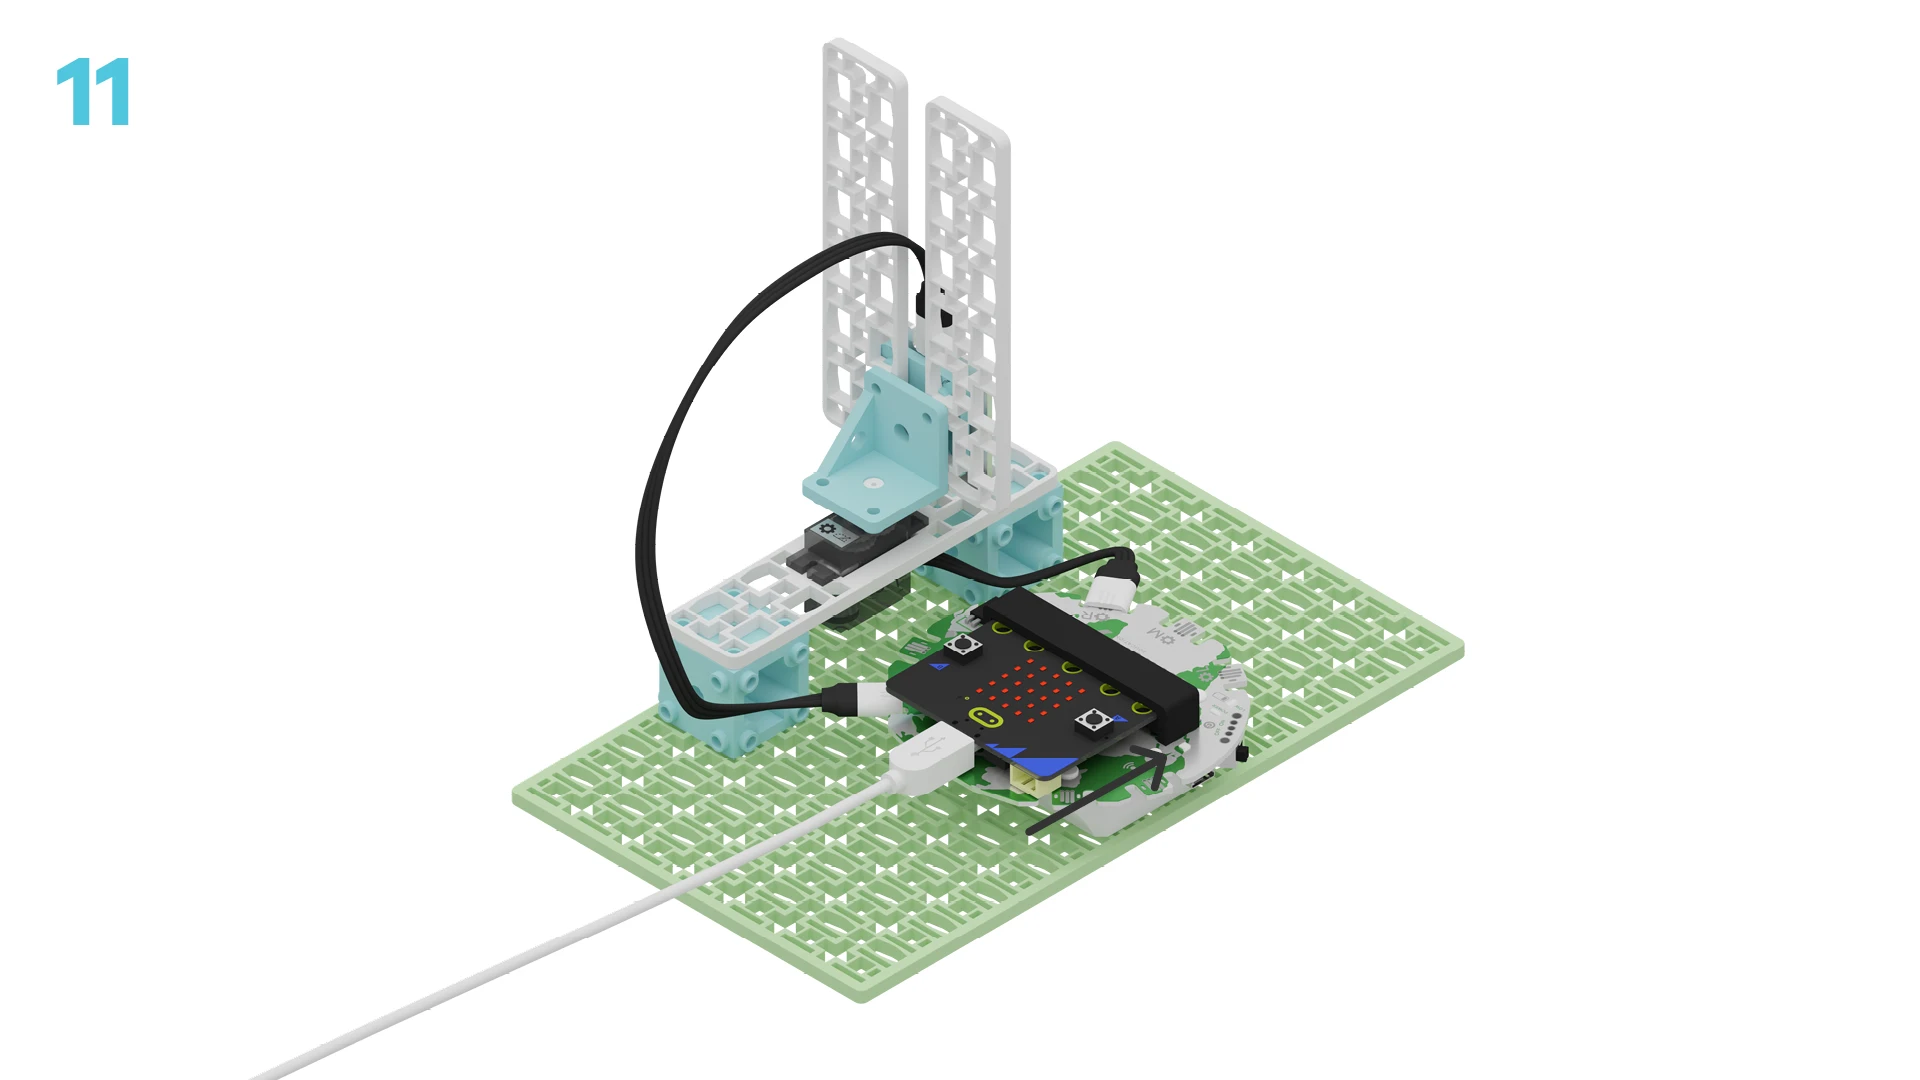
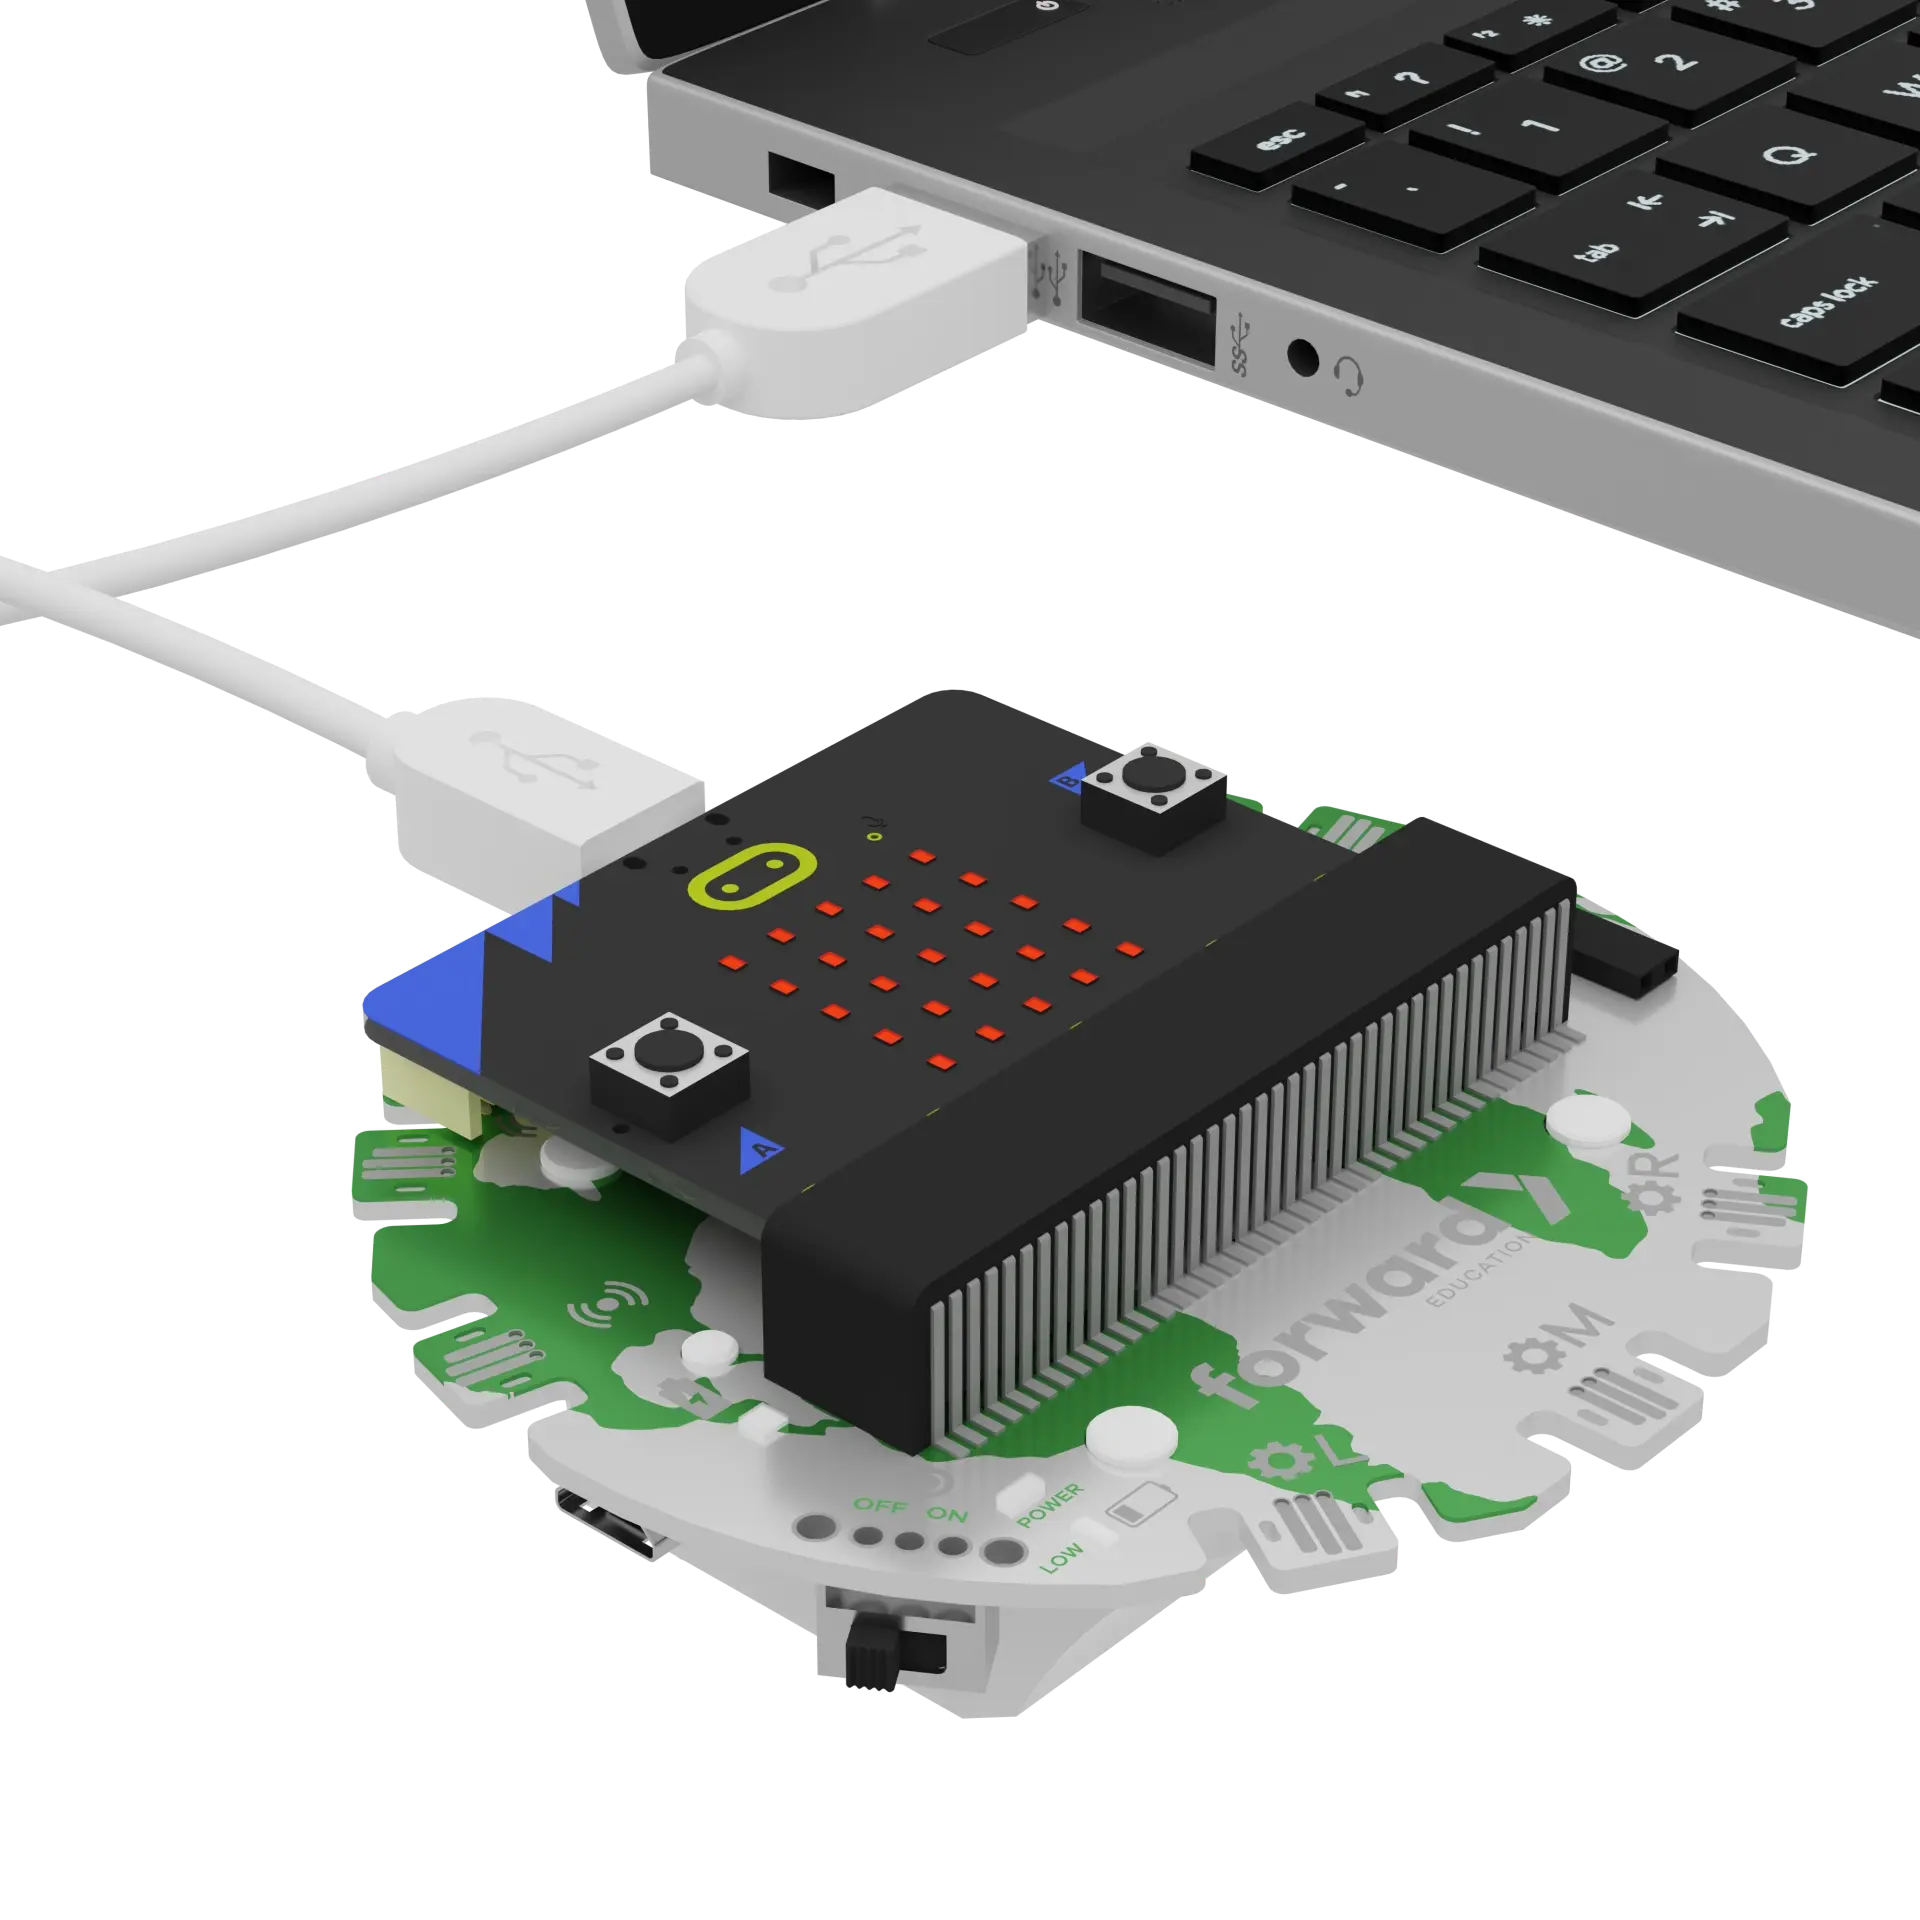
We need to connect our project to the computer to make it come to life with code!
The code will be the instructions that tell our micro:bit what to do.
input.onButtonPressed(Button.A, function () {
    fwdMotors.rightServo.fwdSetAngle(0)
})
input.onButtonPressed(Button.B, function () {
    fwdMotors.rightServo.fwdSetAngle(180)
})
input.onLogoEvent(TouchButtonEvent.Pressed, function () {
    fwdMotors.rightServo.fwdSetAngle(90)
})
basic.forever(function () {
    if (fwdSensors.solar1.fwdLightLevel() > 90) {
        basic.showIcon(IconNames.Diamond)
    } else {
        basic.showIcon(IconNames.SmallDiamond)
    }
})
IMPORTANT! Make sure your Climate Action Kit Breakout Board is turned on and your micro:bit is plugged into your computer.
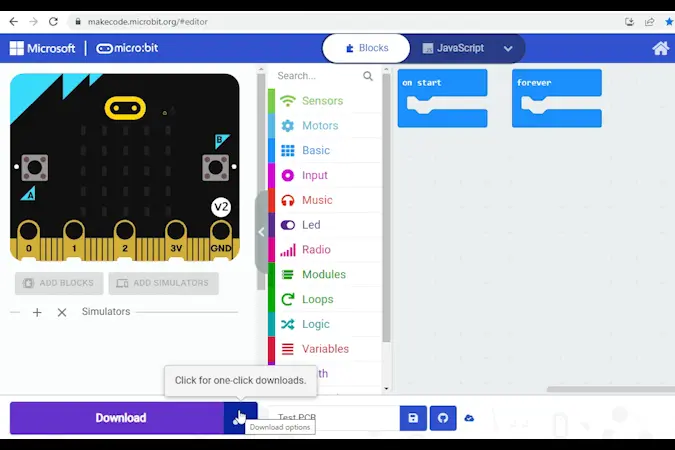
Click the three dots beside the |Download| button, then click on Connect Device. Follow the steps to pair your micro:bit.
Click the |Download| button to download the starter code to your project.
We are ready to modify our solar panels!
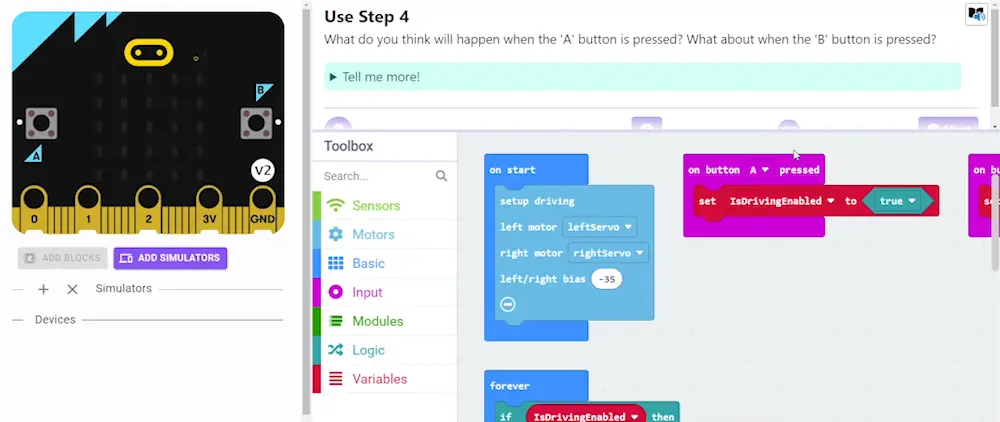
Tutorial Tips
As you go through the next steps:
- Follow the instructions at the top of the screen.
- When you are ready for more information, click 'Tell me more!'
- If you need help with the code, click the lightbulb!
- Remember, you must re-download the code after each change you make.
Solar panels take in sunlight and convert it into electricity. In order to work well, they should be facing the sun to absorb as much light as possible.
What happens to the micro:bit when you shine a light on the solar sensor of your project?
~hint Tell me more!
- When you shine a light on the solar sensor, you should notice a large diamond appear on the micro:bit's LED display.
- There is a conditional statement that tells the micro:bit to display this icon whenever it senses a bright light (over 90%).
- This visual output helps the user know that the solar panels are receiving enough light! hint~
if (fwdSensors.solar1.fwdLightLevel() > 90) {
        basic.showIcon(IconNames.Diamond)
    } else {
        basic.showIcon(IconNames.SmallDiamond)
    }
Try playing with the expression in the conditional statement. What happens when you decrease or increase the number?
~hint Tell me more!
- Remember to re-download your code after each change to test it out.
- Increasing the number means that we need even more light to trigger the micro:bit's display change. If you change it to '100%', you may never be able to trigger the change!
- Decreasing the number makes it easier to trigger the micro:bit's display change. At some point, the number may be small enough that the large diamond is the default icon. hint~
if (fwdSensors.solar1.fwdLightLevel() > 70) {
        basic.showIcon(IconNames.Diamond)
    } else {
        basic.showIcon(IconNames.SmallDiamond)
    }
Adjust the number in the conditional statement's expression to the value you think is most appropriate for the room you in. Why did you choose this number?
Take a look at the rest of the code for your solar panels. What do you think will happen when you:
- press 'A'?
- touch the micro:bit logo?
- press 'B'?
Try it now.
~hint Tell me more!
- We are using different events or input to control how far the positional servo motor turns.
- When you press 'A', the solar panel faces left (0°)!
- When you touch the micro:bit's logo, the solar panel faces out (90°)!
- When you press 'B', the solar panel faces right (180°)!
- Remember: sun rises in the east and sets in the west! We've written the code so that you can manually change the servo motor's position to make sure the solar panel always gets as much sun as possible. hint~
input.onButtonPressed(Button.A, function () {
    fwdMotors.rightServo.fwdSetAngle(0)
})

input.onLogoEvent(TouchButtonEvent.Pressed, function () {
    fwdMotors.rightServo.fwdSetAngle(90)
})

input.onButtonPressed(Button.B, function () {
    fwdMotors.rightServo.fwdSetAngle(180)
})
In reality, having just 3 fixed positions is limited. What if we wanted to have the solar panels track more than 3 positions in the sky?
First, it'll be helpful to see how far the servo motor can actually turn. Its boundaries are between 0° and 270°.
Change the number in the ||fwdMotors:set rightServo to|| block below ||input:on button B pressed|| to 270°. Re-download your code to the micro:bit, and observe what happens when you press 'B'.
~hint Tell me more!
- The solar panel now faces the back of our project whenever we press 'B'. hint~
input.onButtonPressed(Button.B, function () {
    // @highlight
    fwdMotors.rightServo.fwdSetAngle(270)
})
We still only have 3 possible positions for our motor.
How might we replace the single number in the ||fwdMotors:set rightServo to|| block with a block that represents many numbers?
One potential solution is using the ||math:pick random|| block. This block allows you to pick a random value within a given range. If we set our range to 0-270, we should be able to tell the servo motor to randomly turn to a new position within its full range each time we press 'B'.
Edit and re-download your code. Press 'B' a few times to test it out!
~hint Tell me more!
||math:pick random||allows us to explore the full range of the servo motor, but it's not very practical. We might have to press 'B' many times to find a spot with enough sunlight. hint~
input.onButtonPressed(Button.B, function () {
    // @highlight
    fwdMotors.rightServo.fwdSetAngle(randint(0, 270))
})
Since we know the apparent movement of the sun is not random, we can probably find another block in the ||math:Math|| cateogory that is more appropriate.
Open the ||math:Math|| category. If we want to track the sun's slow, uni-directional movement across the sky throughout the day, which ||math:Math|| block would you use? Explain your choice.
~hint Tell me more!
- Using the
||math:+||or||math:-||blocks will allow us to slowly increase or decrease the position (in degrees) of the servo motor over time. This will more more accurately track the sun's apparent movement throughout the day. - Which block we choose will depend on whether we are starting at 0° or 180°. hint~
Let's assume our starting point is 0°. Therefore, we'll want to add to this value since the servo motor cannot go below 0°.
Replace the ||math:pick random|| block with the the ||math:+|| block.
input.onButtonPressed(Button.B, function () {
    // @highlight
    fwdMotors.rightServo.fwdSetAngle(0 + 0)
})
Each time we press 'B', we want the solar panel to move 20° from its current position.
Open the ||fwdMotors:Motors|| category. Which block can we use to determine the servo motor's current position?
~hint Tell me more!
- The
||fwdMotors:rightServo angle(°)||block is a variable that tracks the servo's current position. - Variables are placeholders for values that might change. hint~
Drag the ||fwdMotors:rightServo angle(°)|| block into the workspace.
How might you modify the ||math:+|| block so that each time we press 'B', the solar panel moves 20° from its current position.
Try this now. Don't forget to re-download your code to test it out.
Note: You may need to wait few seconds between each button press.
~hint Tell me more!
- We want to add (
||math:+||) 20° to the servo motor's current position (||fwdMotors:rightServo angle(°)||). - This movement is much more appropriate for tracking the sun. For example, we could press 'B' every hour and follow the sun's movement throughout the day. hint~
input.onButtonPressed(Button.B, function () {
    // @highlight
    fwdMotors.rightServo.fwdSetAngle(fwdMotors.rightServo.fwdGetAngle() + 20)
})
Have you noticed any limitations to our design?
One limitation is that we have to press 'B' pretty often to re-adjust our solar panel throughout the day. What if the user is not at home?
Another limitation is that when the servo motor goes beyond 180°, it starts to face the ground. This is not helpful for a tool that needs access to sunlight!
Let's improve the code so that our solar panel:
- moves automatically throughout the day, based on the level of sun exposure, and
- stays within certain limits!
We don't actually need to add any more blocks to make the solar panel move automatically. We just need to rearrange what we have already written.
Where could you move the ||fwdMotors:set rightServo to 'rightServo angle (°)'|| ||math: + 20|| block to ensure the solar panel automatically repositions itself when it isn't receiving enough sunlight?
Test out a few options, then check the lightbulb for our solution!
~hint Tell me more!
- We already have a conditional statement that evaluates the level of light.
- If the light level is above our threshold (90%), then the micro:bit displays a large diamond. Else, it displays a small diamond.
- We can add our
||fwdMotors:set rightServo to 'rightServo angle (°)||||math: + 20||block in the else condition below the||basic:show icon||block. - Remember, you can reset the solar panel's position to 0° by pressing 'A'. hint~
basic.forever(function () {
    if (fwdSensors.solar1.fwdLightLevel() > 90) {
        basic.showIcon(IconNames.Diamond)
    } else {
        basic.showIcon(IconNames.SmallDiamond)
        // @highlight
        fwdMotors.rightServo.fwdSetAngle(fwdMotors.rightServo.fwdGetAngle() + 20)
    }
})
Change the second value in the ||math:+|| block.
What happens when you increase or decrease this number?
~hint Tell me more!
- The smaller the number, the more often the solar panels stop to evaluate the level of sunlight.
- What are the pros and cons of having a really small number? A large number? hint~
basic.forever(function () {
    if (fwdSensors.solar1.fwdLightLevel() > 90) {
        basic.showIcon(IconNames.Diamond)
    } else {
        basic.showIcon(IconNames.SmallDiamond)
        // @highlight
        fwdMotors.rightServo.fwdSetAngle(fwdMotors.rightServo.fwdGetAngle() + 10)
    }
})
Let's create some limits for our solar panel. Assume we don't want the panel to move beyond 180°.
Drag the following blocks into the workspace:
||logic: if then||||logic: <||||fwdMotors:rightServo angle (°)||||fwdMotors:set rightServo to||
Note: They will appear hashed for now.
How might you combine and modify these new blocks to create a new conditional statement that resets the servo motor's position to 0° anytime it goes above 180°?
Check the lightbulb for our solution.
if (fwdMotors.rightServo.fwdGetAngle() > 180) {
        fwdMotors.rightServo.fwdSetAngle(0)
    }
Where should you add this conditional statement within our existing code?
Try out a few positions and then check the lightbulb for one possible solution.
~hint Tell me more!
- If you add this new conditional immediately after the
||fwdMotors:set rightServo to 'rightServo angle (°)||||math: + 10||block, we'll always check whether the new position is above 180°. If it is, the servo motor will be reset to 0°. hint~
basic.forever(function () {
    if (fwdSensors.solar1.fwdLightLevel() > 90) {
        basic.showIcon(IconNames.Diamond)
    } else {
        basic.showIcon(IconNames.SmallDiamond)
        fwdMotors.rightServo.fwdSetAngle(fwdMotors.rightServo.fwdGetAngle() + 10)
        // @highlight
        if (fwdMotors.rightServo.fwdGetAngle() > 180) {
            fwdMotors.rightServo.fwdSetAngle(0)
        }
    }
})
Take a flashlight and move it slowly around your project as it if were the sun in the sky. How does the solar panel respond?
You've completed the activity!
Think about something about this project that challenged you.
How did you overcome the challenge?
How did that make you feel?
In the next step, you can click the |Done| button to finish the tutorial.
