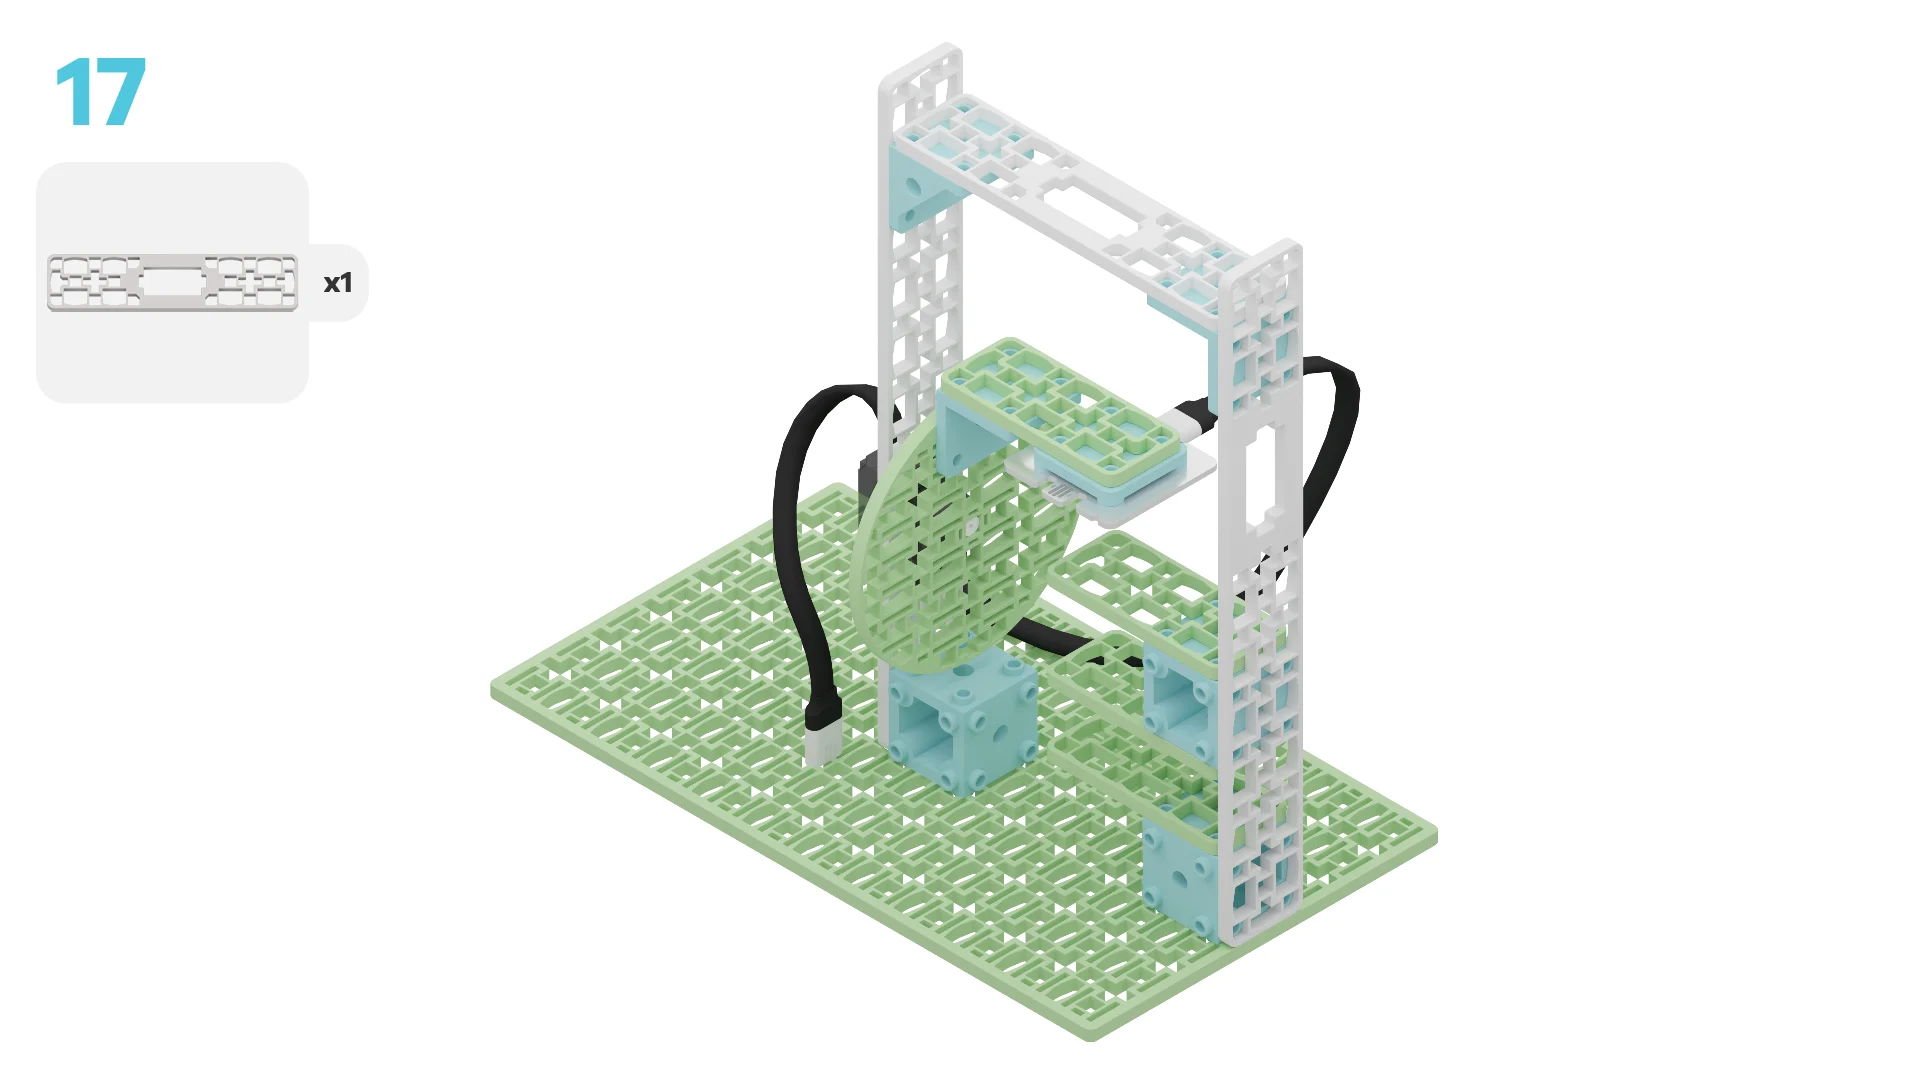
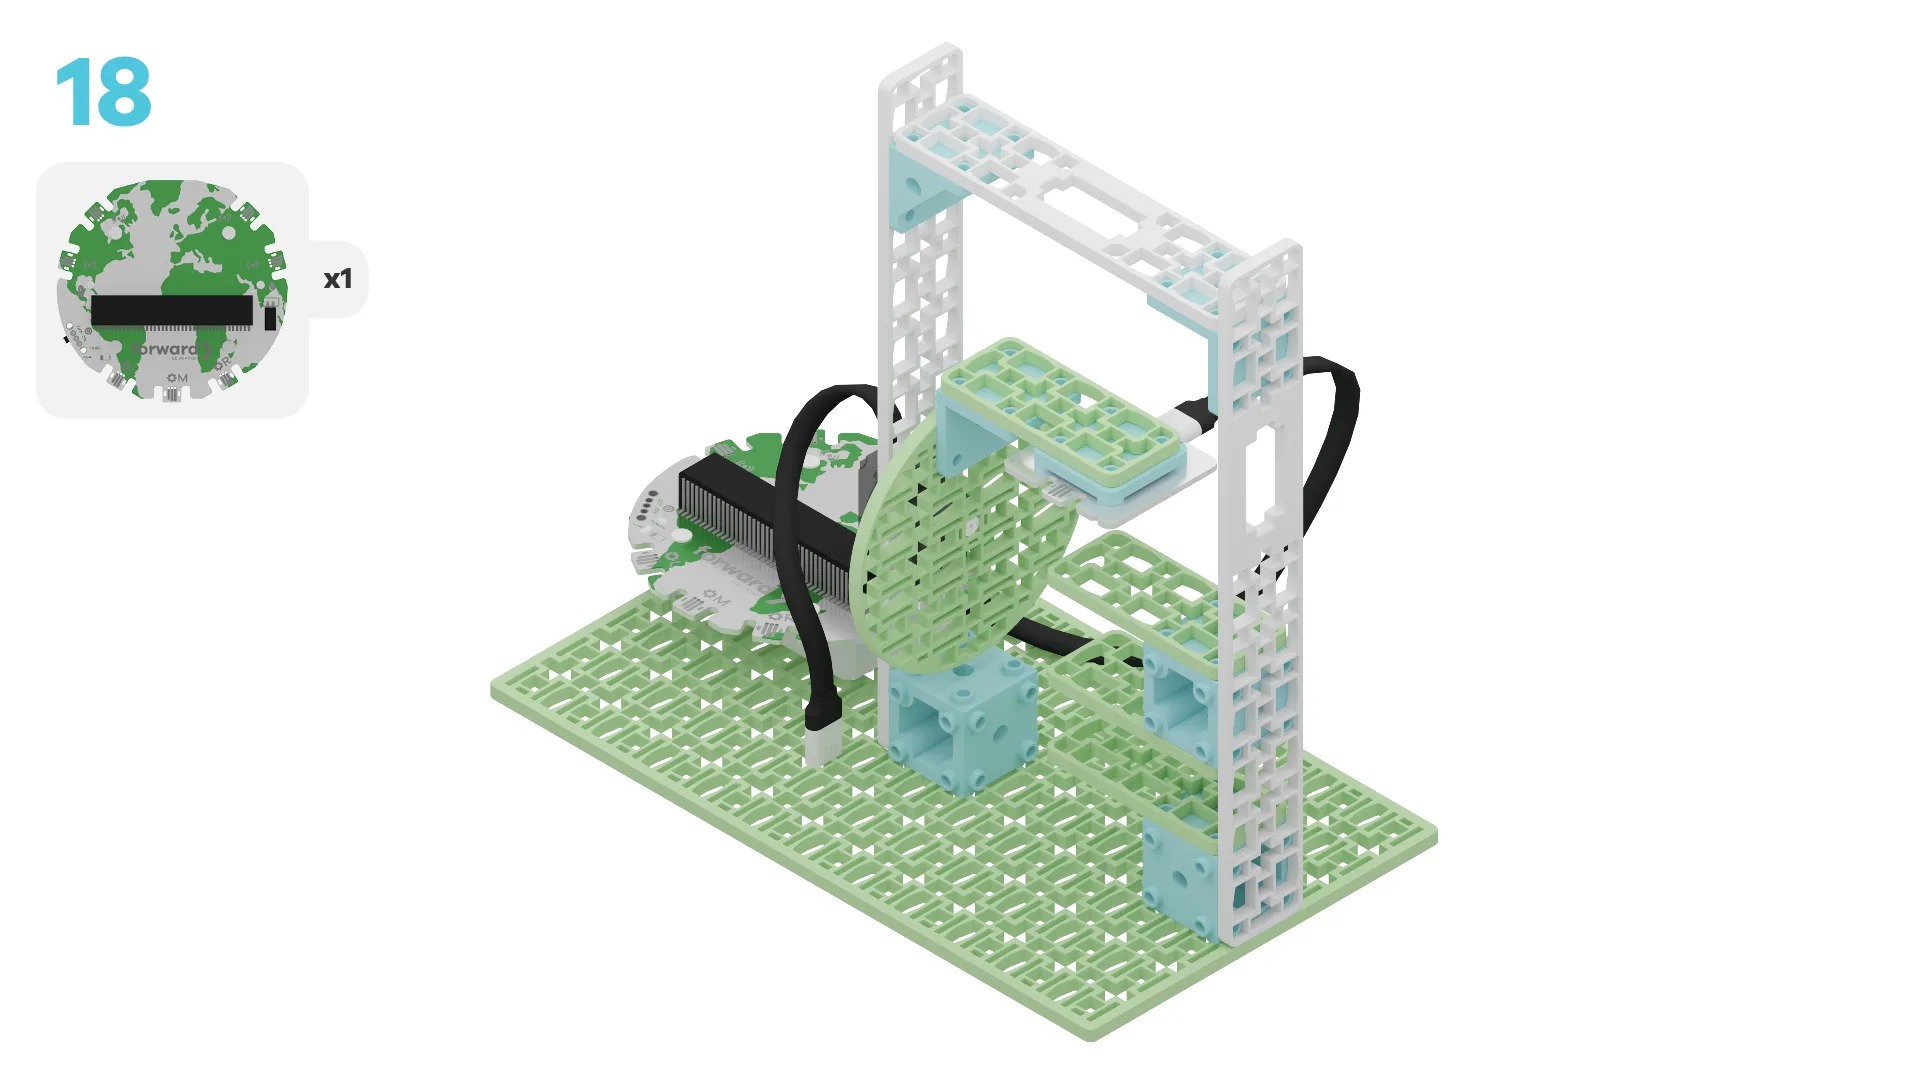
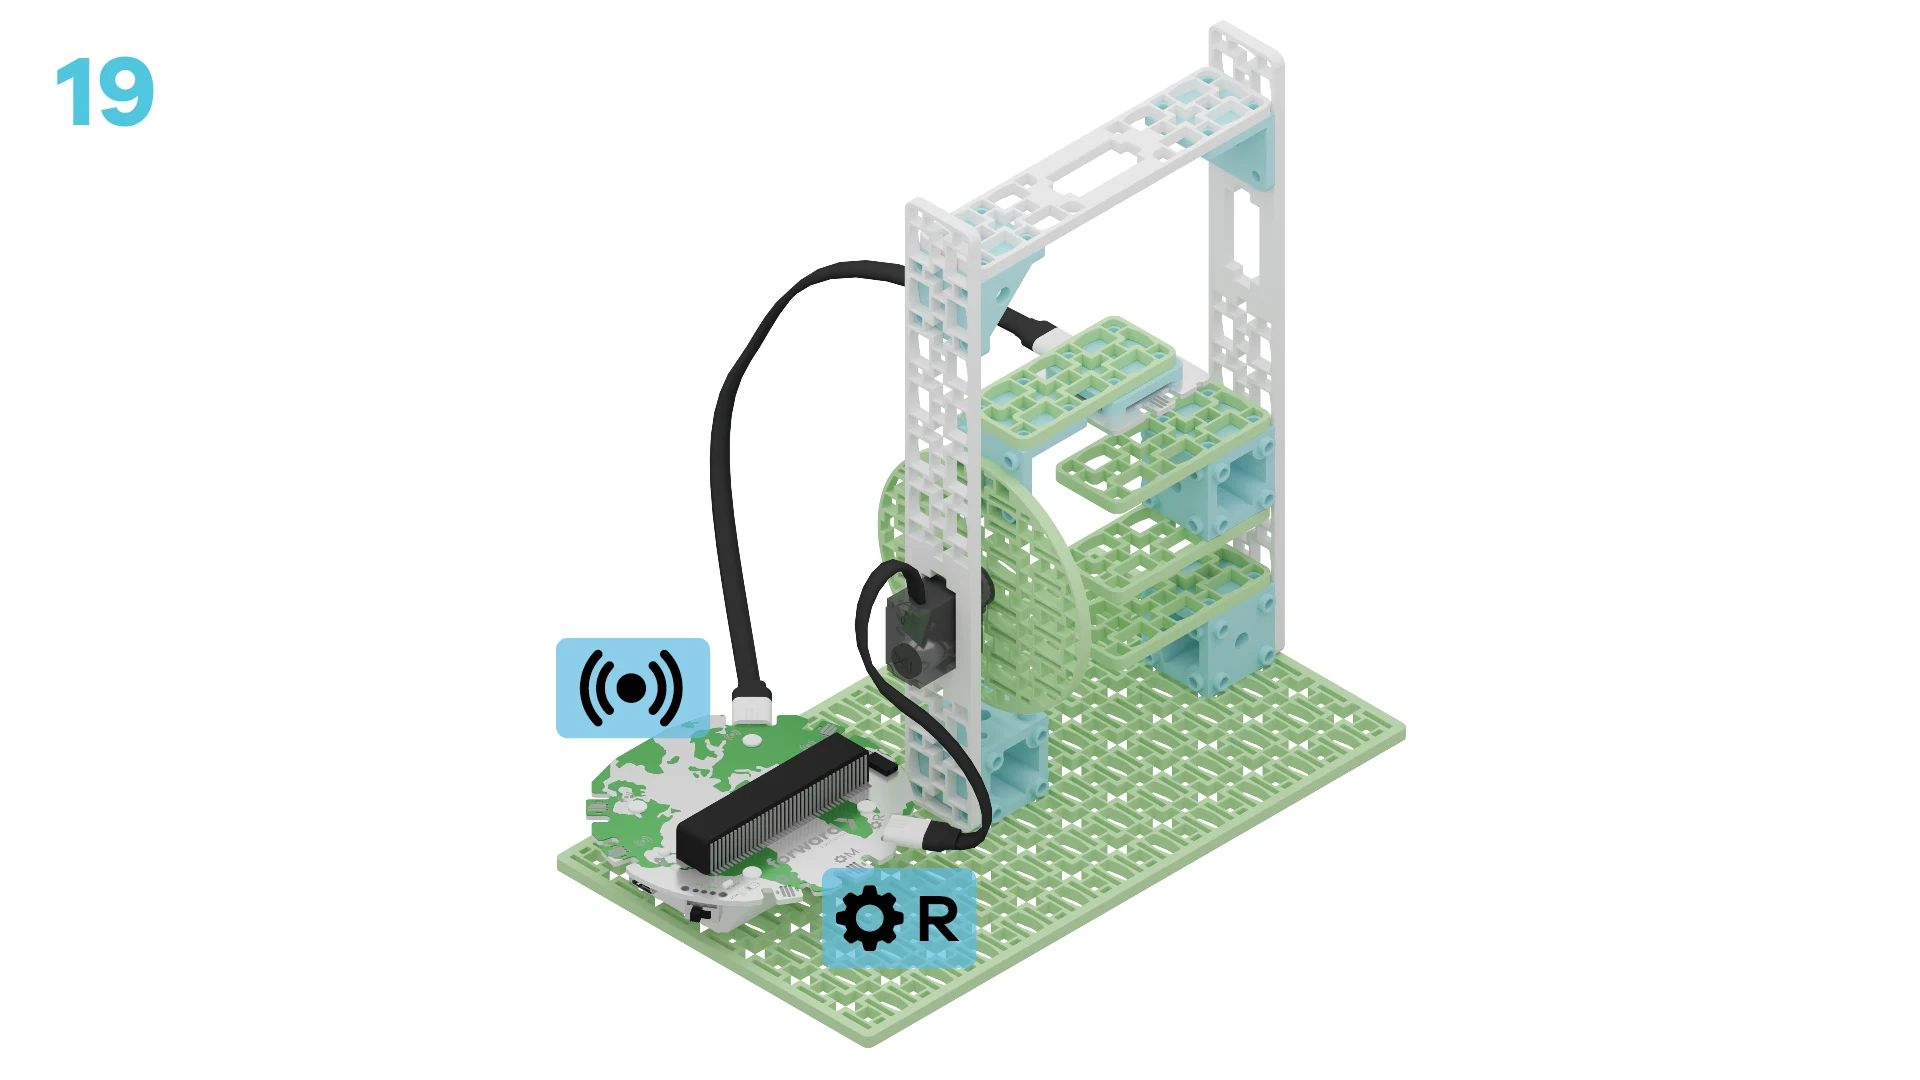
fwd-edu-breakout=github:climate-action-kits/pxt-fwd-edu/fwd-breakout
sonar=github:climate-action-kits/pxt-fwd-edu
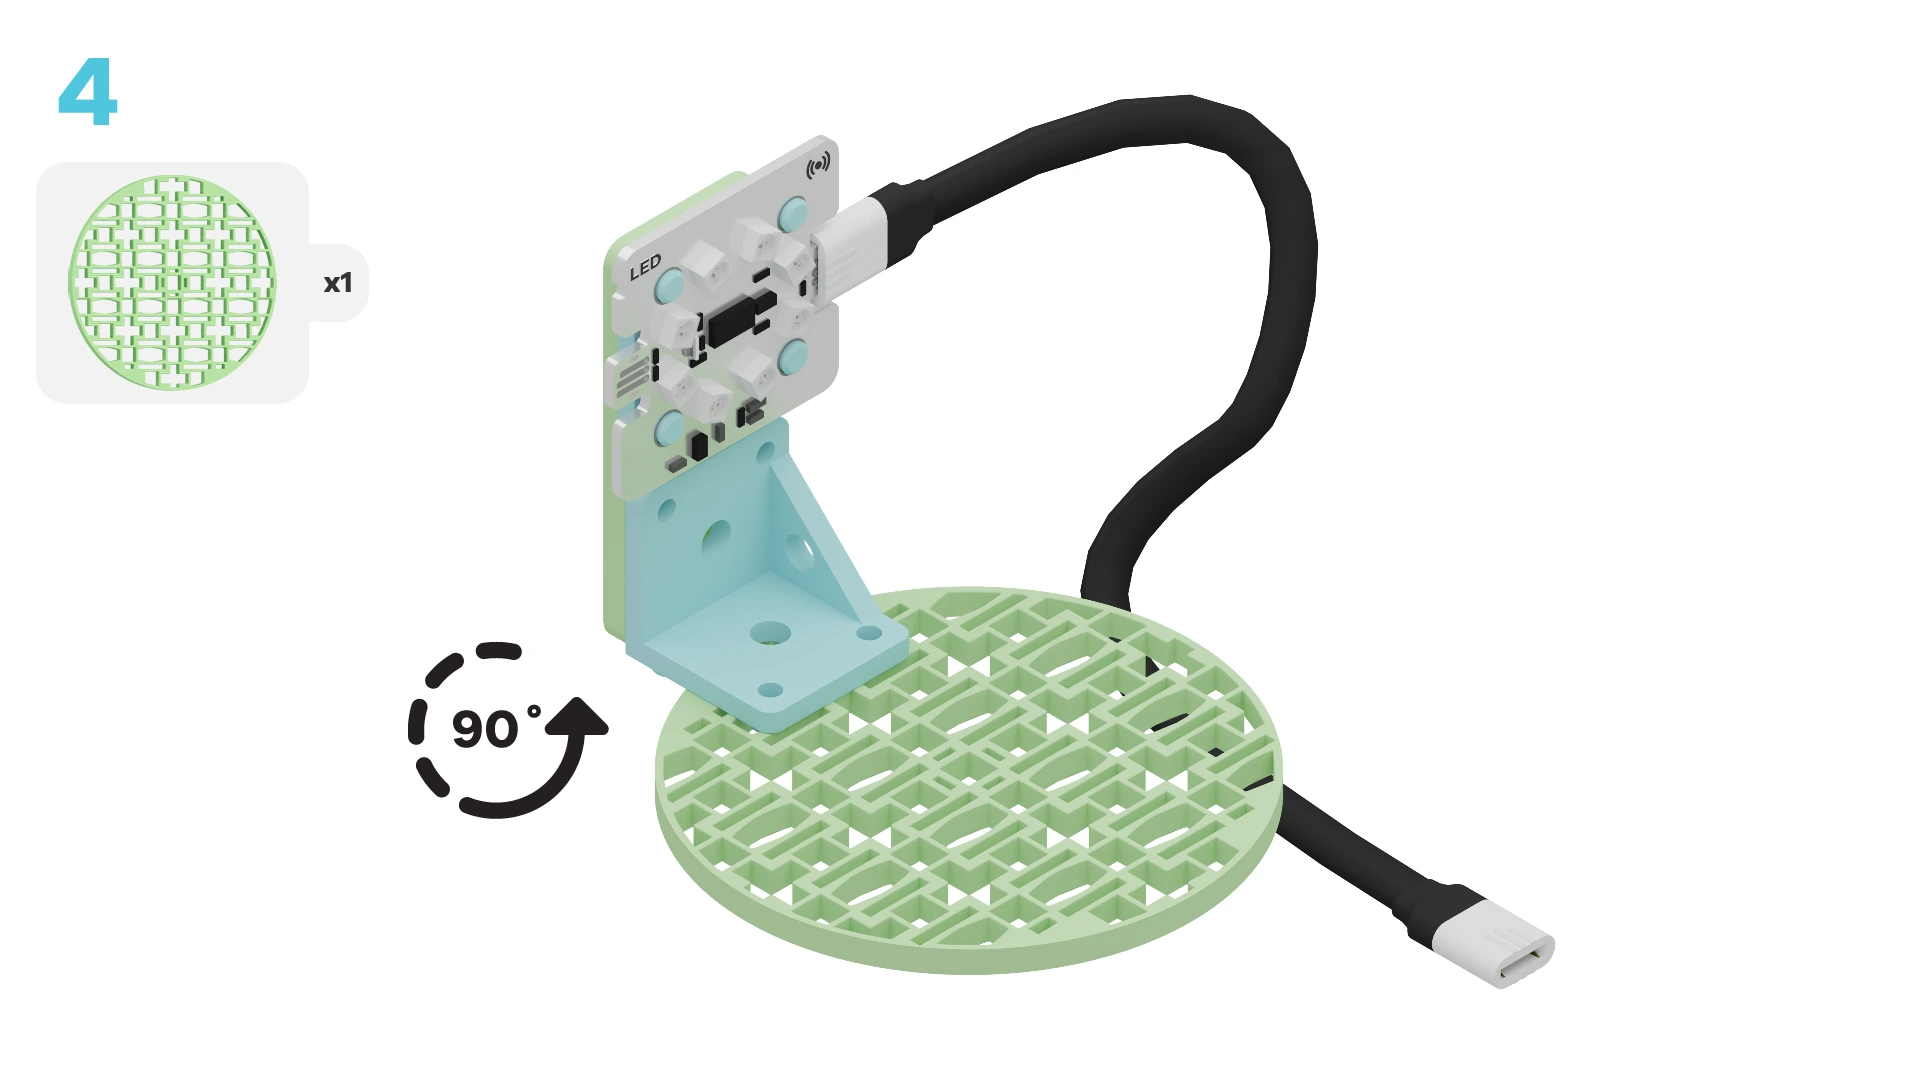
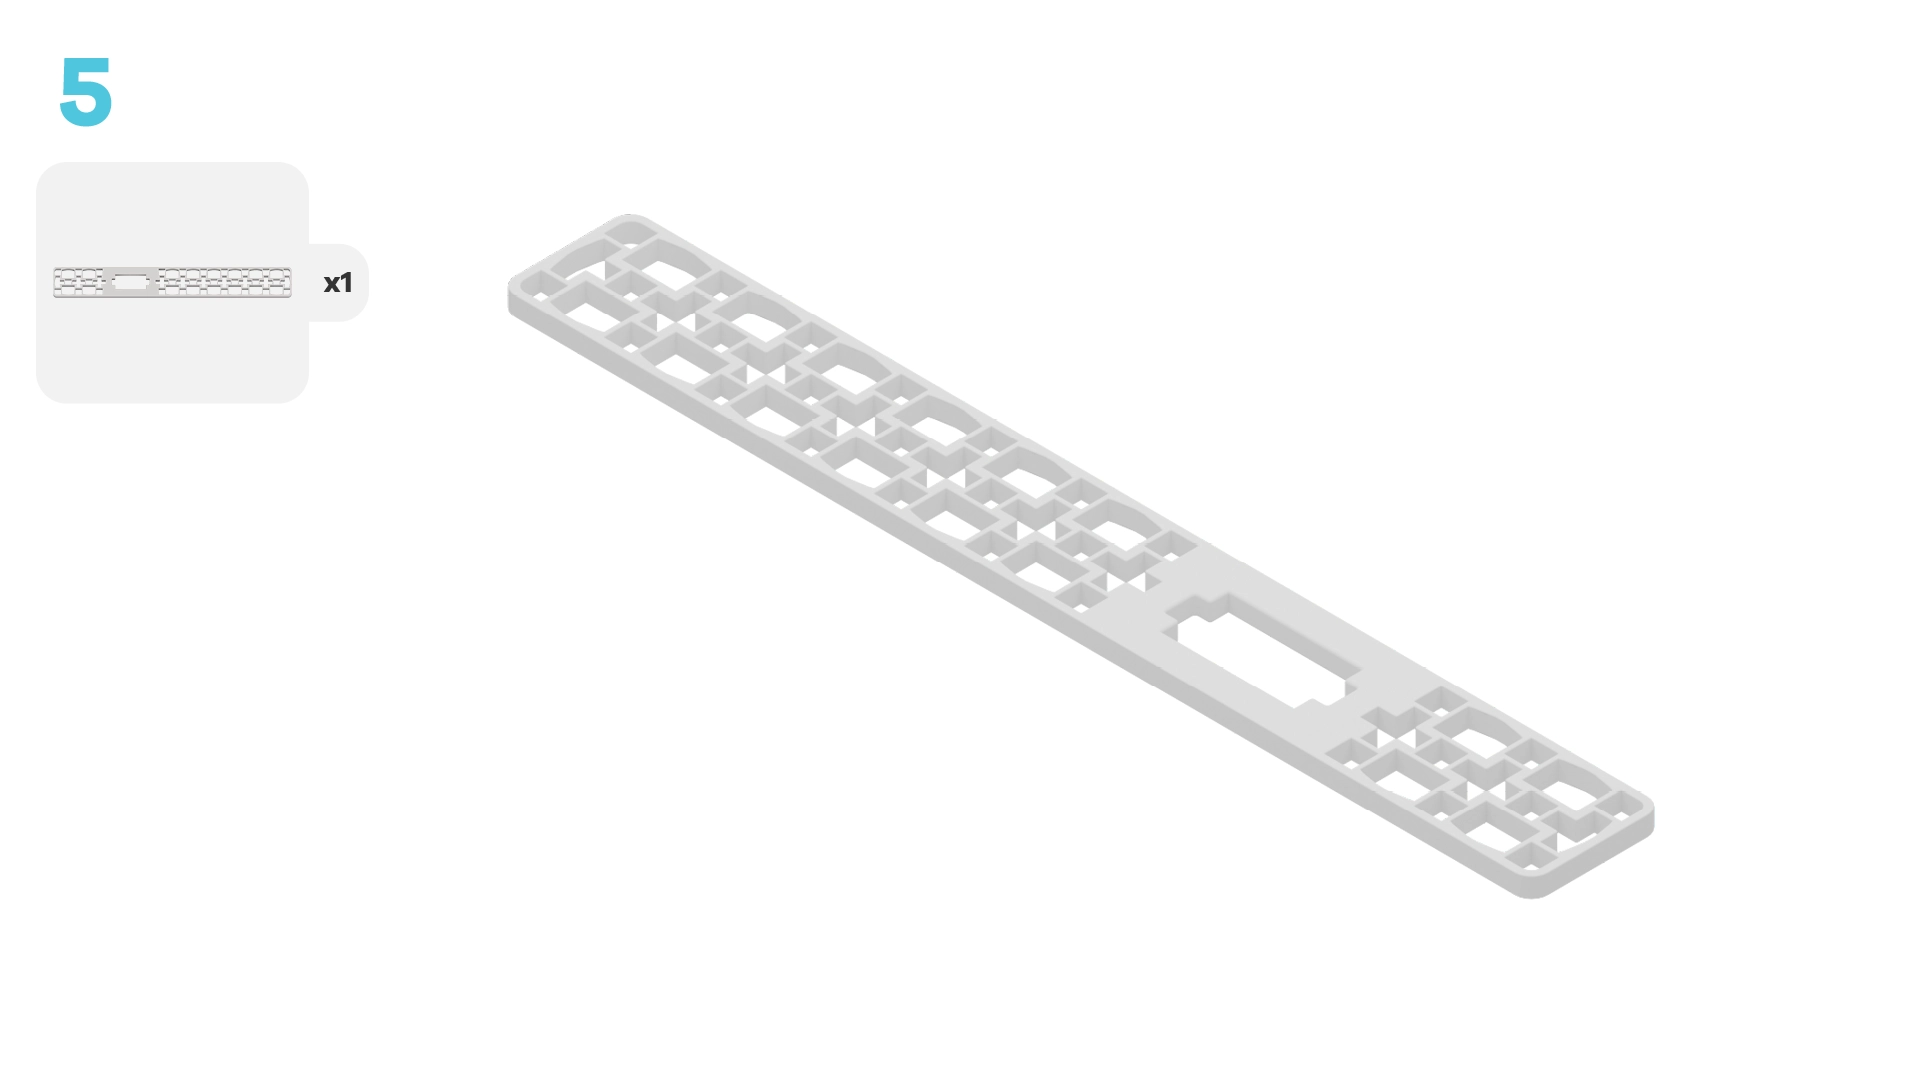
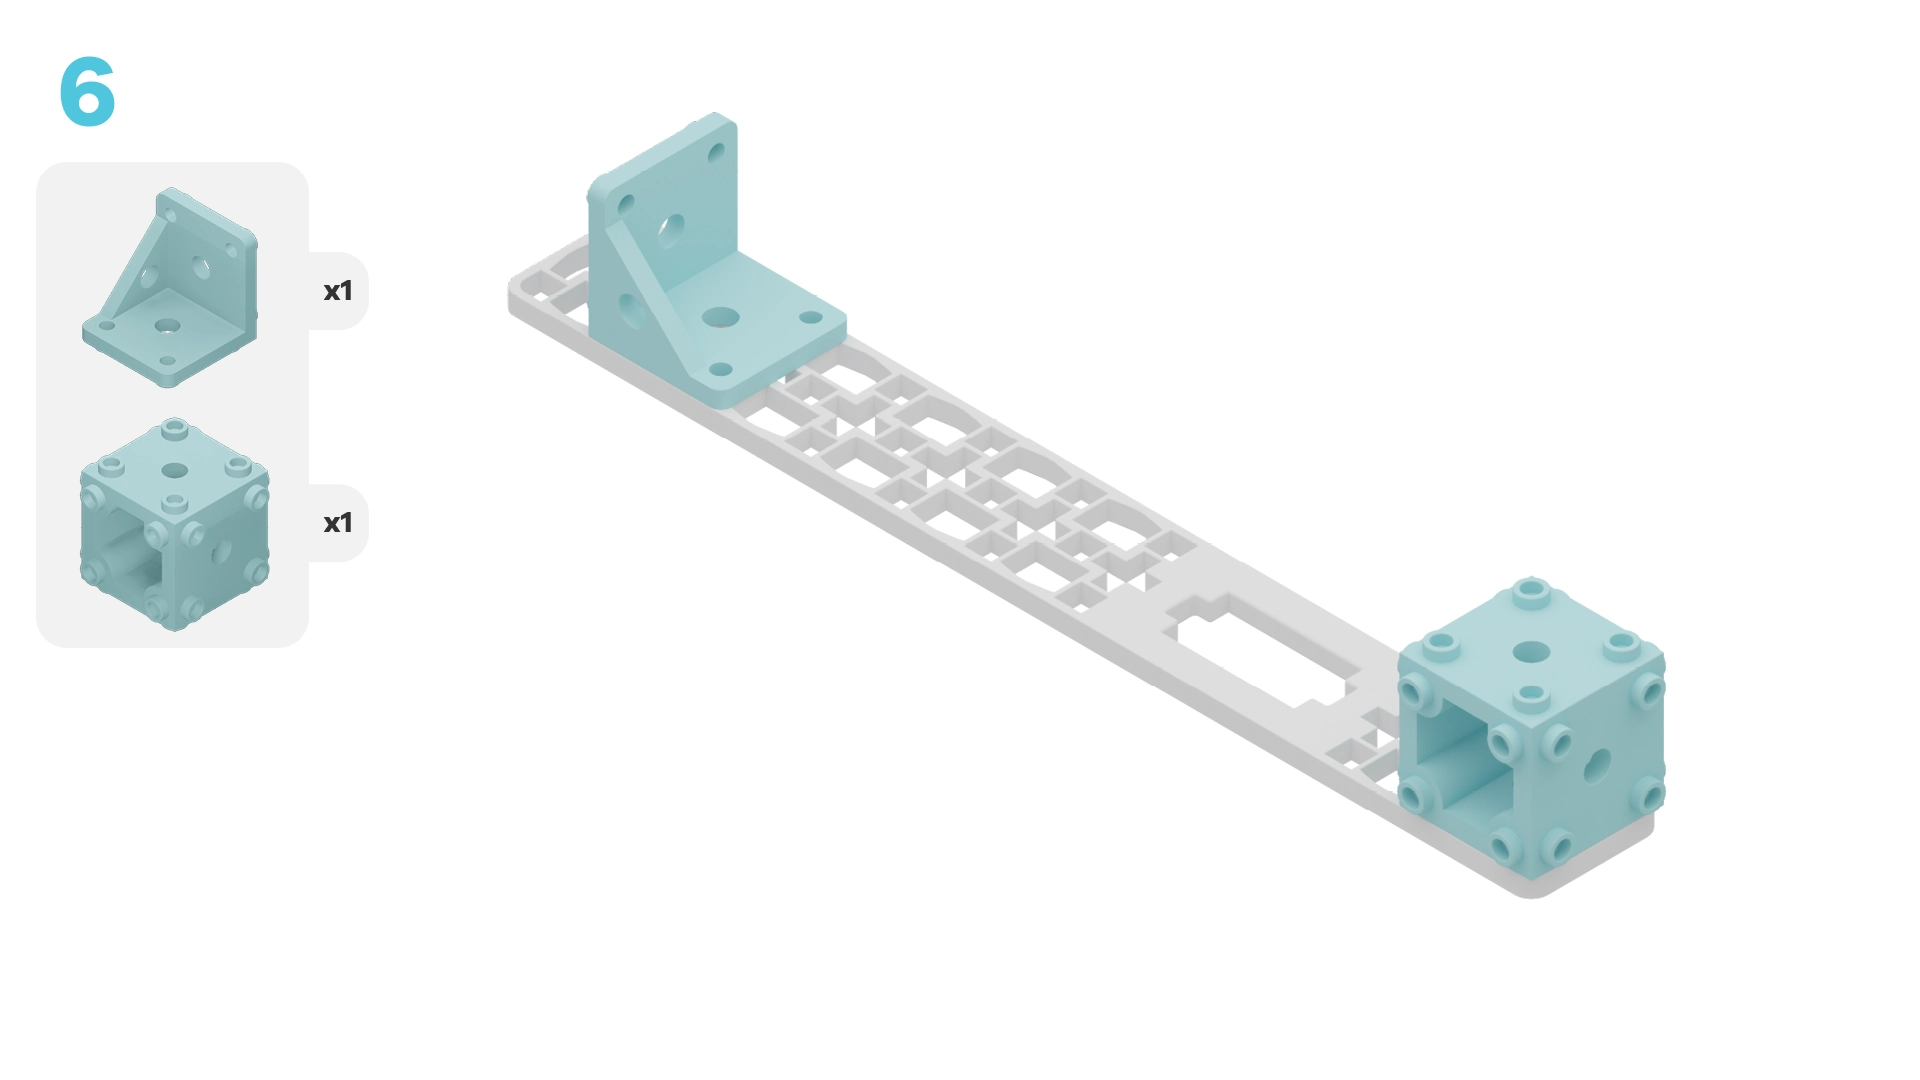
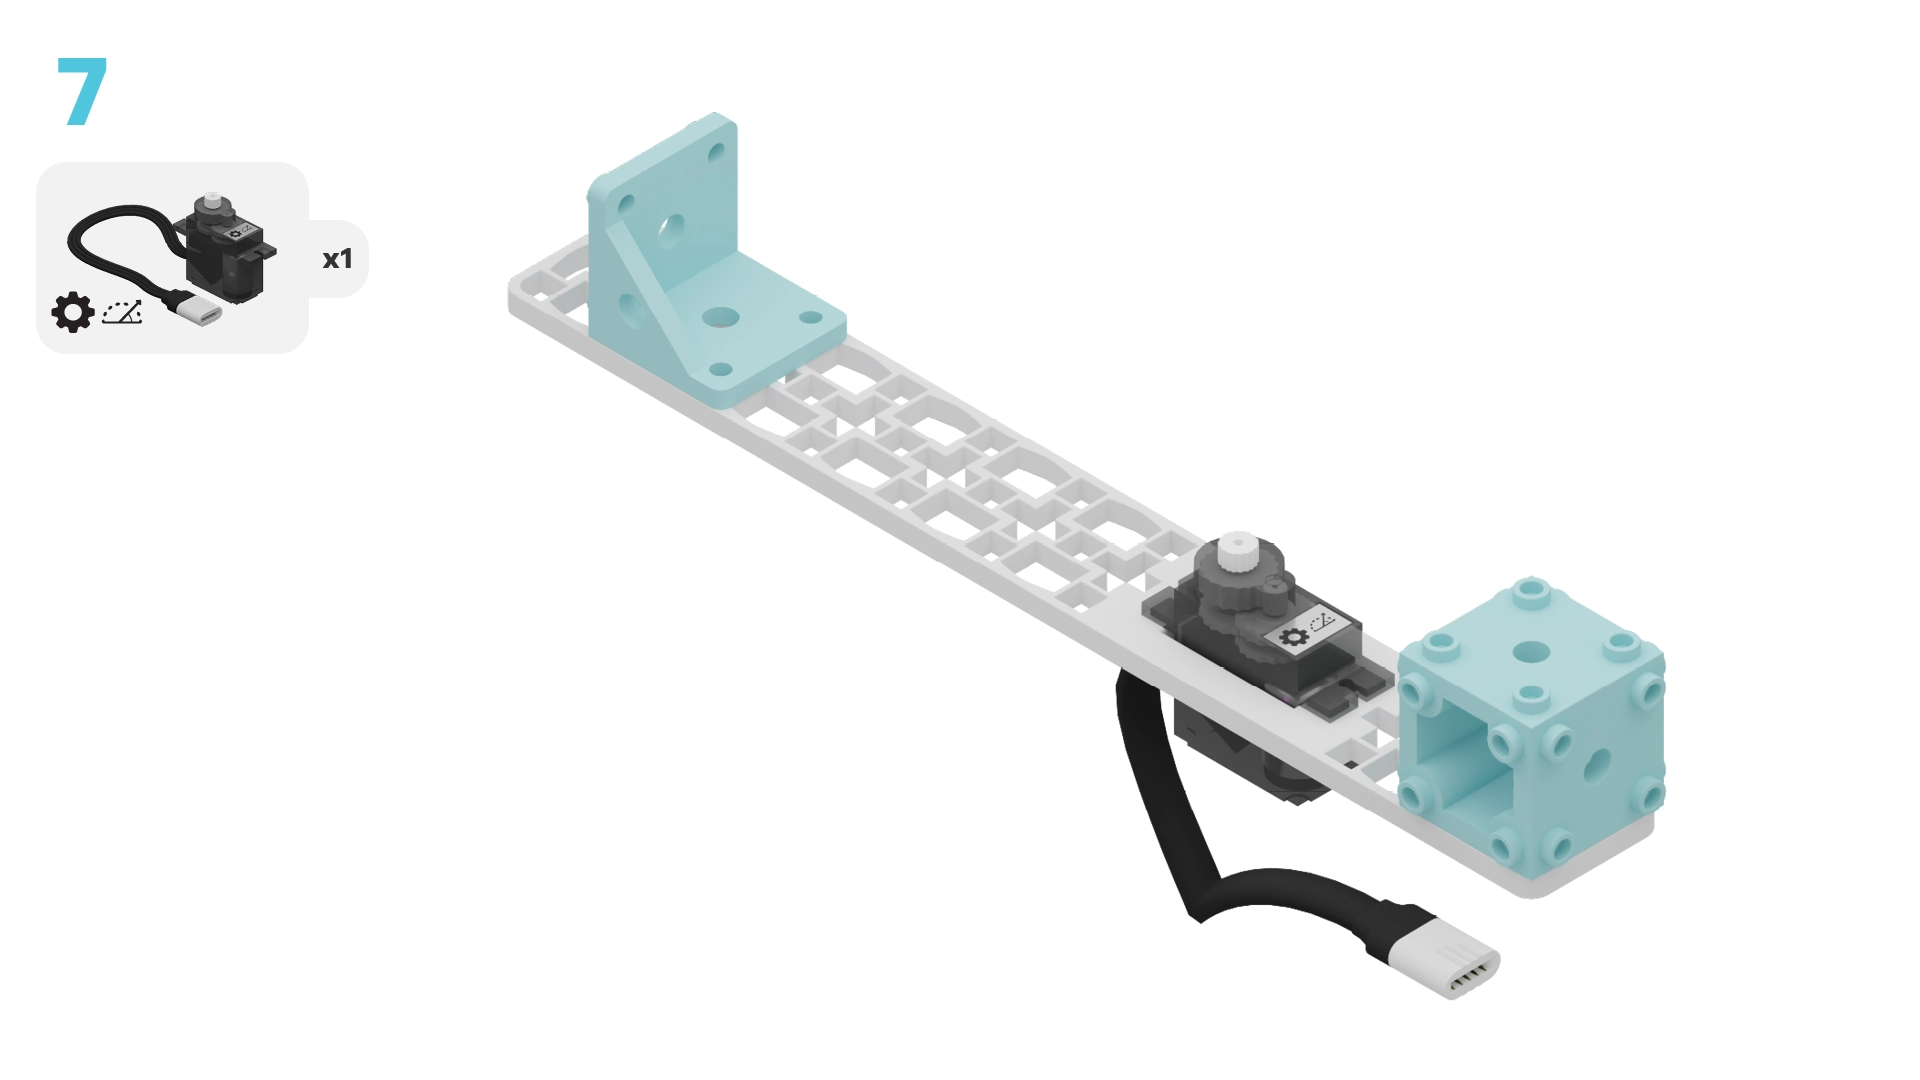
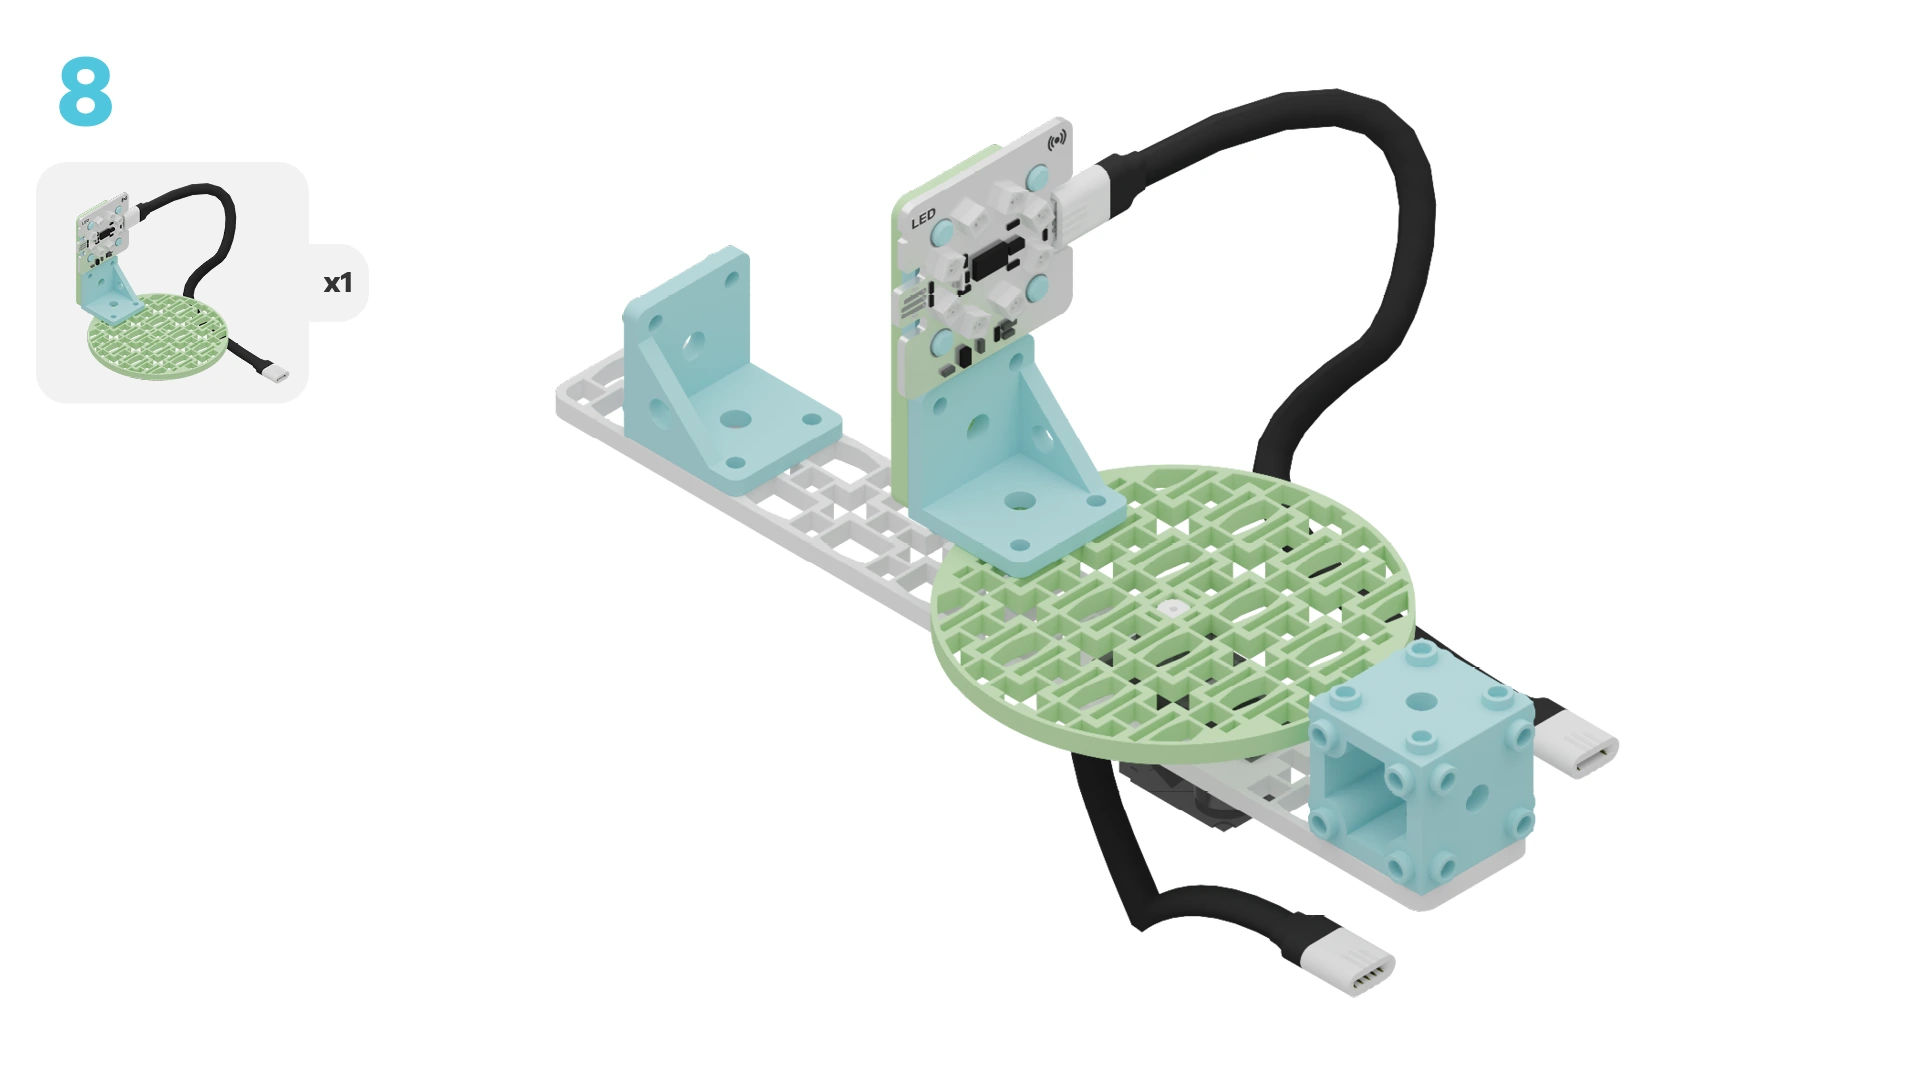
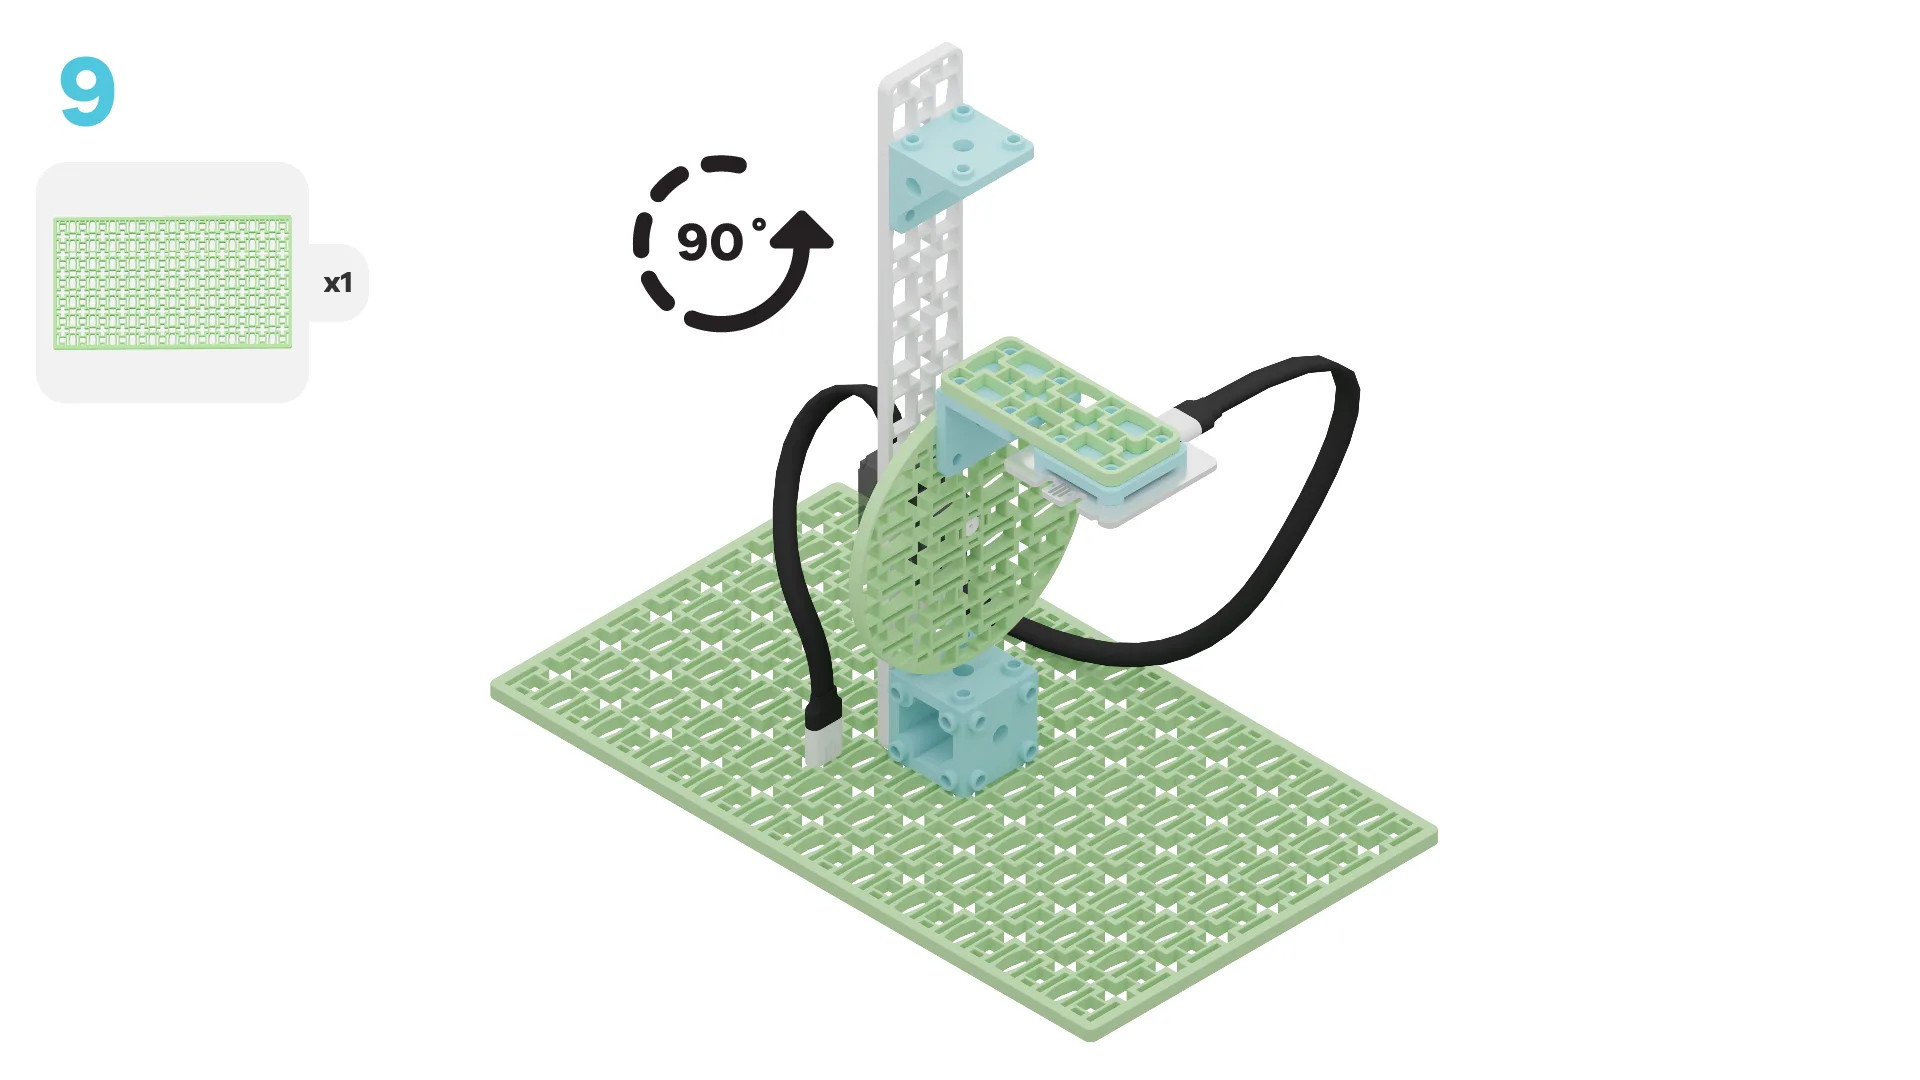
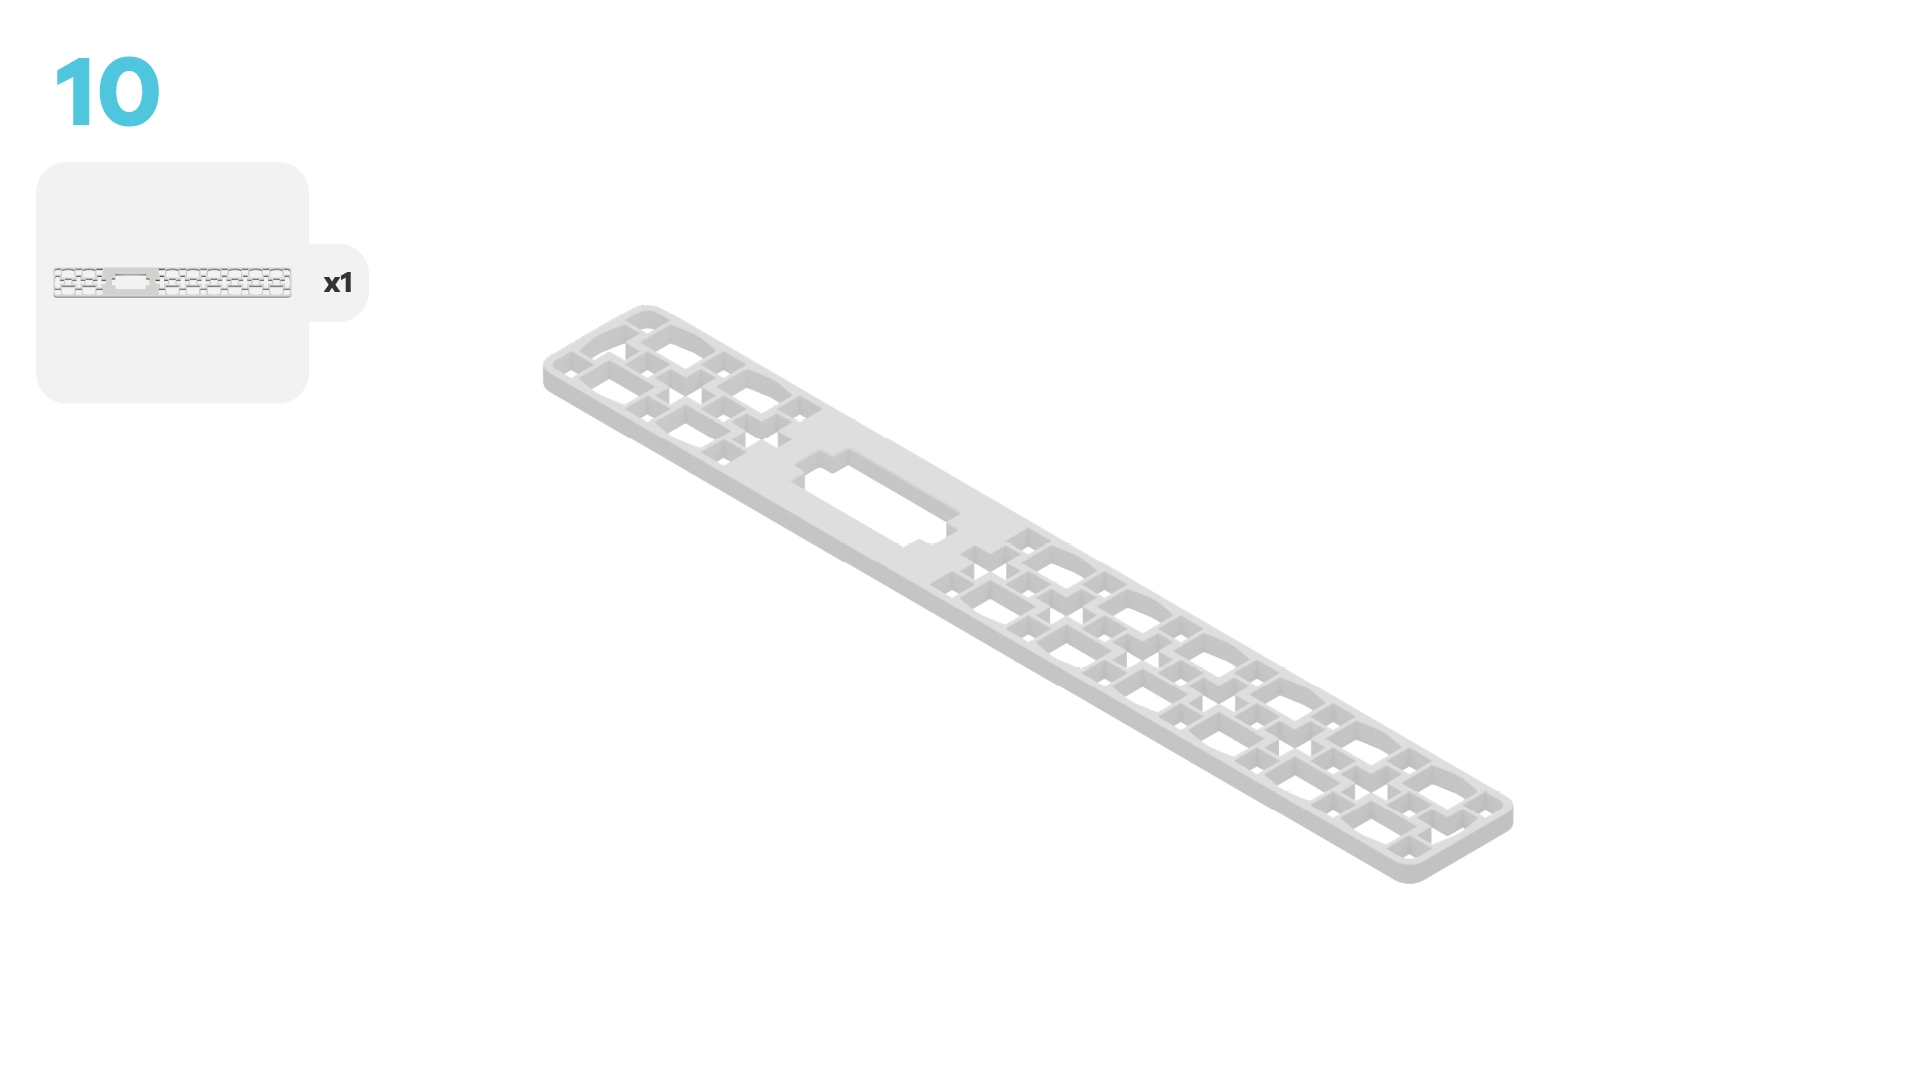
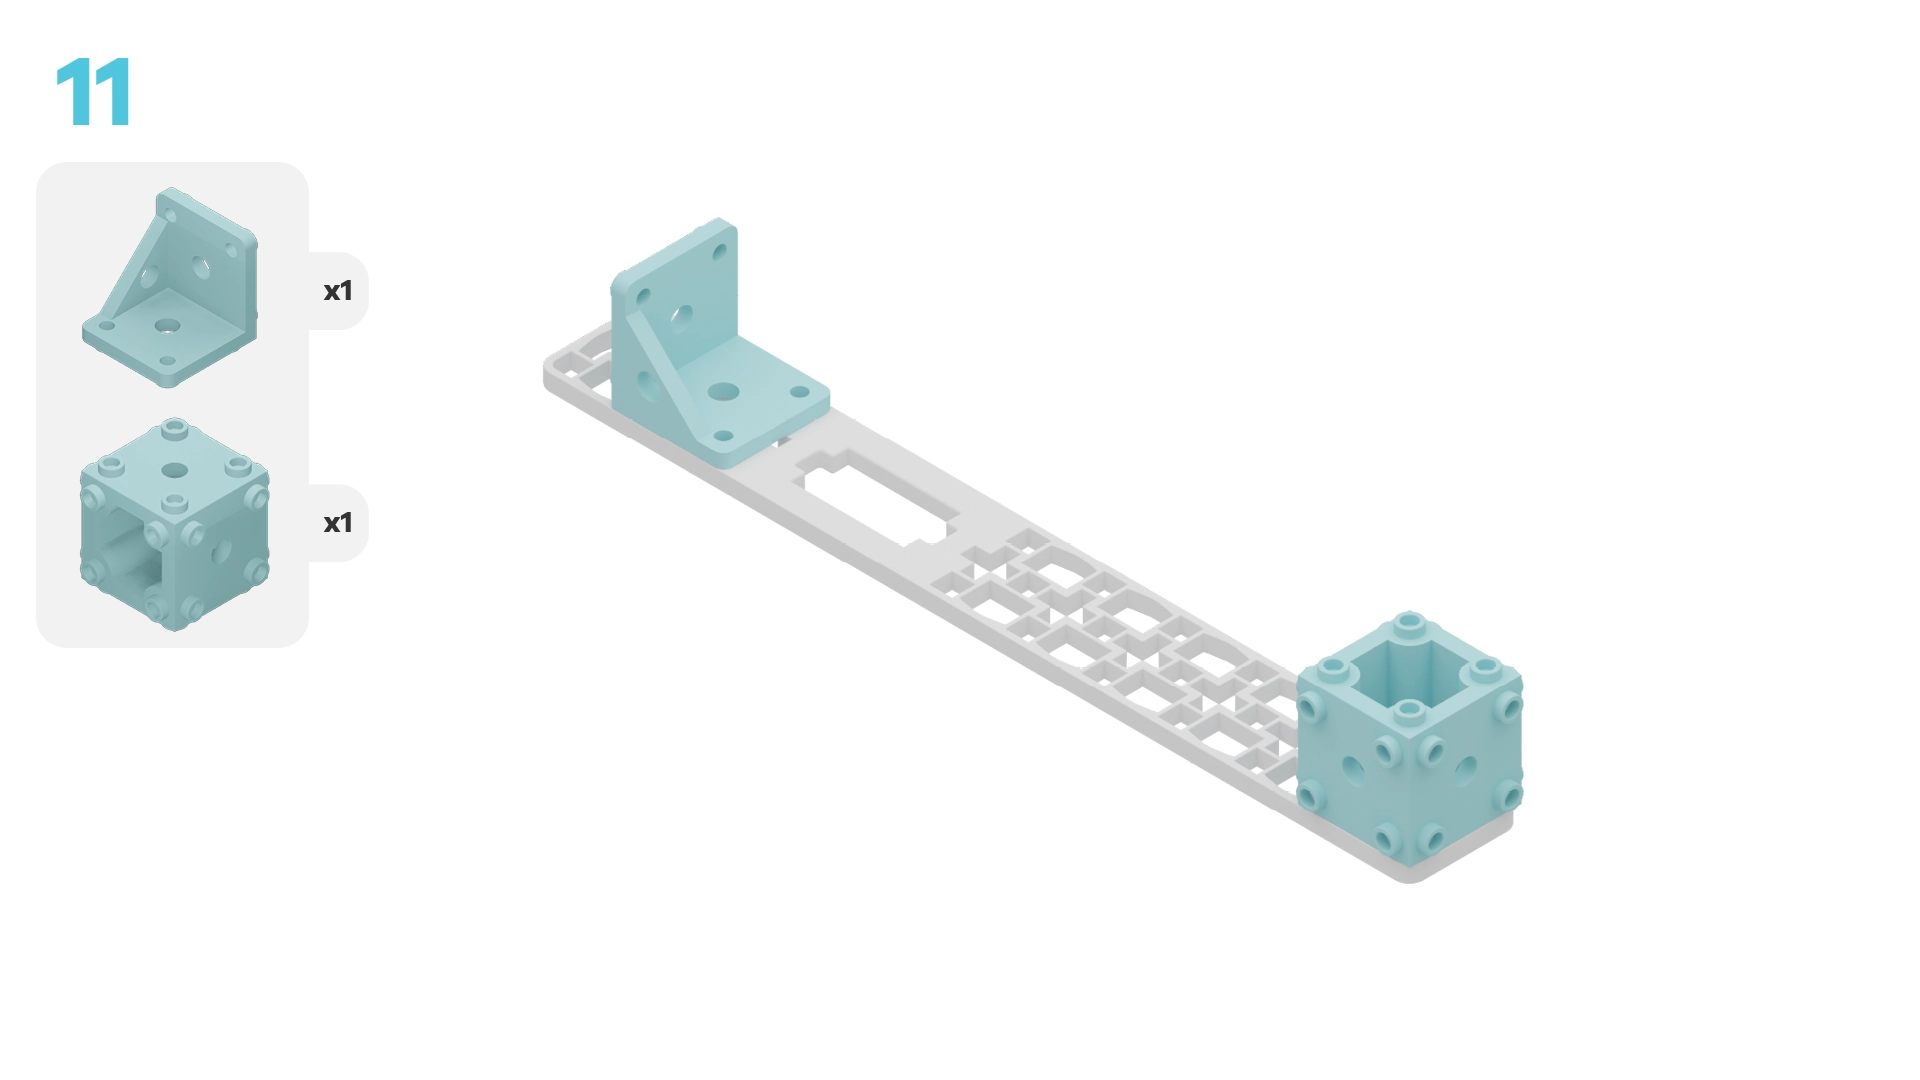
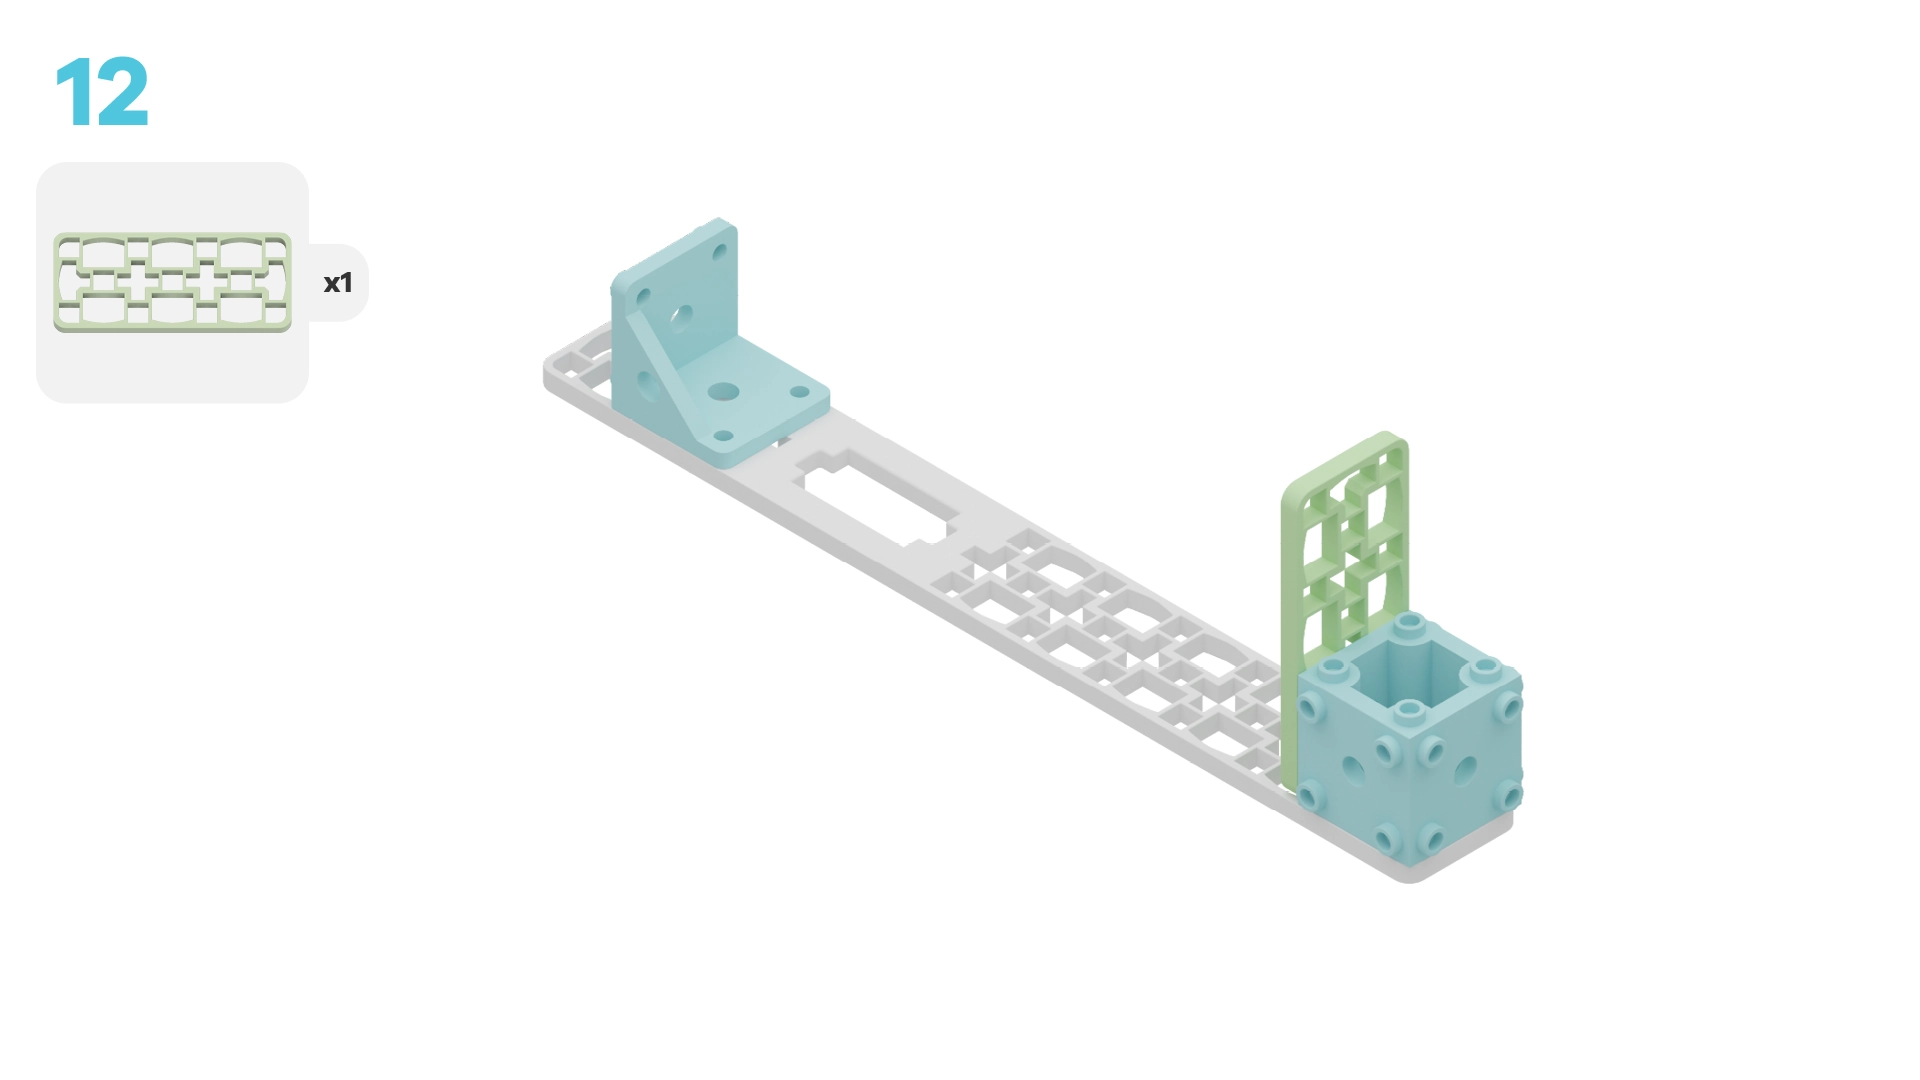
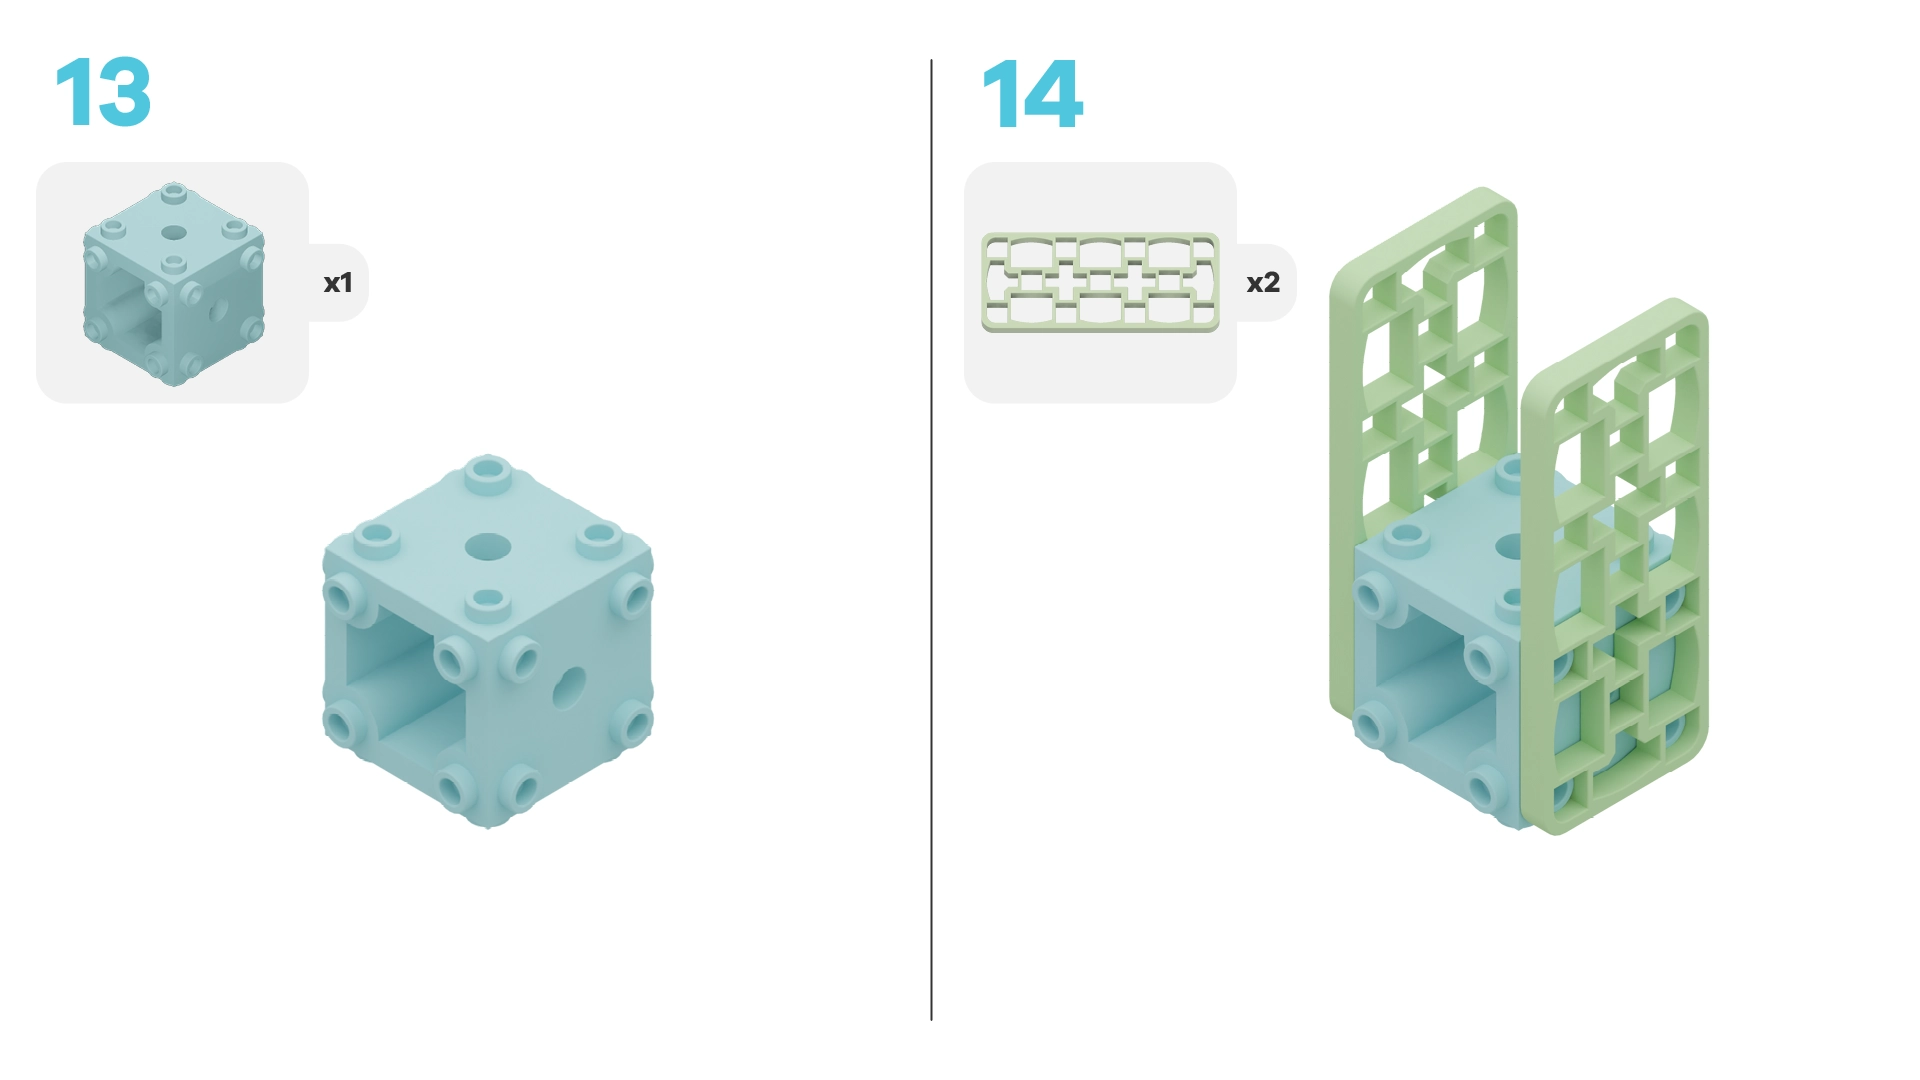
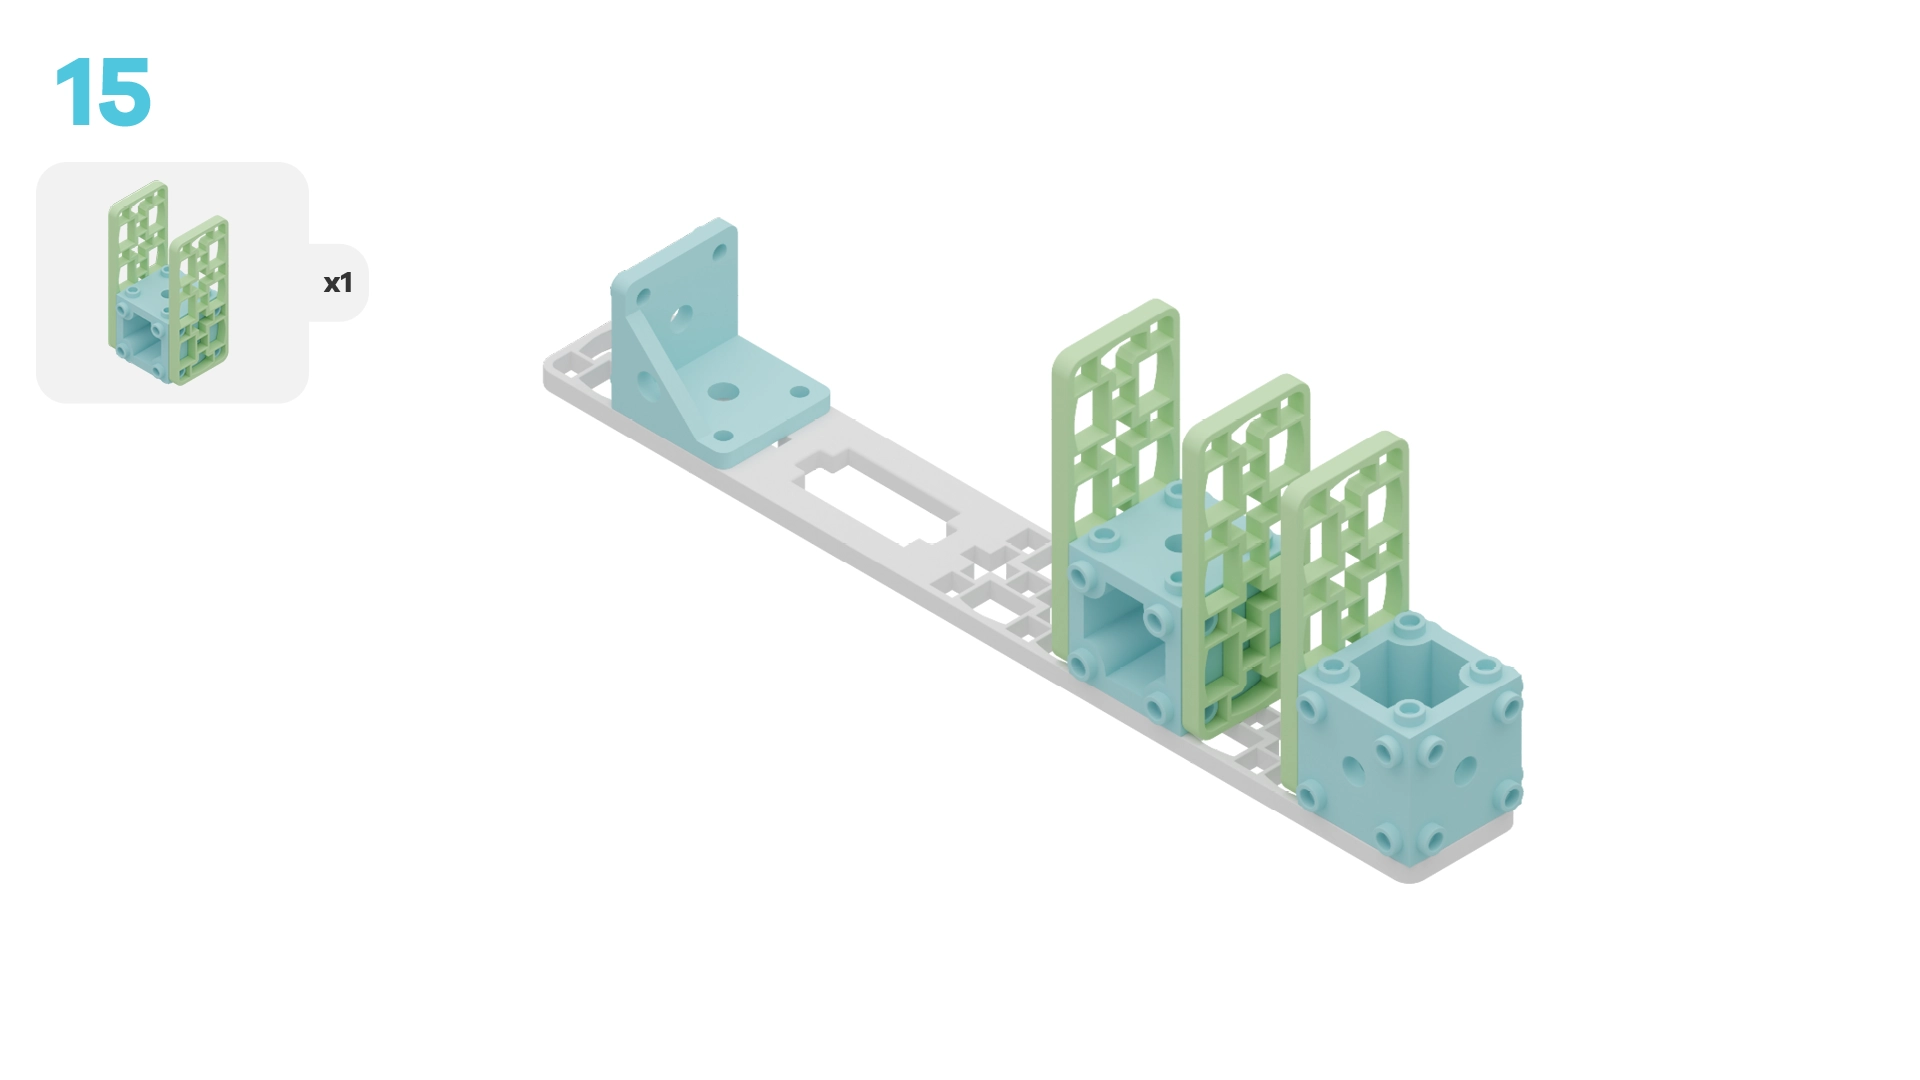
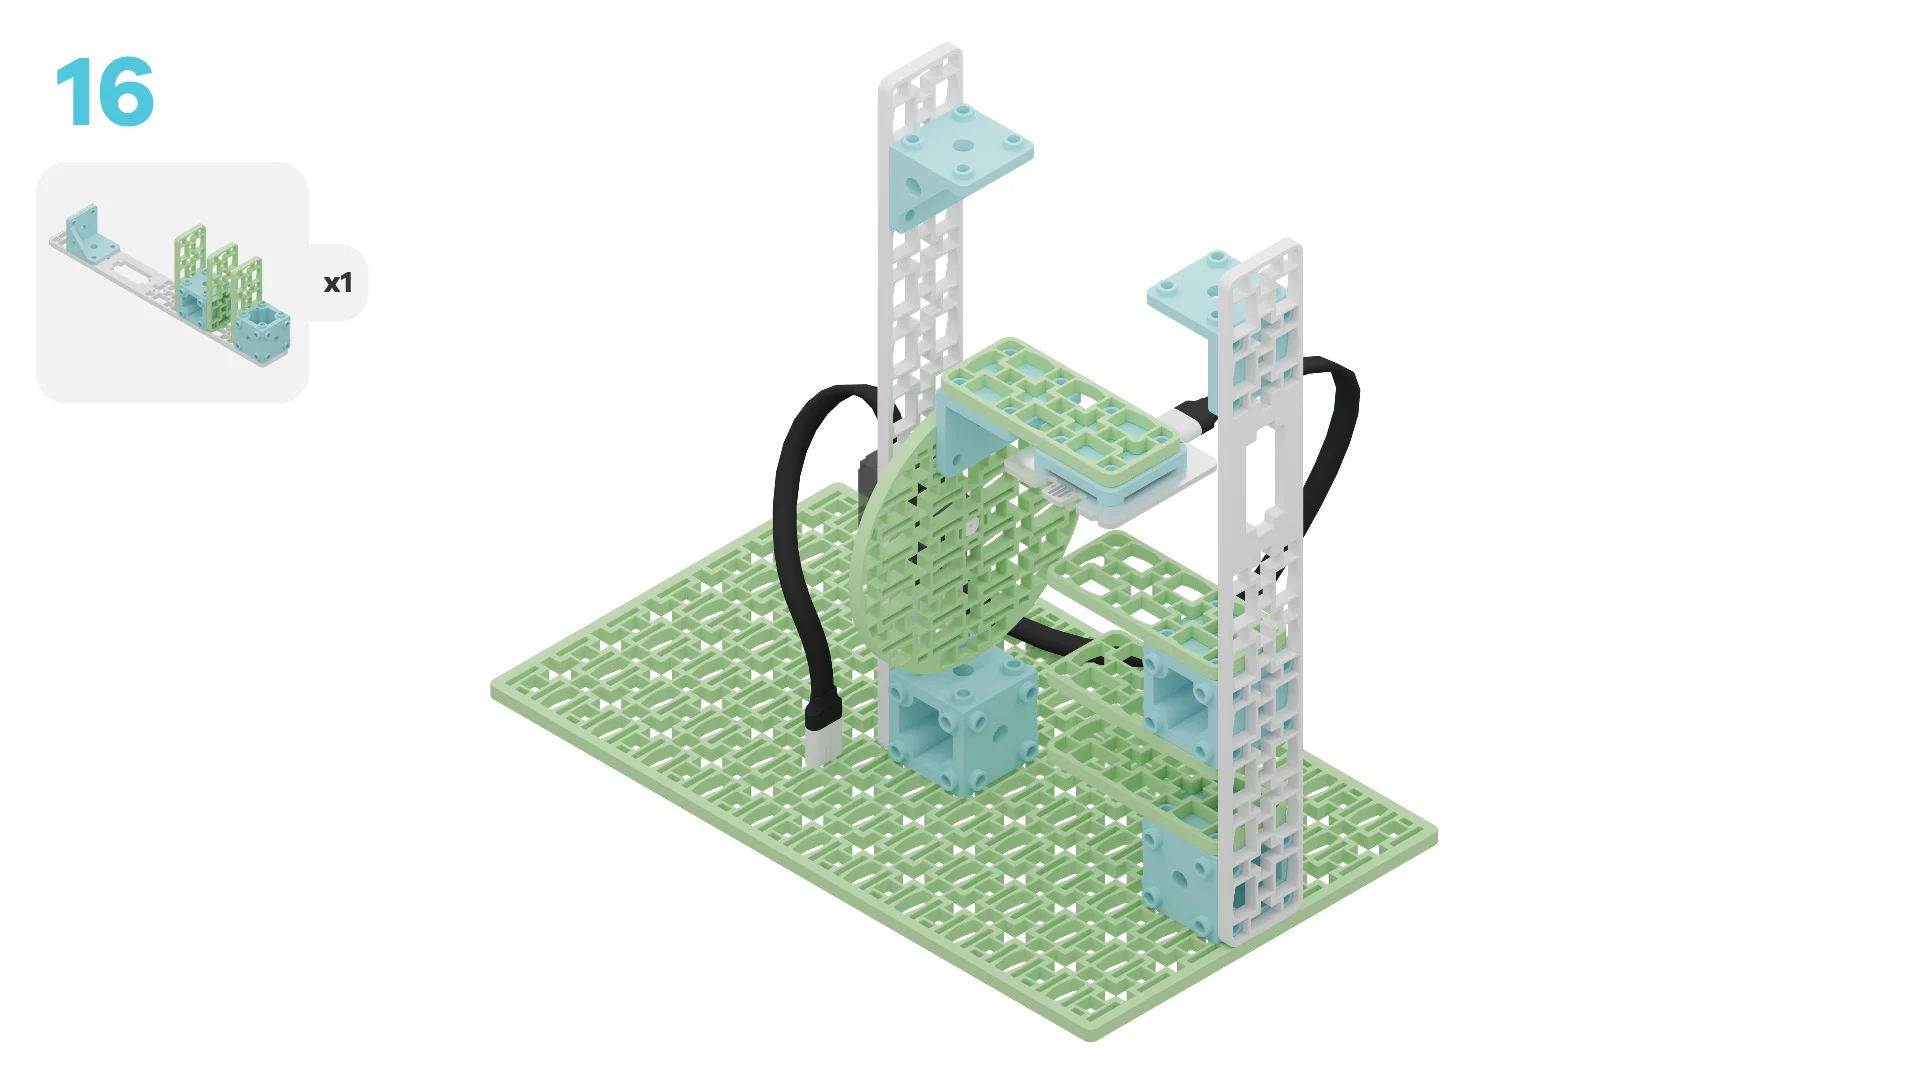
Let's build a vertical farm prototype! We are going to do this in three parts:
- Build our prototype
- Add code to bring it to life
- Use our vertical farm to learn how it works
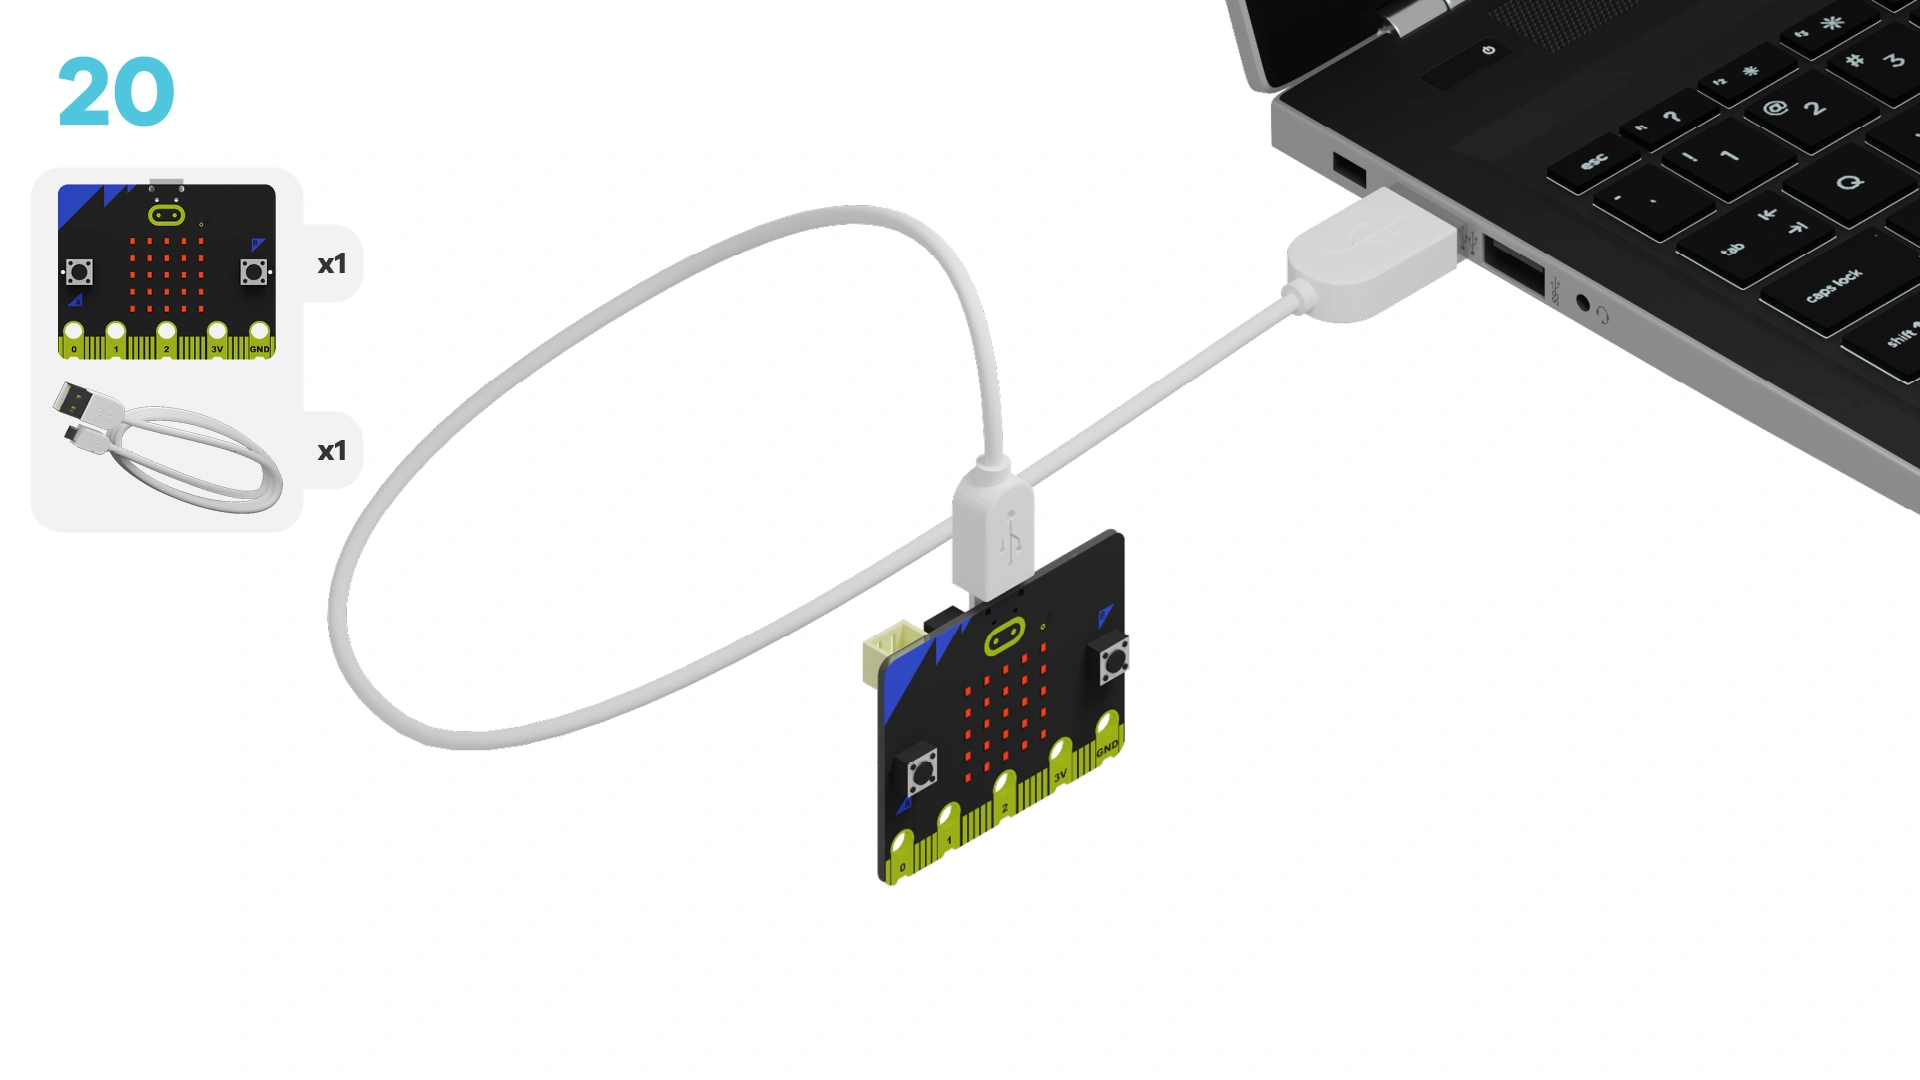
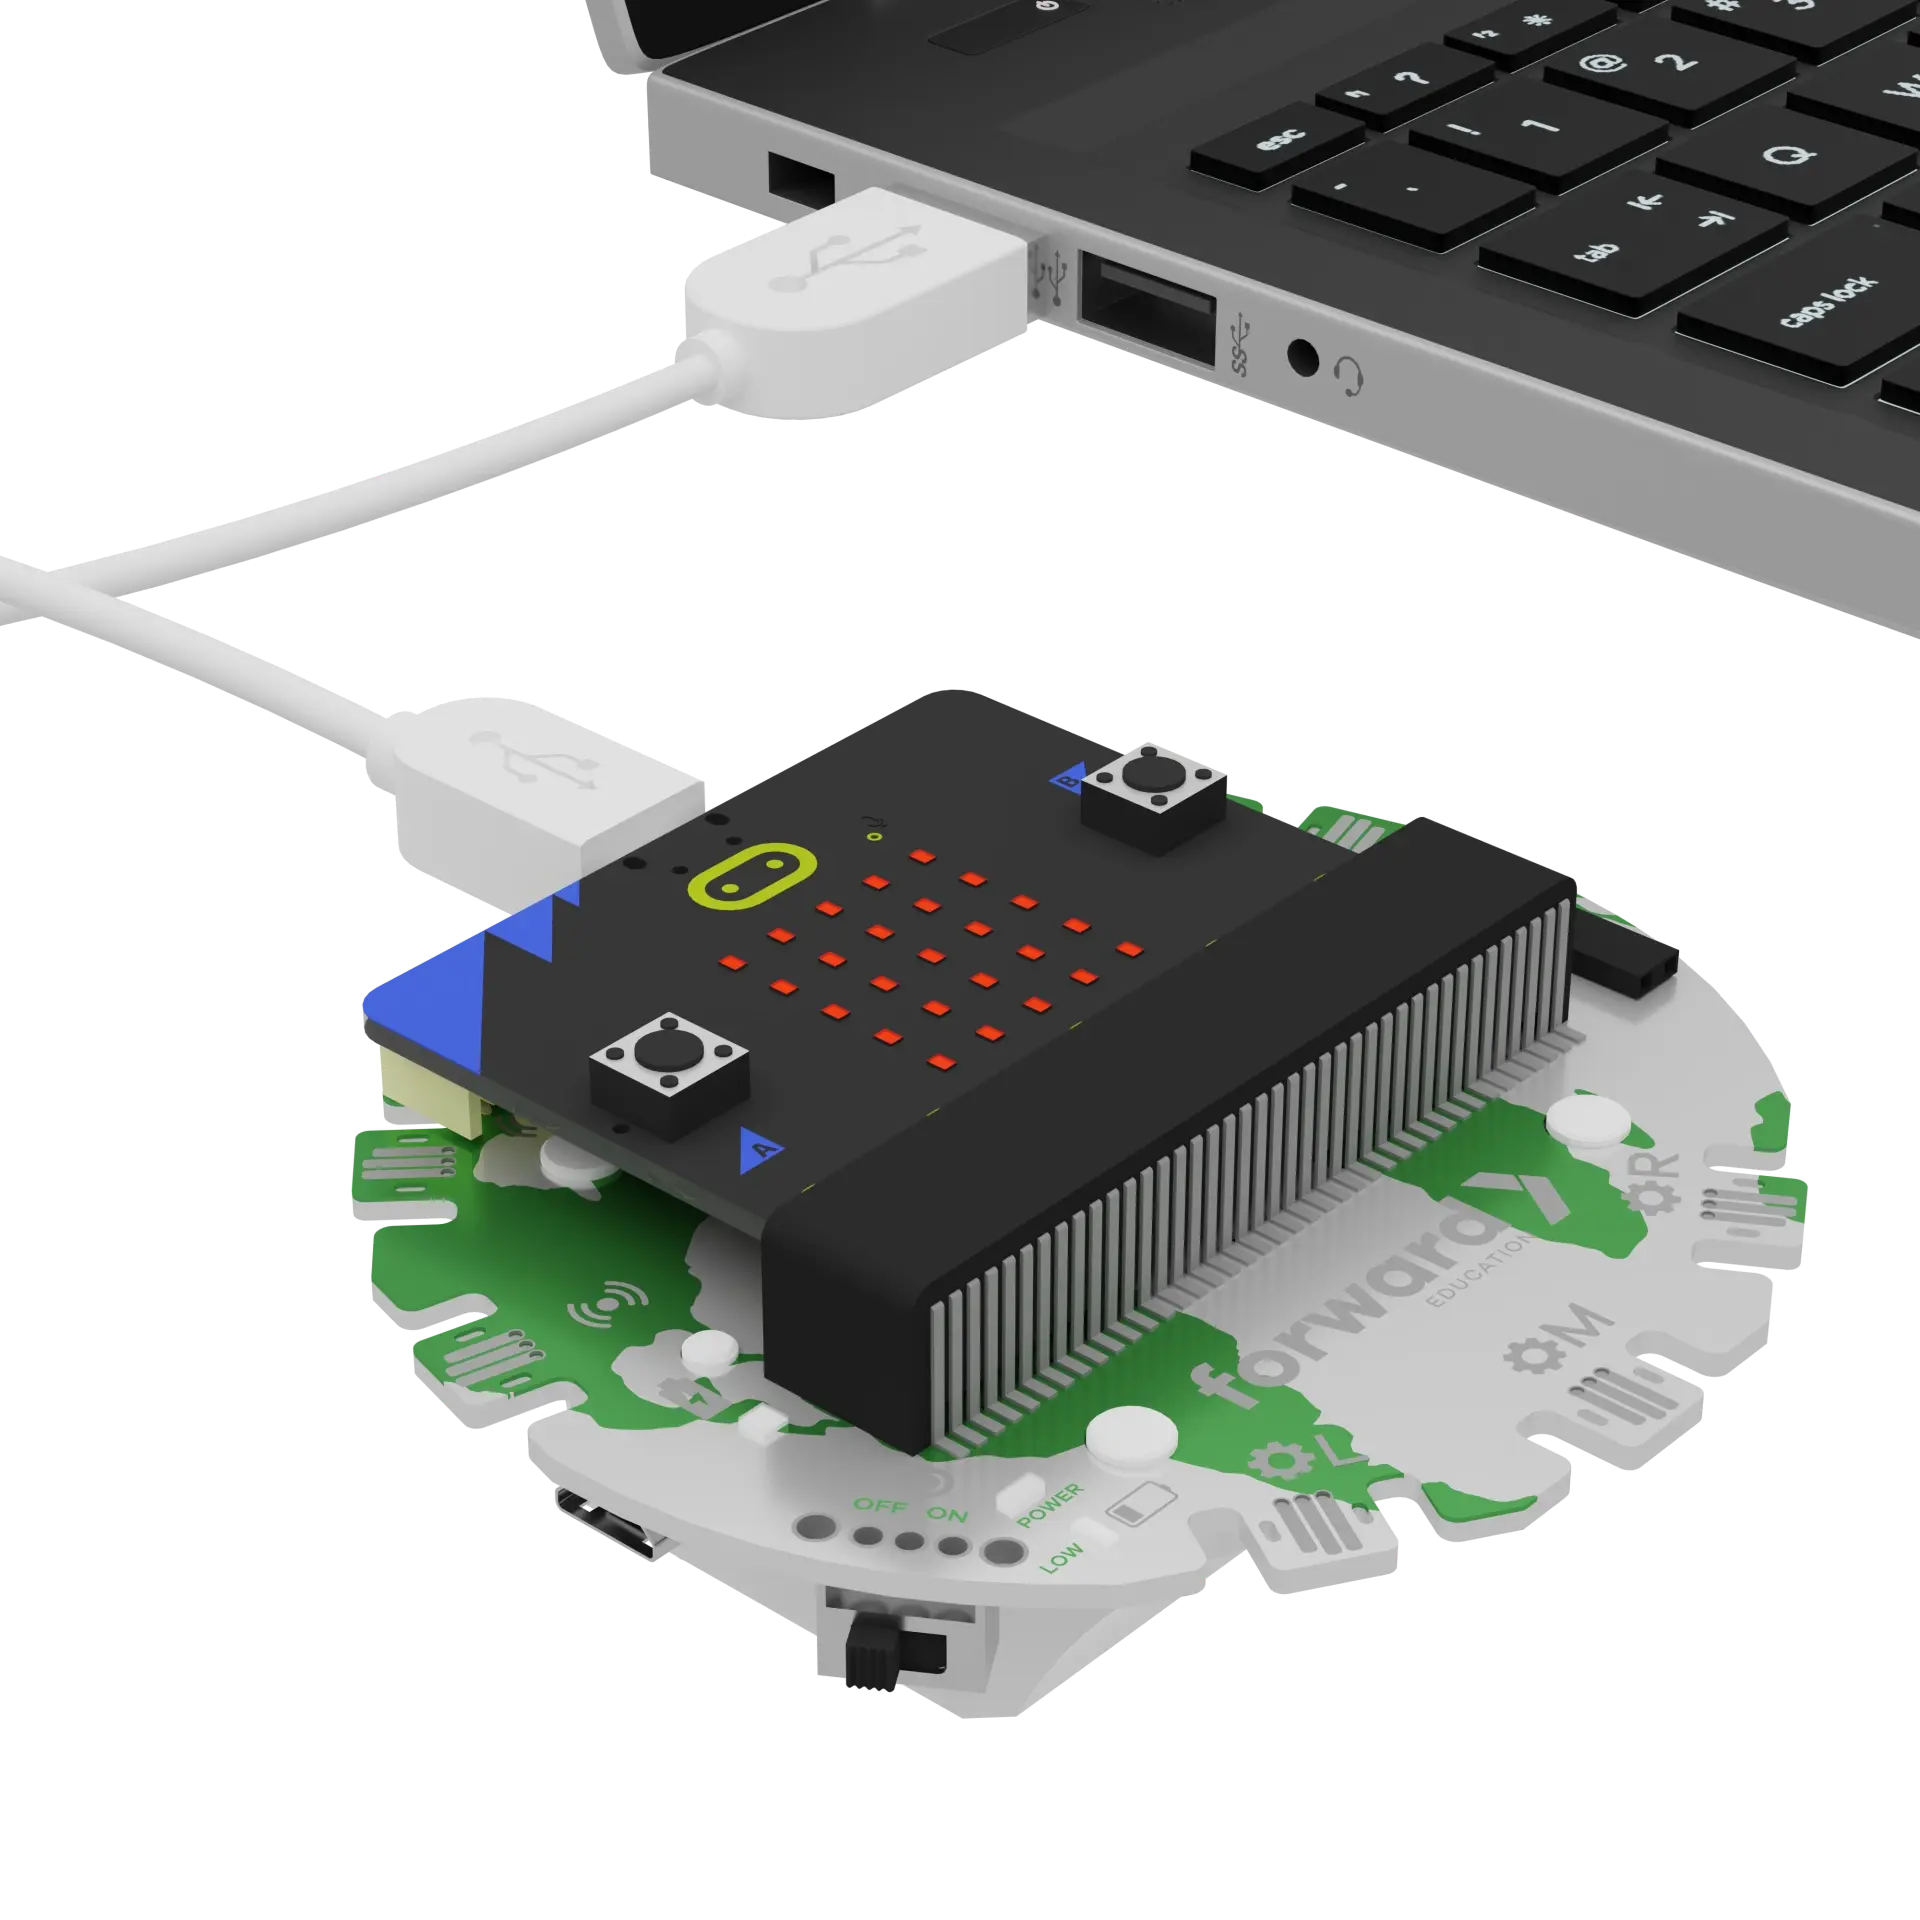
We need to connect our project to the computer to make it come to life with code!
The code will be the instructions that tell our micro:bit what to do.
input.onButtonPressed(Button.A, function () {
    fwdMotors.leftServo.fwdSetAngleAndWait(10)
    basic.showLeds(`
        # . # . #
        . # # # .
        # # # # #
        . # # # .
        # . # . #
        `)
    fwdSensors.ledRing.fwdSetAllPixelsColour(0xff0000)
    basic.pause(5000)
    fwdSensors.ledRing.fwdSetAllPixelsColour(0x000000)
    basic.clearScreen()
    fwdMotors.leftServo.fwdSetAngleAndWait(0)
    basic.pause(5000)
})
input.onButtonPressed(Button.B, function () {
    fwdMotors.leftServo.fwdSetAngleAndWait(60)
    basic.showLeds(`
        # . # . #
        . # # # .
        # # # # #
        . # # # .
        # . # . #
        `)
    fwdSensors.ledRing.fwdSetAllPixelsColour(0x0000ff)
    basic.pause(5000)
    fwdSensors.ledRing.fwdSetAllPixelsColour(0x000000)
    basic.clearScreen()
    fwdMotors.leftServo.fwdSetAngleAndWait(0)
    basic.pause(5000)
})
input.onButtonPressed(Button.AB, function () {
    fwdMotors.leftServo.fwdSetAngleAndWait(120)
    basic.showLeds(`
        # . # . #
        . # # # .
        # # # # #
        . # # # .
        # . # . #
        `)
    fwdSensors.ledRing.fwdSetAllPixelsColour(0xffffff)
    basic.pause(5000)
    fwdSensors.ledRing.fwdSetAllPixelsColour(0x000000)
    basic.clearScreen()
    fwdMotors.leftServo.fwdSetAngleAndWait(0)
    basic.pause(5000)
})

fwdMotors.leftServo.fwdSetAngleAndWait(0)

// @collapsed
function lightPlant (location: number, colour: number) {
    fwdMotors.leftServo.fwdSetAngleAndWait(location)
    basic.showLeds(`
        # . # . #
        . # # # .
        # # # # #
        . # # # .
        # . # . #
        `)
    fwdSensors.ledRing.fwdSetAllPixelsColour(colour)
    basic.pause(5000)
    fwdSensors.ledRing.fwdSetAllPixelsColour(0x000000)
    basic.clearScreen()
    fwdMotors.leftServo.fwdSetAngleAndWait(0)
    basic.pause(5000)
}

// @collapsed
input.onLogoEvent(TouchButtonEvent.Pressed, function () {
    lightPlant(10, 16711680)
})
IMPORTANT! Make sure your Climate Action Kit Breakout Board is turned on and your micro:bit is plugged into your computer.
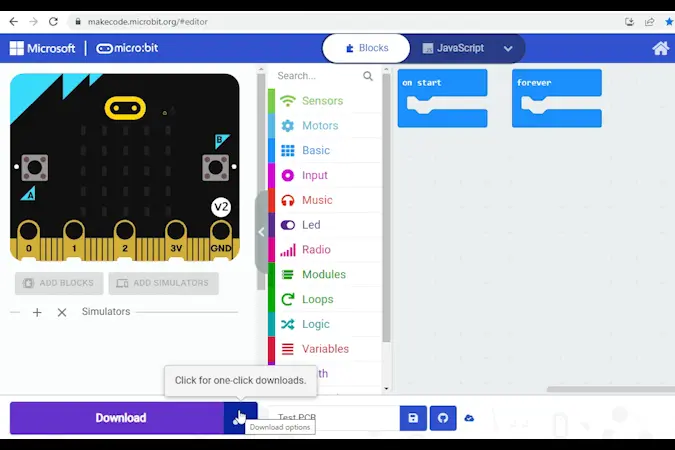
Click the three dots beside the |Download| button, then click on Connect Device. Next, follow the steps to pair your micro:bit.
Click the |Download| button to download the code to your project.
We are ready to use our vertical farm prototype!
Tips
- Follow the instructions at the top of the screen.
- When you are ready for more information, click 'Tell me more!'
- If you need help with the code, click the lightbulb!
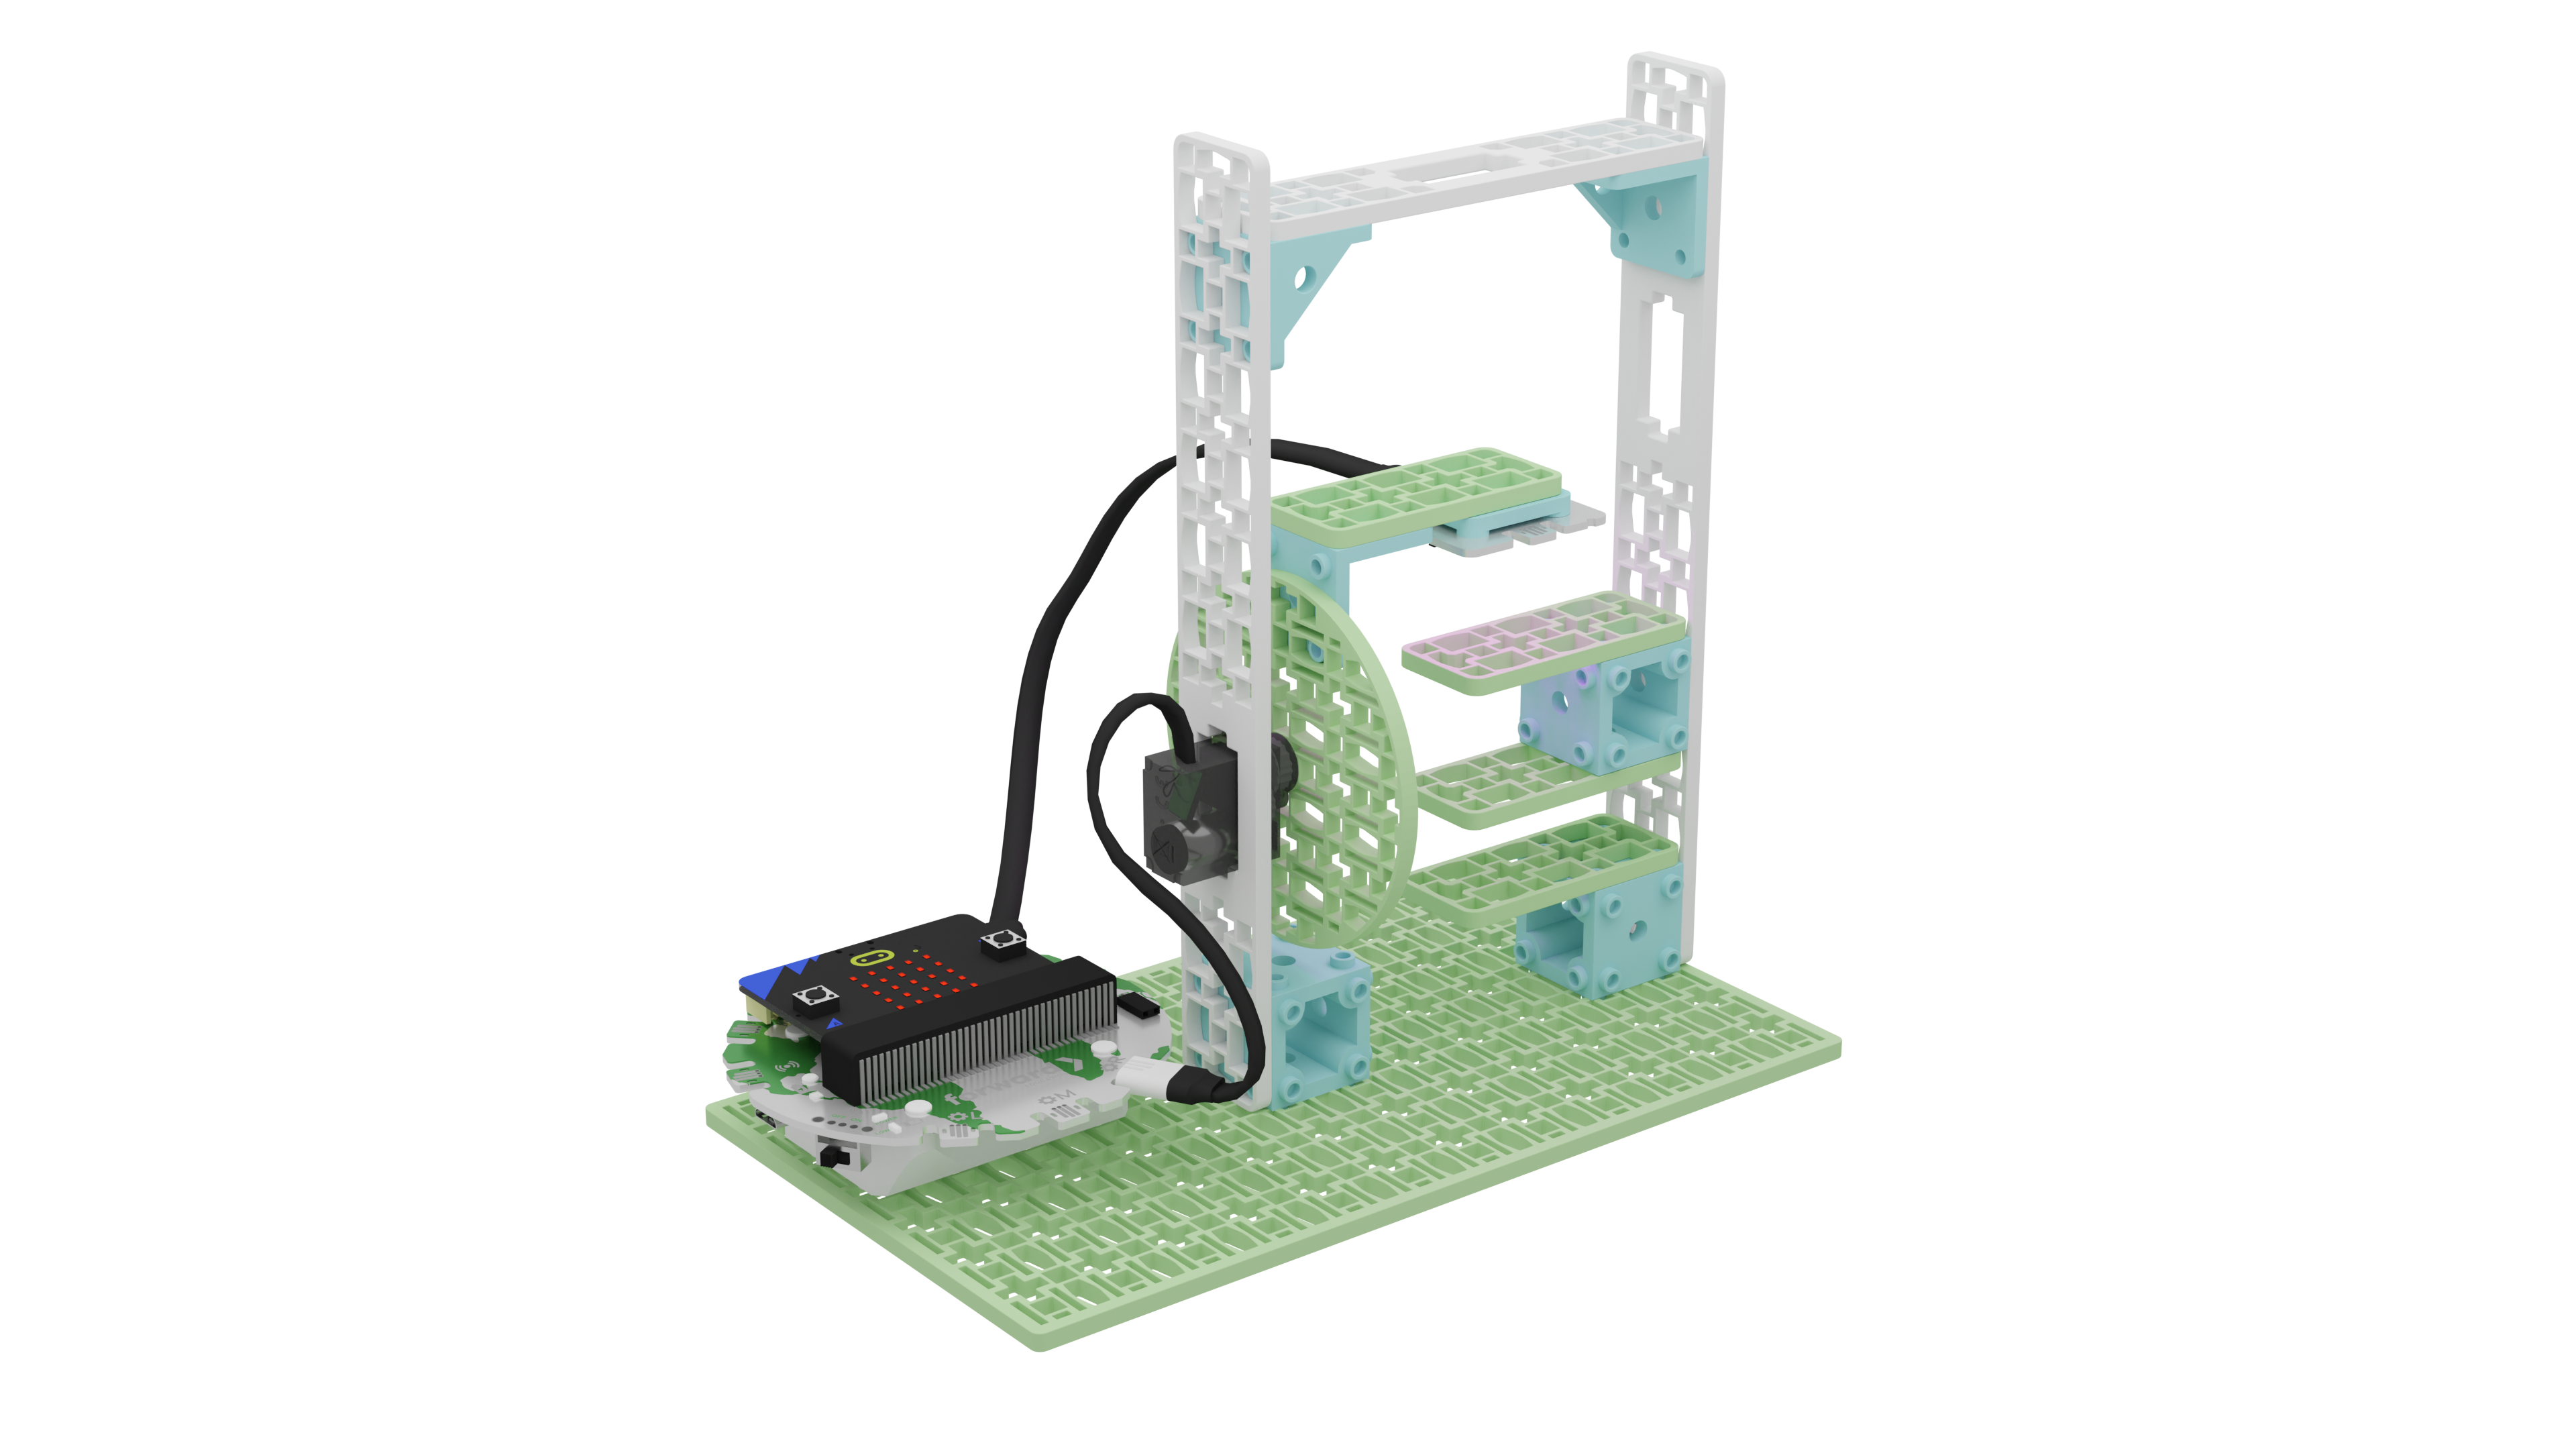
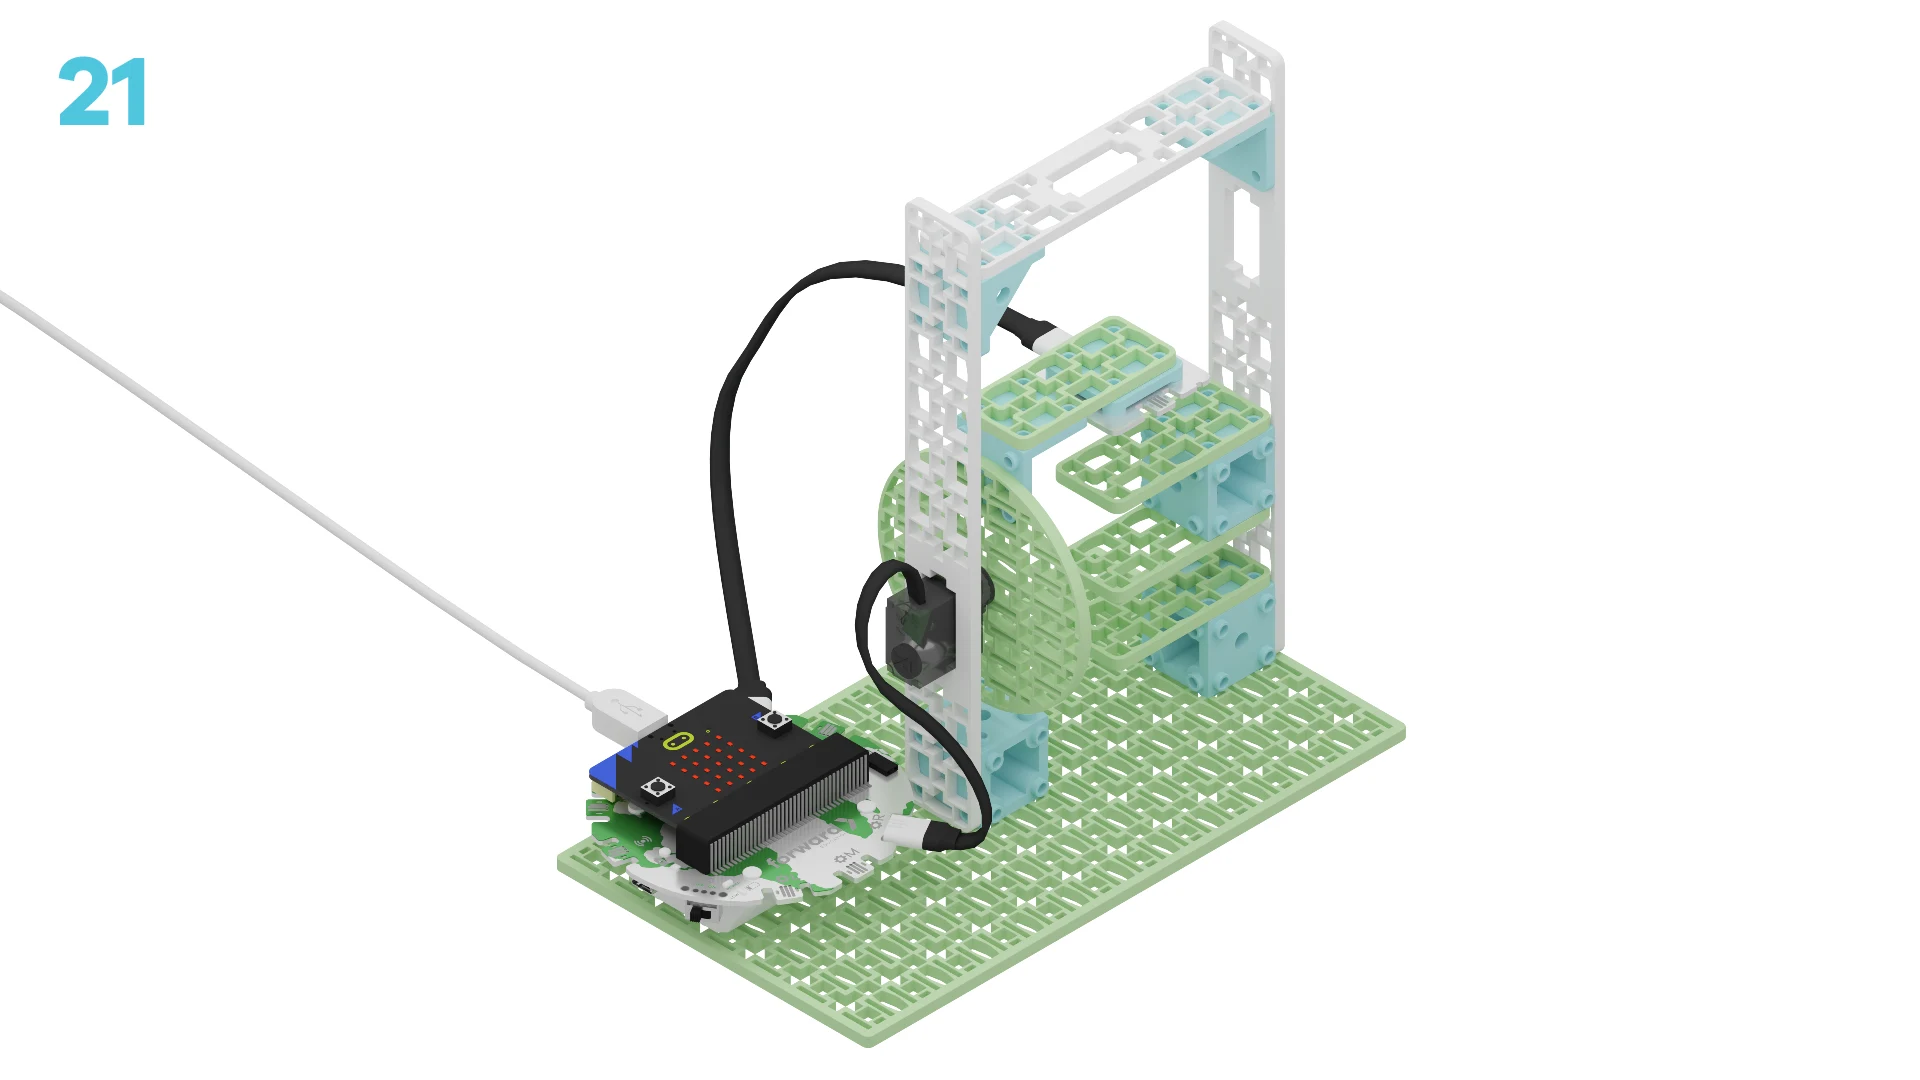
Take a look at your vertical farm prototype. Can you name all of its physical parts?
~hint Tell me more! Our vertical farm has:
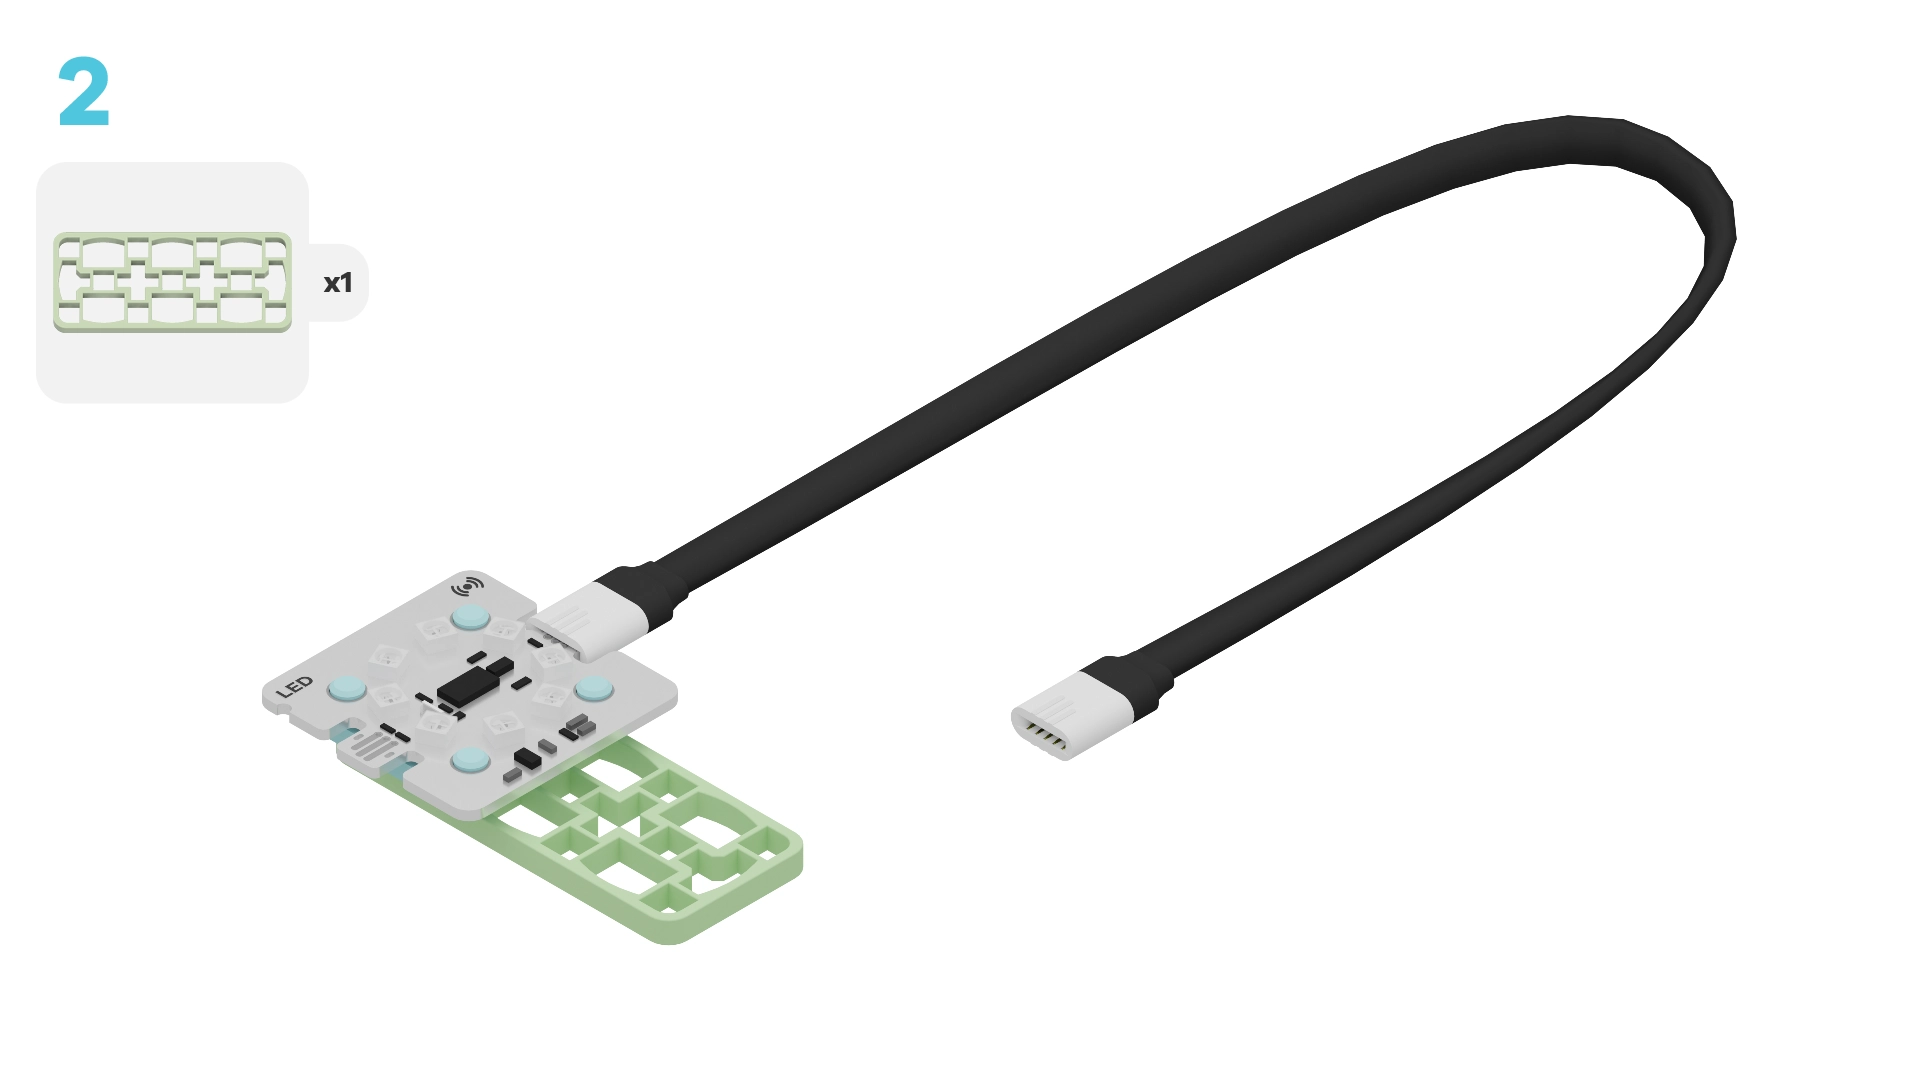
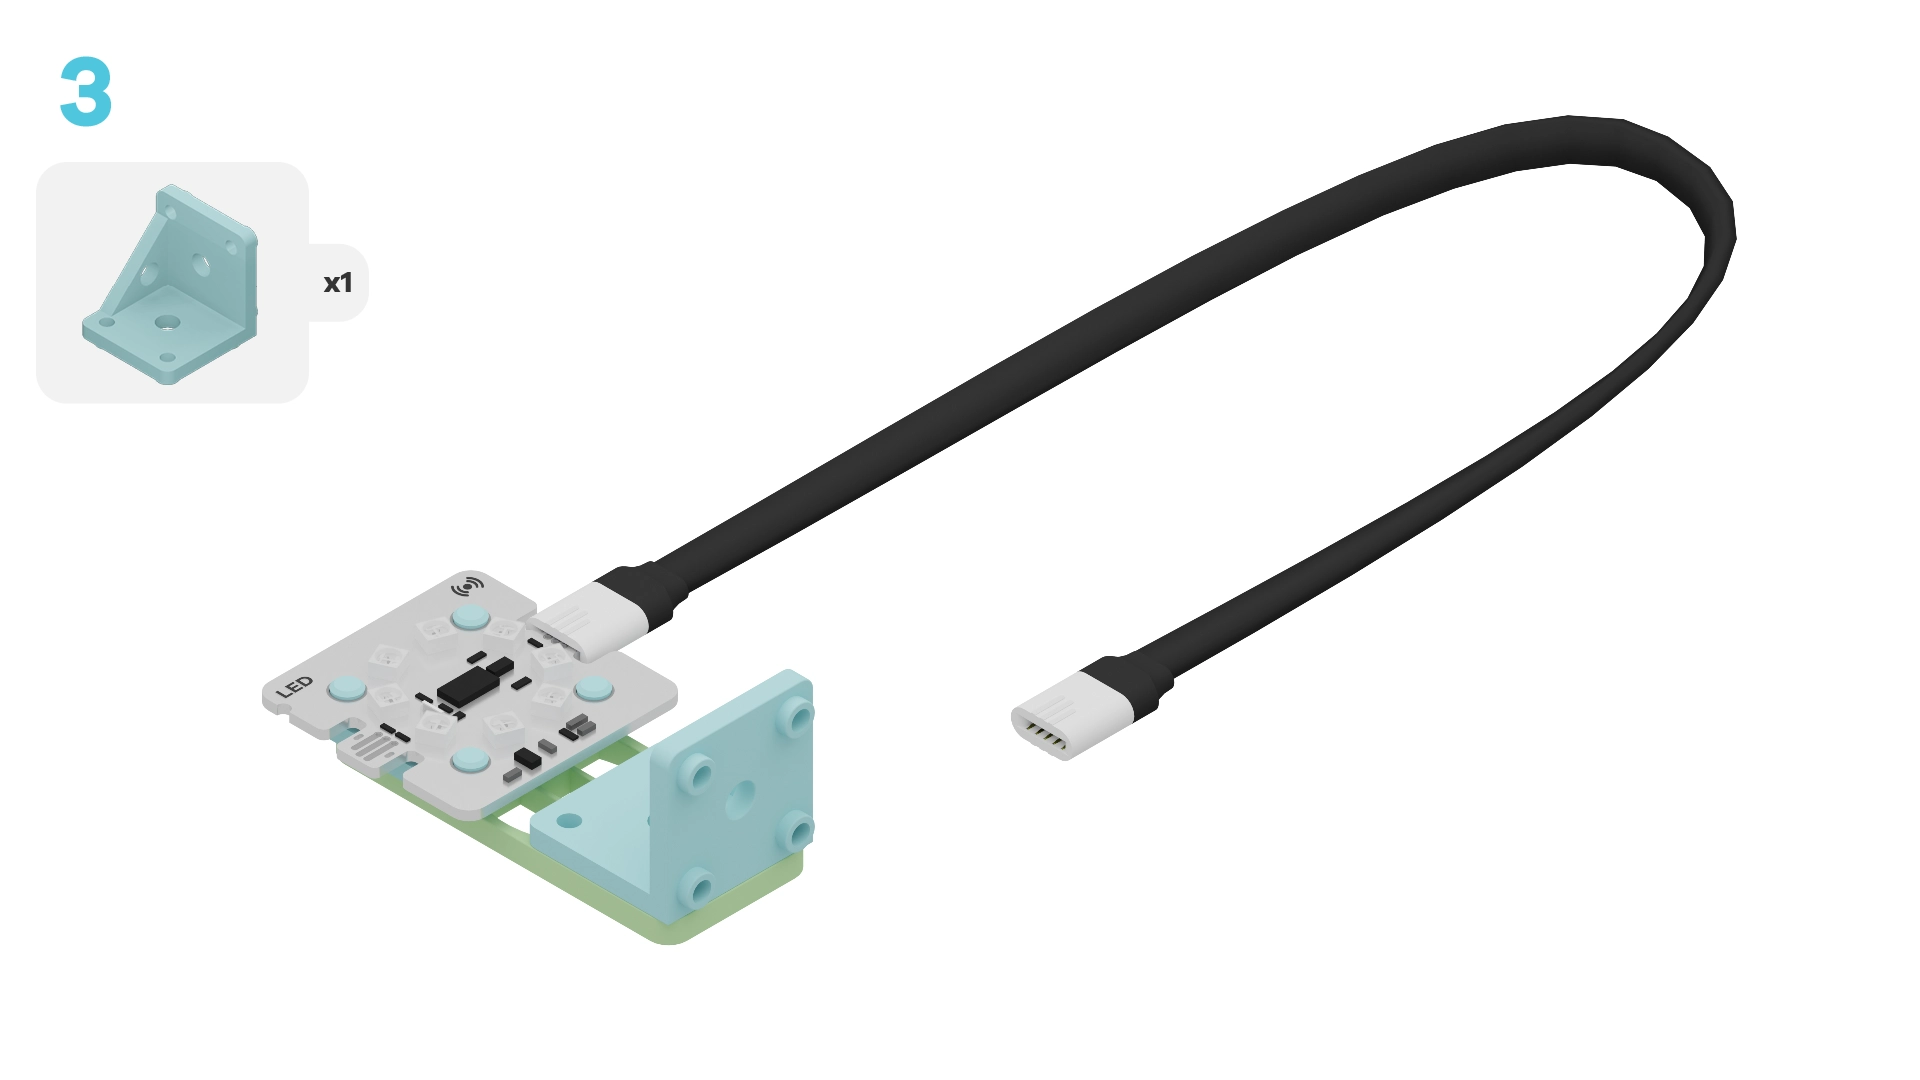
- Building blocks: one baseplate, two long frames, one medium frame, four small frames, one circle, three cube connectors, and three corner connectors
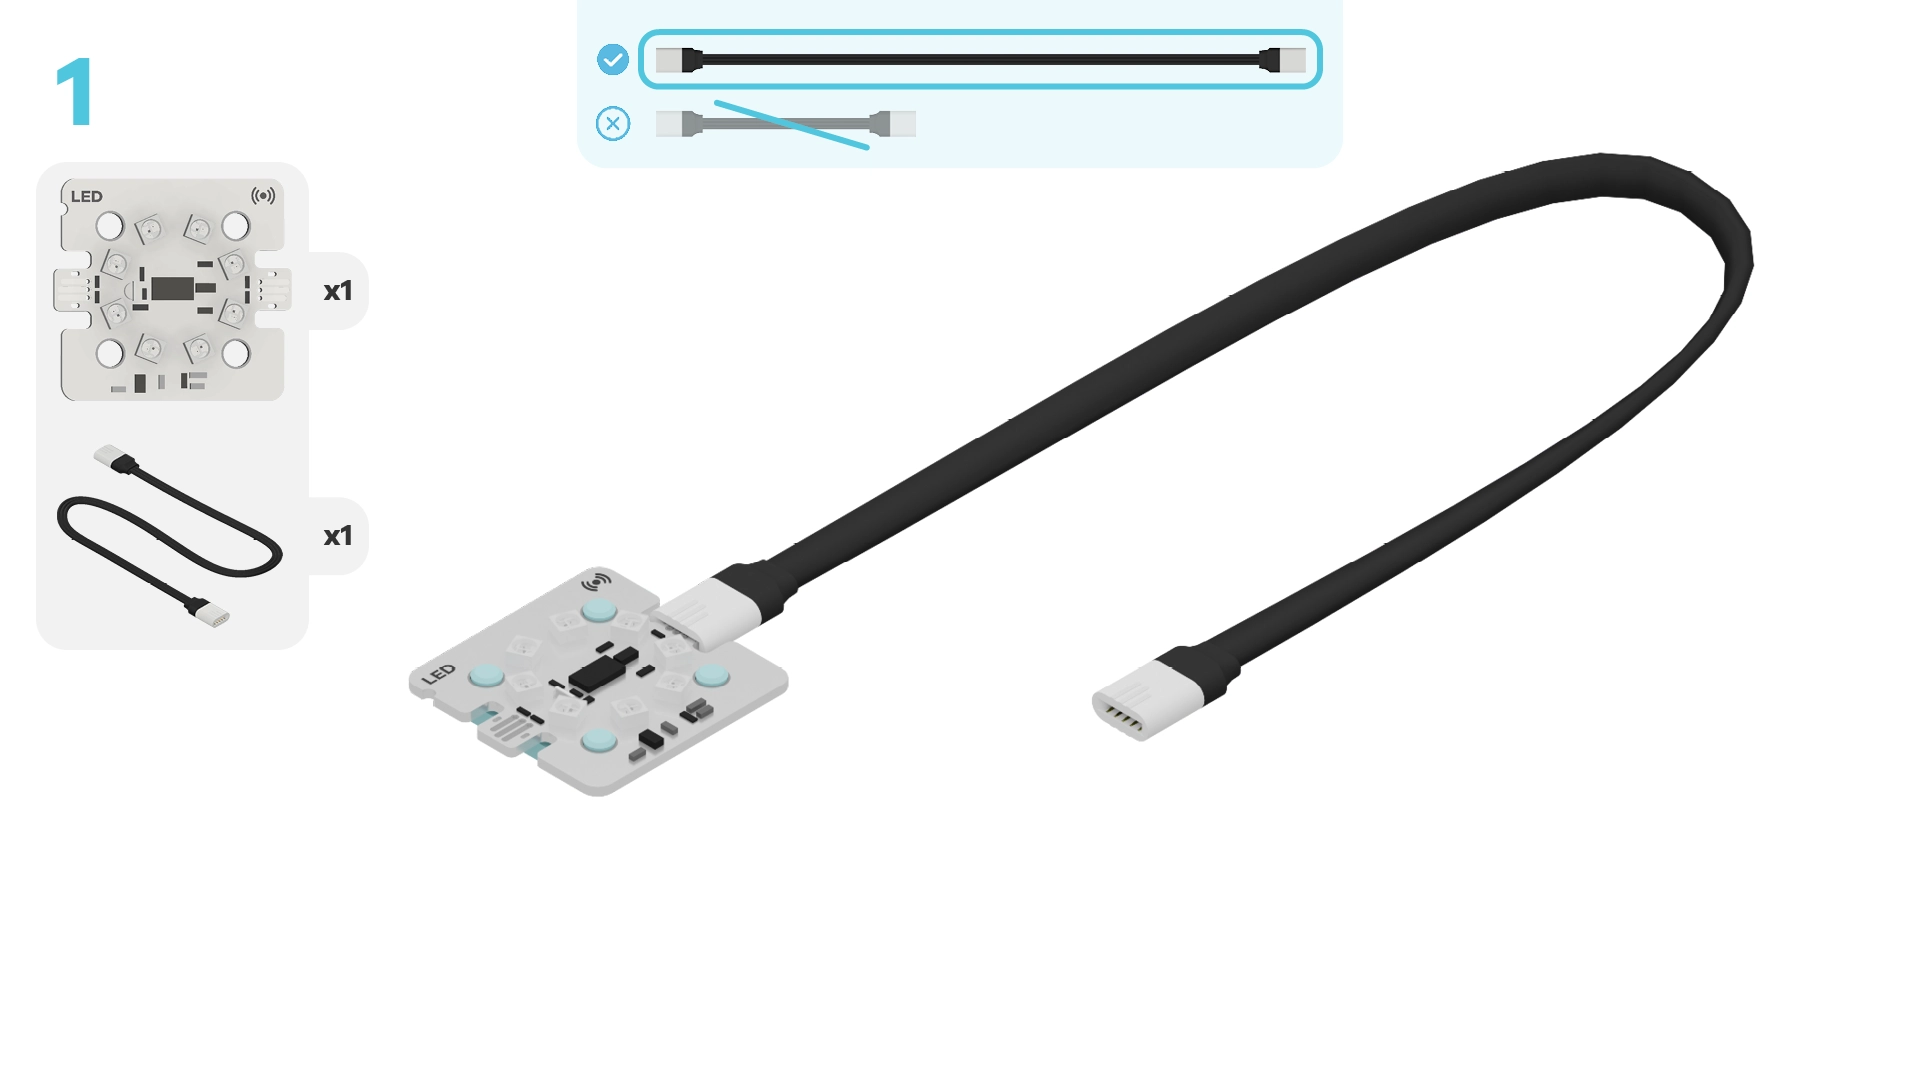
- Robotic components: a micro:bit, a breakout board, a battery, a positional servo motor, and an LED ring
- One long cable connector hint~
What do you think is the purpose of each part? How do they interact with one another?
~hint Tell me more!
- The building blocks form the stacks that hold the plants in our vertical farm and the LED arm that will light our plants.
- The micro:bit stores all the code that tells our vertical farming prototype how to operate.
- The breakout board sends these instructions from the micro:bit to the LED ring and the positional servo motor. The positional servo motor will rotate our LED arm so it can move to and light a specific row of plants.
- The battery on the breakout board powers our project when it's not plugged into the computer. hint~
Let’s start by testing out our vertical farm.
What happens when you press A? Press it a few times and write out an ordered list of everything you notice.
Note: Wait 5 seconds between each button press.
~hint Tell me more! When you press A:
- The LED arm moves next to the top row of plants.
- The micro:bit displays a sun icon on its LED display.
- The LED ring turns red for about 5 seconds.
- The LED ring turns off.
- The micro:bit’s LED display is cleared.
- The LED arm moves back to its initial position.
This is the ideal lighting treatment for the plant that is located on the top stack in our vertical farm. hint~
What happens when you press B? Press it a few times and write out an ordered list of all you notice.
Note: Wait 5 seconds between each button press.
~hint Tell me more! When you press B:
- The LED arm moves next to the middle row of plants.
- The micro:bit displays a sun icon on its LED display.
- The LED ring turns blue for about 5 seconds.
- The LED ring turns off.
- The micro:bit’s LED display is cleared.
- The LED arm moves back to its initial position.
This is the ideal lighting treatment for the plant that is located on the middle stack in our vertical farm. hint~
What happens when you press A+B? Press it a few times and write out an ordered list of all you notice.
Note: Wait 5 seconds between each button press.
~hint Tell me more! When you press A+B:
- The LED arm moves next to the bottom row of plants.
- The micro:bit displays a sun icon on its LED display.
- The LED ring turns white for about 5 seconds.
- The LED ring turns off.
- The micro:bit’s LED display is cleared.
- The LED arm moves back to its initial position.
This is the ideal lighting treatment for the plant that is located on the bottom stack in our vertical farm. hint~
Compare and contrast these lighting treatments. What is different? What is the same?
At this point, you may take a look at the code under the ||input:on button A pressed||, ||input:on button B pressed||, and ||input:on button A+B pressed|| blocks in our workspace, if it helps!
~hint Tell me more! The lighting treatment for each plant is almost identical. The only differences are:
- where the LED arm ends up to best reach the plants in question (the angle of the positional servo motor)
- the colour of the LEDs hint~
Writing the same set of instructions multiple times isn’t very efficient! Plus, without a name, the purpose of all these steps might be unclear for someone who takes a single glance at the code.
How might you write a single sequence of steps that could be used to treat all plants? What would you call this process? Try it now!
~hint Tell me more! Say we call this process: Plant Light Treatment.
We could use placeholders for values that might change based on the plant species or life stage! For example, to light a plant:
- The LED arm moves next to the (location) of plants.
- The micro:bit displays a sun icon on its LED display.
- The LED ring turns (colour) for about 5 seconds.
- The LED ring turns off.
- The micro:bit’s LED display is cleared.
- The LED arm moves back to its initial position. hint~
We can accomplish this in coding by writing a function! A function is a block of reusable code that performs a single action. In this case, that action is lighting our different plants!
We’ve prewritten a function for you. Click the arrow beside the blue block to expand the code!
~hint Tell me more!
- Notice how the sequence of steps is the same as those under each event, except now we are using variables for any value that changes! hint~
function lightPlant (location: number, colour: number) {
    fwdMotors.leftServo.fwdSetAngleAndWait(location)
    basic.showLeds(`
        # . # . #
        . # # # .
        # # # # #
        . # # # .
        # . # . #
        `)
    fwdSensors.ledRing.fwdSetAllPixelsColour(colour)
    basic.pause(5000)
    fwdSensors.ledRing.fwdSetAllPixelsColour(0x000000)
    basic.clearScreen()
    fwdMotors.leftServo.fwdSetAngleAndWait(0)
    basic.pause(5000)
}
When you want to use a function in your code, you must call it.
~hint Tell me more!
- You can find the
||functions:call lightPlant||block under the||functions:Functions||category. hint~
We have already added a ||functions:call lightPlant|| block to our code under the ||input:on logo touched|| event. Expand this code by clicking the down arrow.
Press A again, then touch the logo on the front of the micro:bit. What do you notice?
Note: Wait 5 seconds between the button press and logo touch.
~hint Tell me more!
- Hopefully you’ve noticed that the lighting treatment is the same as it was before! hint~
// @hide
function lightPlant (location: number, colour: number) {
    fwdMotors.leftServo.fwdSetAngleAndWait(location)
    basic.showLeds(`
        # . # . #
        . # # # .
        # # # # #
        . # # # .
        # . # . #
        `)
    fwdSensors.ledRing.fwdSetAllPixelsColour(colour)
    basic.pause(5000)
    fwdSensors.ledRing.fwdSetAllPixelsColour(0x000000)
    basic.clearScreen()
    fwdMotors.leftServo.fwdSetAngleAndWait(0)
    basic.pause(5000)
}


input.onLogoEvent(TouchButtonEvent.Pressed, function () {
    lightPlant(10, 16711680)
})
See how much easier the code is to interpret now?
By using a function, we can simplify our code, make it easier to read, and cut the amount of blocks used! Each event only requires 1 block instead of 8!
You've completed the activity!
Did anything surprise you about this project?
List 2 new things you learned today.
What is one thing you want to learn more about?
In the next step, you can click the |Done| button to finish the tutorial.
