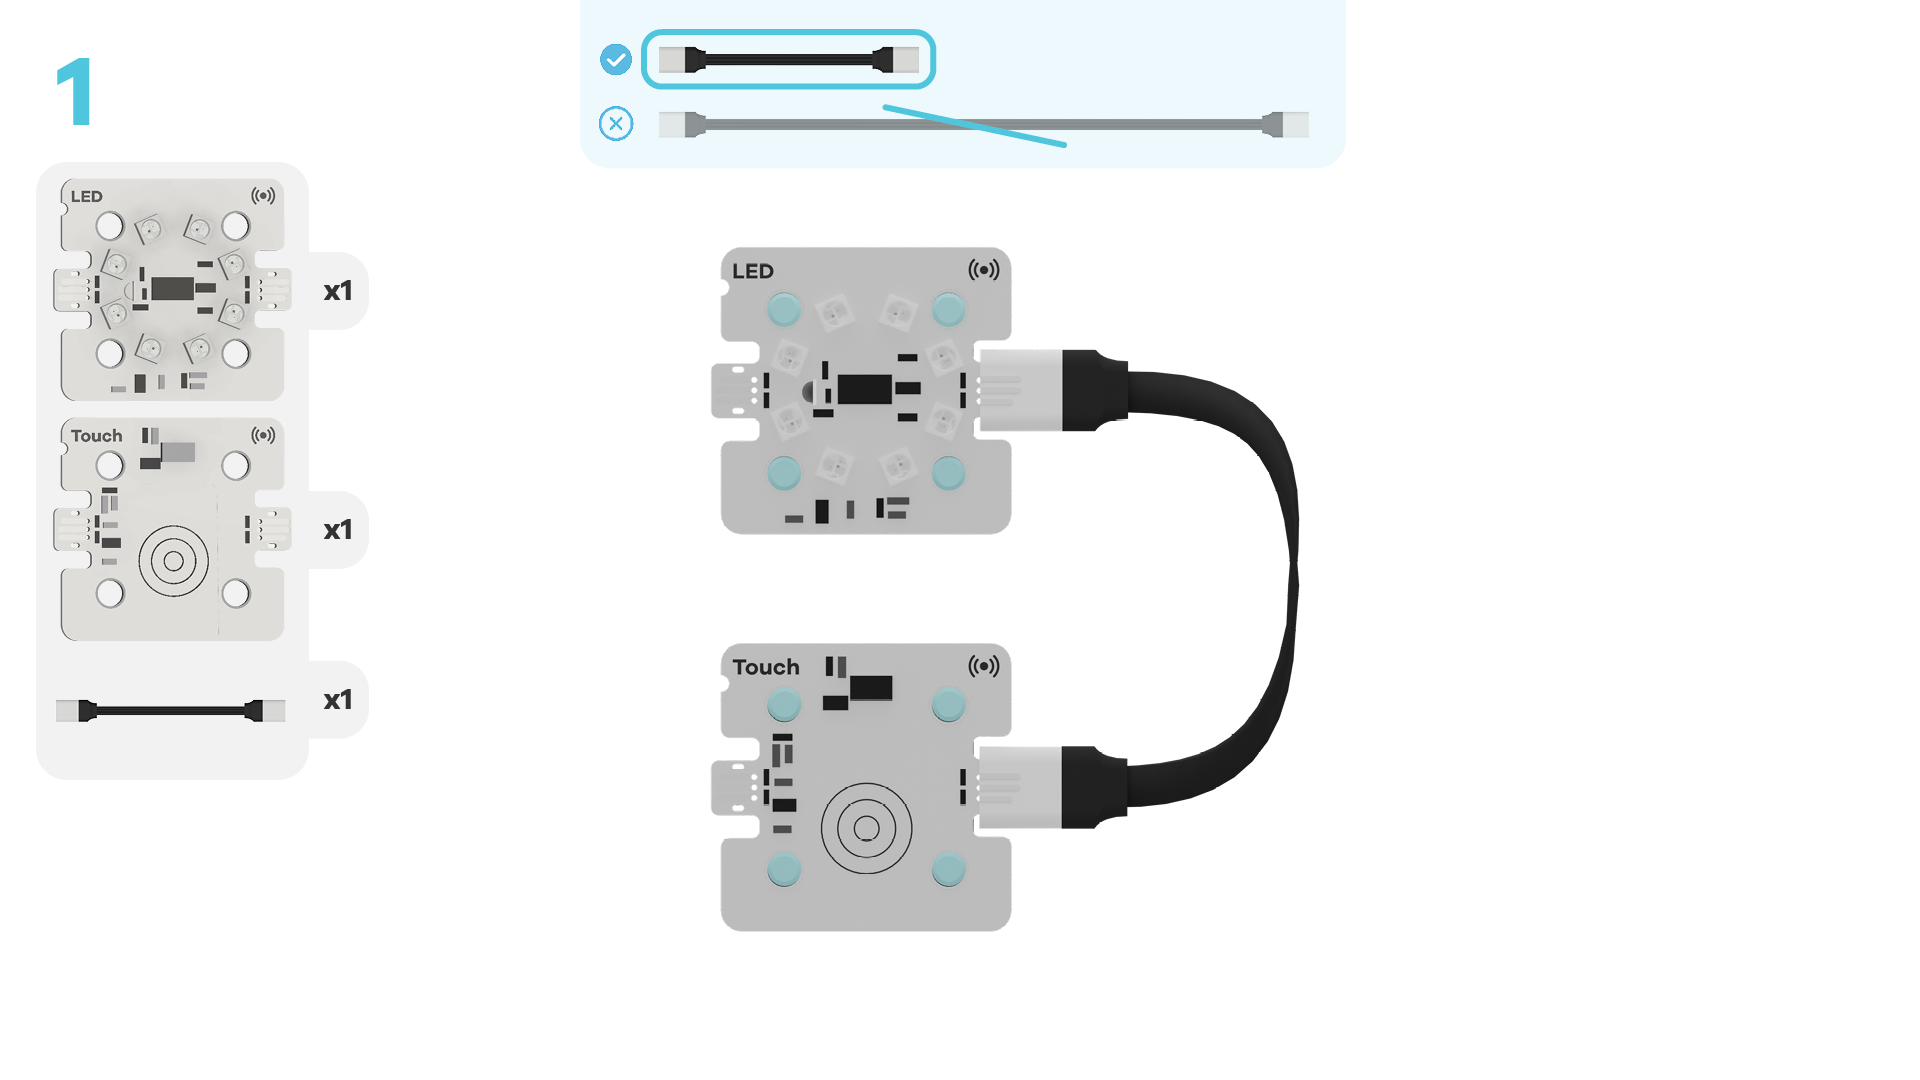
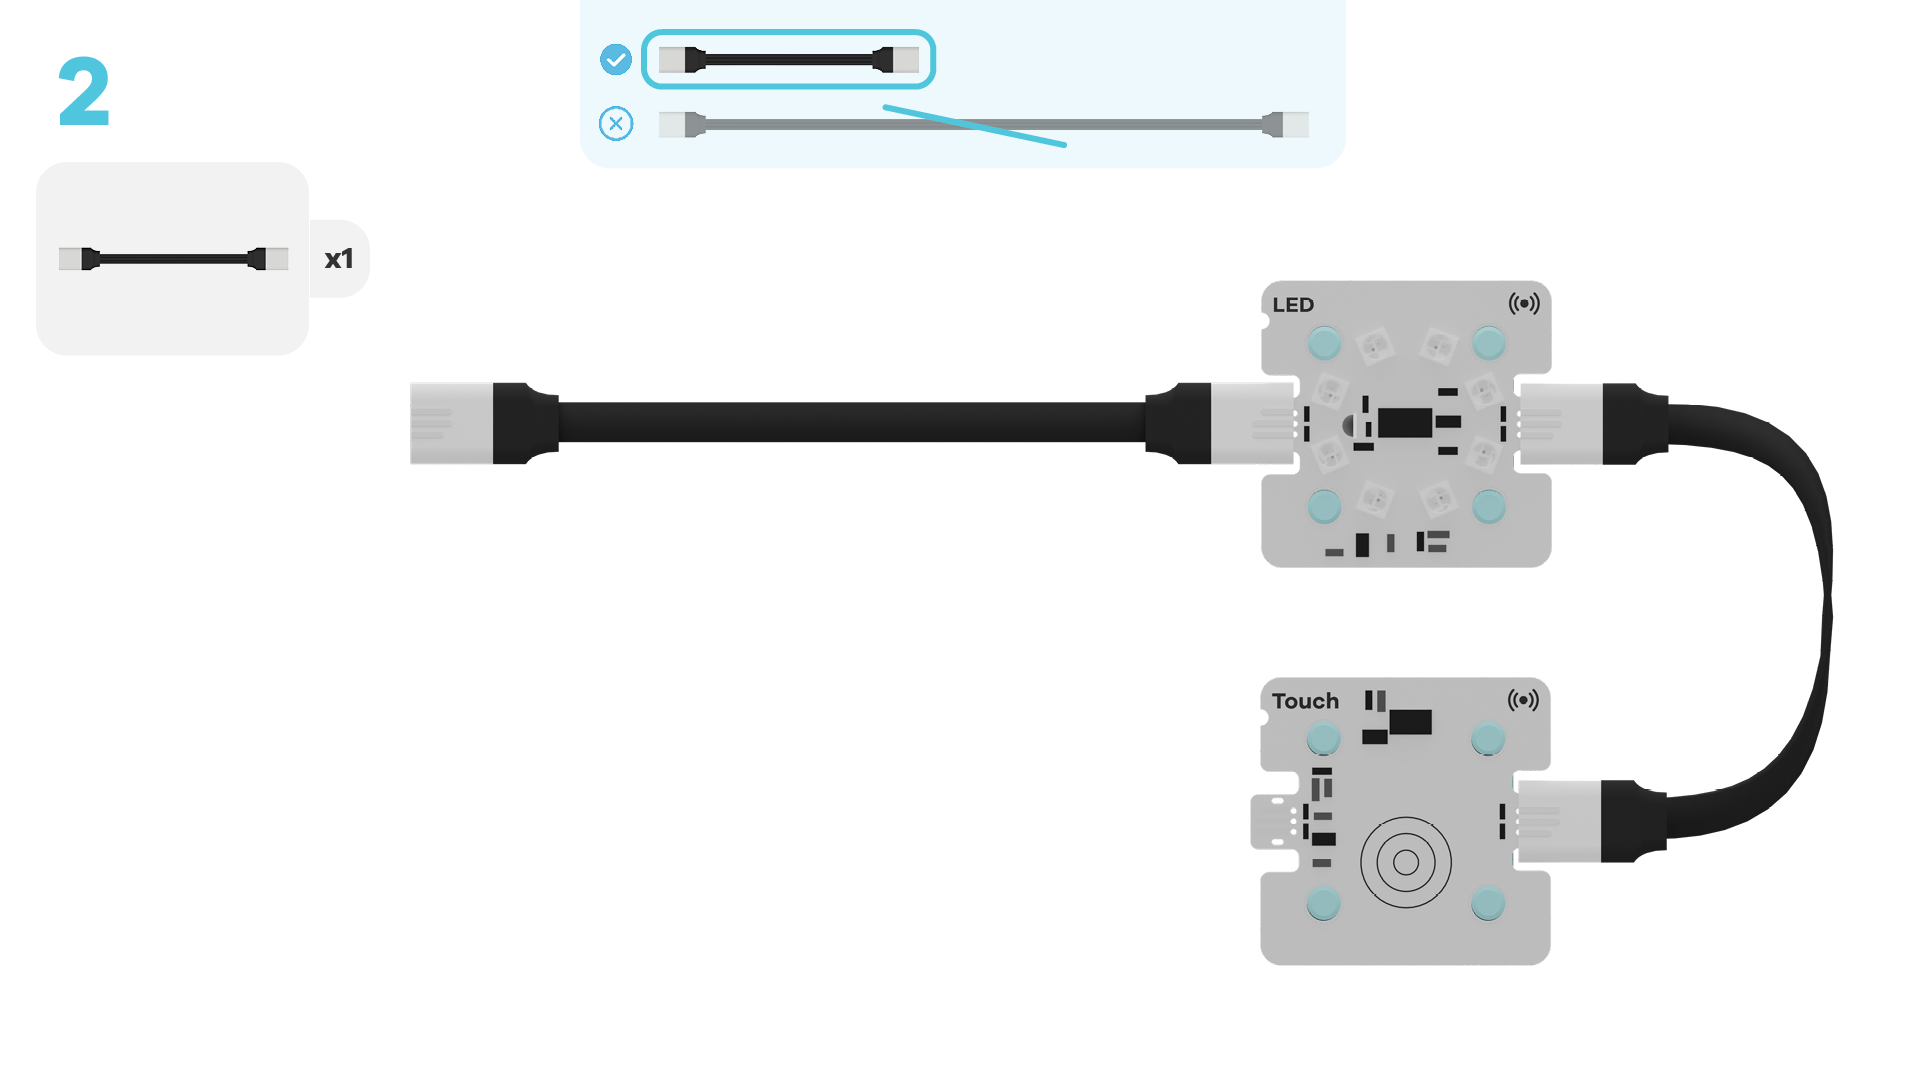
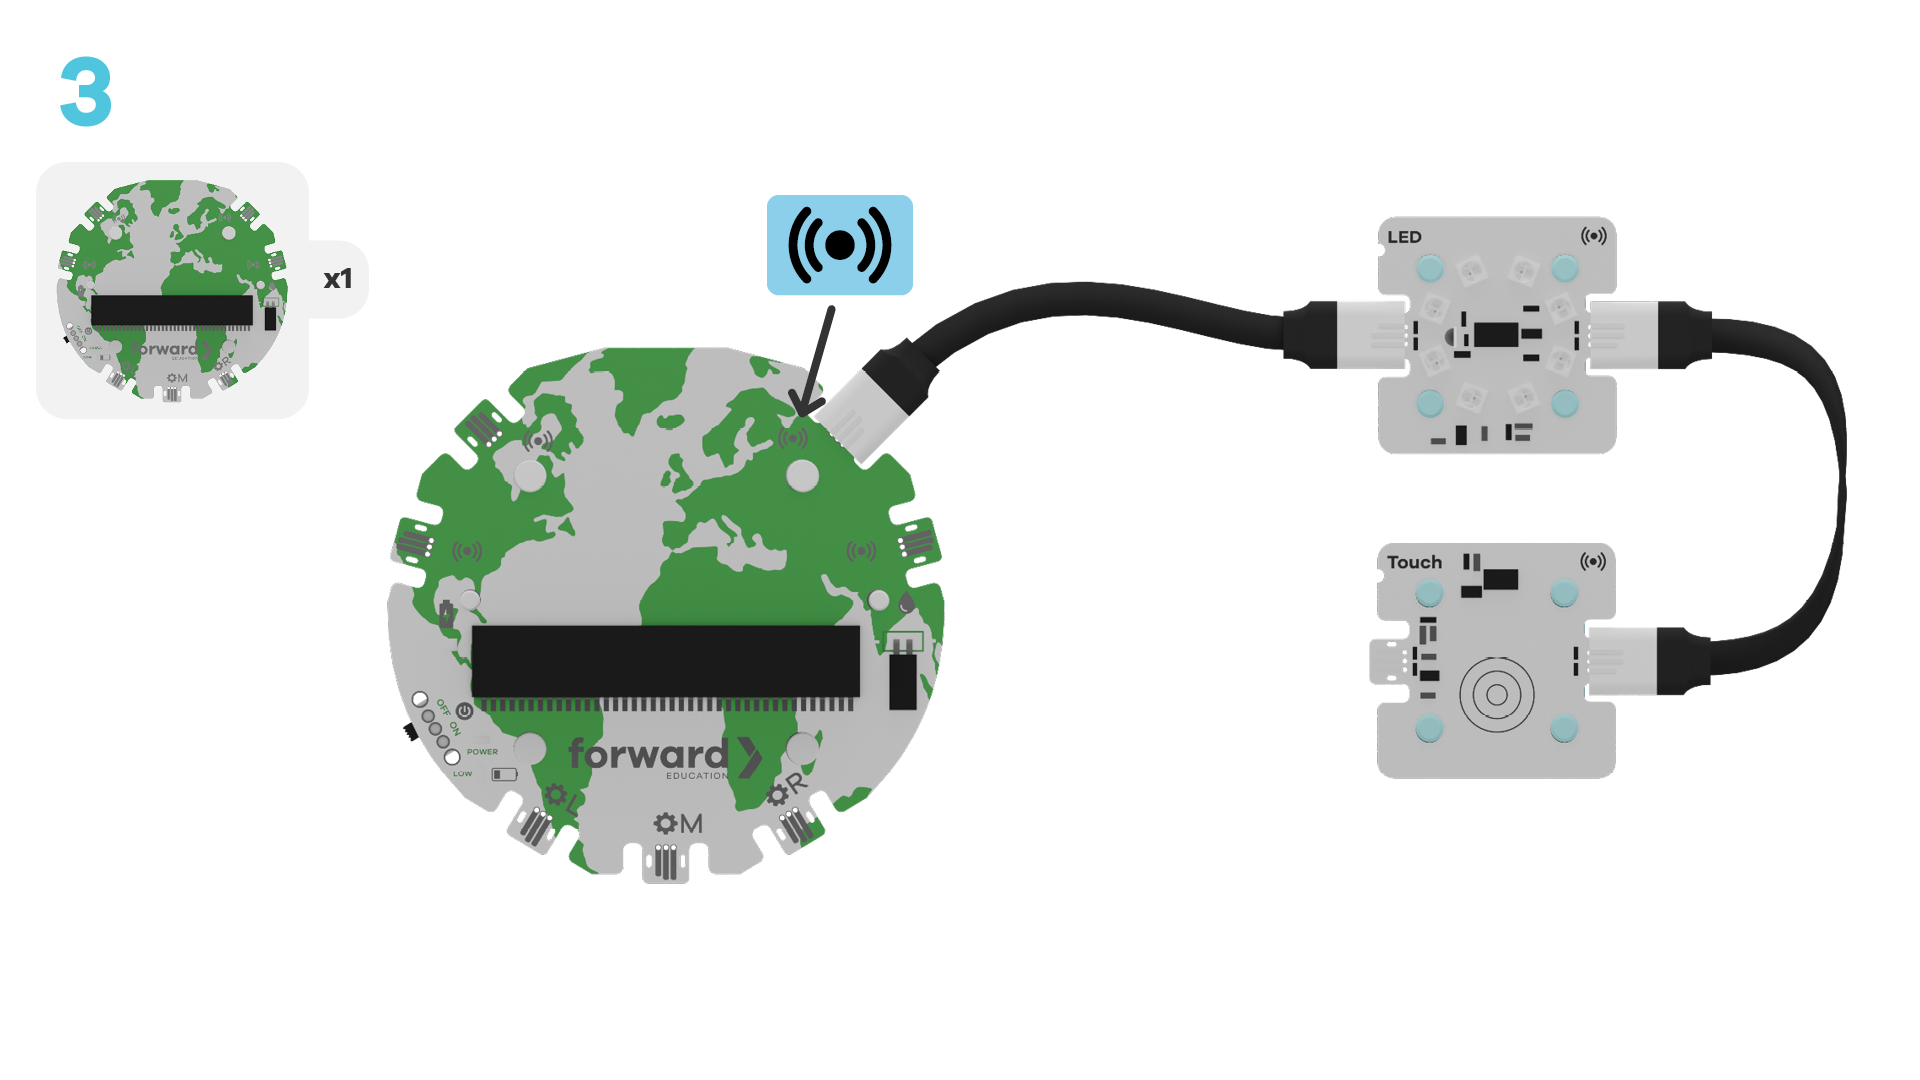
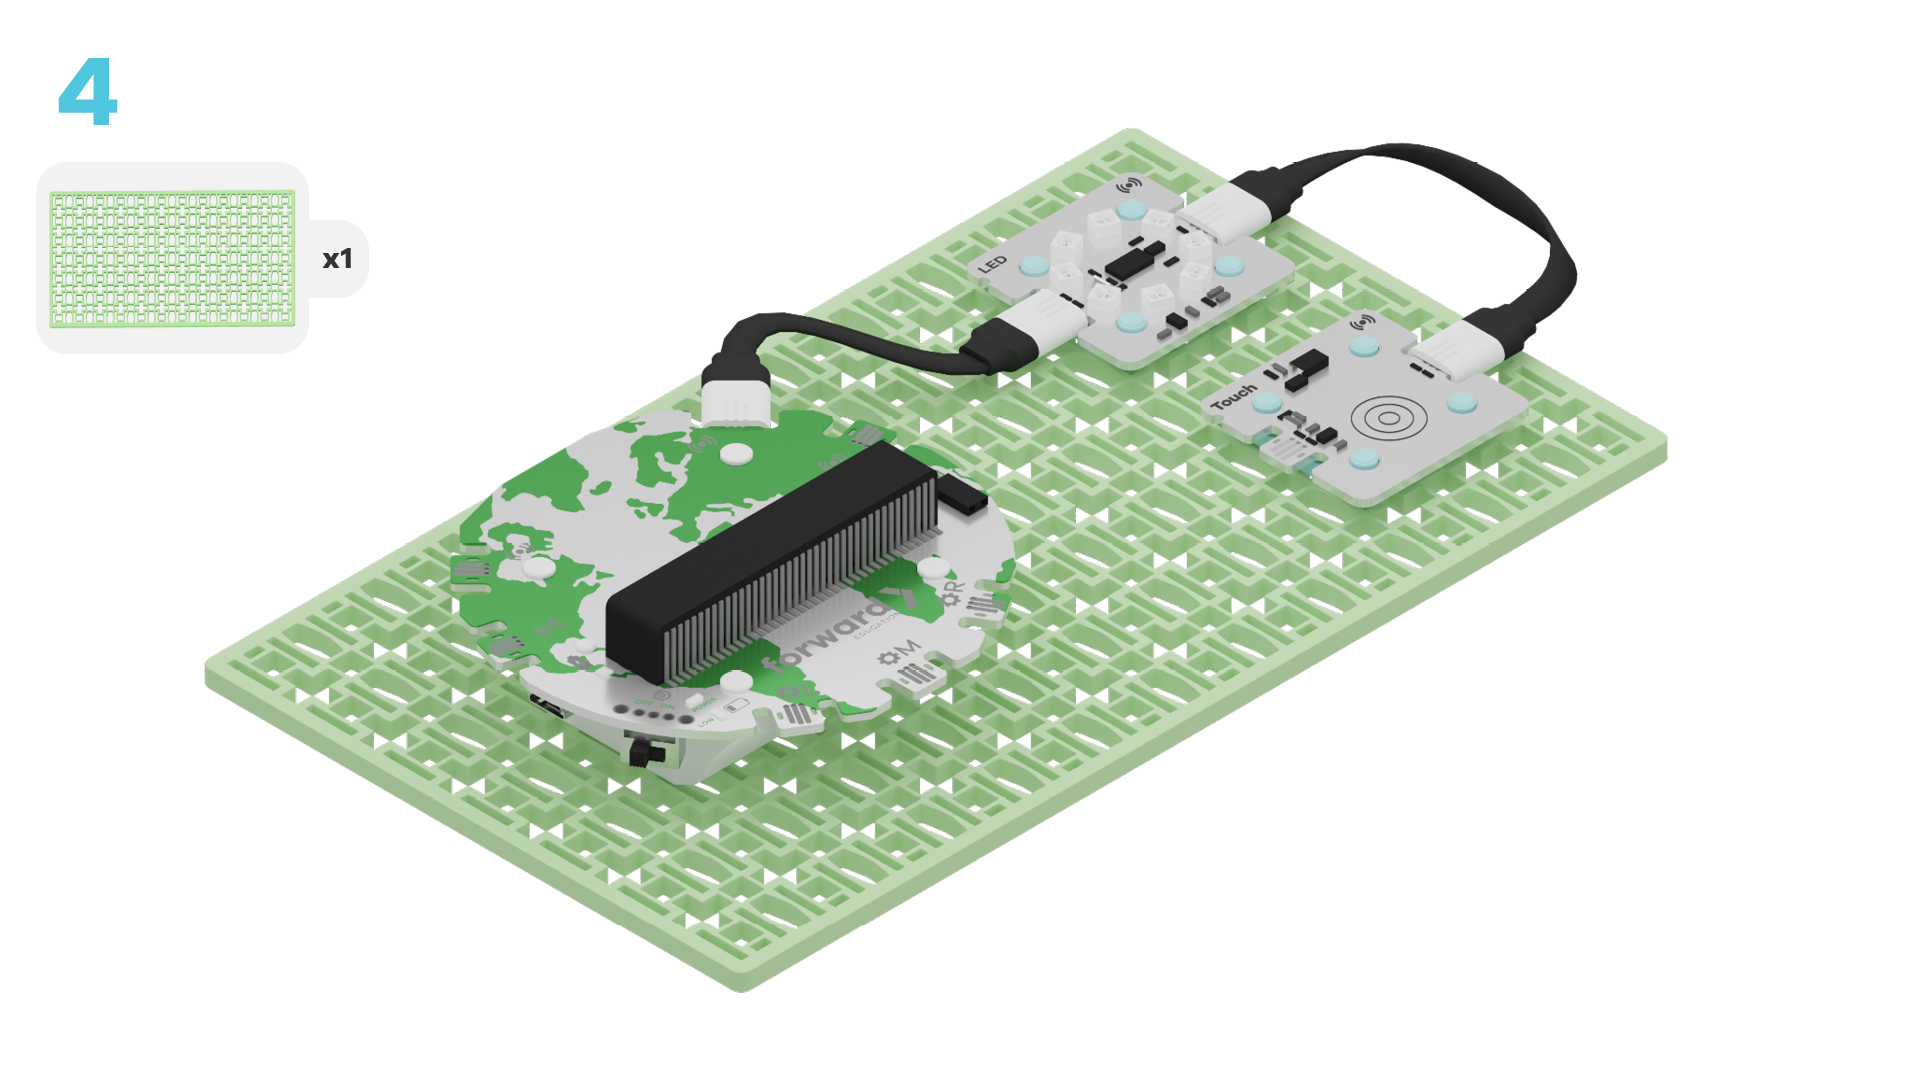
fwd-edu-breakout=github:climate-action-kits/pxt-fwd-edu/fwd-breakout
ledRing=github:climate-action-kits/pxt-fwd-edu
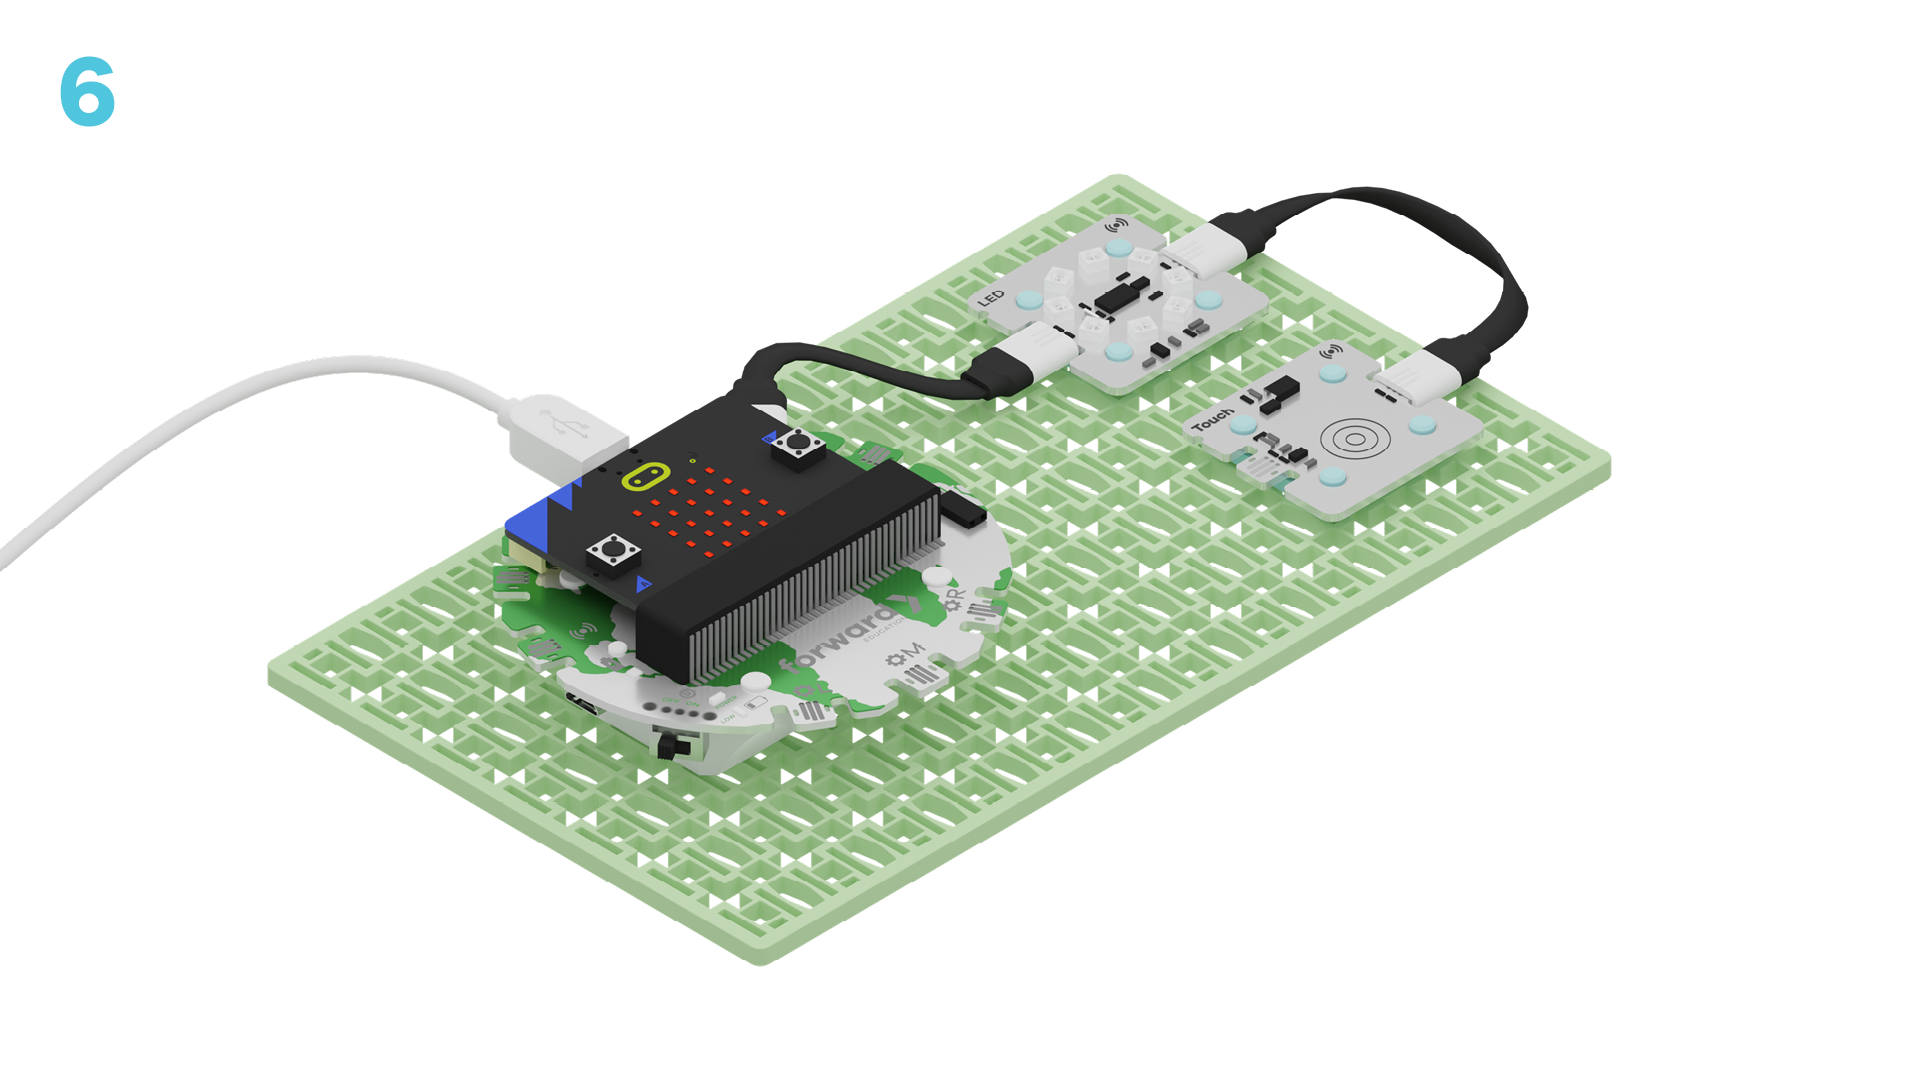
Welcome to the Monitoring Bees and pollination with a bug counter. For this project, we will use the Touch Sensor to detect when a 'bee' has landed on our project. The LED light will turn on when a 'bee' visits the project.
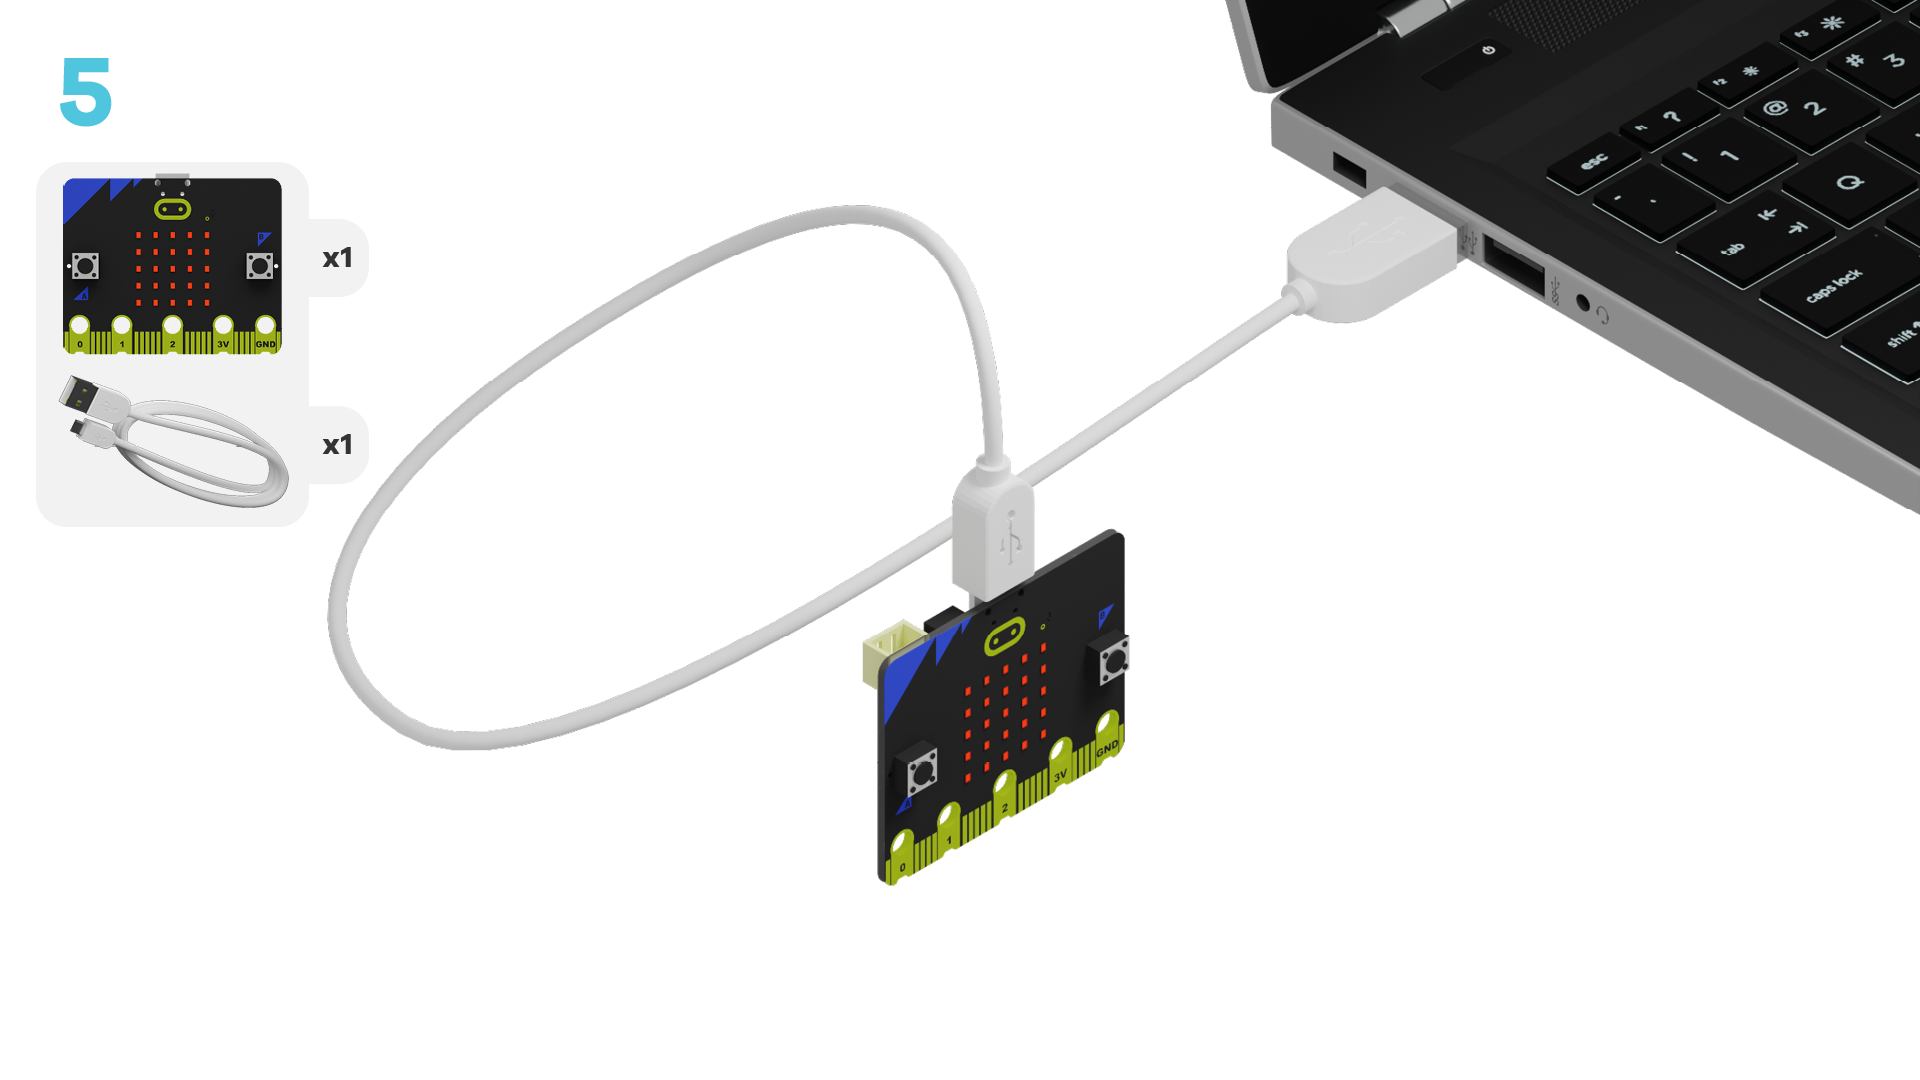
IMPORTANT! Make sure your Climate Action Kit Breakout Board is turned on and your micro:bit is plugged into your computer.
Click three dots beside |Download| button, and click on Connect Device.
Next, follow the steps to pair your micro:bit.
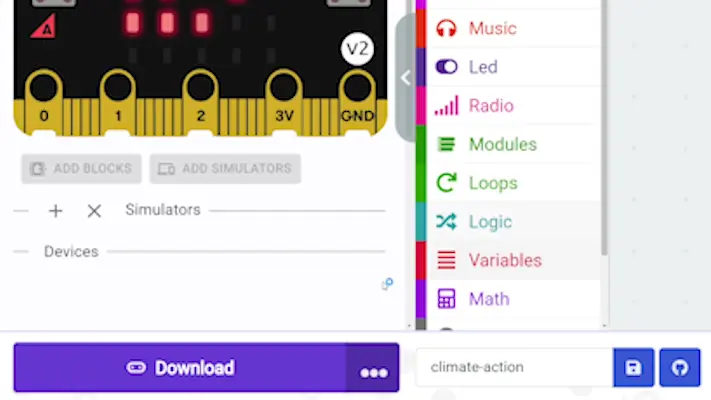
Click three dots beside |Download| button, and click on Connect Device.
Next, follow the steps to pair your micro:bit.
Next, click the |Download| button to download the blank project to start up the simulators.
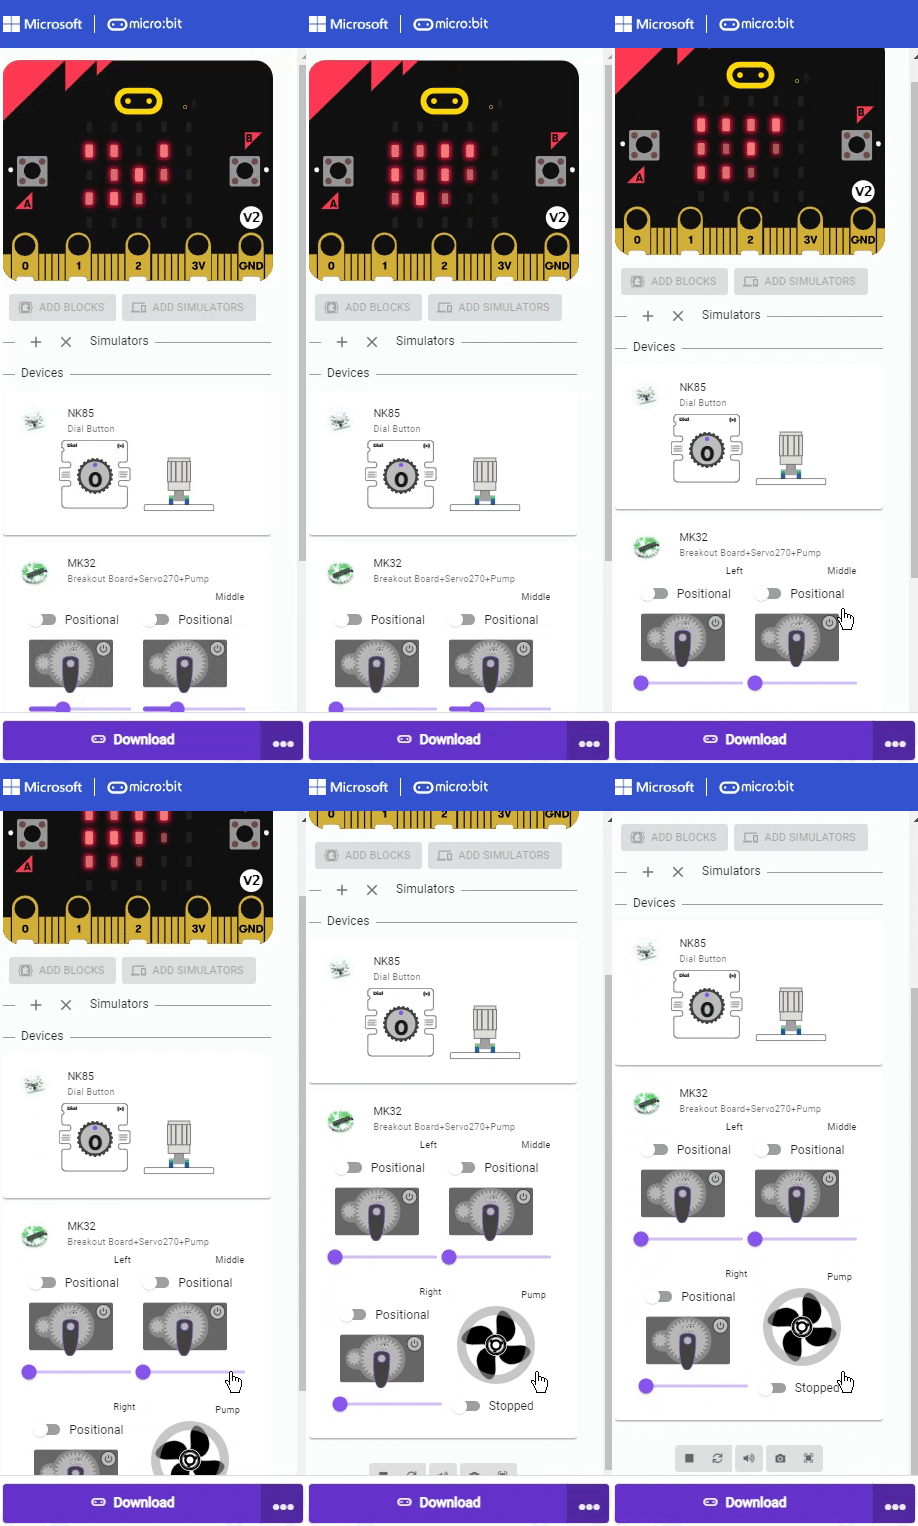
This is how the simulators should look after a successful download. You can see the Dial, and the Servo Motors alongside the Pump.
Look below the @boardname @simulator to see the Climate Action kit Breakout Board and the connected sensors. Try clicking the lights on the virtual simulator for the LED Light. What happens? Can you make it different colours?
Start coding! Follow the steps at the top of the screen for your instructions. Click the lightbulb icon for a hint if you get stuck.
basic.forever(function () {
    if (true) {
        fwdSensors.ledRing.fwdSetAllPixelsColour(0x000000)
        basic.pause(500)
        fwdSensors.ledRing.fwdSetAllPixelsColour(0x000000)
    }
})
Start coding! Follow the steps at the top of the screen for your instructions. Click the lightbulb icon for a hint if you get stuck.
basic.forever(function () {
    if (true) {
        fwdSensors.ledRing.fwdSetAllPixelsColour(0x000000)
        basic.pause(500)
        fwdSensors.ledRing.fwdSetAllPixelsColour(0x000000)
    }
})
Take a look at our starter code in the workspace below. We have two ||fwdSensors:set all ledRing LEDs to|| with a pause in between.
basic.forever(function () {
    if (true) {
        fwdSensors.ledRing.fwdSetAllPixelsColour(0x000000)
        basic.pause(500)
        fwdSensors.ledRing.fwdSetAllPixelsColour(0x000000)
    }
})
These two LED code blocks are wrapped inside of another block called ||logic:if true then||.
~hint WHat does this mean?
- This block is called a conditional statement
- The Code inside only happens if this condition is met
basic.forever(function () {
    if (true) {
        fwdSensors.ledRing.fwdSetAllPixelsColour(0x000000)
        basic.pause(500)
        fwdSensors.ledRing.fwdSetAllPixelsColour(0x000000)
    }
})
Click ||fwdSensors:Sensors|| find the Touch next section. Drag ||fwdSensors:on touch down|| and use it to replace to true condiction in the ||logic:if true then|| statment.
~ hint Why did we do this?
- Now our conditional statement is looking for the condition of the Touch Sensor being pressed hint~
basic.forever(function () {
    if (fwdSensors.touch.fwdIsPressed()) {
        fwdSensors.ledRing.fwdSetAllPixelsColour(0x000000)
        basic.pause(500)
        fwdSensors.ledRing.fwdSetAllPixelsColour(0x000000)
    }
})
Now, let's change the LED Light colour. Go to the first ||fwdSensors:set all ledRing LEDs to|| block and click on the colour bubble. Choose any colour you would like. Make sure you leave the last black.
~hint Why did we do that?
- This is how we customize our LED Light colour
- We left the last LED Light code block as black because we want the LED Light to turn off after the Touch Sensor is pressed hint~
basic.forever(function () {
    if (fwdSensors.touch.fwdIsPressed()) {
        fwdSensors.ledRing.fwdSetAllPixelsColour(0xff0000)
        basic.pause(500)
        fwdSensors.ledRing.fwdSetAllPixelsColour(0x000000)
    }
})
Click the |Download| button to download the code for your project.
Try testing your project in real life! This is what it should look like.
Congratulations on finishing your coding project!
In the next step, you can click the |done| button to finish the tutorial.
