fwd-edu-breakout=github:climate-action-kits/pxt-fwd-edu/fwd-breakout
sonar=github:climate-action-kits/pxt-fwd-edu
let animalCount = 0
input.onButtonPressed(Button.A, function () {
    fwdMotors.rightServo.fwdSetAngle(90)
})
input.onButtonPressed(Button.B, function () {
    fwdMotors.rightServo.fwdSetAngle(0)
})
input.onButtonPressed(Button.AB, function () {
    animalCount += 1
})
basic.forever(function () {
    basic.showNumber(animalCount)
})
basic.forever(function () {
    if (fwdSensors.solar1.fwdIsLightLevelPastThreshold(70, fwdSensors.ThresholdDirection.Under)) {
    } else {
    }
})
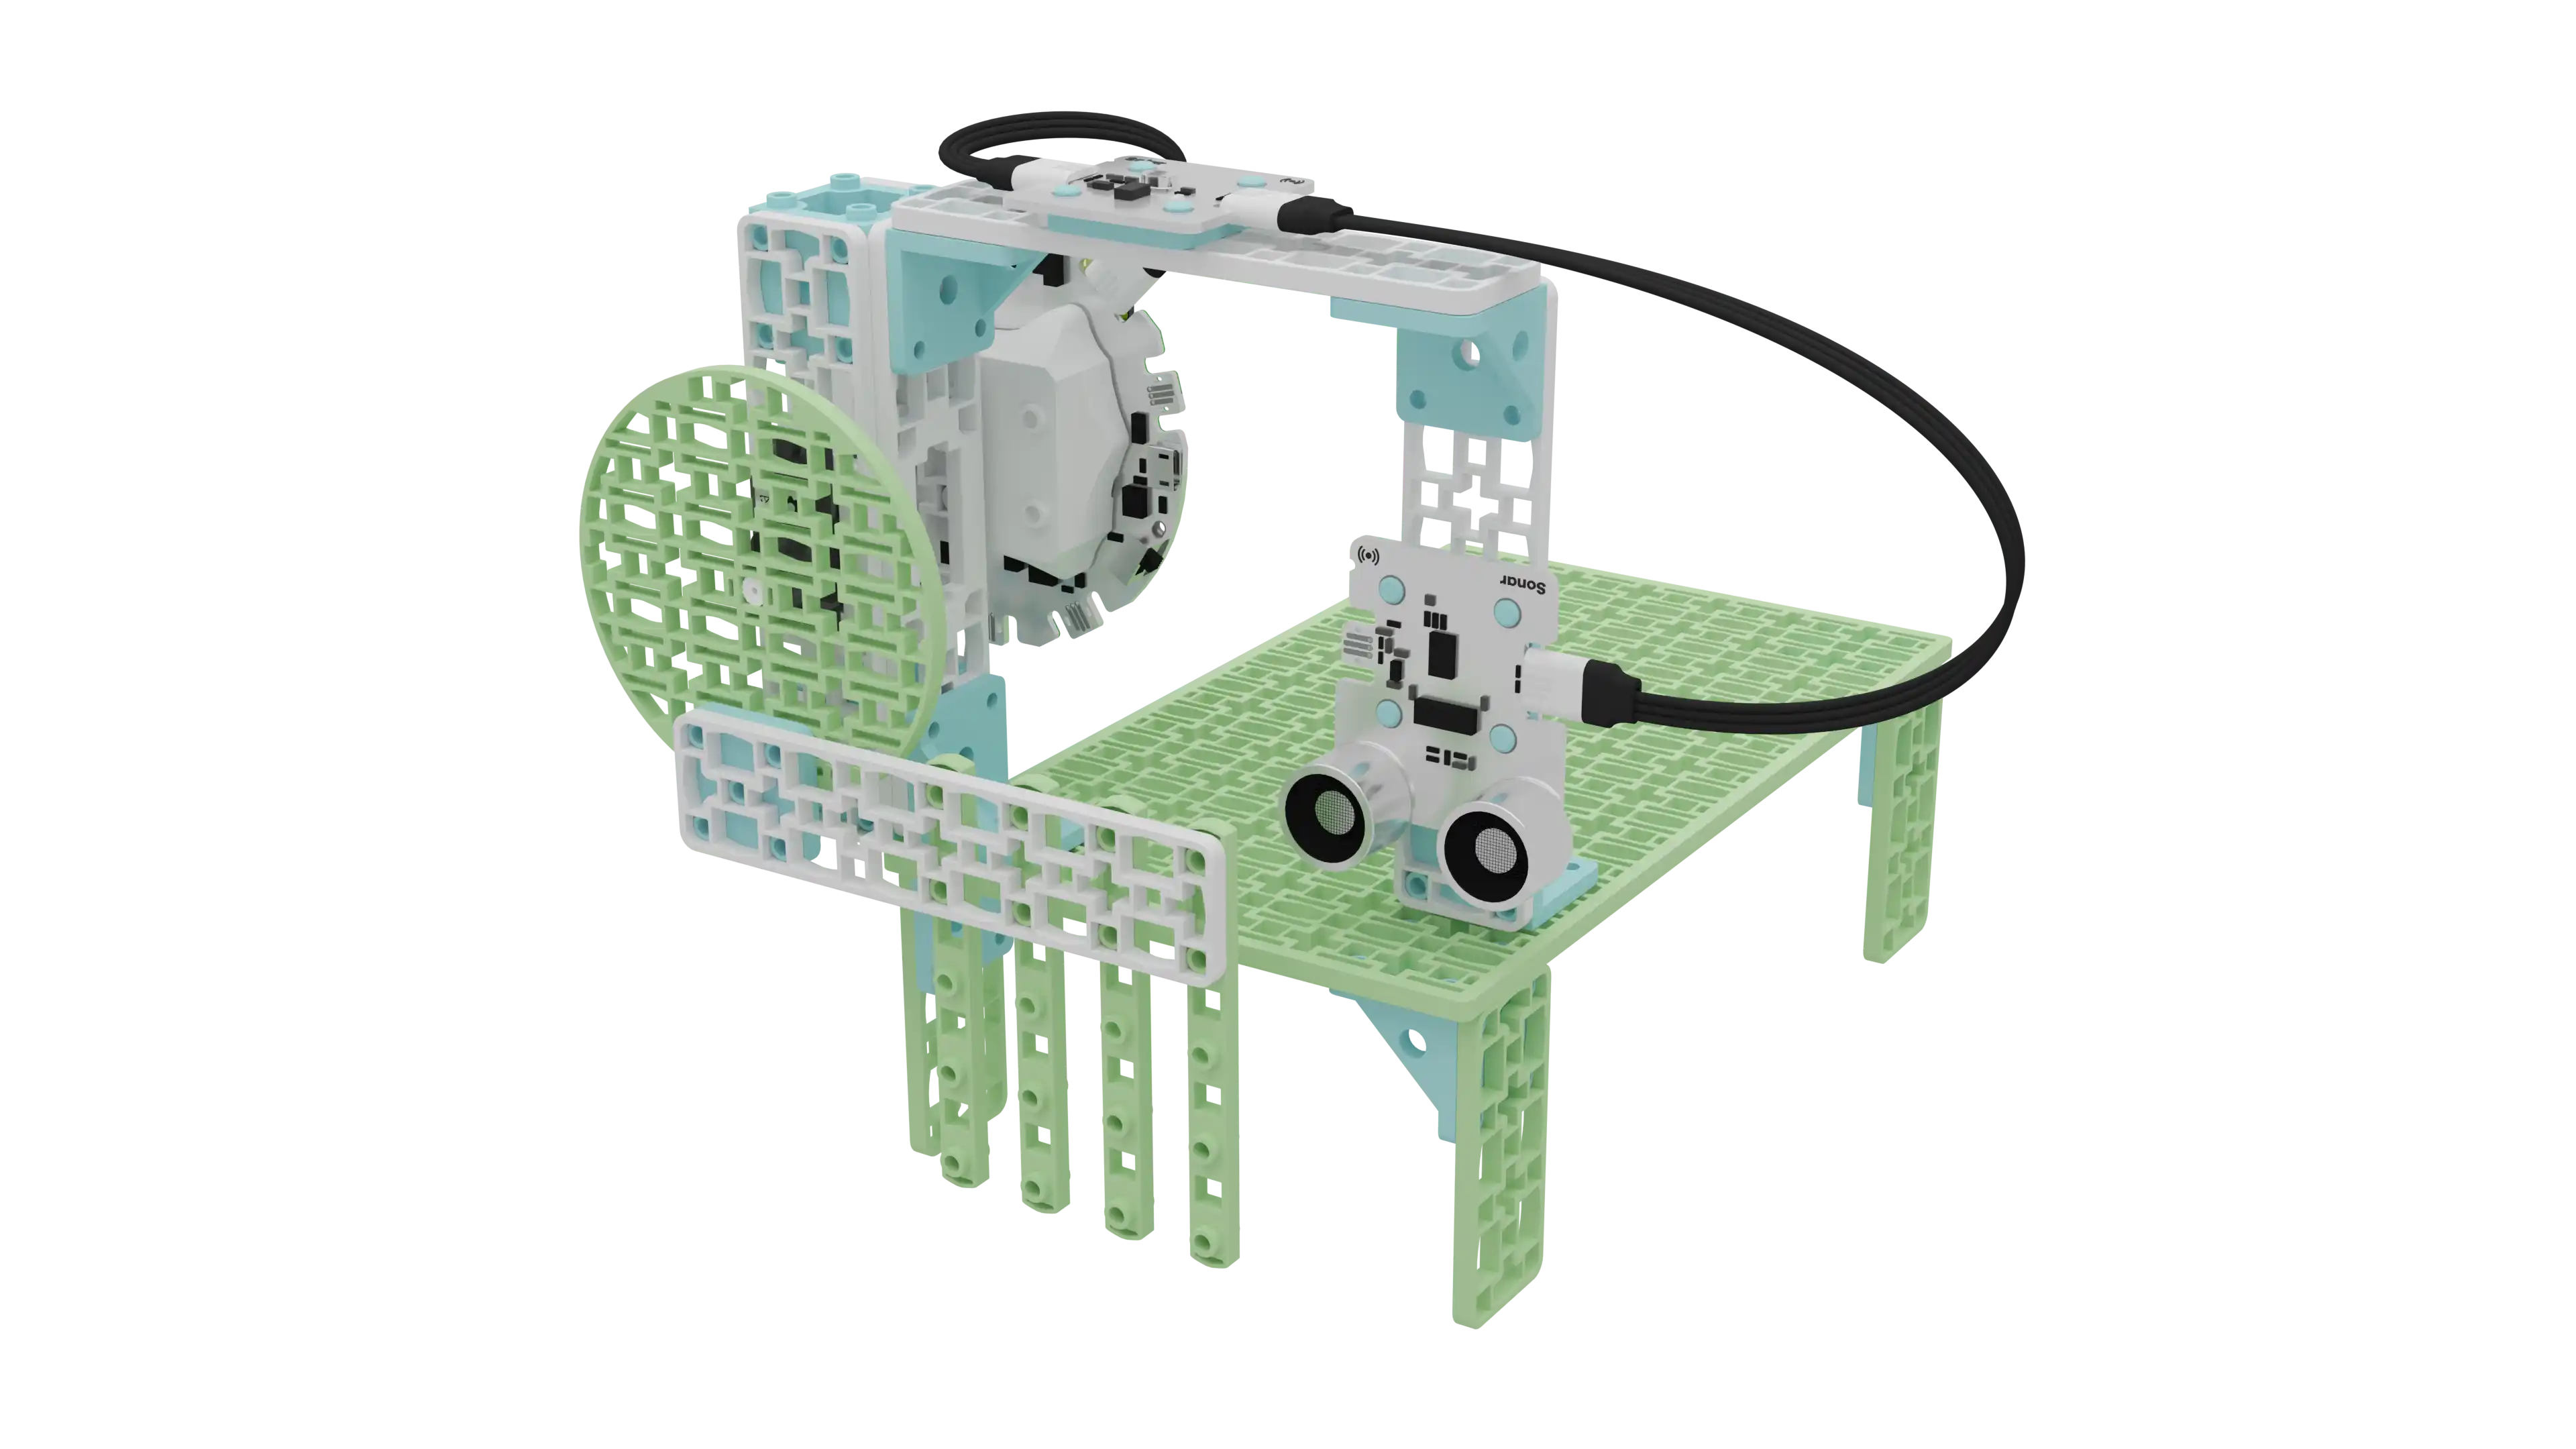
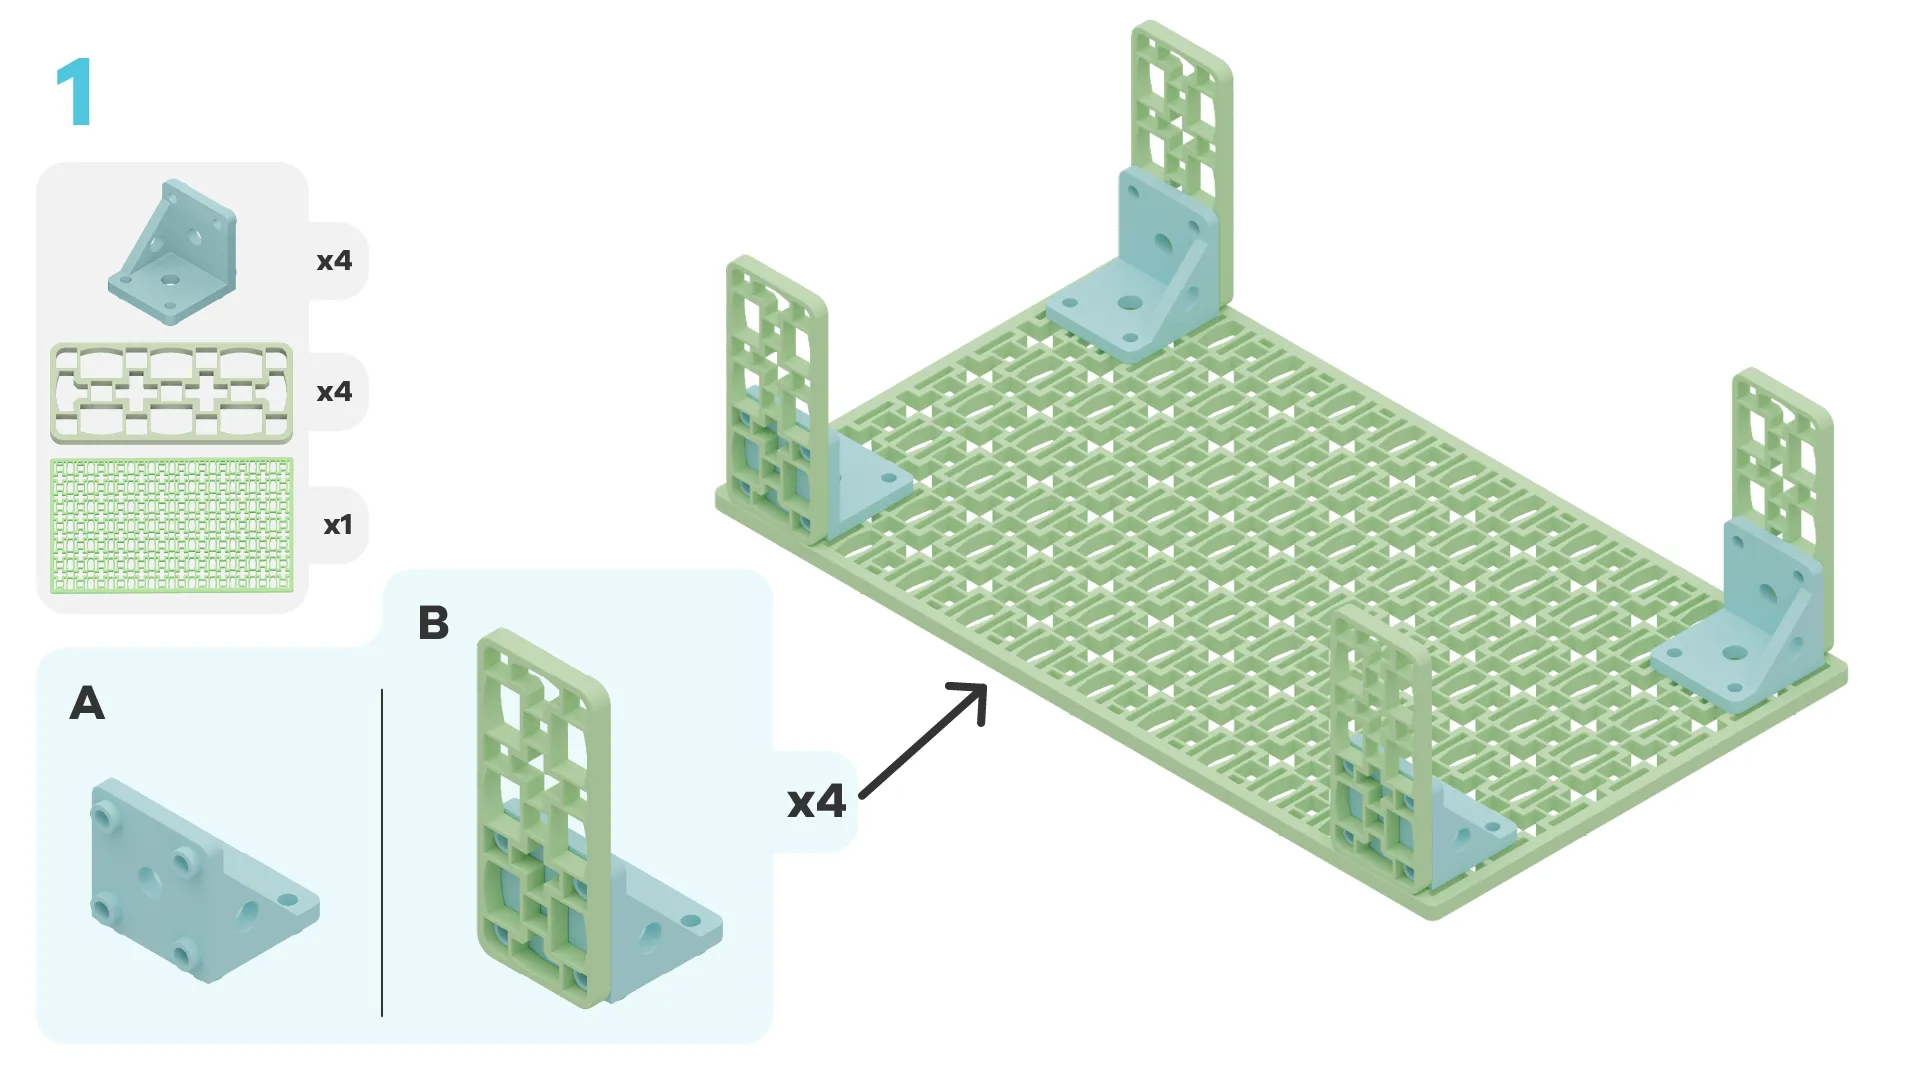
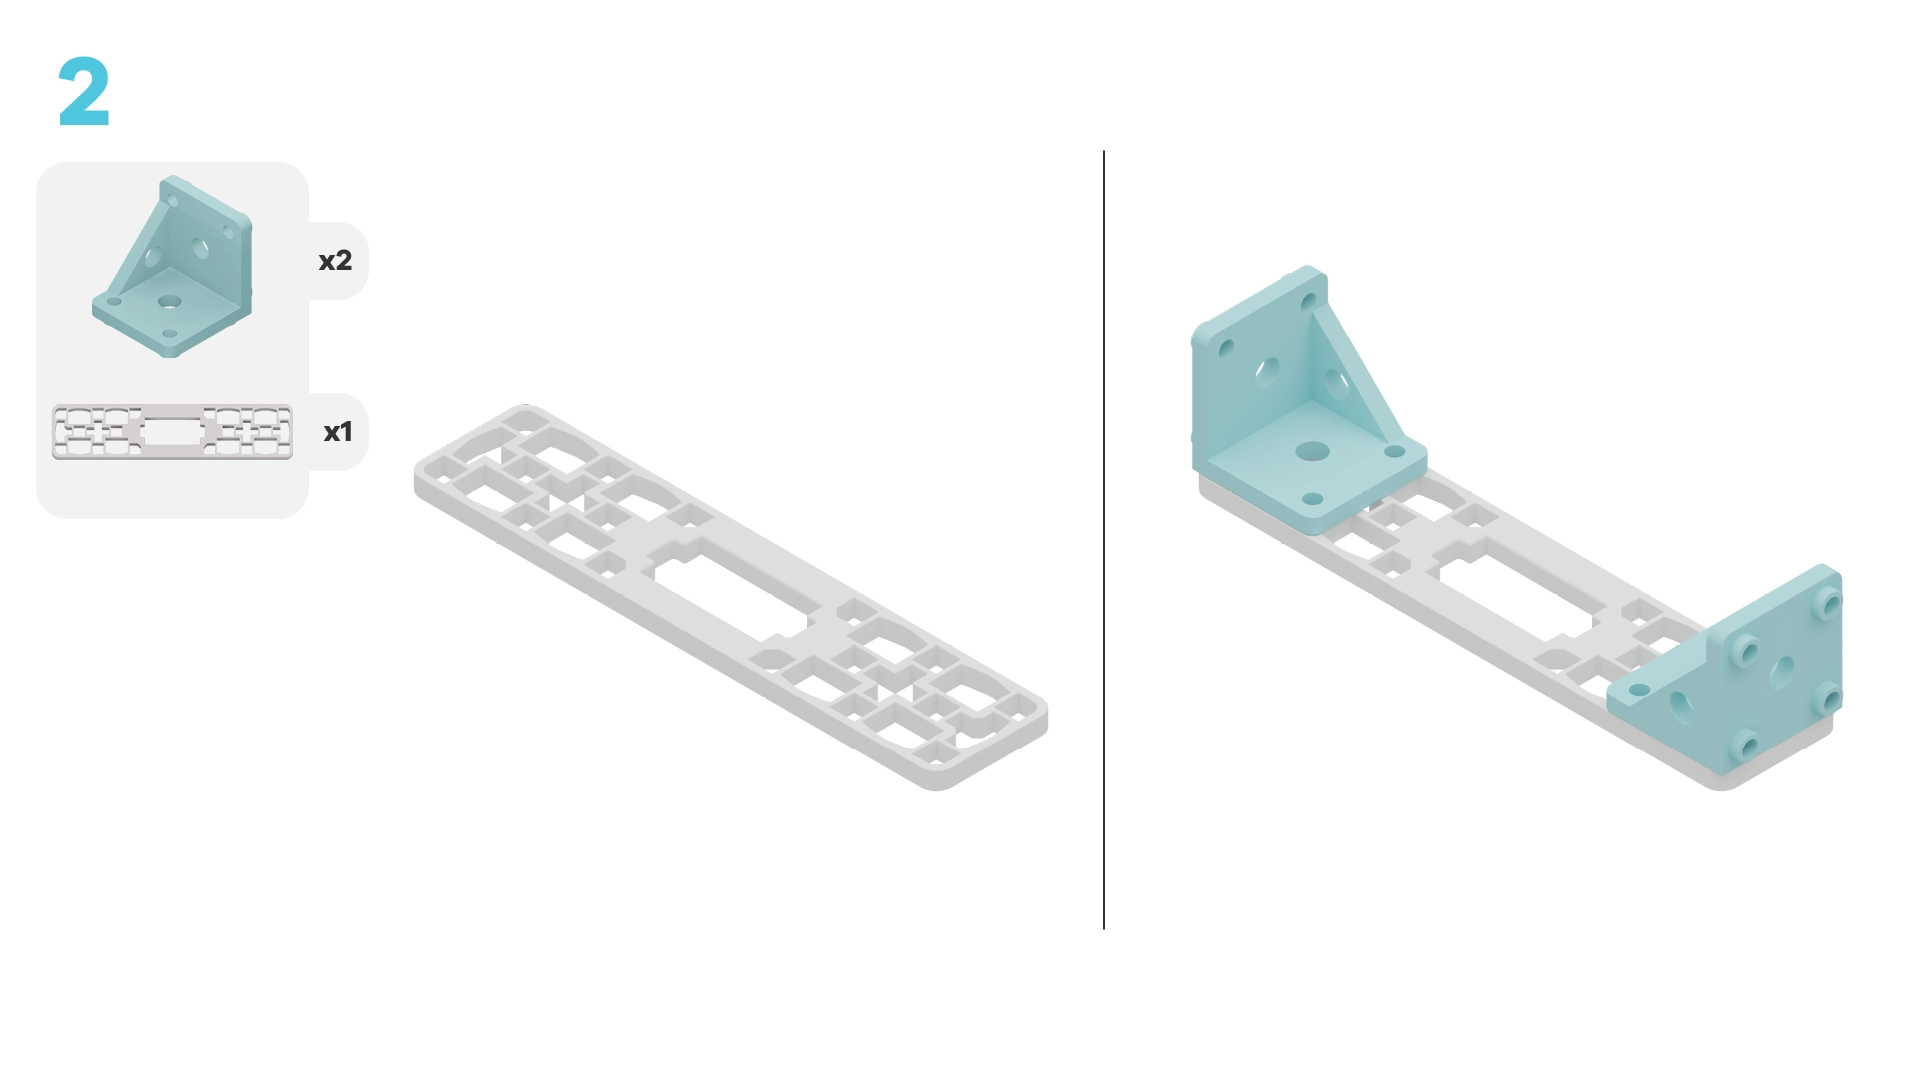
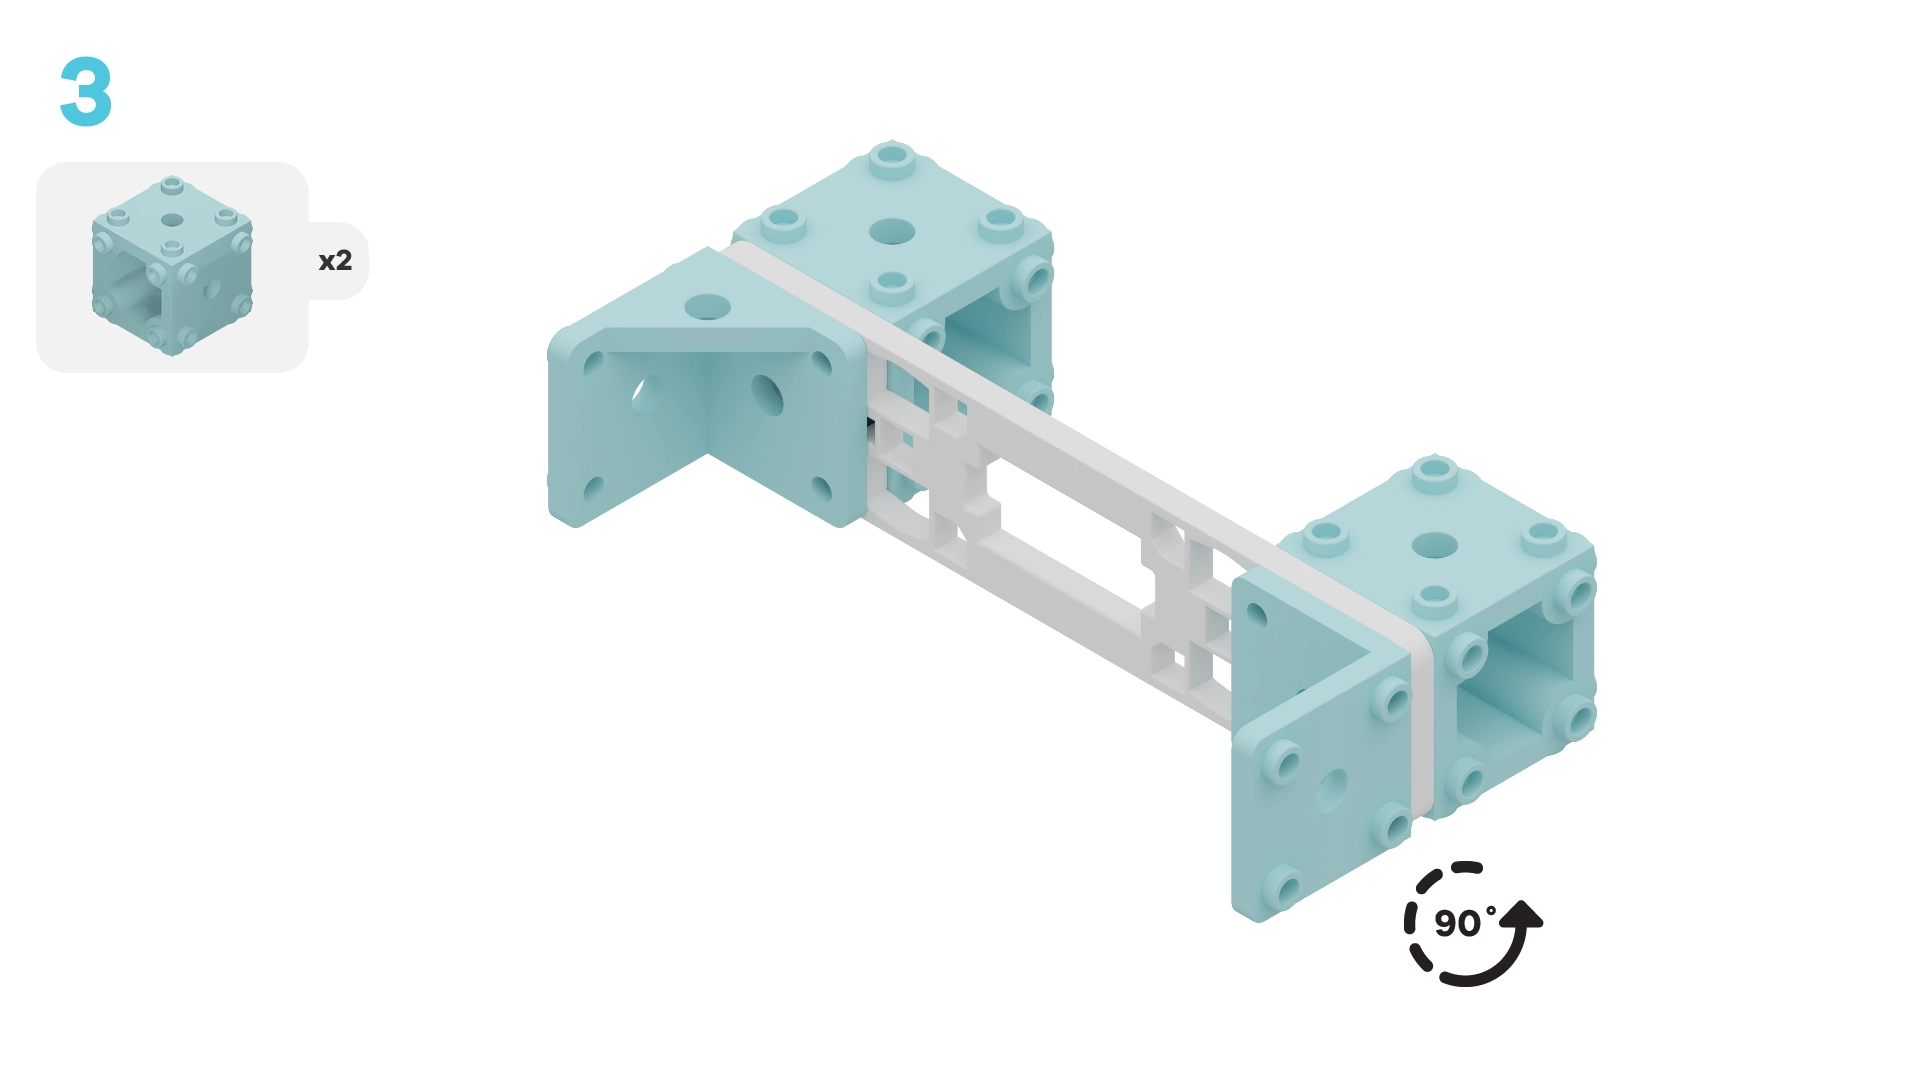
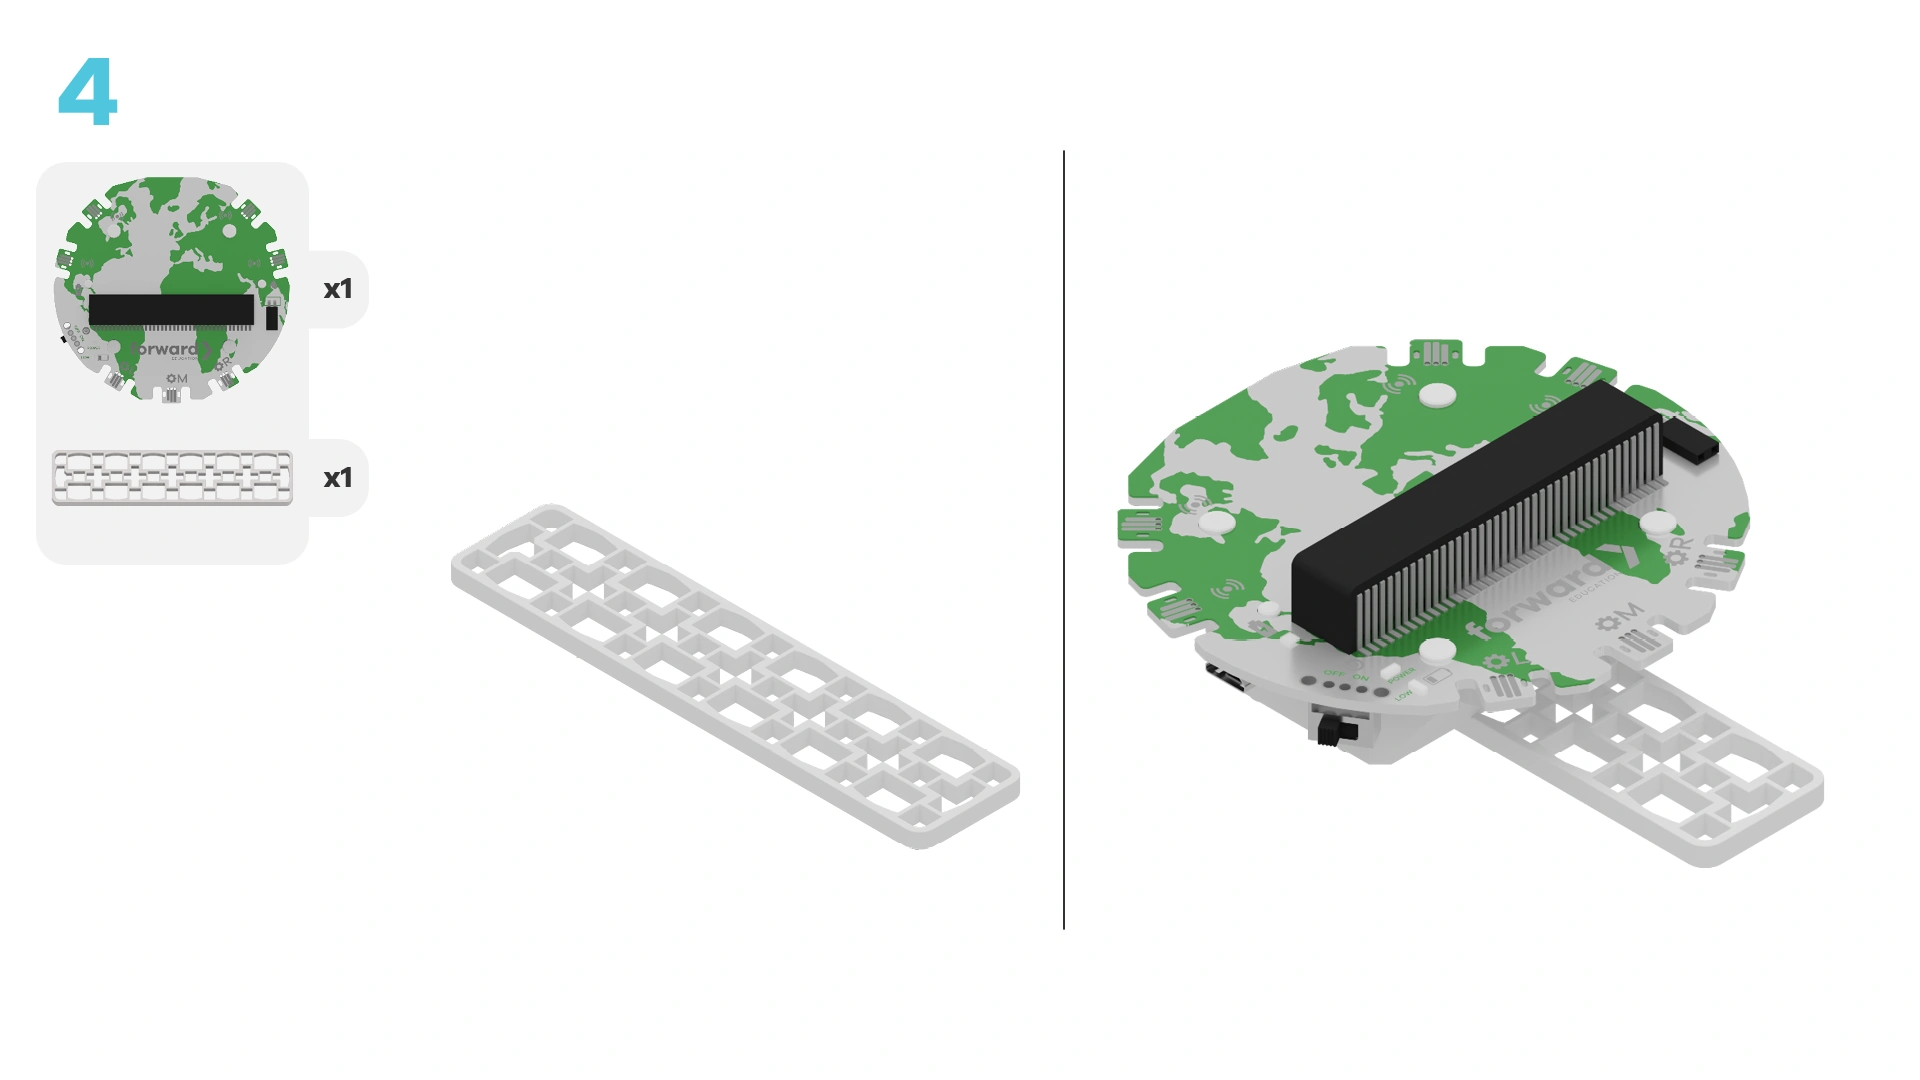
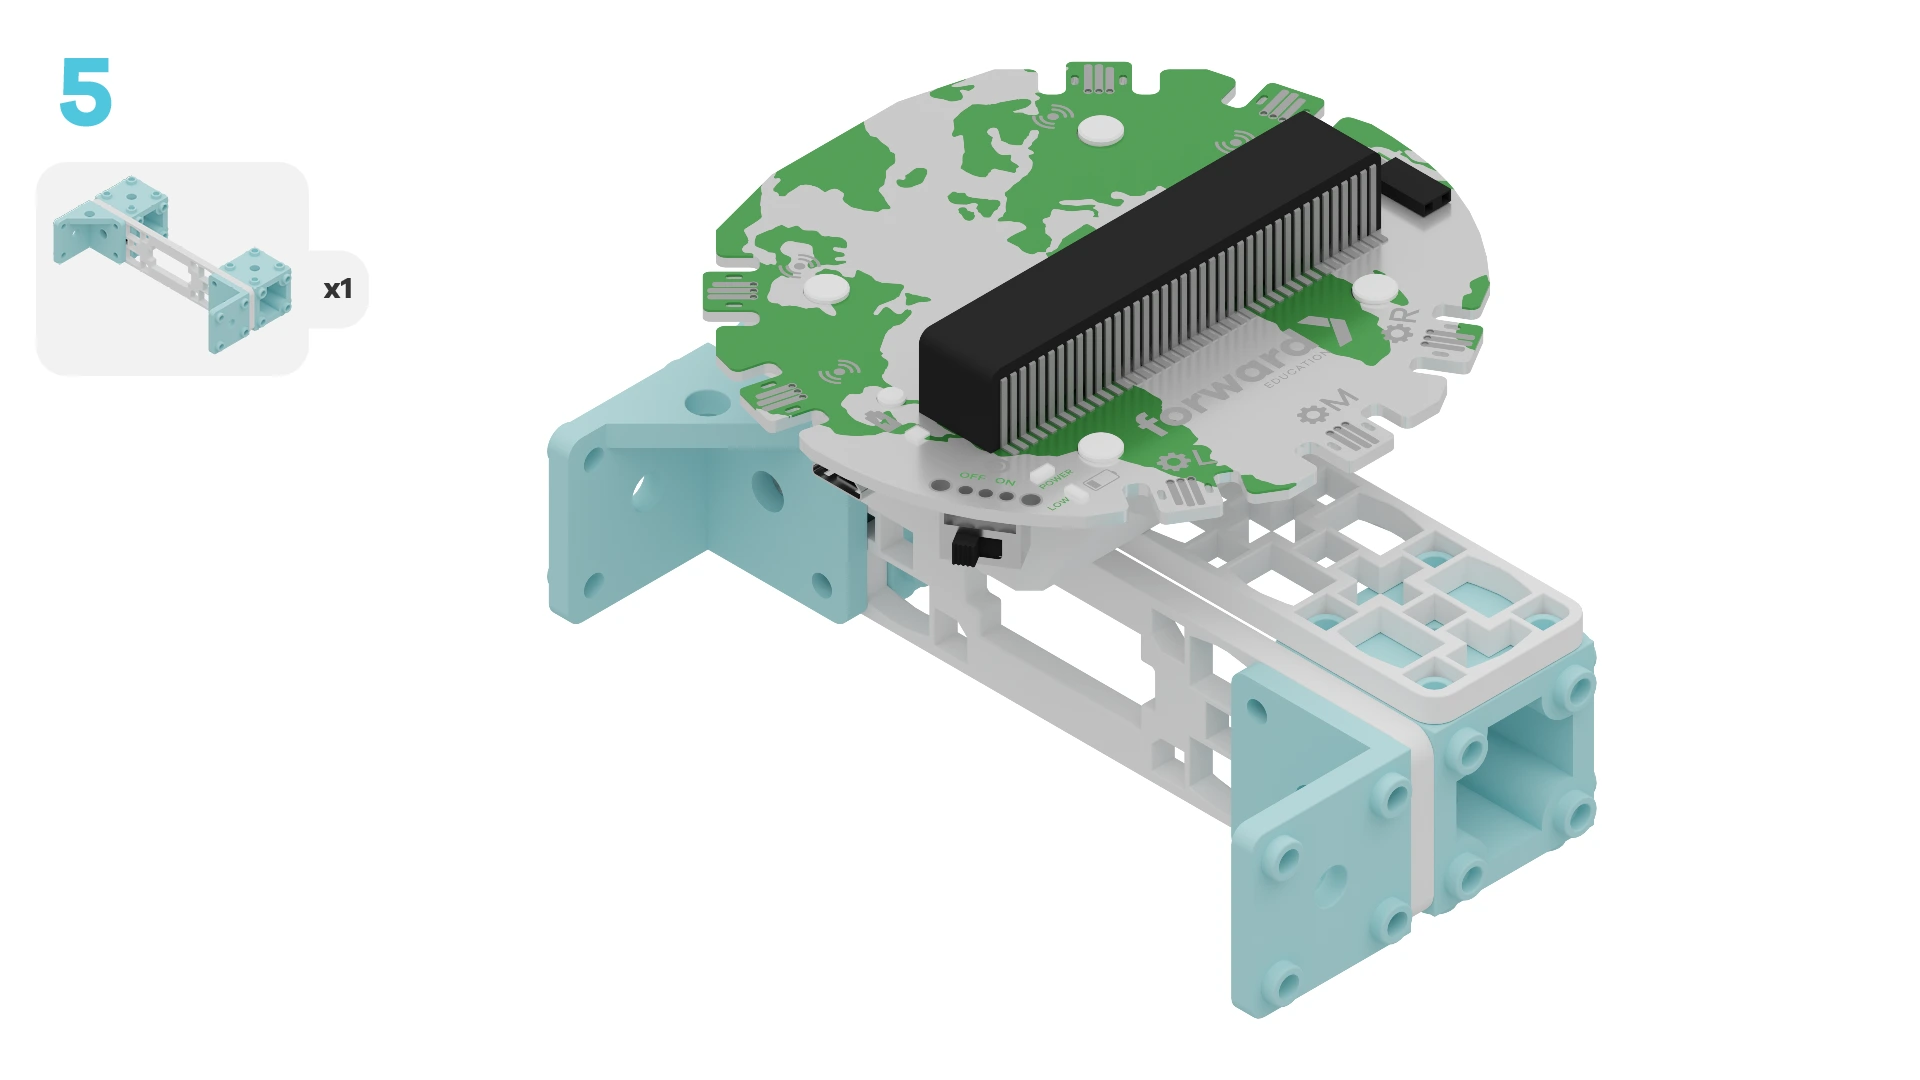
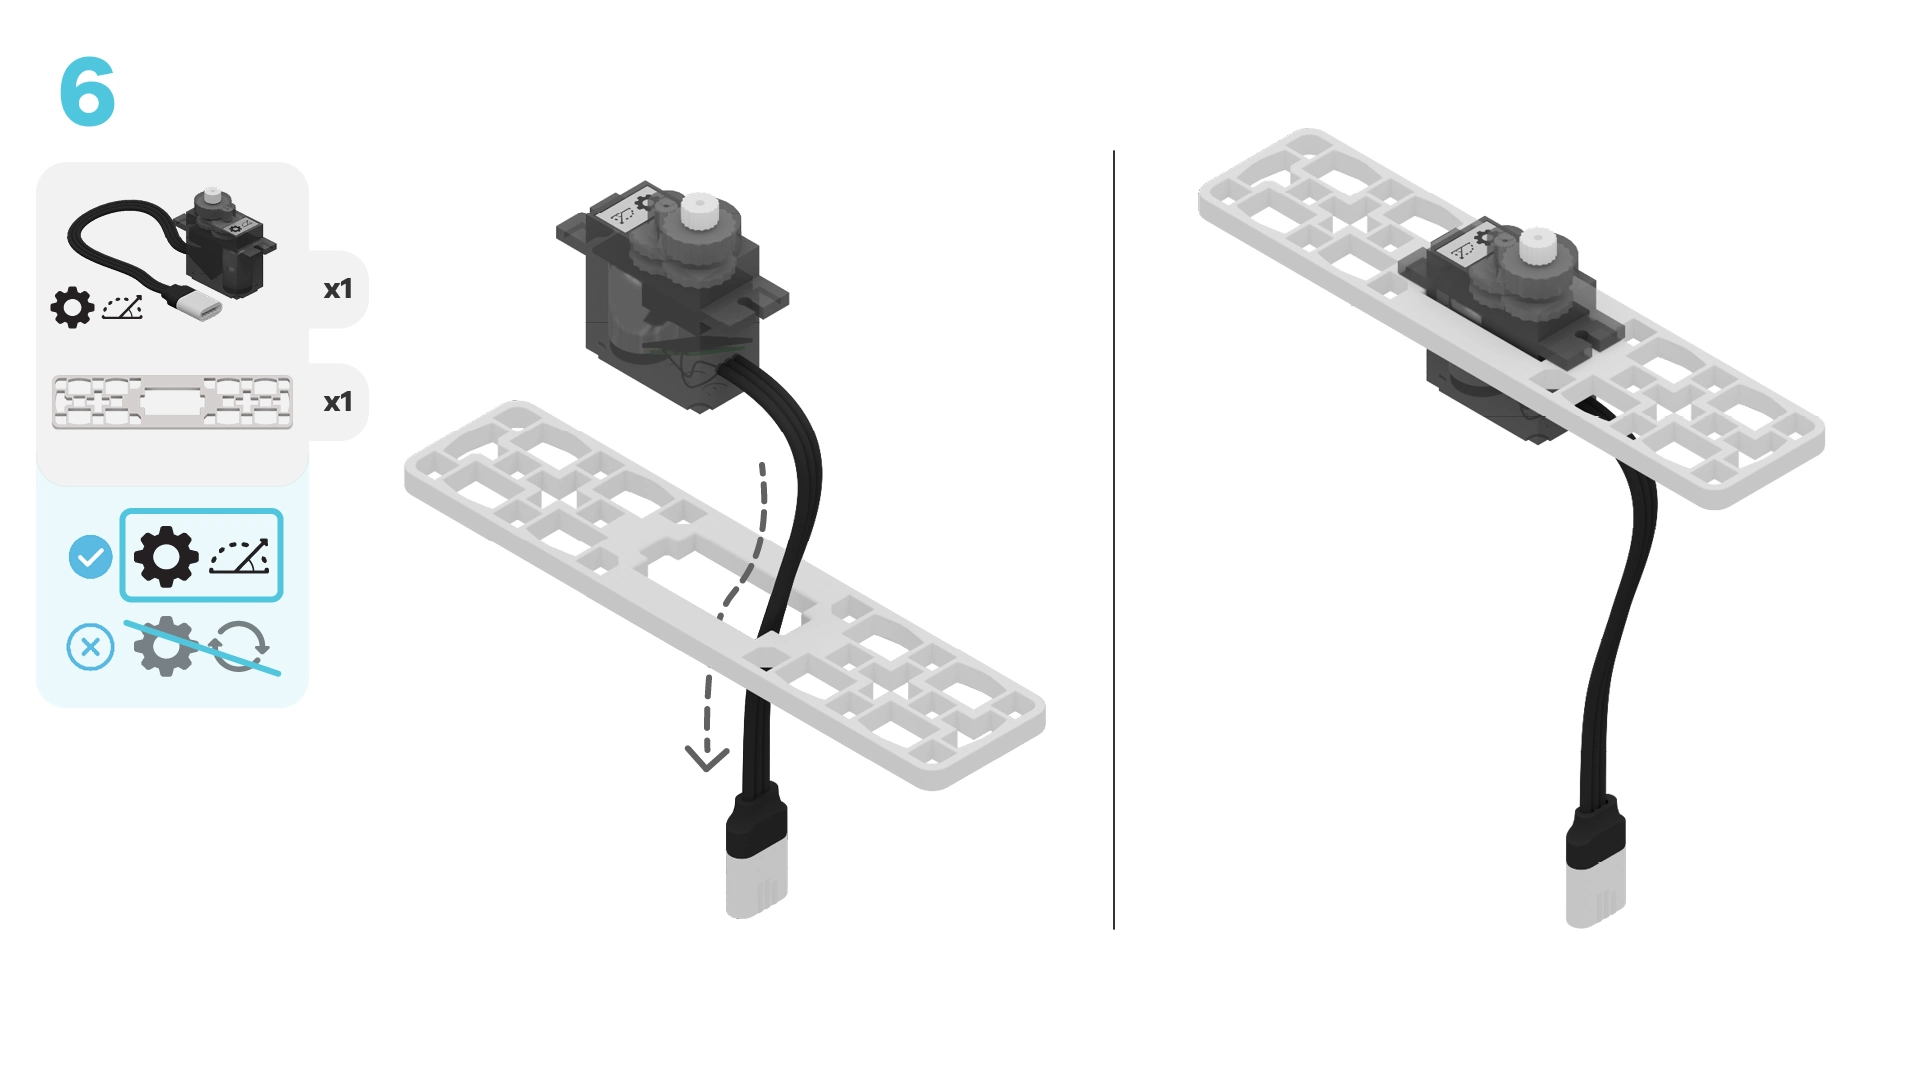
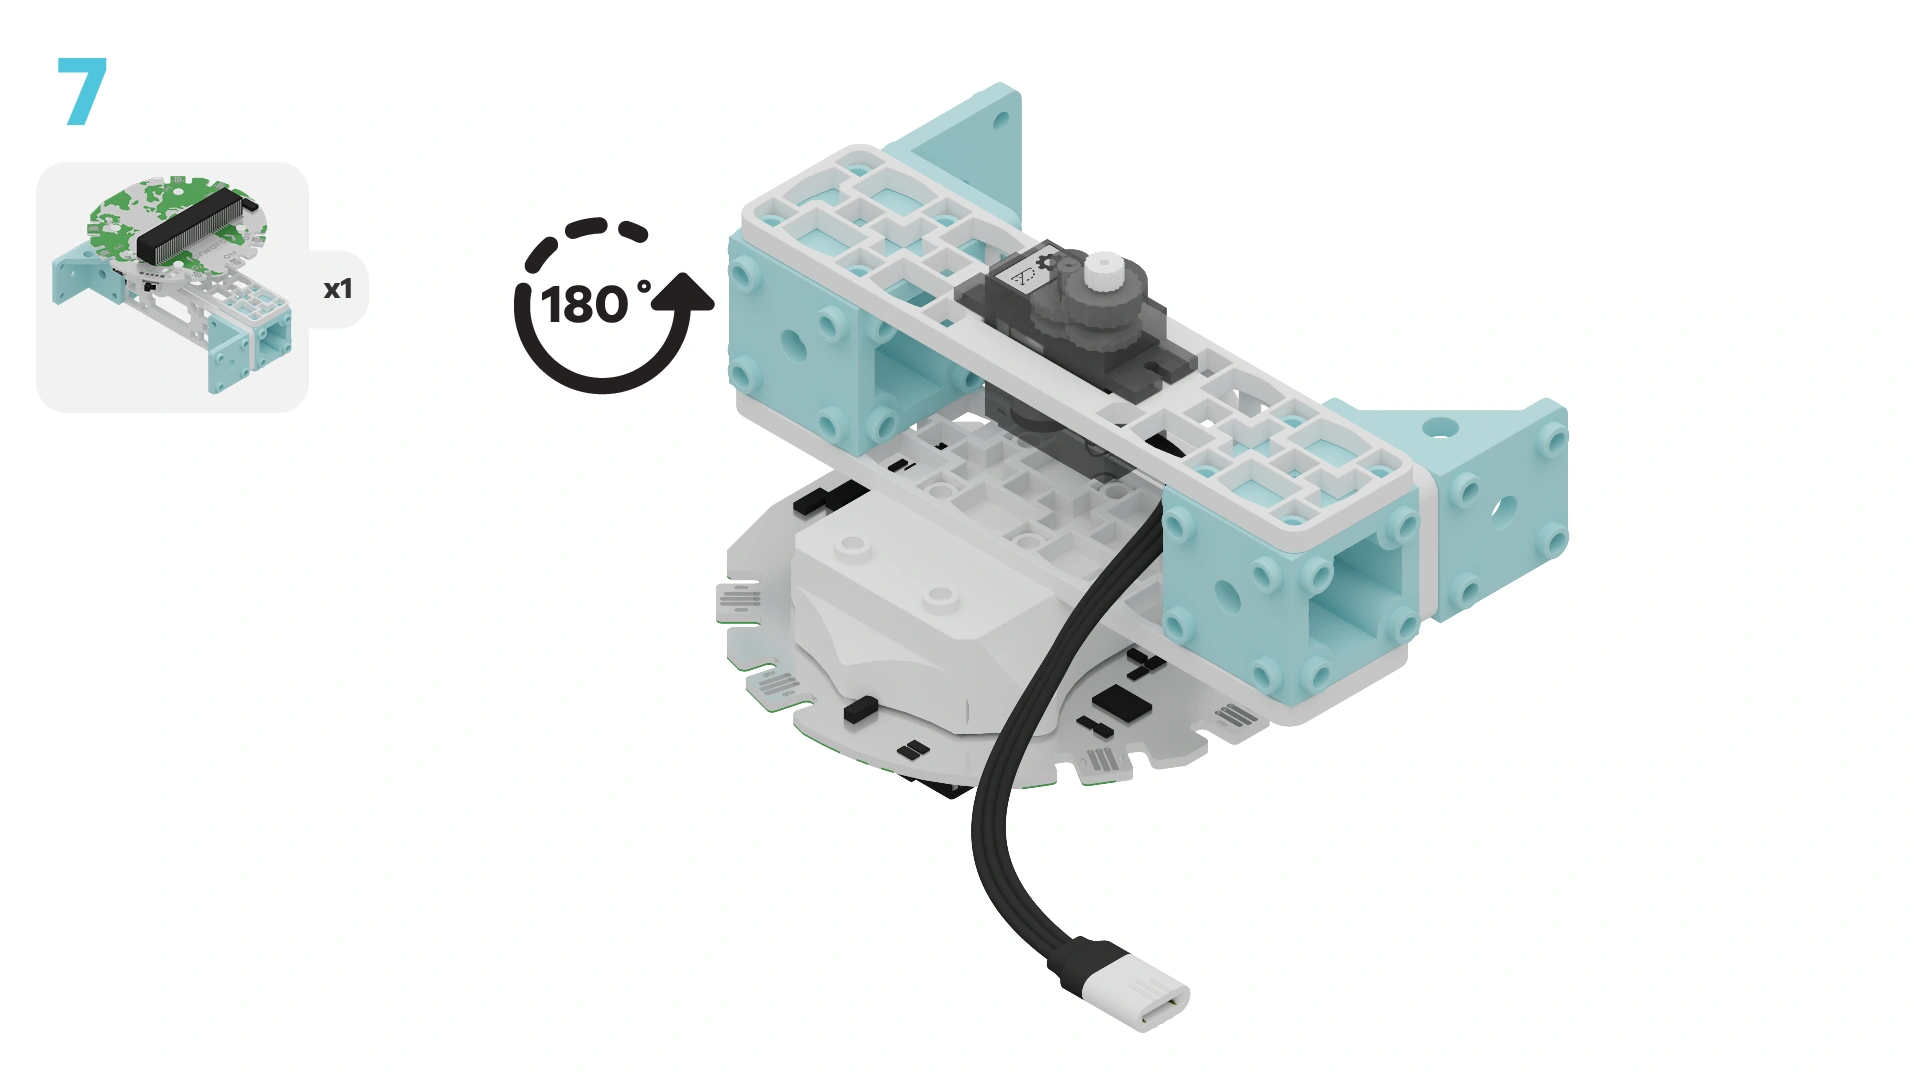
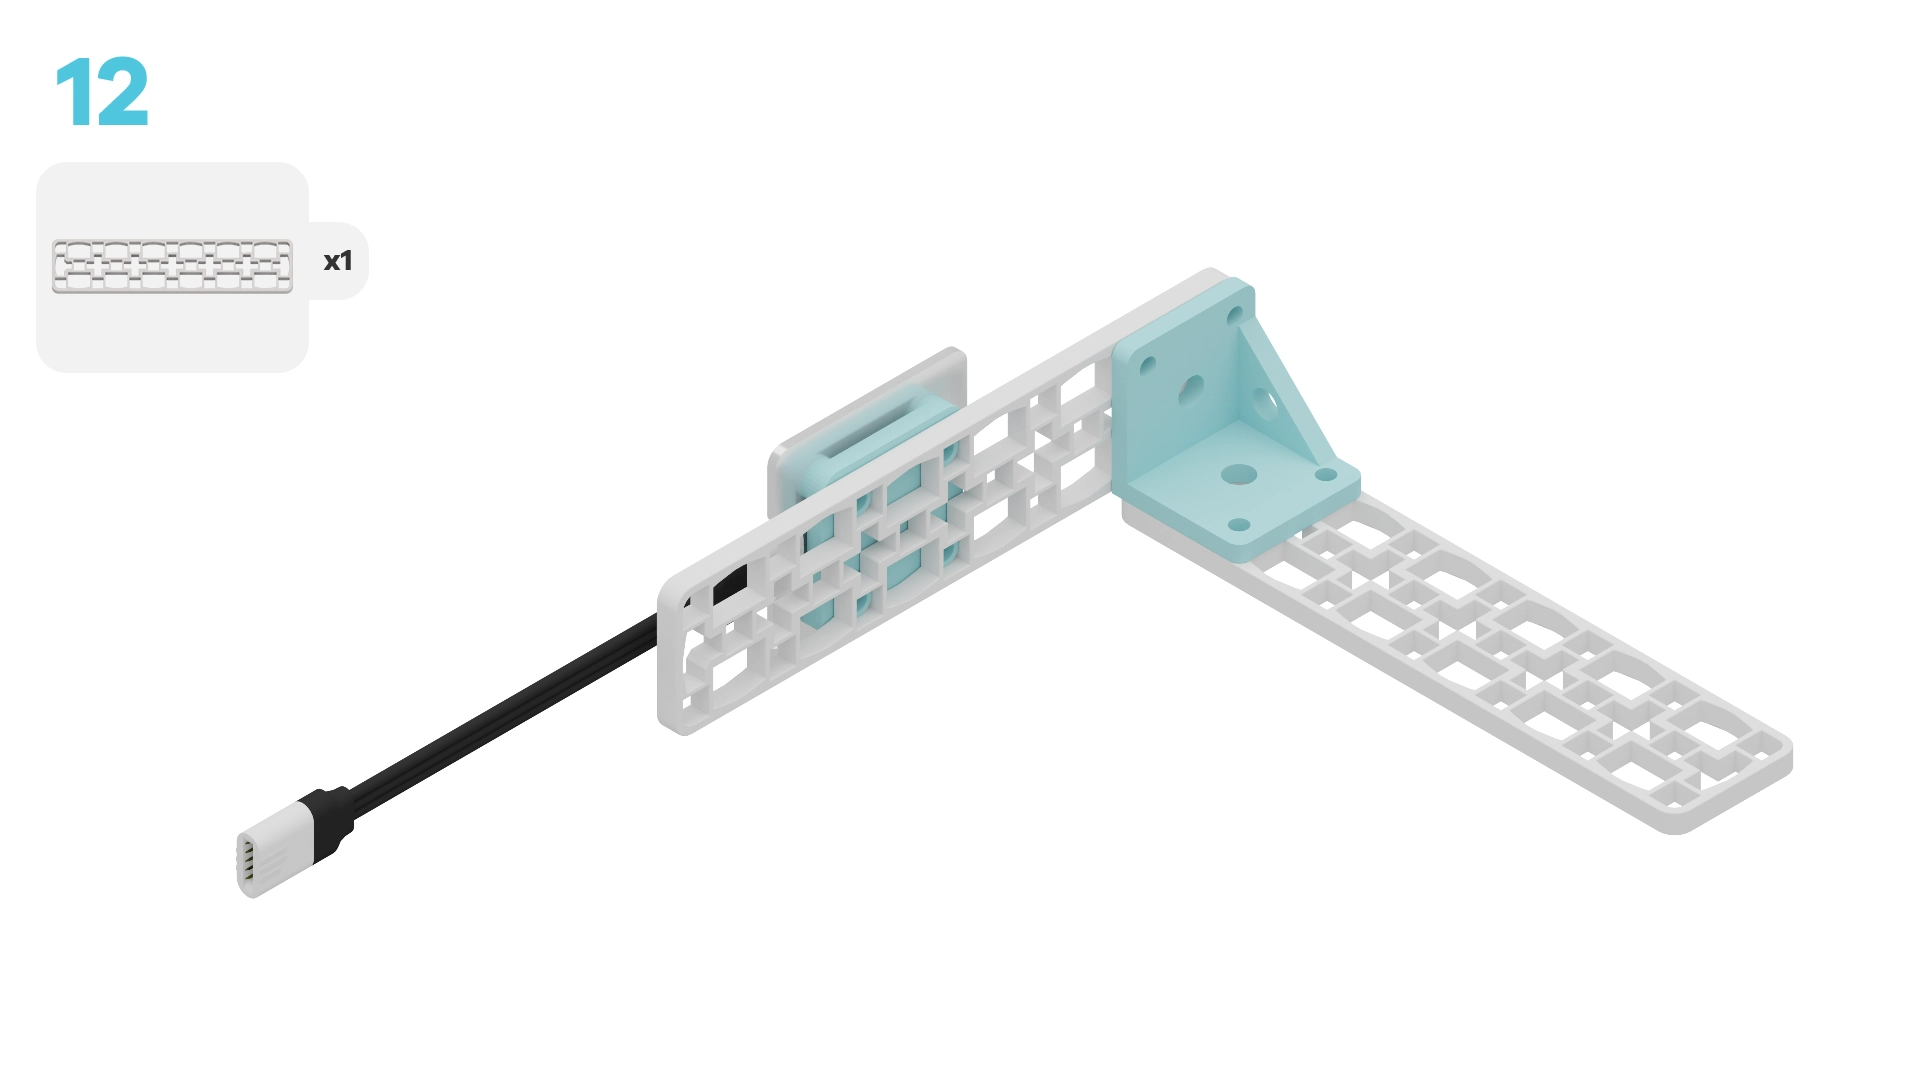
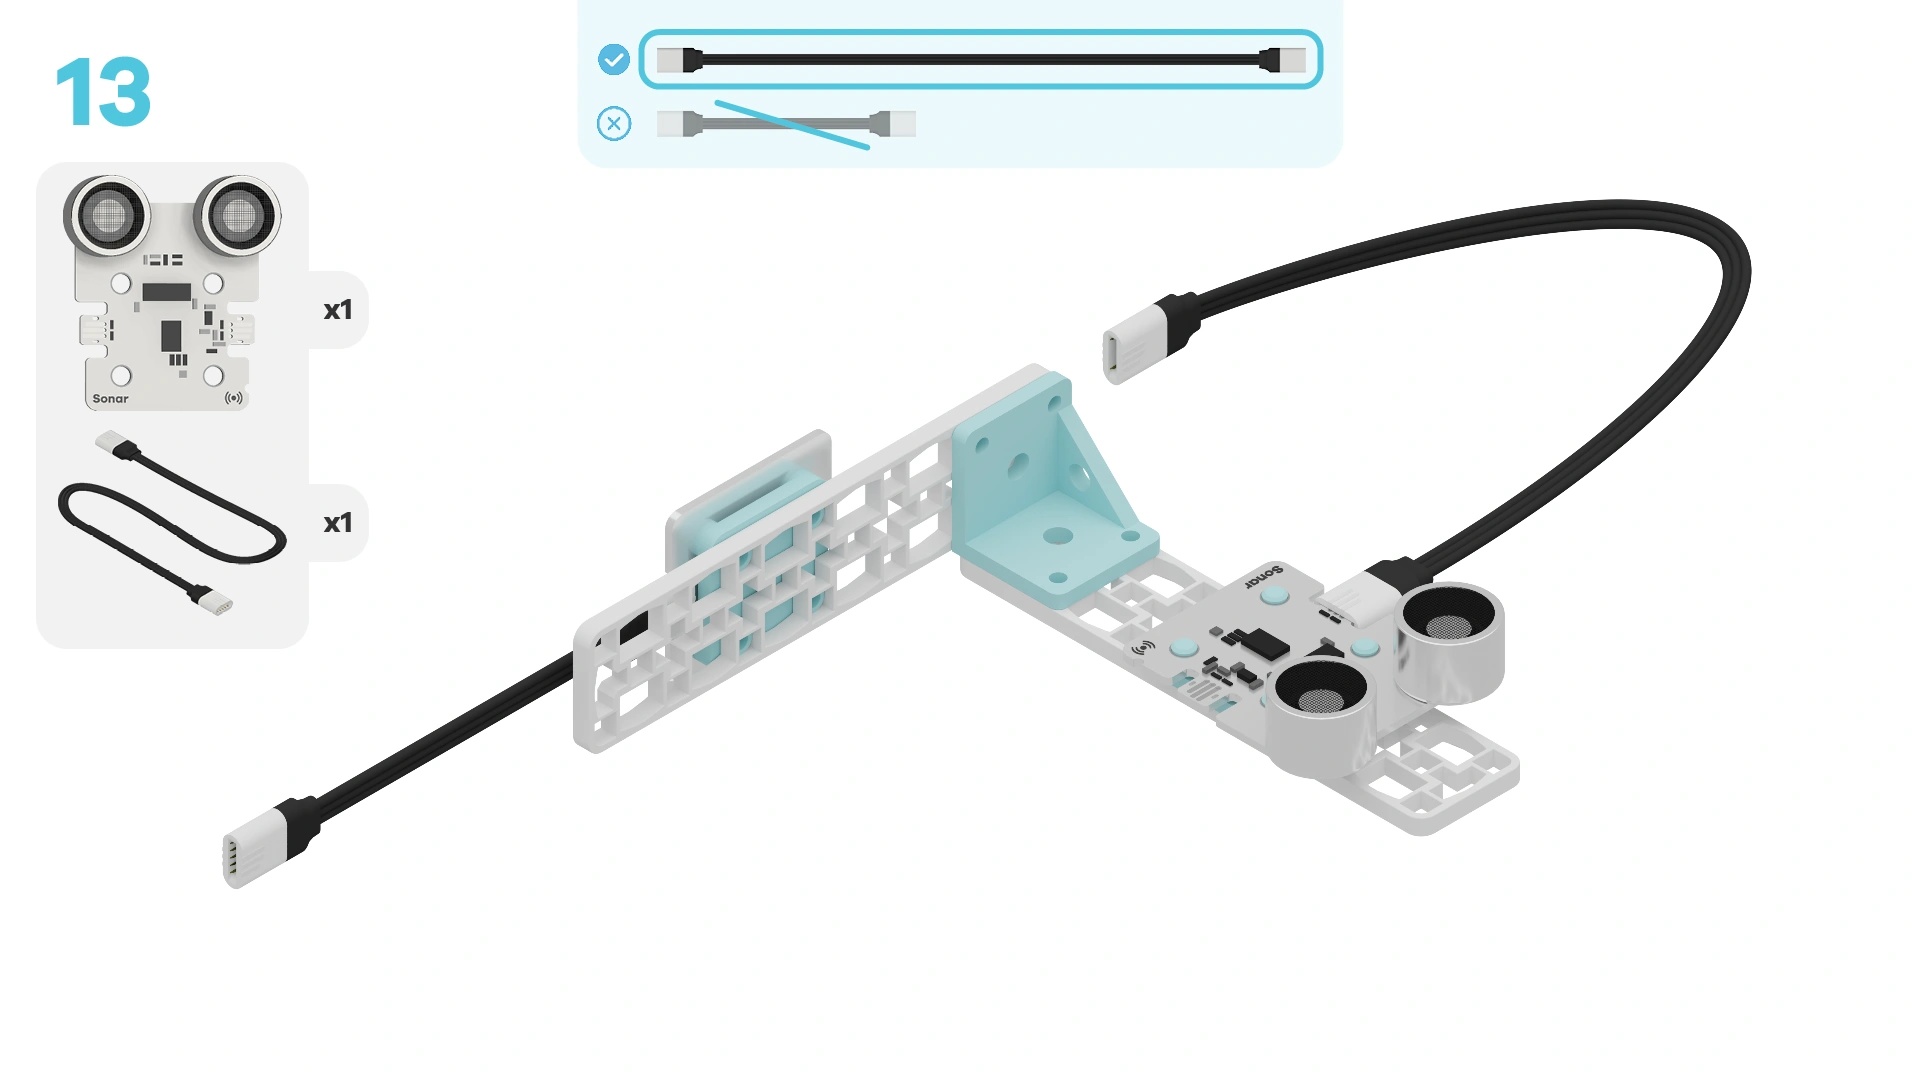
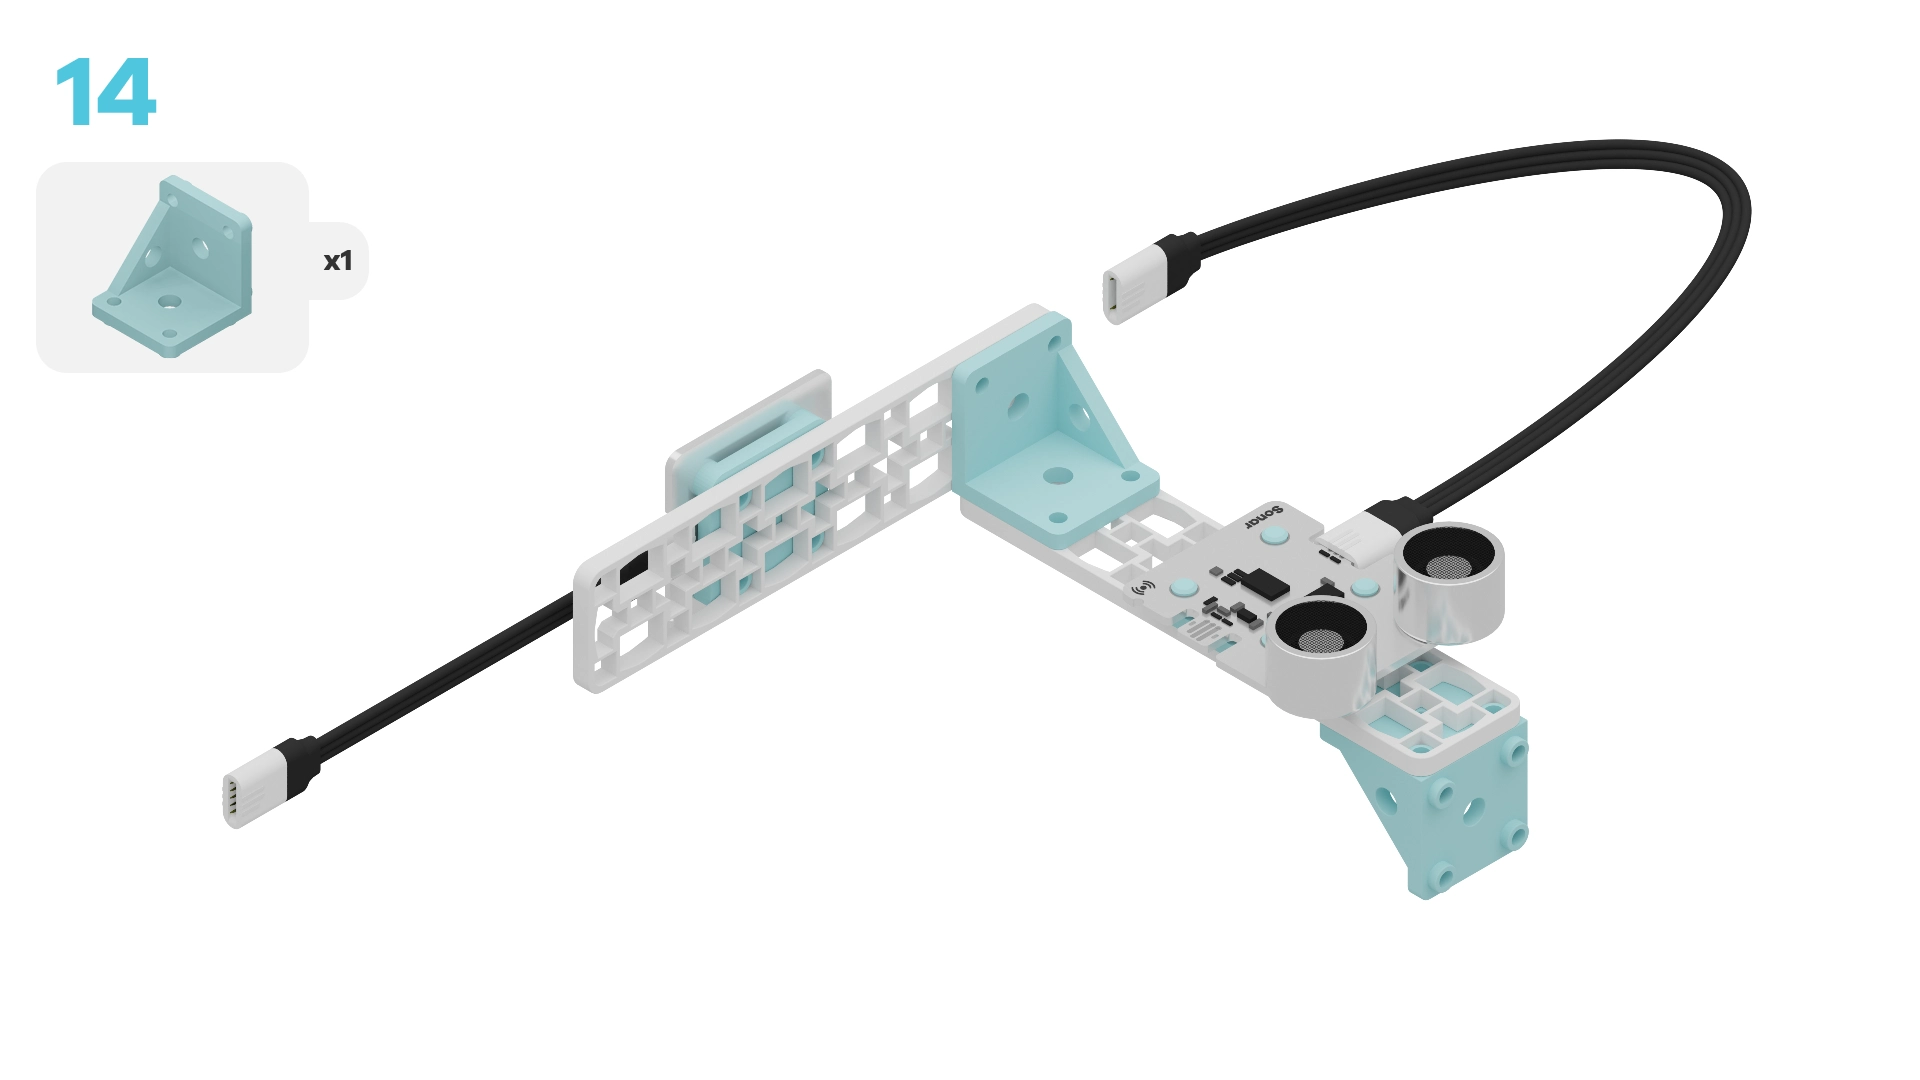
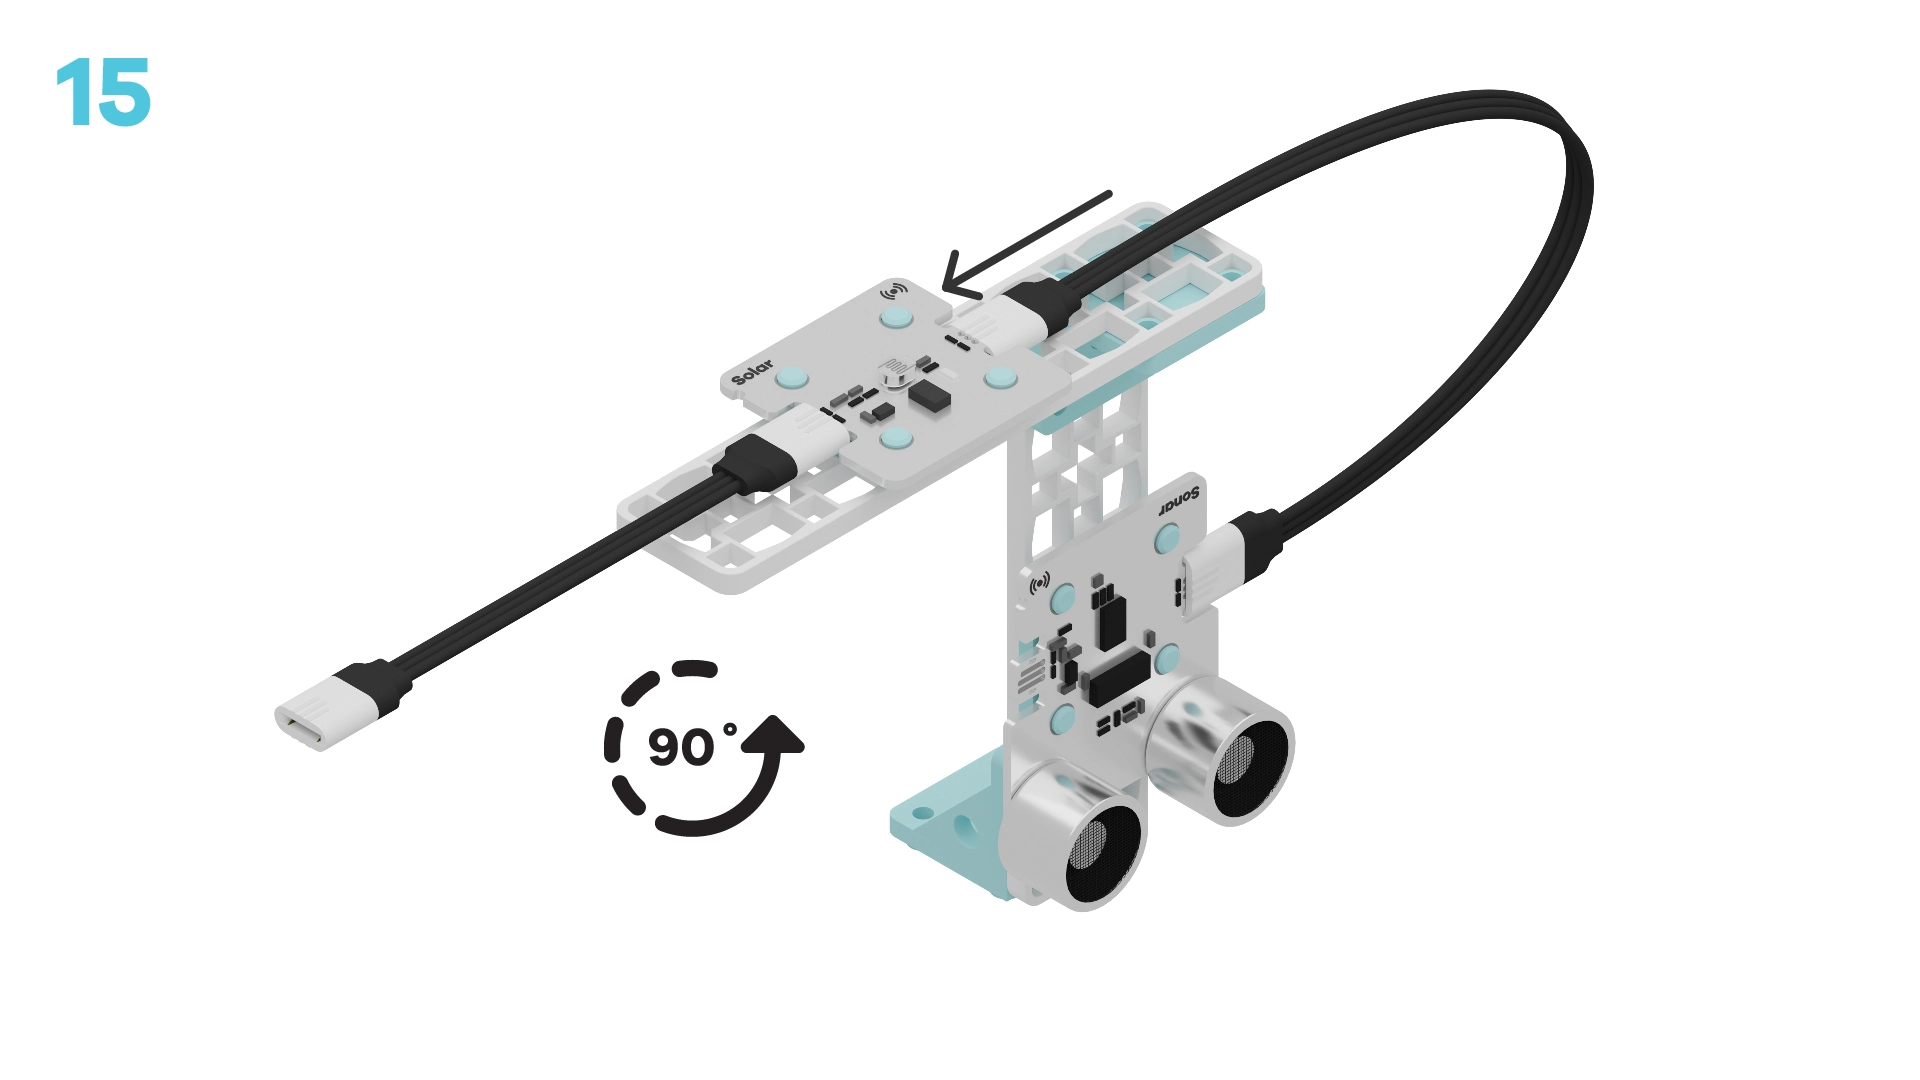
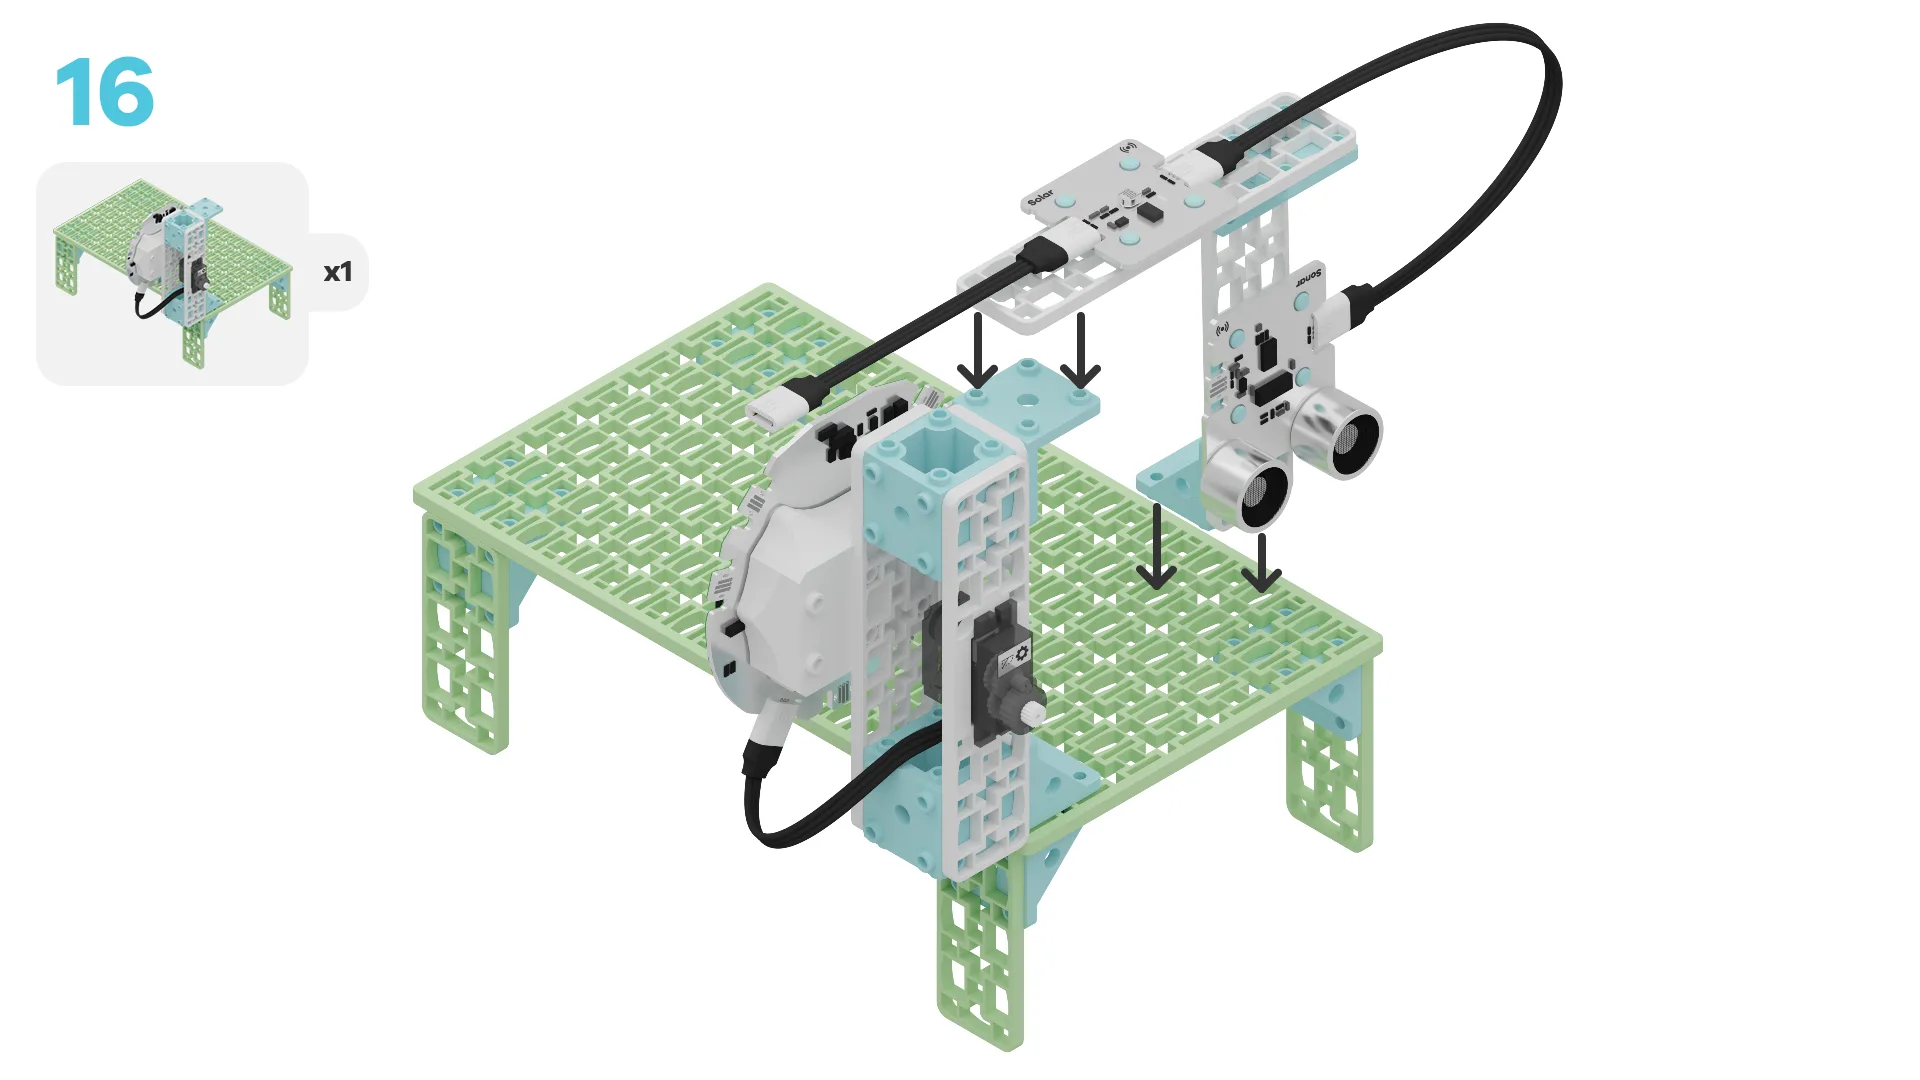
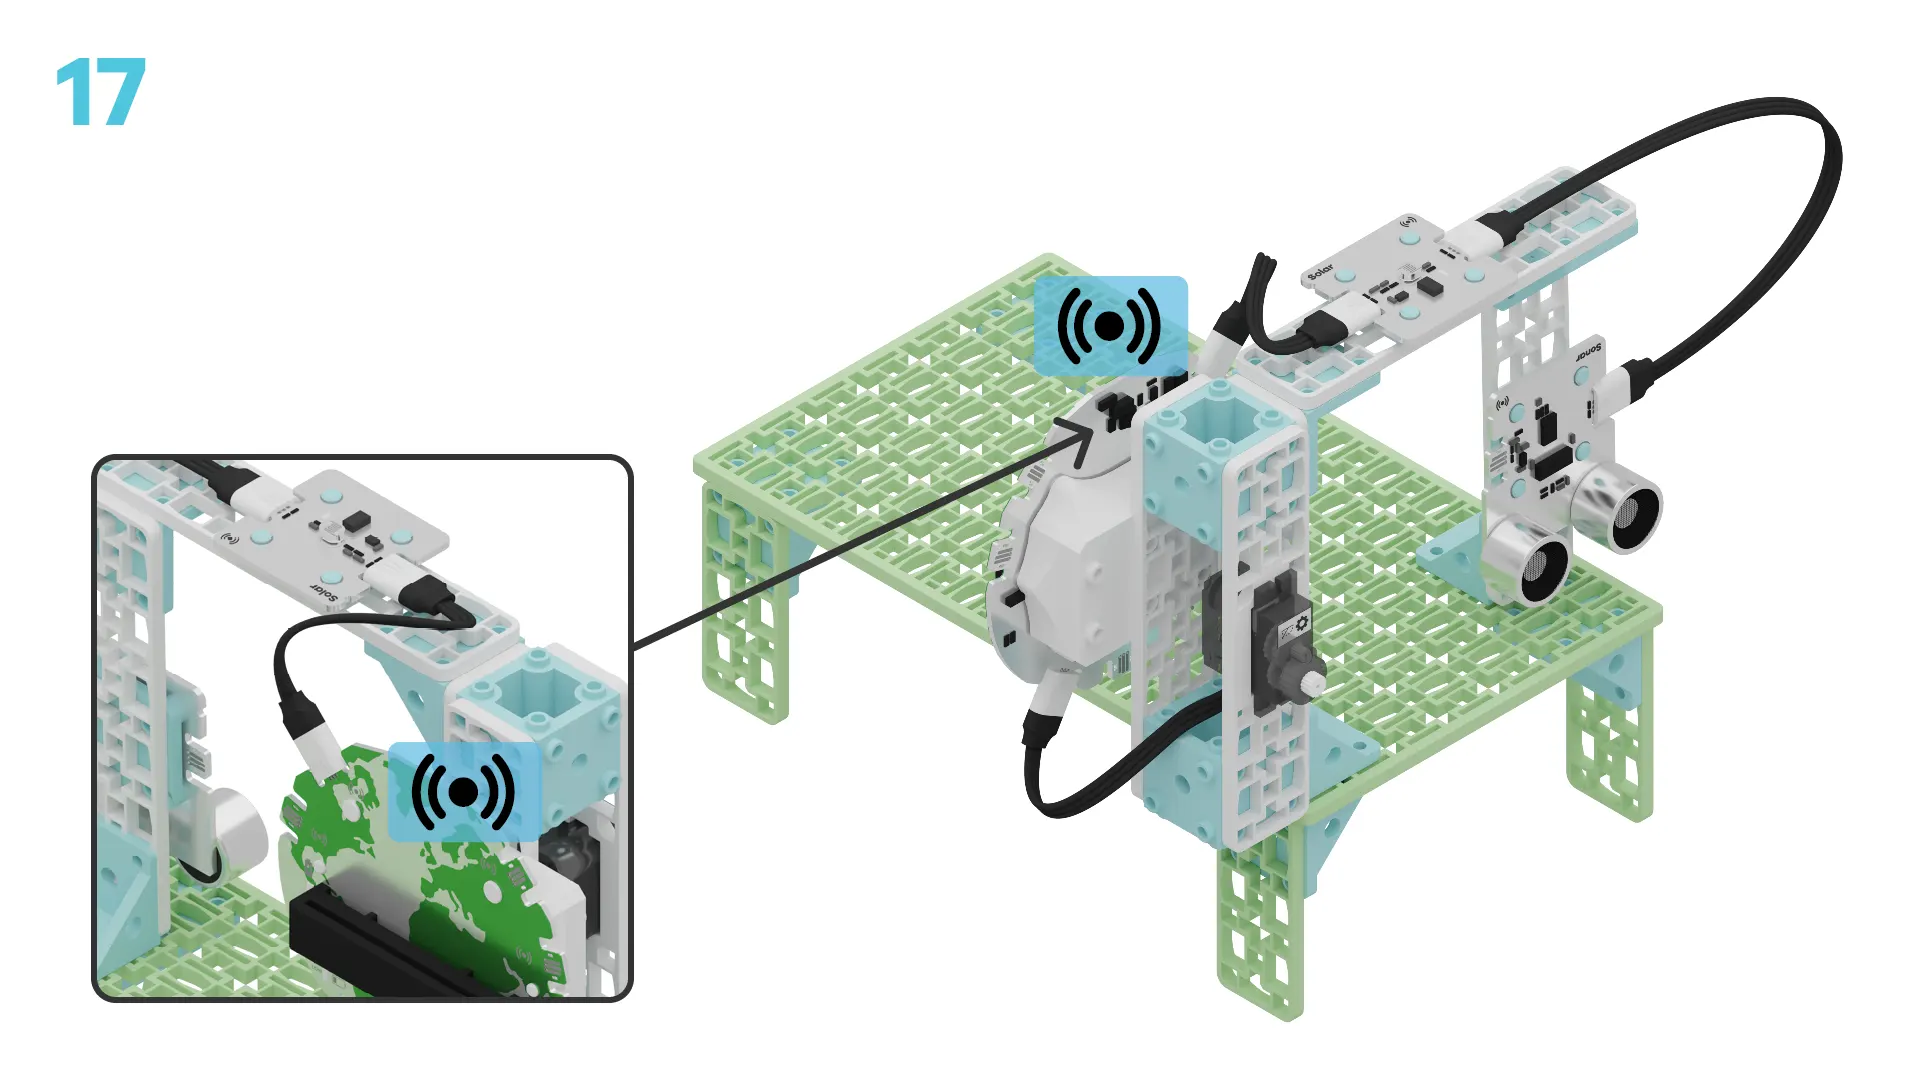
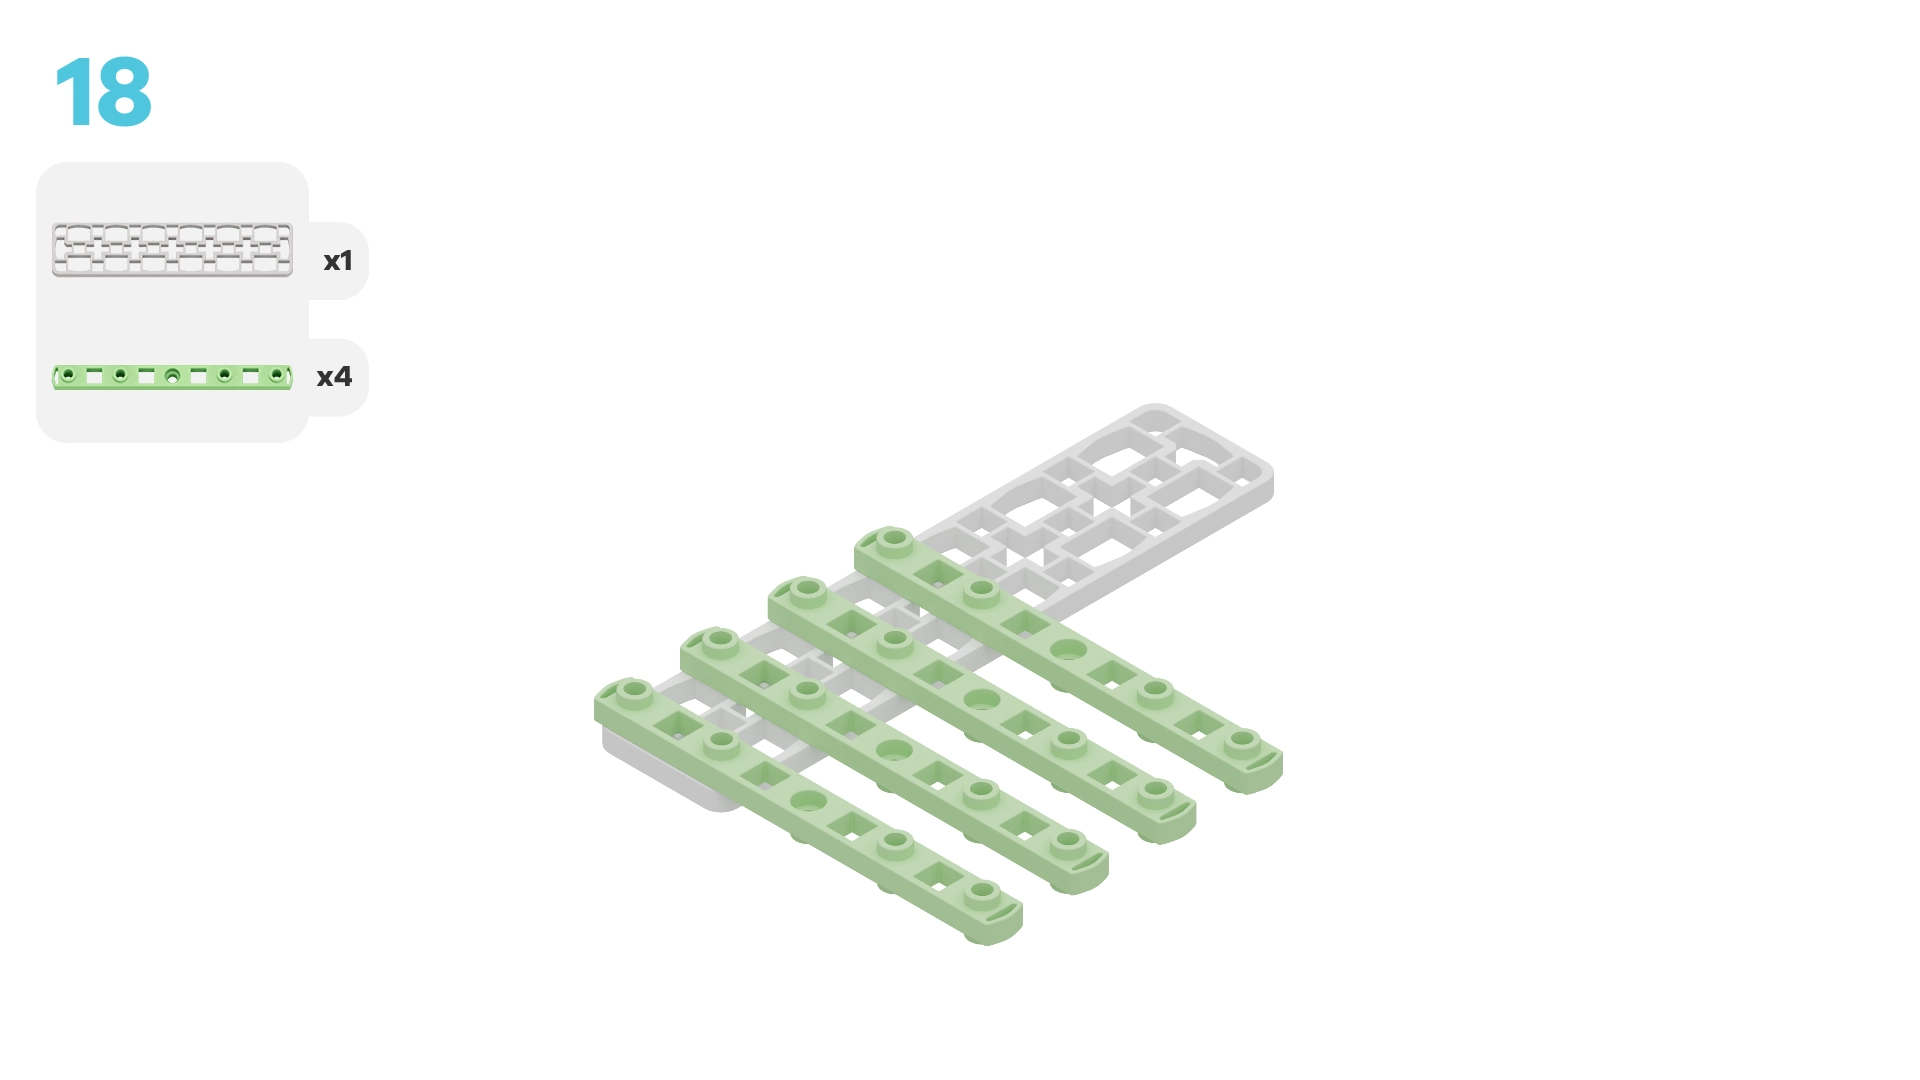
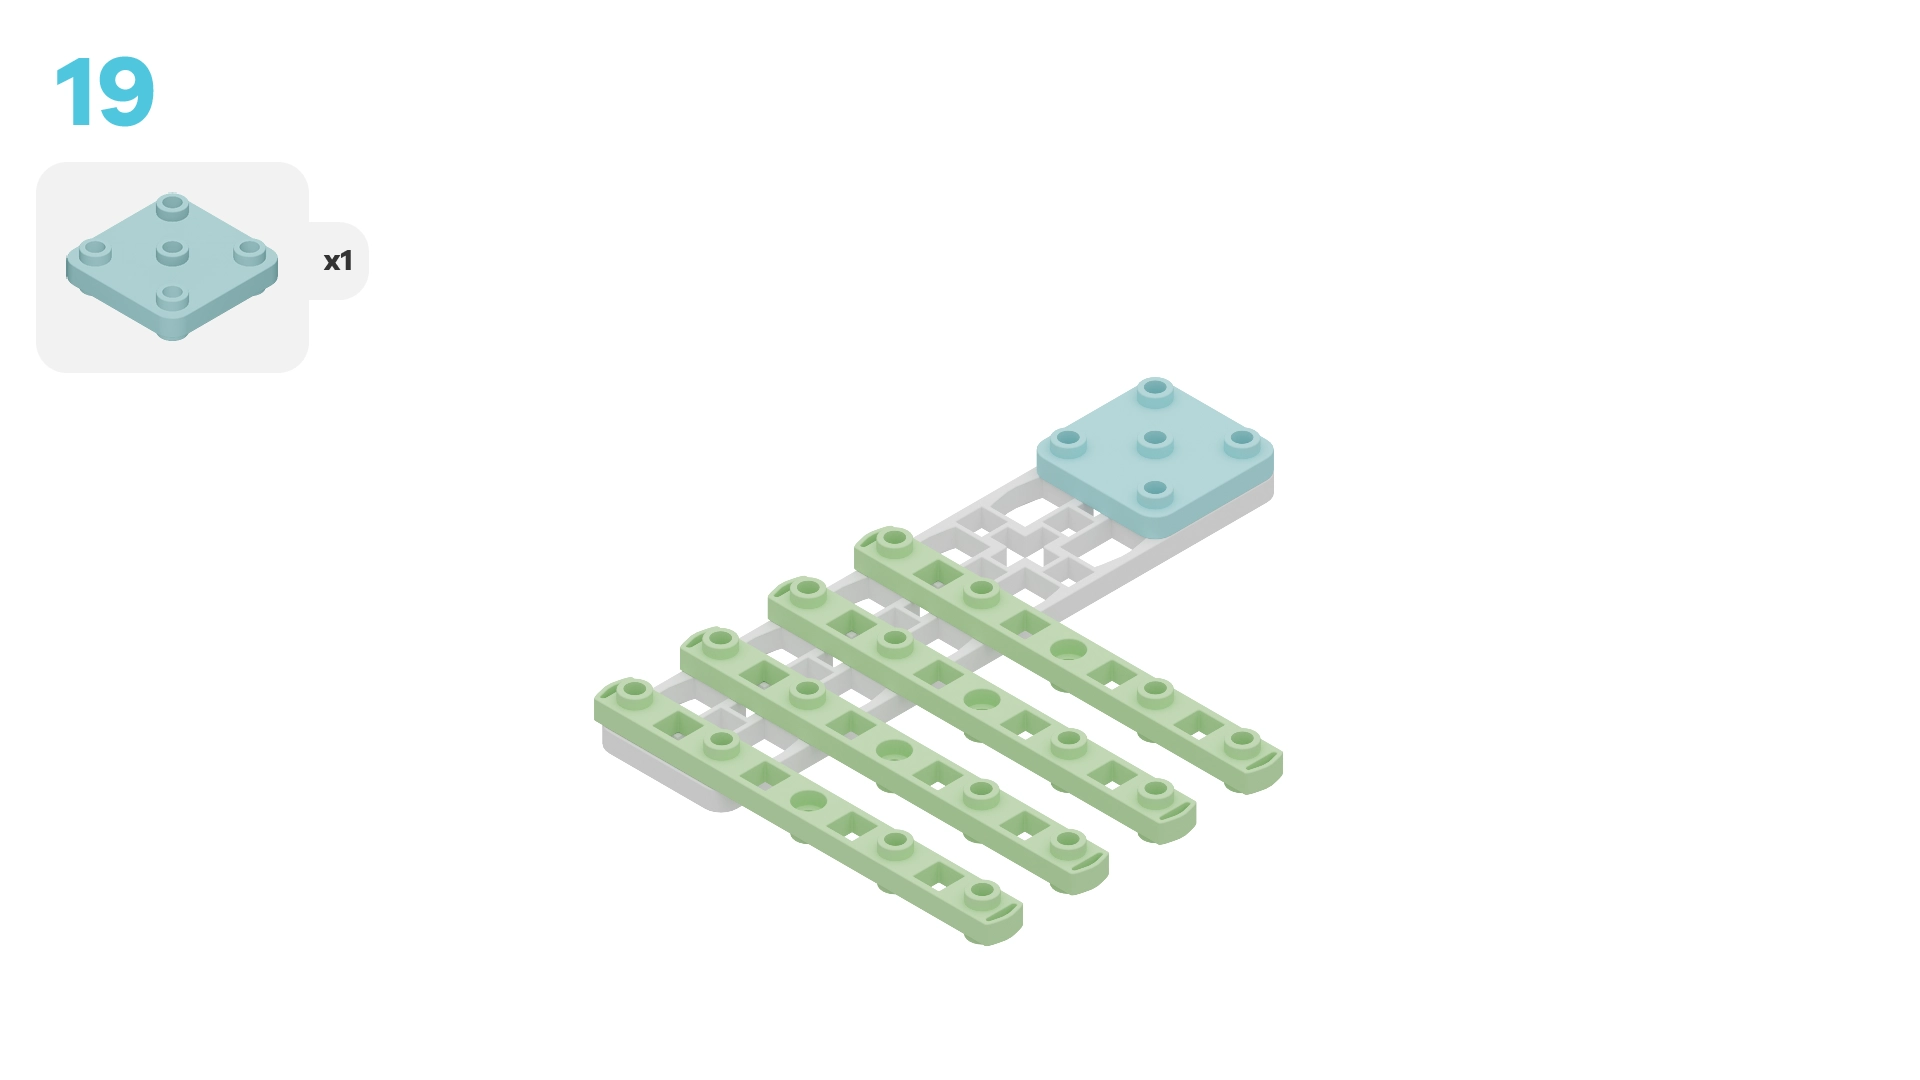
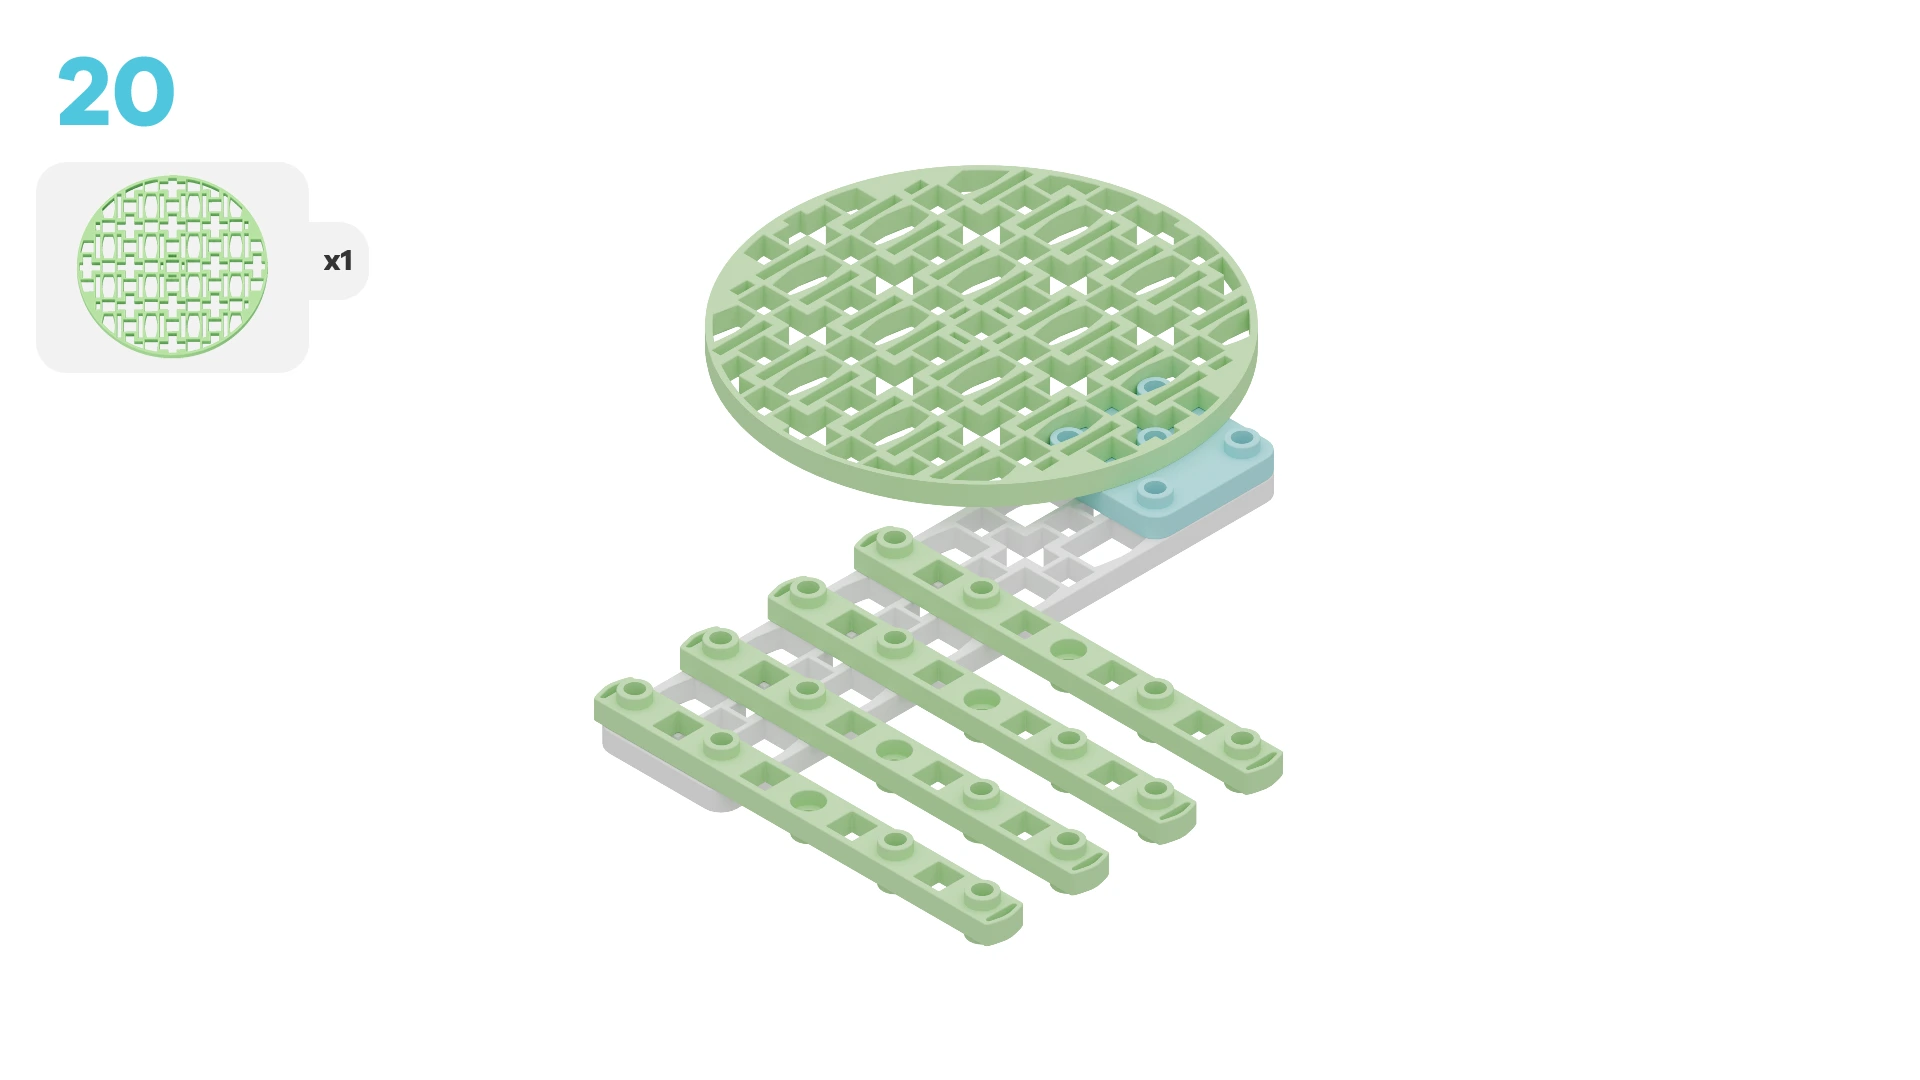
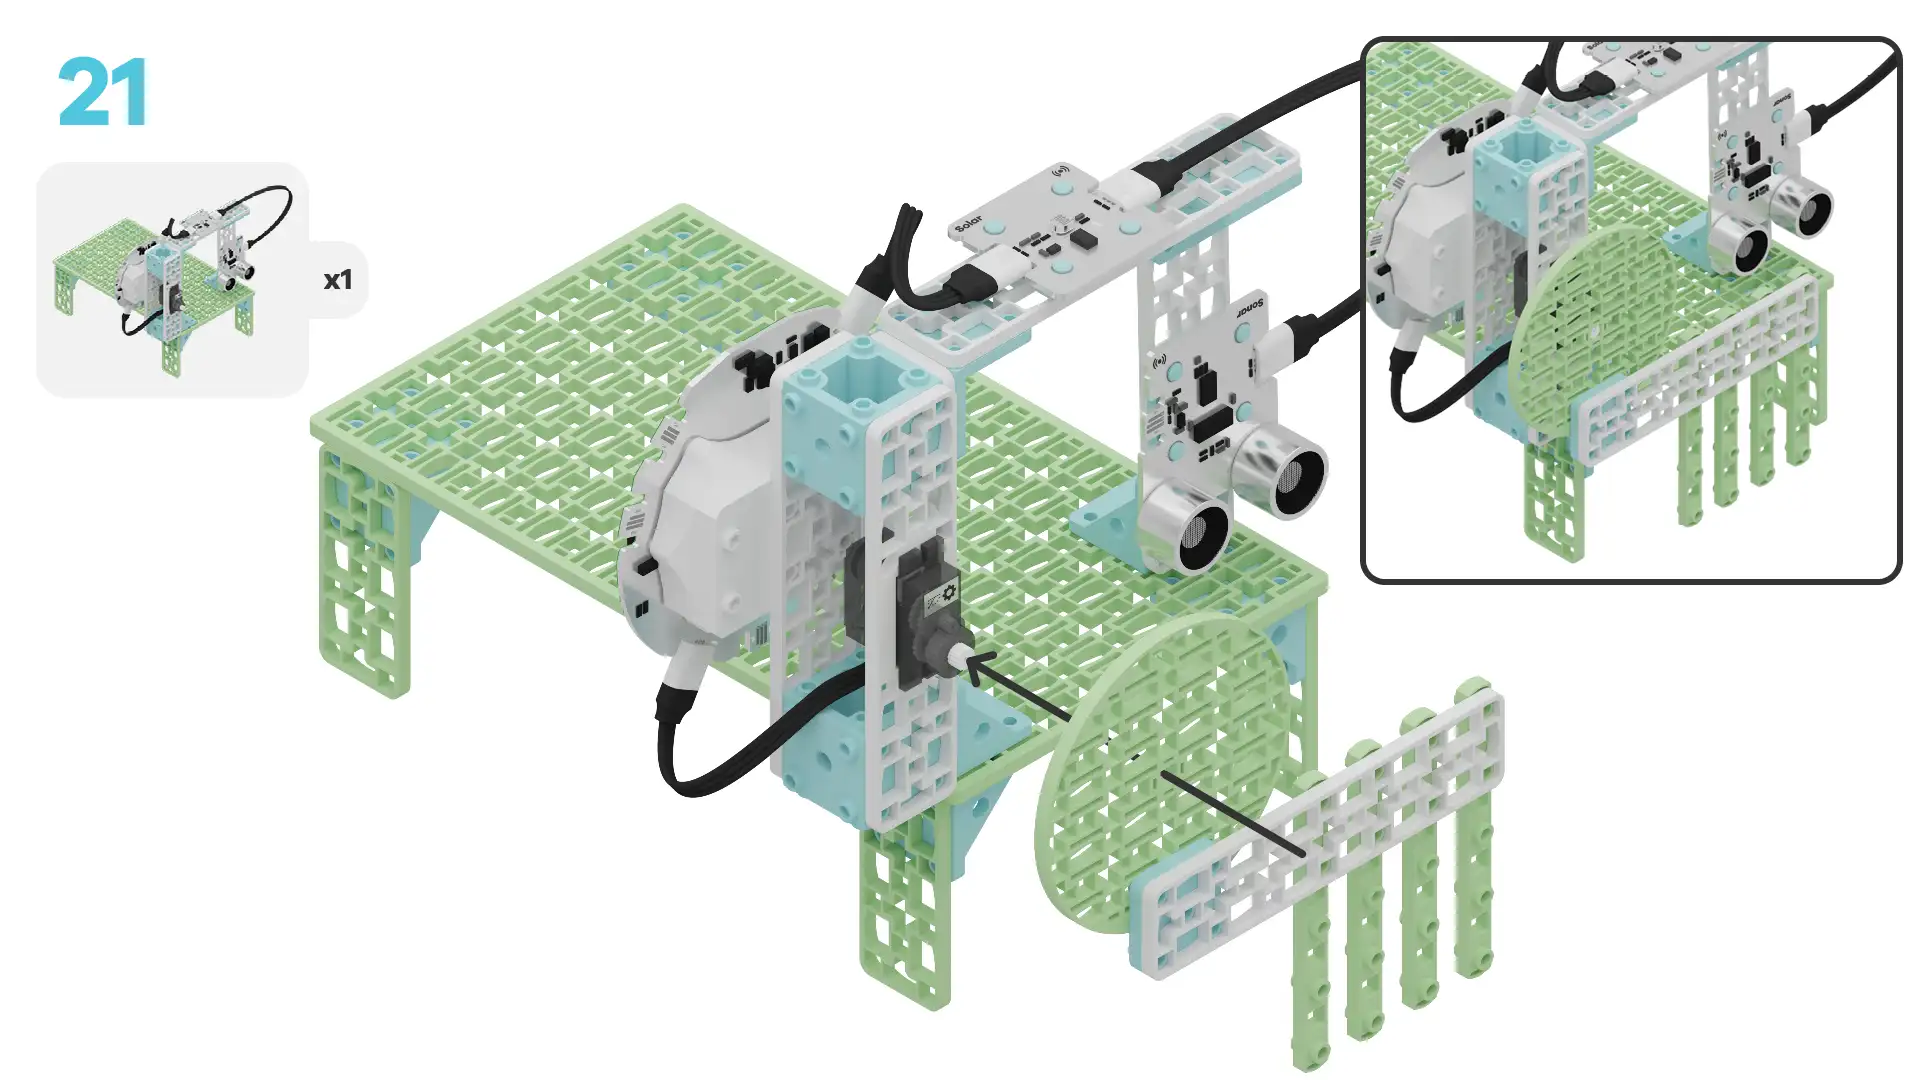
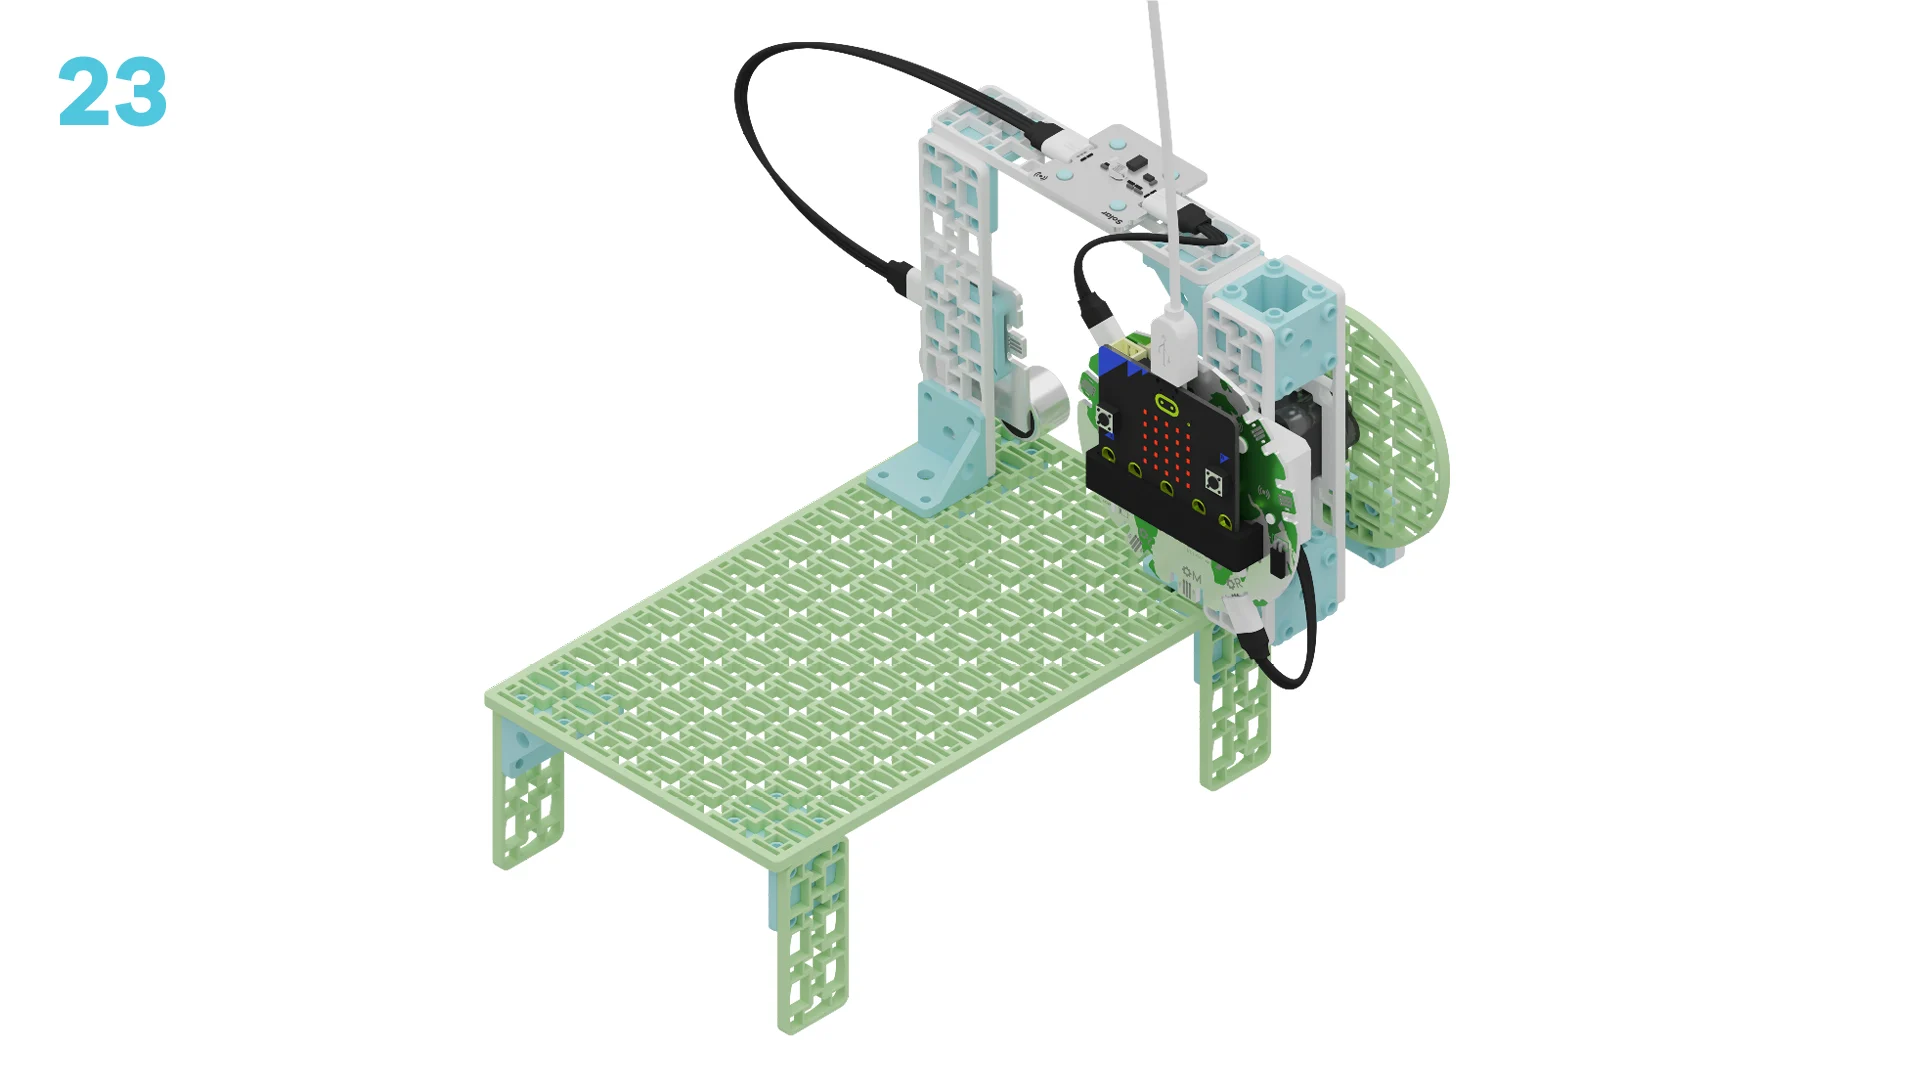
Let's build a wildlife crossing that has a bridge and a tunnel! We will do this in three parts:
- Build your crossing
- Add code to bring it to life
- Modify your crossing to learn how it works
- Complete a challenge to improve it
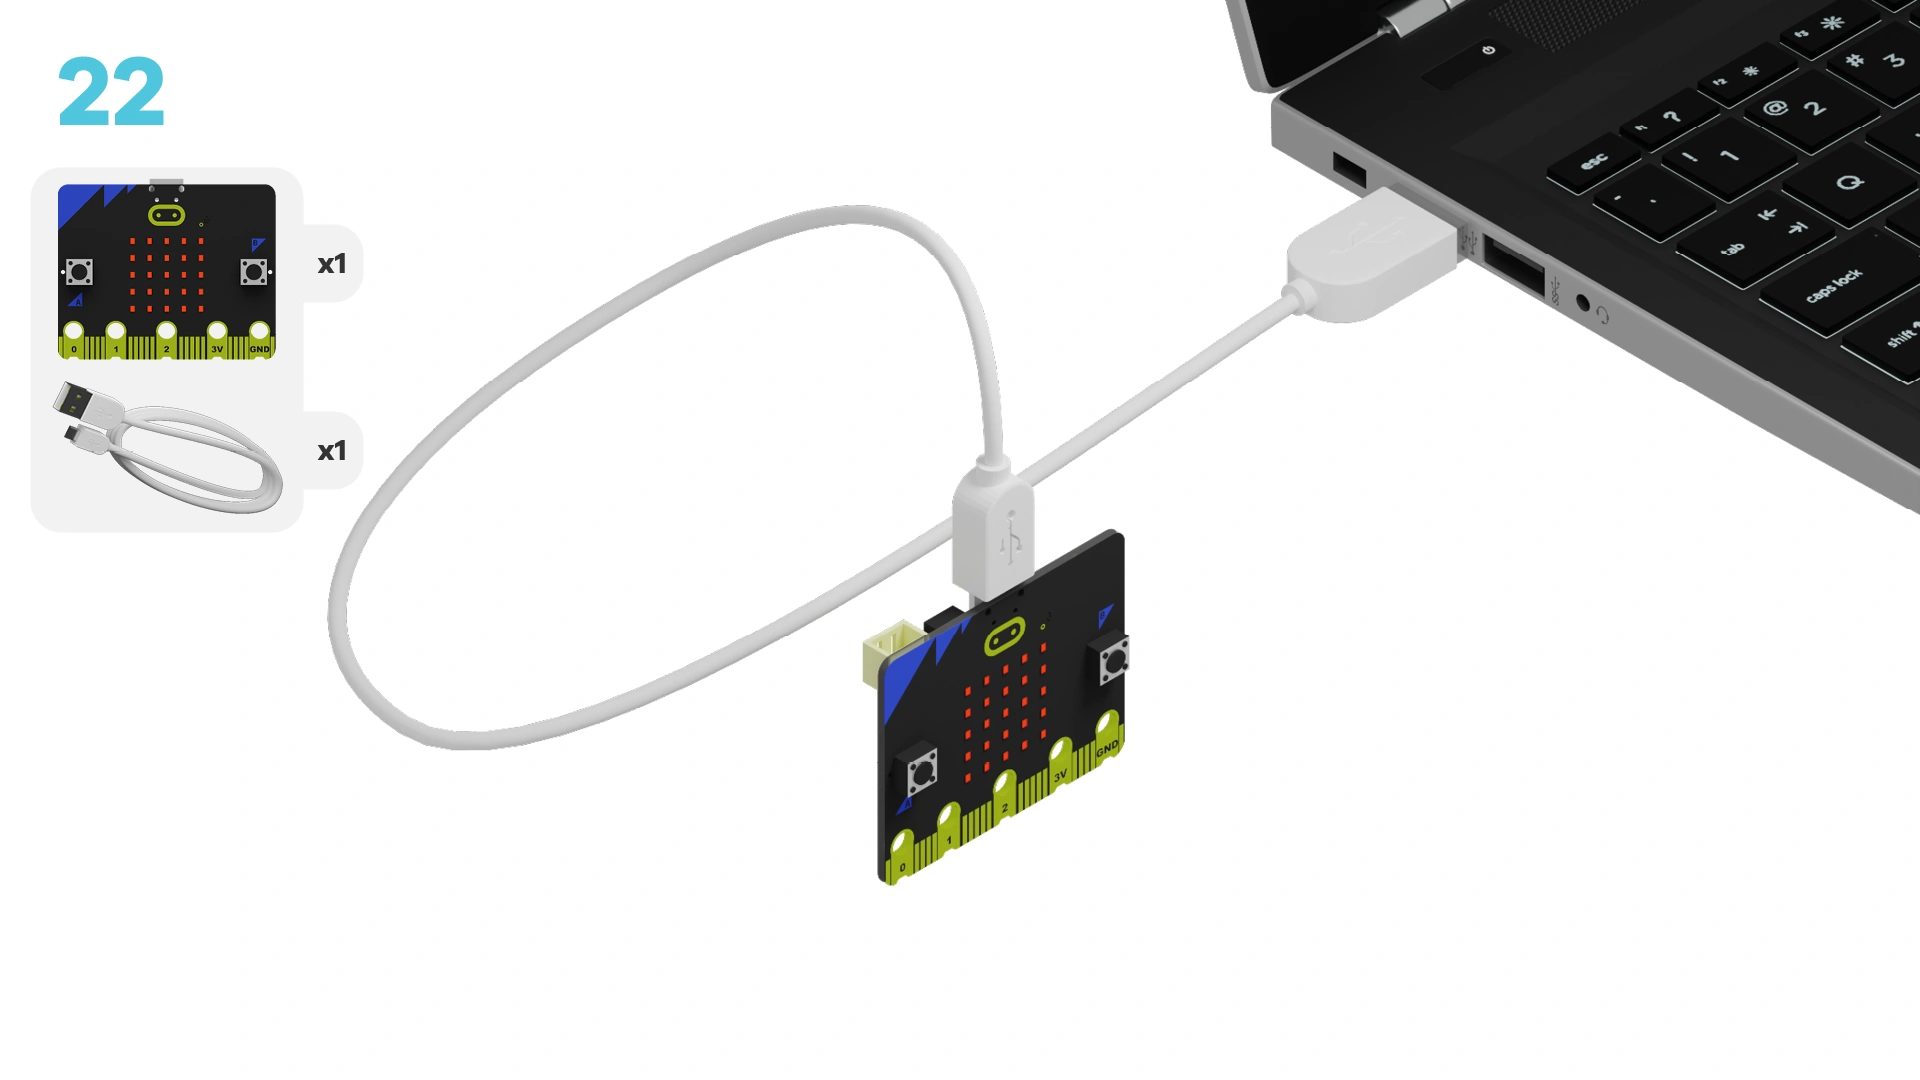
We need to connect our project to the computer to make it come to life with code!
The code will be the instructions that tell our micro:bit what to do.
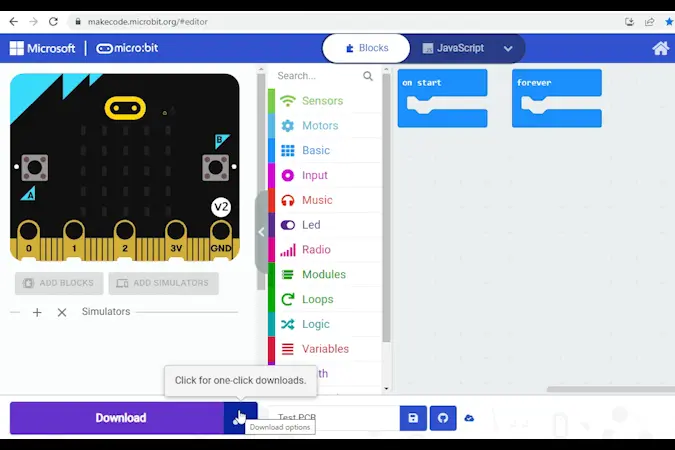
Click the three dots beside the |Download| button, then click on Connect Device.
Next, follow the steps to pair your micro:bit.
Next, click the |Download| button to download the code to your project.
We are now ready to modify our wildlife crossing!
Tutorial Tips
- Follow the steps at the top of the screen.
- When you are ready for more details, click 'Tell me more!'
- If you need help with the code, click the lightbulb!
- After each change,
|Download|the new code to your micro:bit.
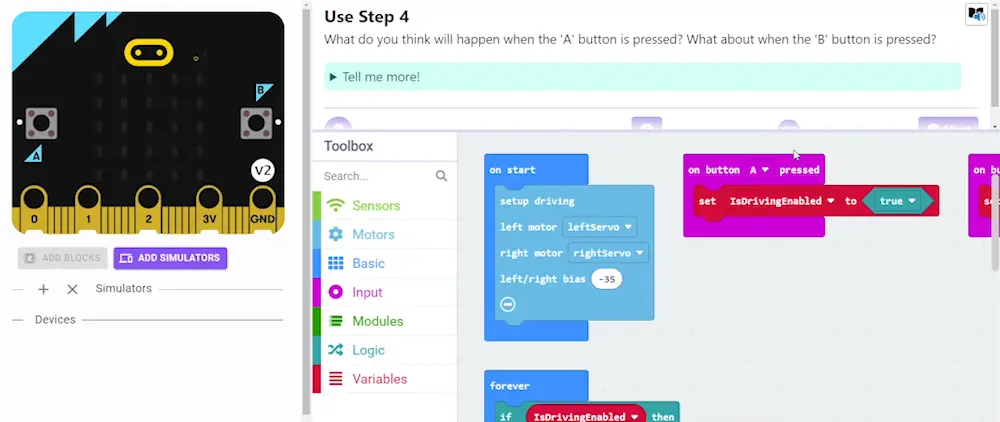
Take a close look at the wildlife crossing you built. Then, review the code below.
What do you think will happen when you:
- press A
- press B
- press A+B together?
Try it now to see if your predictions were correct!
~hint Tell me more!
- Pressing A, B, and A+B are events that make the gate move or the animal count change.
- When we press A, the motor turns to 90° and the gate opens.
- When we press B, the motor turns to 0° and the gate closes.
- When we press A+B, the number on the micro:bit goes up by 1. This is how we count the animals crossing. hint~
input.onButtonPressed(Button.A, function () {
    fwdMotors.rightServo.fwdSetAngle(90)
})
input.onButtonPressed(Button.B, function () {
    fwdMotors.rightServo.fwdSetAngle(0)
})
input.onButtonPressed(Button.AB, function () {
    animalCount += 1
})
Right now, we need to press buttons to open and close the gate or count the animals.
Imagine what would happen if we weren't there to watch and press the buttons. Why do you think this could be a problem?
~hint Tell me more!
- Gate: If no one were there, the gate would stay open or closed. When it's left closed, some larger animals might be stuck waiting. When it's left open, predators could trap their prey in the tunnel.
- Animal Counting: If no one were there to press the buttons, the animal count would be wrong. Then, we wouldn’t have the right data to know if the crossing was helping keep them safe! hint~
Pressing A or B manually opens and closes the gate.
Instead, we could make the gate automatically open or close using a sensor and a conditional statement.
~hint Tell me more!
- A conditional statement tells the micro:bit to check the situation and then decide what to do. hint~
Let's change the code so the solar sensor controls the gate. Instead of pressing buttons, the sensor will check how much light there is and decide whether or not to open the gate.
Why do you think we want to use light to control the gate? Take a guess!
~hint Tell me more!
- We close the gate at night (when it is dark!) to protect prey animals. Large predators that hunt at night, like nocturnal animals, might use the tunnel to trap their prey. Closing the gate at night keeps the prey animals safe.
- During the day, it is bright outside. Prey animals are safer because nocturnal predators are less active, so the gate can stay open for more animals to use. hint~
Look at the unfinished conditional statement below.
Trying moving the ||fwdMotors:set rightServo to|| blocks into the ||logic:if then else|| block. Your goal is to make the gate open during the day (when it's bright outside!)
Then, check the lightbulb for the correct answer!
basic.forever(function () {
    // @highlight
    if (fwdSensors.solar1.fwdIsLightLevelPastThreshold(70, fwdSensors.ThresholdDirection.Under)) {
        fwdMotors.rightServo.fwdSetAngle(0)
    } else {
        fwdMotors.rightServo.fwdSetAngle(90)
    }
})
Test the changes you made! Does the gate open and close automatically based on the light level?
Cover the solar sensor with your hand. What happens?
~hint Tell me more!
- When you cover the sensor, it’s like it’s nighttime. The gate should close to keep prey animals safe from predators that hunt at night. hint~
basic.forever(function () {
    if (fwdSensors.solar1.fwdIsLightLevelPastThreshold(70, fwdSensors.ThresholdDirection.Under)) {
        // @highlight
        fwdMotors.rightServo.fwdSetAngle(0)
    } else {
        fwdMotors.rightServo.fwdSetAngle(90)
    }
})
Let’s write another conditional statement to automatically count animals when they cross using the sonar sensor.
Remember, sonar sensors measure how close objects are to them.
Drag a new ||logic:if then|| block and a ||fwdSensors:sonar1 distance is over|| block into the workspace.
Try to add these blocks to your code. Your goal is to write a new conditional statement that increases our animal count whenever something gets close to the sonar sensor.
Check the lightbulb for the answer!
~hint Tell me more!
- The conditional statement checks if something is close to the sensor (like an animal about to cross).
- If something is close (less than 0.1m or 10 cm), the animal count goes up by 1. hint~
basic.forever(function () {
    basic.showNumber(animalCount)
    // @highlight
    if (fwdSensors.sonar1.fwdDistancePastThreshold(0.1, fwdSensors.ThresholdDirection.Under)) {
        animalCount += 1
    }
})
Test it out! Put your hand close to the solar sensor to mimic an animal crossing.
Did the number on the micro:bit increase?
If the number increases by more than 1 each time, add a ||basic:pause|| block after the ||variables:change animalCount by|| block.
This will stop the sensor from counting the same animal twice.
basic.forever(function () {
    basic.showNumber(animalCount)
    if (fwdSensors.sonar1.fwdDistancePastThreshold(0.1, fwdSensors.ThresholdDirection.Under)) {
        animalCount += 1
        // @highlight
        basic.pause(1000)
    }
})
You've completed the activity!
Think about something in this project that was tricky.
How did you figure it out? How did that make you feel?
What is one thing you could do to improve your animal crossing?
In the next step, you can click the |Done| button to finish the tutorial.
