fwd-edu-breakout=github:climate-action-kits/pxt-fwd-edu/fwd-breakout
ledRing=github:climate-action-kits/pxt-fwd-edu
soilMoisture=github:climate-action-kits/pxt-fwd-edu
Welcome to Smart Farming with Automated Watering Coding Tutorial
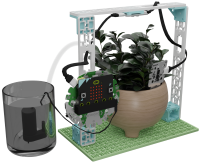
In this coding tutorial we will use the moisture sensor to measure the moisture level of the plants soil. Then, use the water pump to water the plant when the moisture level is low. Use the LED light to act as a grow light for the plant.
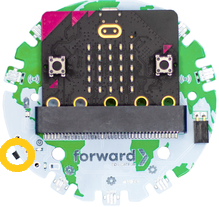
Turn on the Climate Action Kit board.
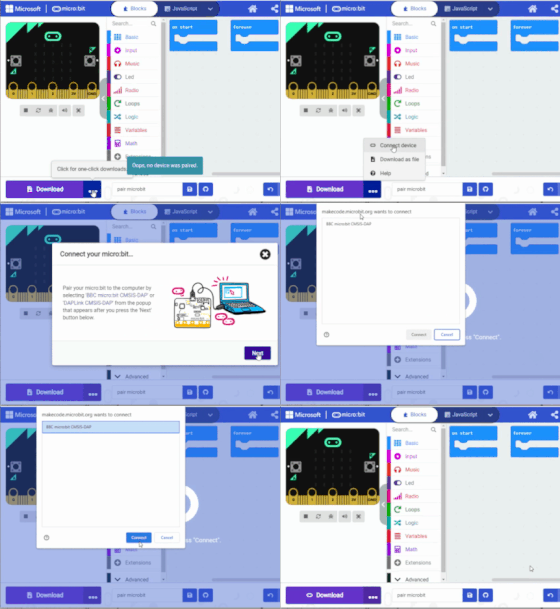
Click three dots besides |Download| button, and click on Connect Device. Next, follow the steps to pair your micro:bit.
Next, click the |Download| button to download the blank project to start-up the simulators.
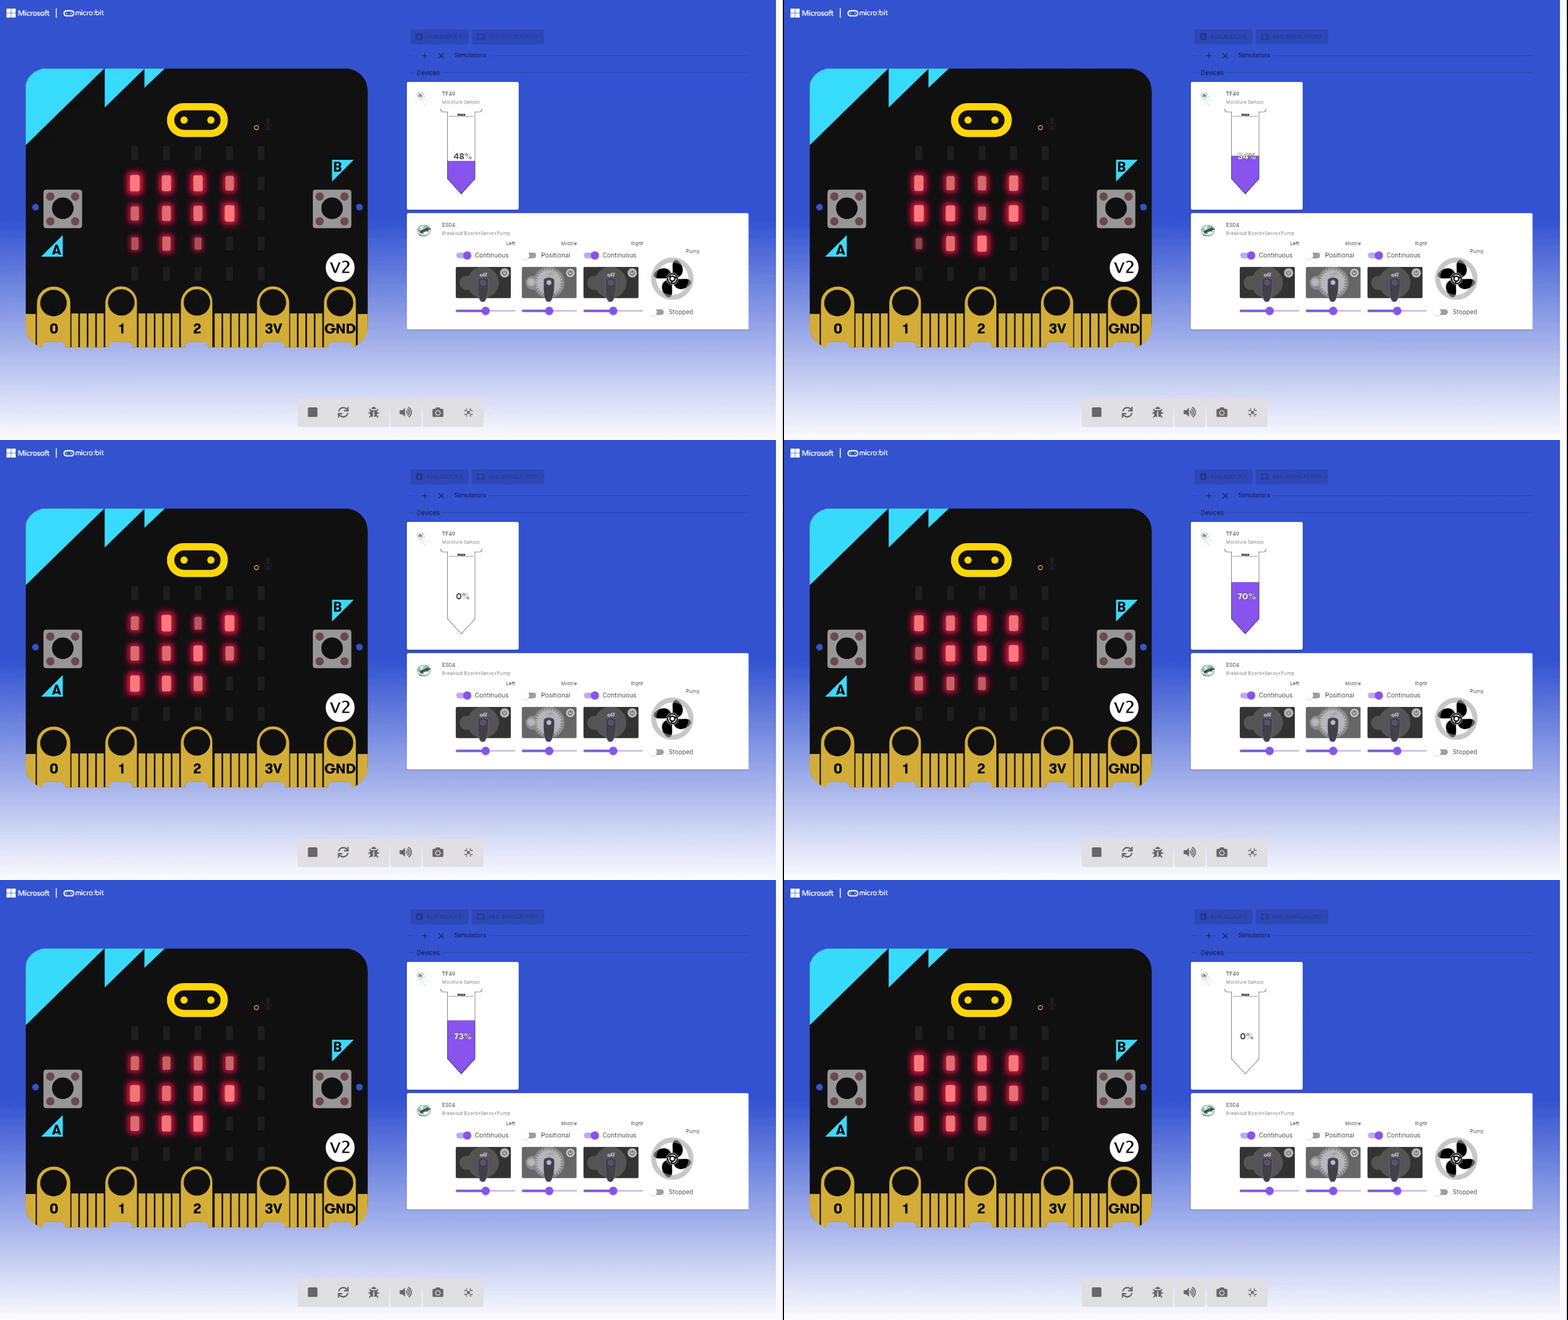
Look below the @boardname@ simulator to see the Climate Action Board and the connected sensors. Try holding the Moisture Sensor or dipping it in a glass of water. See how the virtual simulators react.
Click ||fwdSensors:Sensors|| drag and drop ||fwdSensors:set all ledRing LEDs to|| block inside ||basic:forever|| loop.
basic.forever(function () {
    fwdSensors.ledRing.fwdSetAllPixelsColour(0xff0000)
    )}
Click ||logic: Logic|| drag and drop ||logic:If then Else||
block under ||fwdSensors:set all ledRing LEDs to|| block.
basic.forever(function () {
    fwdSensors.ledRing.fwdSetAllPixelsColour(0xff0000)
    if (true) {
          }
    else {
        }
        )}
Click ||fwdSensors:Sensors|| drag and drop ||fwdSensors:is soilMoisture1 moisture level over 5%||
to replace ||logic:true|| condition of ||logic:if then else|| block.
Change ||fwdSensors:5% to 50%||.
basic.forever(function () {
    fwdSensors.ledRing.fwdSetAllPixelsColour(0xff0000)
    if (fwdSensors.soilMoisture1.fwdIsMoistureLevelPastThreshold(50, fwdSensors.ThresholdDirection.Over)) {
          }
    else {
        }
        )}
Click ||basic:basic|| drag and drop ||basic:show icon|| block inside ||logic:if then|| condition.
Select ||basic: :)|| icon.
basic.forever(function () {
    fwdSensors.ledRing.fwdSetAllPixelsColour(0xff0000)
    if (fwdSensors.soilMoisture1.fwdIsMoistureLevelPastThreshold(50, fwdSensors.ThresholdDirection.Over)) {
          basic.showIcon(IconNames.Happy)}
    else {
        }
        )}
Click ||basic:basic|| drag and drop ||basic:show icon|| block inside ||logic:else|| condition.
Select ||basic: :(|| icon.
basic.forever(function () {
    fwdSensors.ledRing.fwdSetAllPixelsColour(0xff0000)
    if (fwdSensors.soilMoisture1.fwdIsMoistureLevelPastThreshold(50, fwdSensors.ThresholdDirection.Over)) {
          basic.showIcon(IconNames.Happy)}
    else {
        basic.showIcon(IconNames.Sad)}
        )}
Click ||fwdMotors:Motors|| drag and drop ||fwdMotors:run pump for 500|| under
||basic: :(|| icon.
basic.forever(function () {
    fwdSensors.ledRing.fwdSetAllPixelsColour(0xff0000)
    if (fwdSensors.soilMoisture1.fwdIsMoistureLevelPastThreshold(50, fwdSensors.ThresholdDirection.Over)) {
        basic.showIcon(IconNames.Happy)
        } else {
        basic.showIcon(IconNames.Sad)
        fwdMotors.pump.fwdTimedRun(100)
        }
})
Click ||basic:basic|| drag and drop ||basic:pause (ms) 100|| block under ||fwdMotors:run pump for 500|| block.
Change the ||basic:100|| to ||basic:500||.
basic.forever(function () {
    fwdSensors.ledRing.fwdSetAllPixelsColour(0xff0000)
    if (fwdSensors.soilMoisture1.fwdIsMoistureLevelPastThreshold(50, fwdSensors.ThresholdDirection.Over)) {
        basic.showIcon(IconNames.Happy)
        } else {
        basic.showIcon(IconNames.Sad)
        fwdMotors.pump.fwdTimedRun(500)
        basic.pause(500)
        basic.clearScreen()
        }
})
Click ||basic:basic|| drag and drop ||basic:clear screen||
block under ||basic:pause (ms) 500|| block.
basic.forever(function () {
    fwdSensors.ledRing.fwdSetAllPixelsColour(0xff0000)
    if (fwdSensors.soilMoisture1.fwdIsMoistureLevelPastThreshold(50, fwdSensors.ThresholdDirection.Over)) {
        basic.showIcon(IconNames.Happy)
        } else {
        basic.showIcon(IconNames.Sad)
        fwdMotors.pump.fwdTimedRun(500)
        basic.pause(500)
        basic.clearScreen()
        }
})
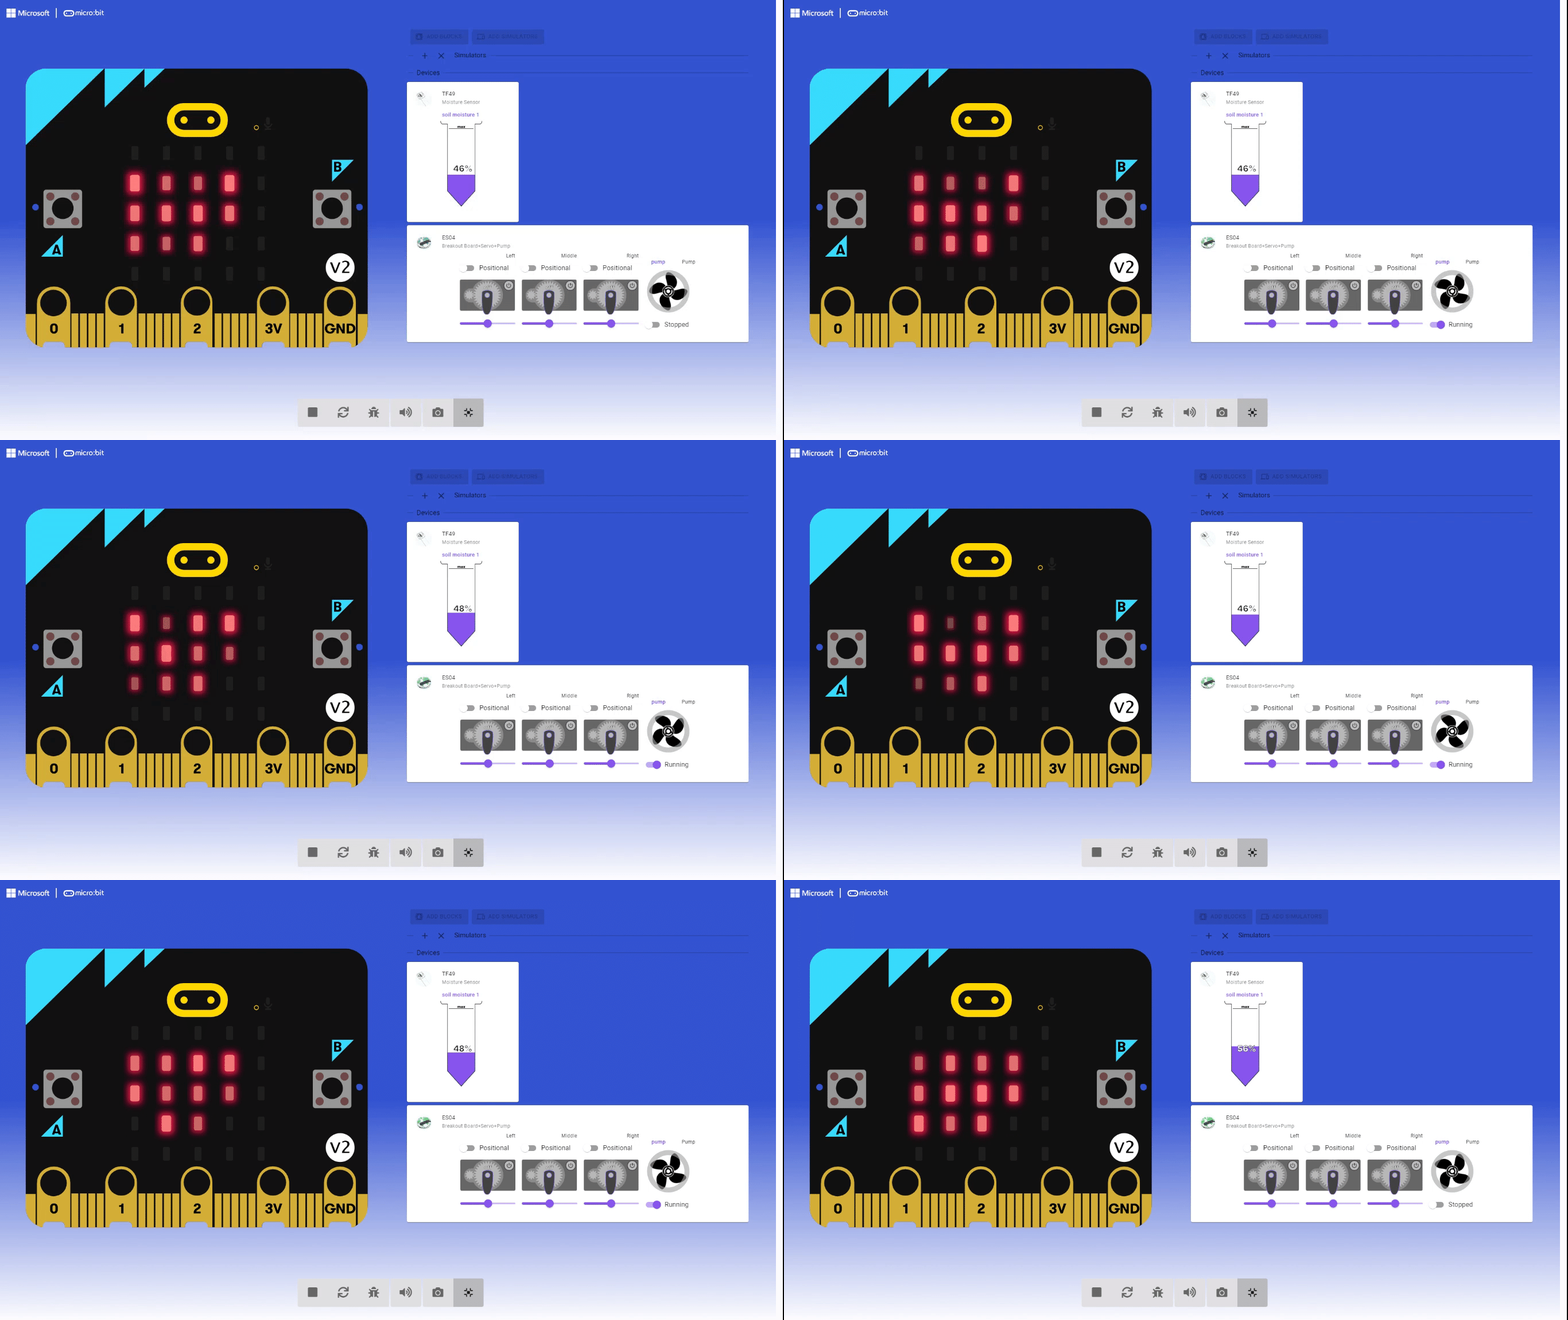
|Download| and test your code. Click the bulb icon to see how
the simulator shows the components working.
Congratulations on completing your Smart Farming with Automated Watering Project!
After your project is complete, go back to the lesson for more challenges and extensions.
