Auth0 is an authentication broker that supports social identity providers as well as enterprise identity providers such as Active Directory, LDAP, Office365, Google Apps, Salesforce.
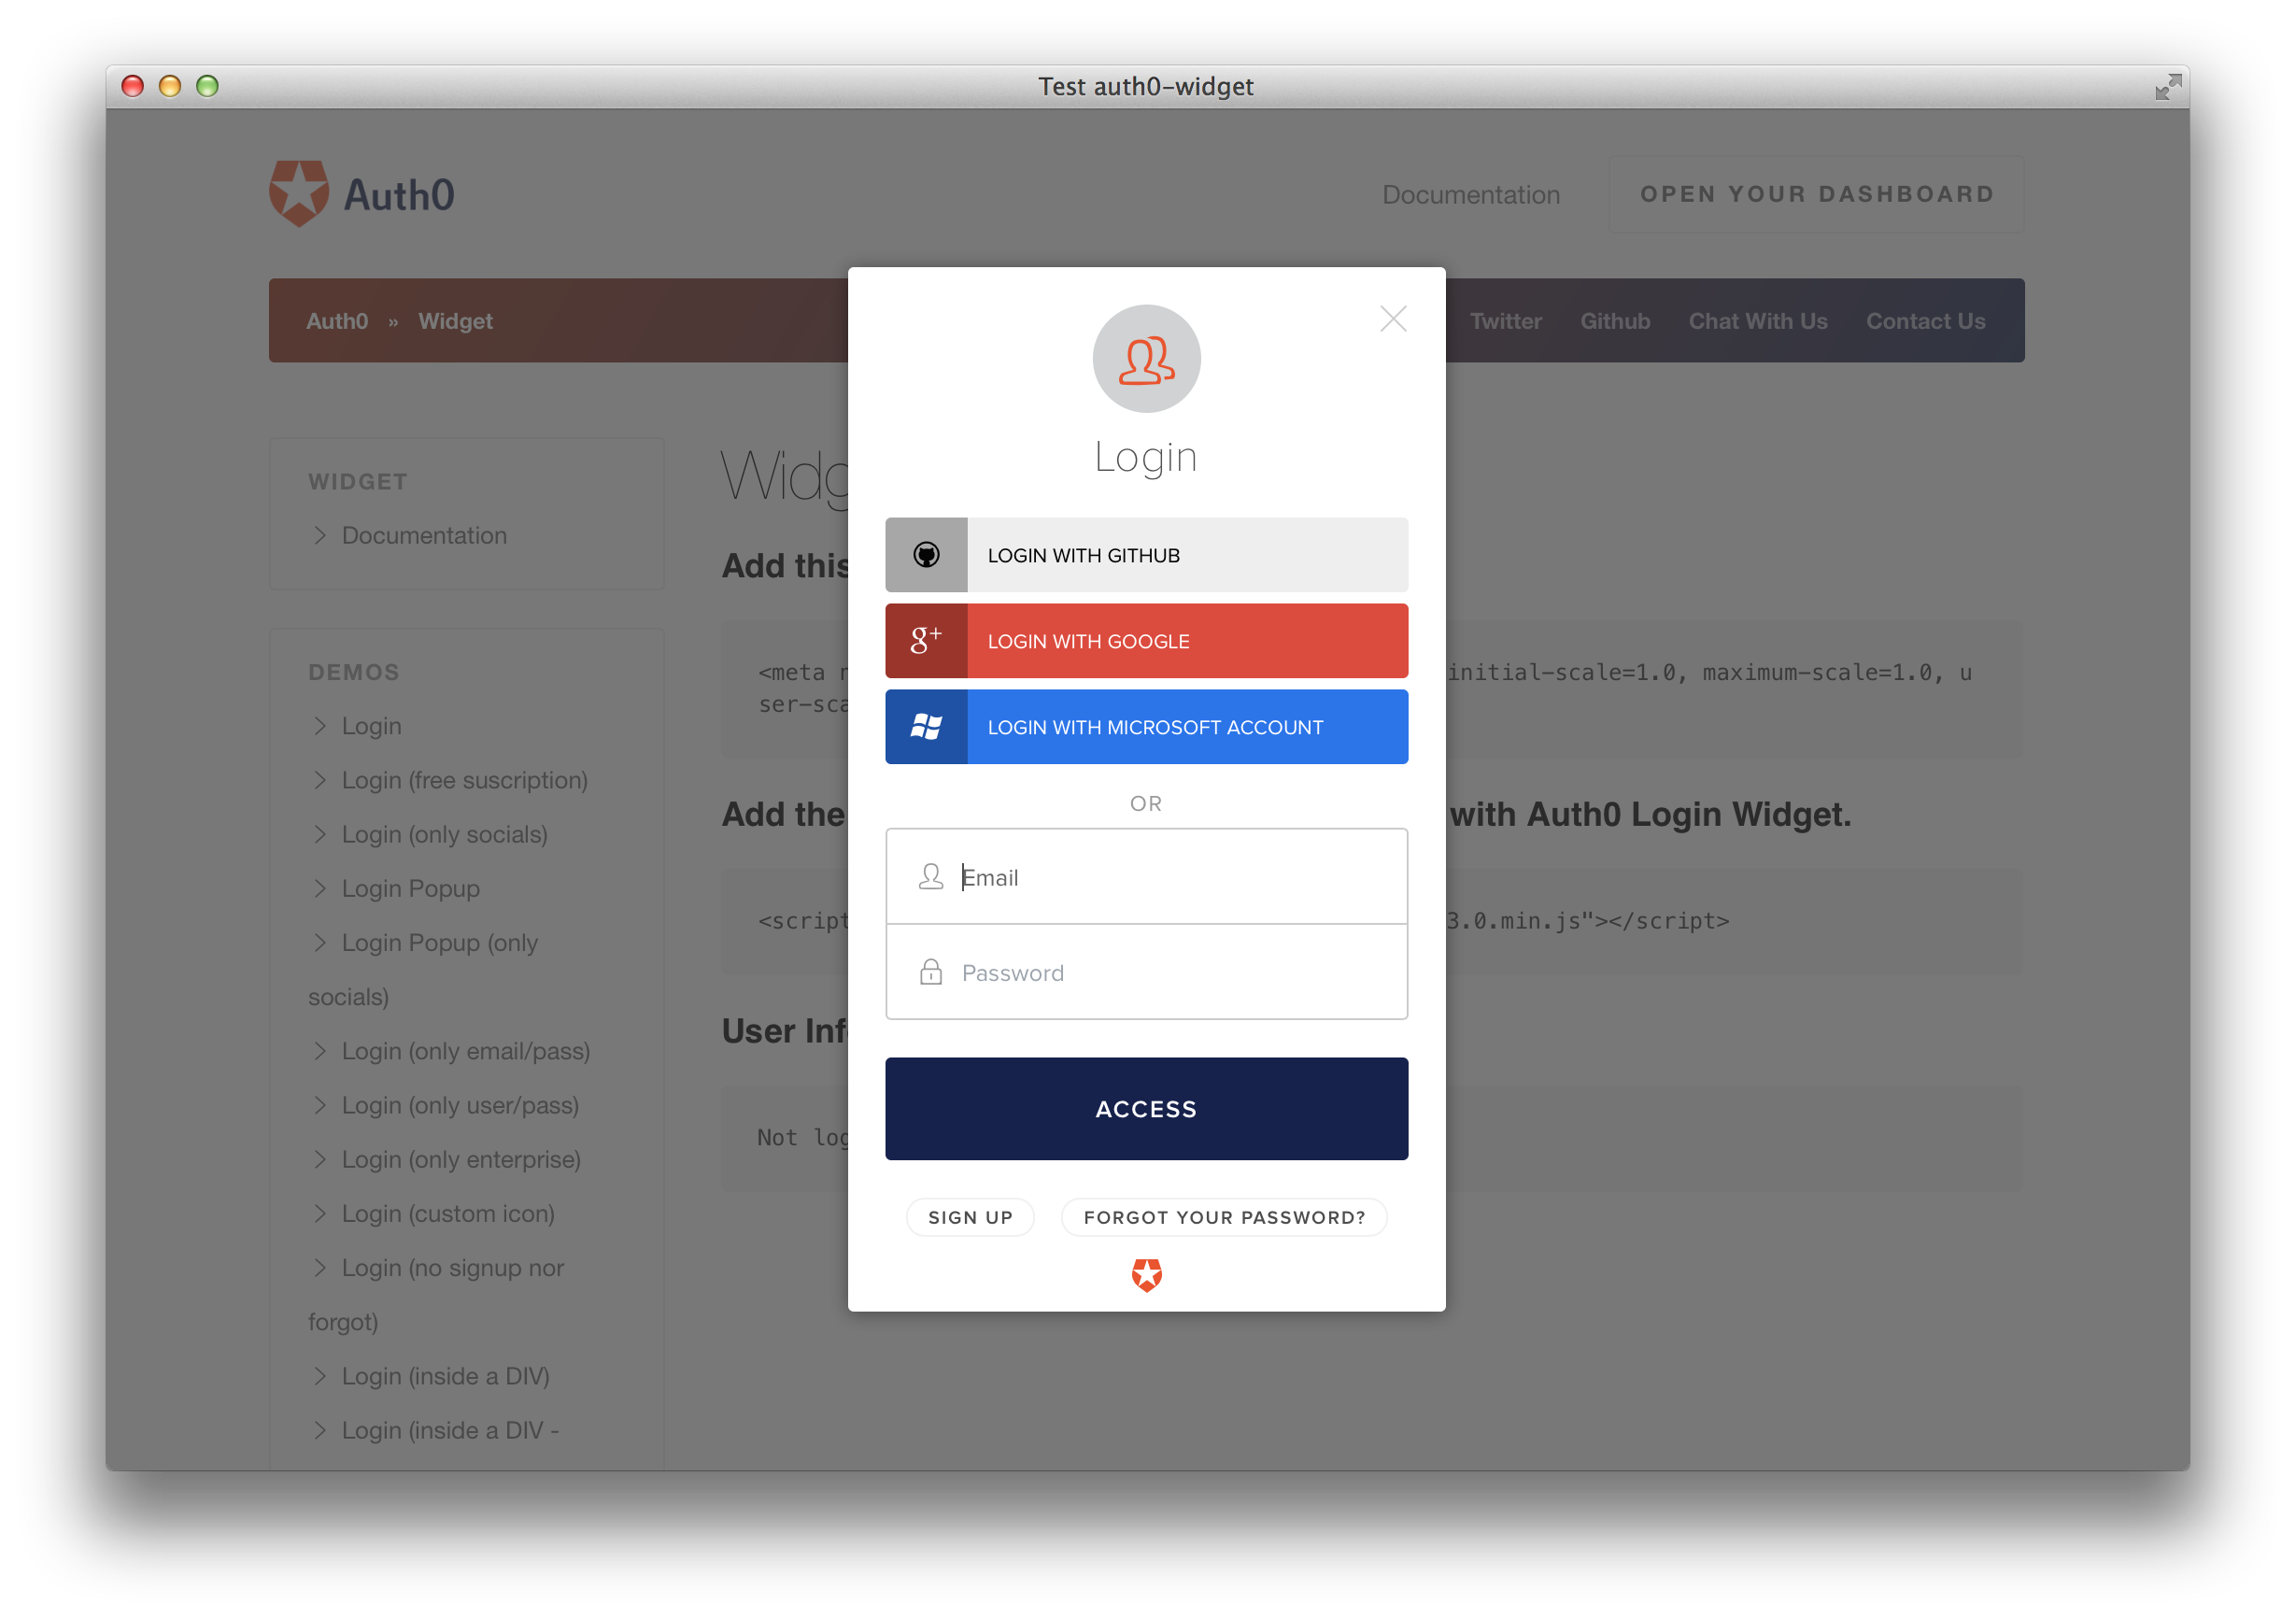
The Auth0 Login Widget makes it easy to integrate SSO in your app. You won't have to worry about:
- Having a professional looking login dialog that displays well on any resolution and device.
- Finding the right icons for popular social providers.
- Remembering what was the identity provider the user chose the last time.
- Solving the home realm discovery challenge with enterprise users (i.e.: asking the enterprise user the email, and redirecting to the right enterprise identity provider).
- Implementing a standard sign in protocol (OpenID Connect / OAuth2 Login)
Take auth0-widget.js or auth0-widget.min.js from the build directory and import it to your page.
Construct a new instance of the Auth0 Widget as follows:
<script src="http://cdn.auth0.com/w2/auth0-widget-4.1.js"></script>
<script type="text/javascript">
  var widget = new Auth0Widget({
    domain:       'mine.auth0.com',
    clientID:     'dsa7d77dsa7d7',
    callbackURL:  'http://my-app.com/callback'
  });

  // ...
</script>To invoke the widget, use the show method:
widget.signin();
// or
widget.signin(options, callback);- connections: Array of enabled connections that will be used for the widget. Default: all enabled connections.
- container: The id of the DIV where the widget will be contained.
- icon: Icon url. Recommended: 32x32.
- showIcon: Show/Hide widget icon. Default: false.
- connection_scopes: Scopes to request to each identity provider that are not configured for the connection.
- offline_mode: If set, the
refresh_tokenwill be returned after a successful login.
widget.signin({
  connections: ['facebook', 'google-oauth2', 'twitter', 'Username-Password-Authentication', 'fabrikam.com'],
  container: 'root',
  icon: 'https://s3.amazonaws.com/assets.fabrikam.com/w2/img/logo-32.png',
  showIcon: true,
  offline_mode: true,
  connection_scopes: {
    'facebook': ['public_profile', 'user_friends'],
    'google-oauth2': ['https://www.googleapis.com/auth/orkut'],
    // none for twitter
  }
}, function () {
  // The Auth0 Widget is now loaded.
}, function(profile, id_token, access_token, state, refresh_token) {

});It is also possible to start the widget in the Sign Up mode or Reset Password mode as follows:
widget.signup(/* [same as the .signin method] */)

// or

widget.reset(/* [same as the .signin method] */)You can handle the authorization process client-side as follows:
<script type="text/javascript">

  function callback(err, profile, id_token, access_token, state) {
      if (err) {
        // Handle authentication error
        return;
      }
      alert('hello ' + profile.name);
      //use result.id_token to call your rest api
  }

  var widget = new Auth0Widget({
    domain:       'mine.auth0.com',
    clientID:     'dsa7d77dsa7d7',
    callbackURL:  'http://my-app.com/',
    callbackOnLocationHash: true
  });

  widget.signin({popup: true}, null, callback)
</script>Note 1: most of the translations are machine generated, please help us to move this forward.
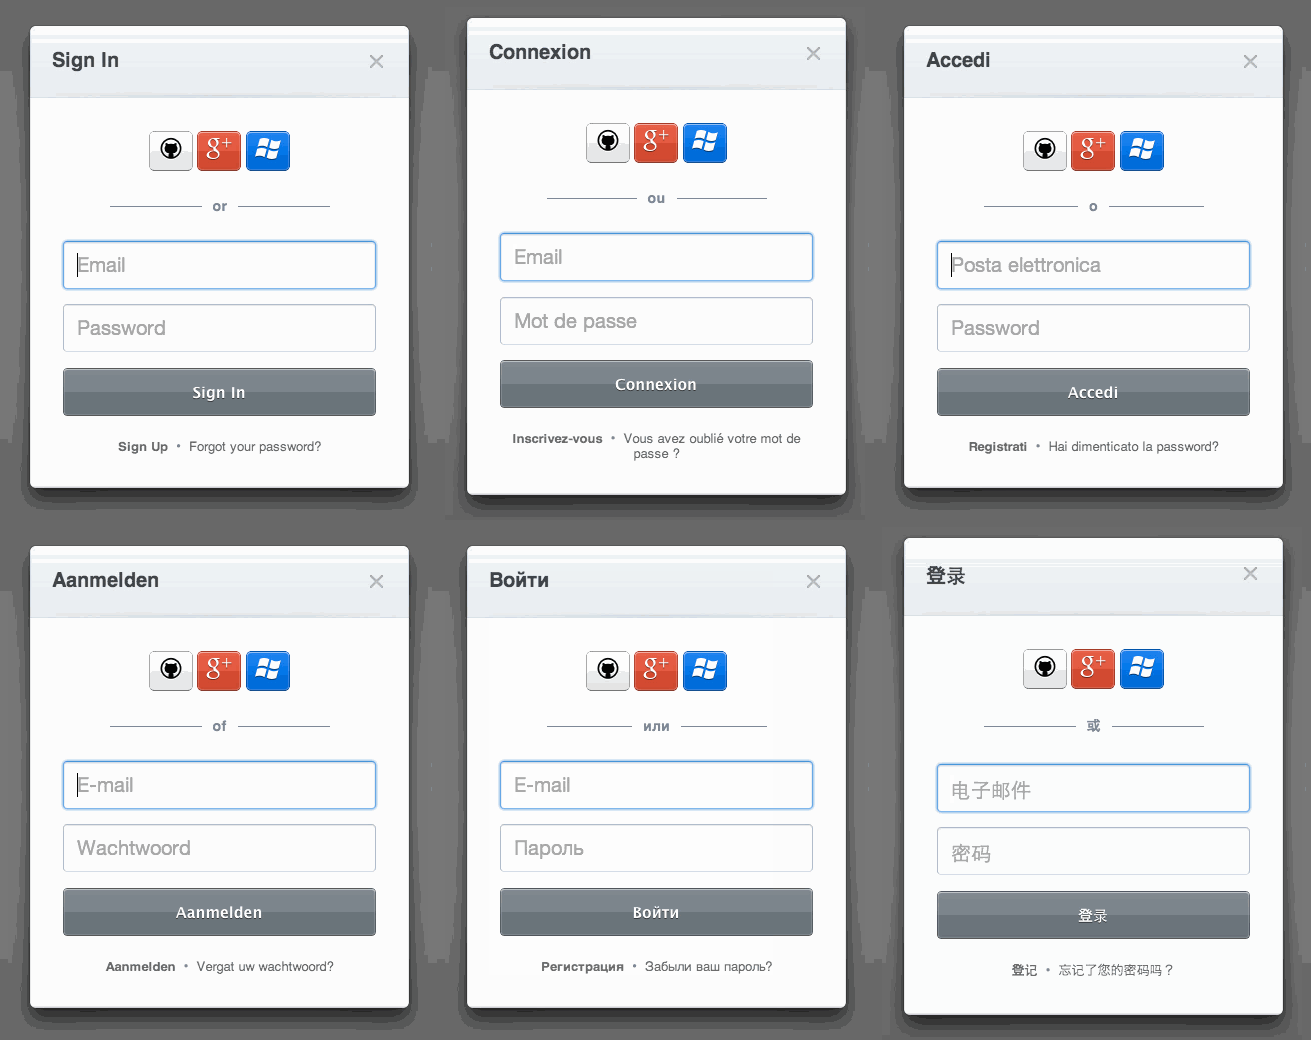
Version 1.2.0 we added support for internationalization:
You can call instantiate the widget with the dict option:
  var widget = new Auth0Widget({
    domain:       'mine.auth0.com',
    clientID:     'dsa7d77dsa7d7',
    callbackURL:  'http://my-app.com/',
    dict:         'es'
  });
where dict can be a string matching the name of the file in the i18n folder or it could be an object literal as follows:
  var widget = new Auth0Widget({
    domain:       'mine.auth0.com',
    clientID:     'dsa7d77dsa7d7',
    callbackURL:  'http://my-app.com/',
    dict:         {
      "loadingTitle": "loading...",
      "close": "close",
      "signin": {
      ..//same as in i18n json files
    }
});Apply your own style to the elements.
All classes and ids are prefixed with a0- to avoid conflicts with your own stylesheets.
Send us an screenshot! We would love to see what you can do.
The example directory has a ready-to-go app. In order to run it you need node installed and grunt (npm i grunt -g), then execute grunt example from the root of this project.
To run the tests that don't require BrowserStack, first install npm install -g testem and then run grunt test.
To run the entire test suite run grunt dev and point your browser to http://localhost:9999/test_harness.html.
We are using BrowserStack to run the test suite on multiple browsers on every push.
Run grunt dev and point your browser to http://localhost:9999/test_harness.html to run the test suite.
Run grunt phantom if you have PhantomJS installed.
Run grunt integration (or npm test) if you have SauceLabs account. You will need a SAUCE_ACCESS_KEY and SAUCE_USERNAME env variables.
Use:
  # release new version
  $ ./bin/version {patch,minor,major}

  # update remote repository
  $ git push origin master

  # and let Auth0's CI worry about the rest
That's it!
MIT


