-
Notifications
You must be signed in to change notification settings - Fork 3
Home
- BCBox is for internal users, who need to share with external users, the BC Box is a Canadian website that allows low-cost, simple, publicly usable, and intractable storage with self-serve permission management.
- Unlike Dropbox and major cloud storage providers, our product is compliant with government standards of data sovereignty.
Unlike S3 Browser, our product is a website, appropriate for general users, and allows permissions settings for authenticated users. - Unlike Geodrive, our product does not require installation and allows public sharing.
- Unlike SharePoint, our product’s storage cost is less, allows easier public sharing of files, and requires no administrative overhead.
- Unlike many competitors, our product focuses on lowering the barrier of entry to immediately share files in a compliant manner.
Open any modern internet browser and type in the following URL [production_link] on the browser’s address bar. The log-in page will be displayed. To access the BCBox application, click on the Log in, the right hand side of the screen. To log out, click on the link to “Log out” located at the upper right corner of the page.

To log-in, click on the “IDIR“, “Basic BCeID“ or “Business BCeID“ button and enter the username and password.
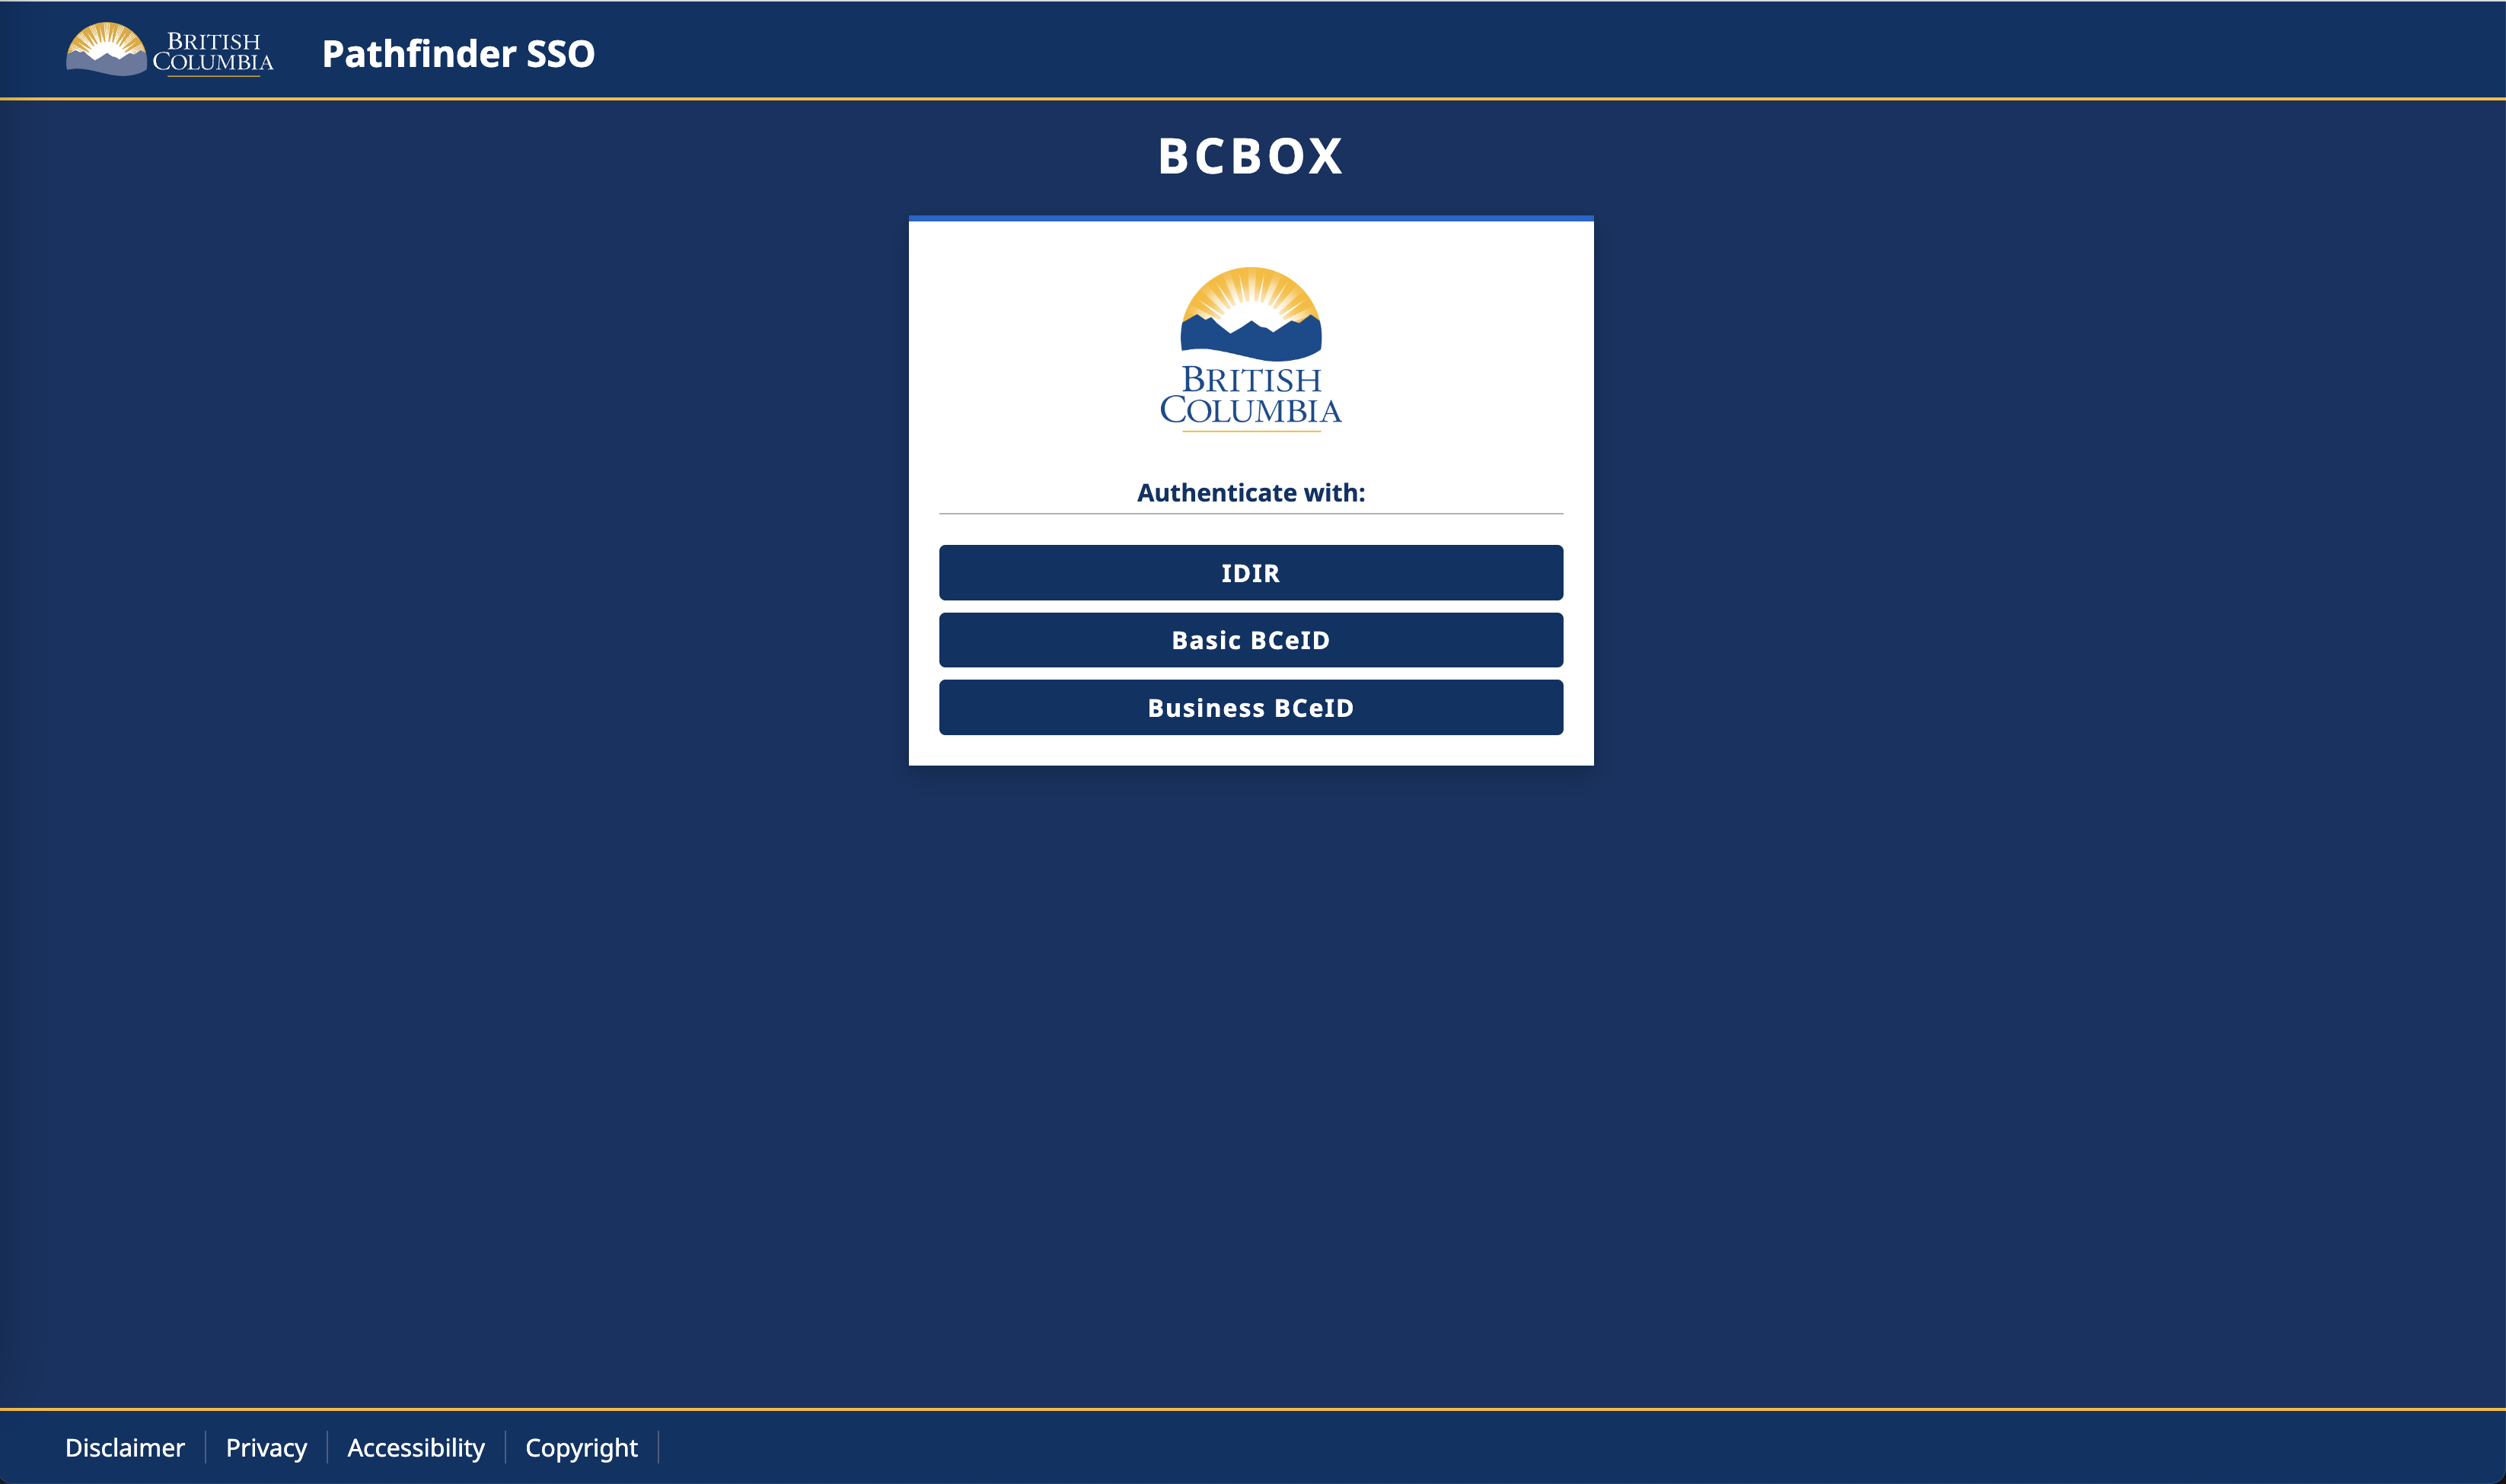
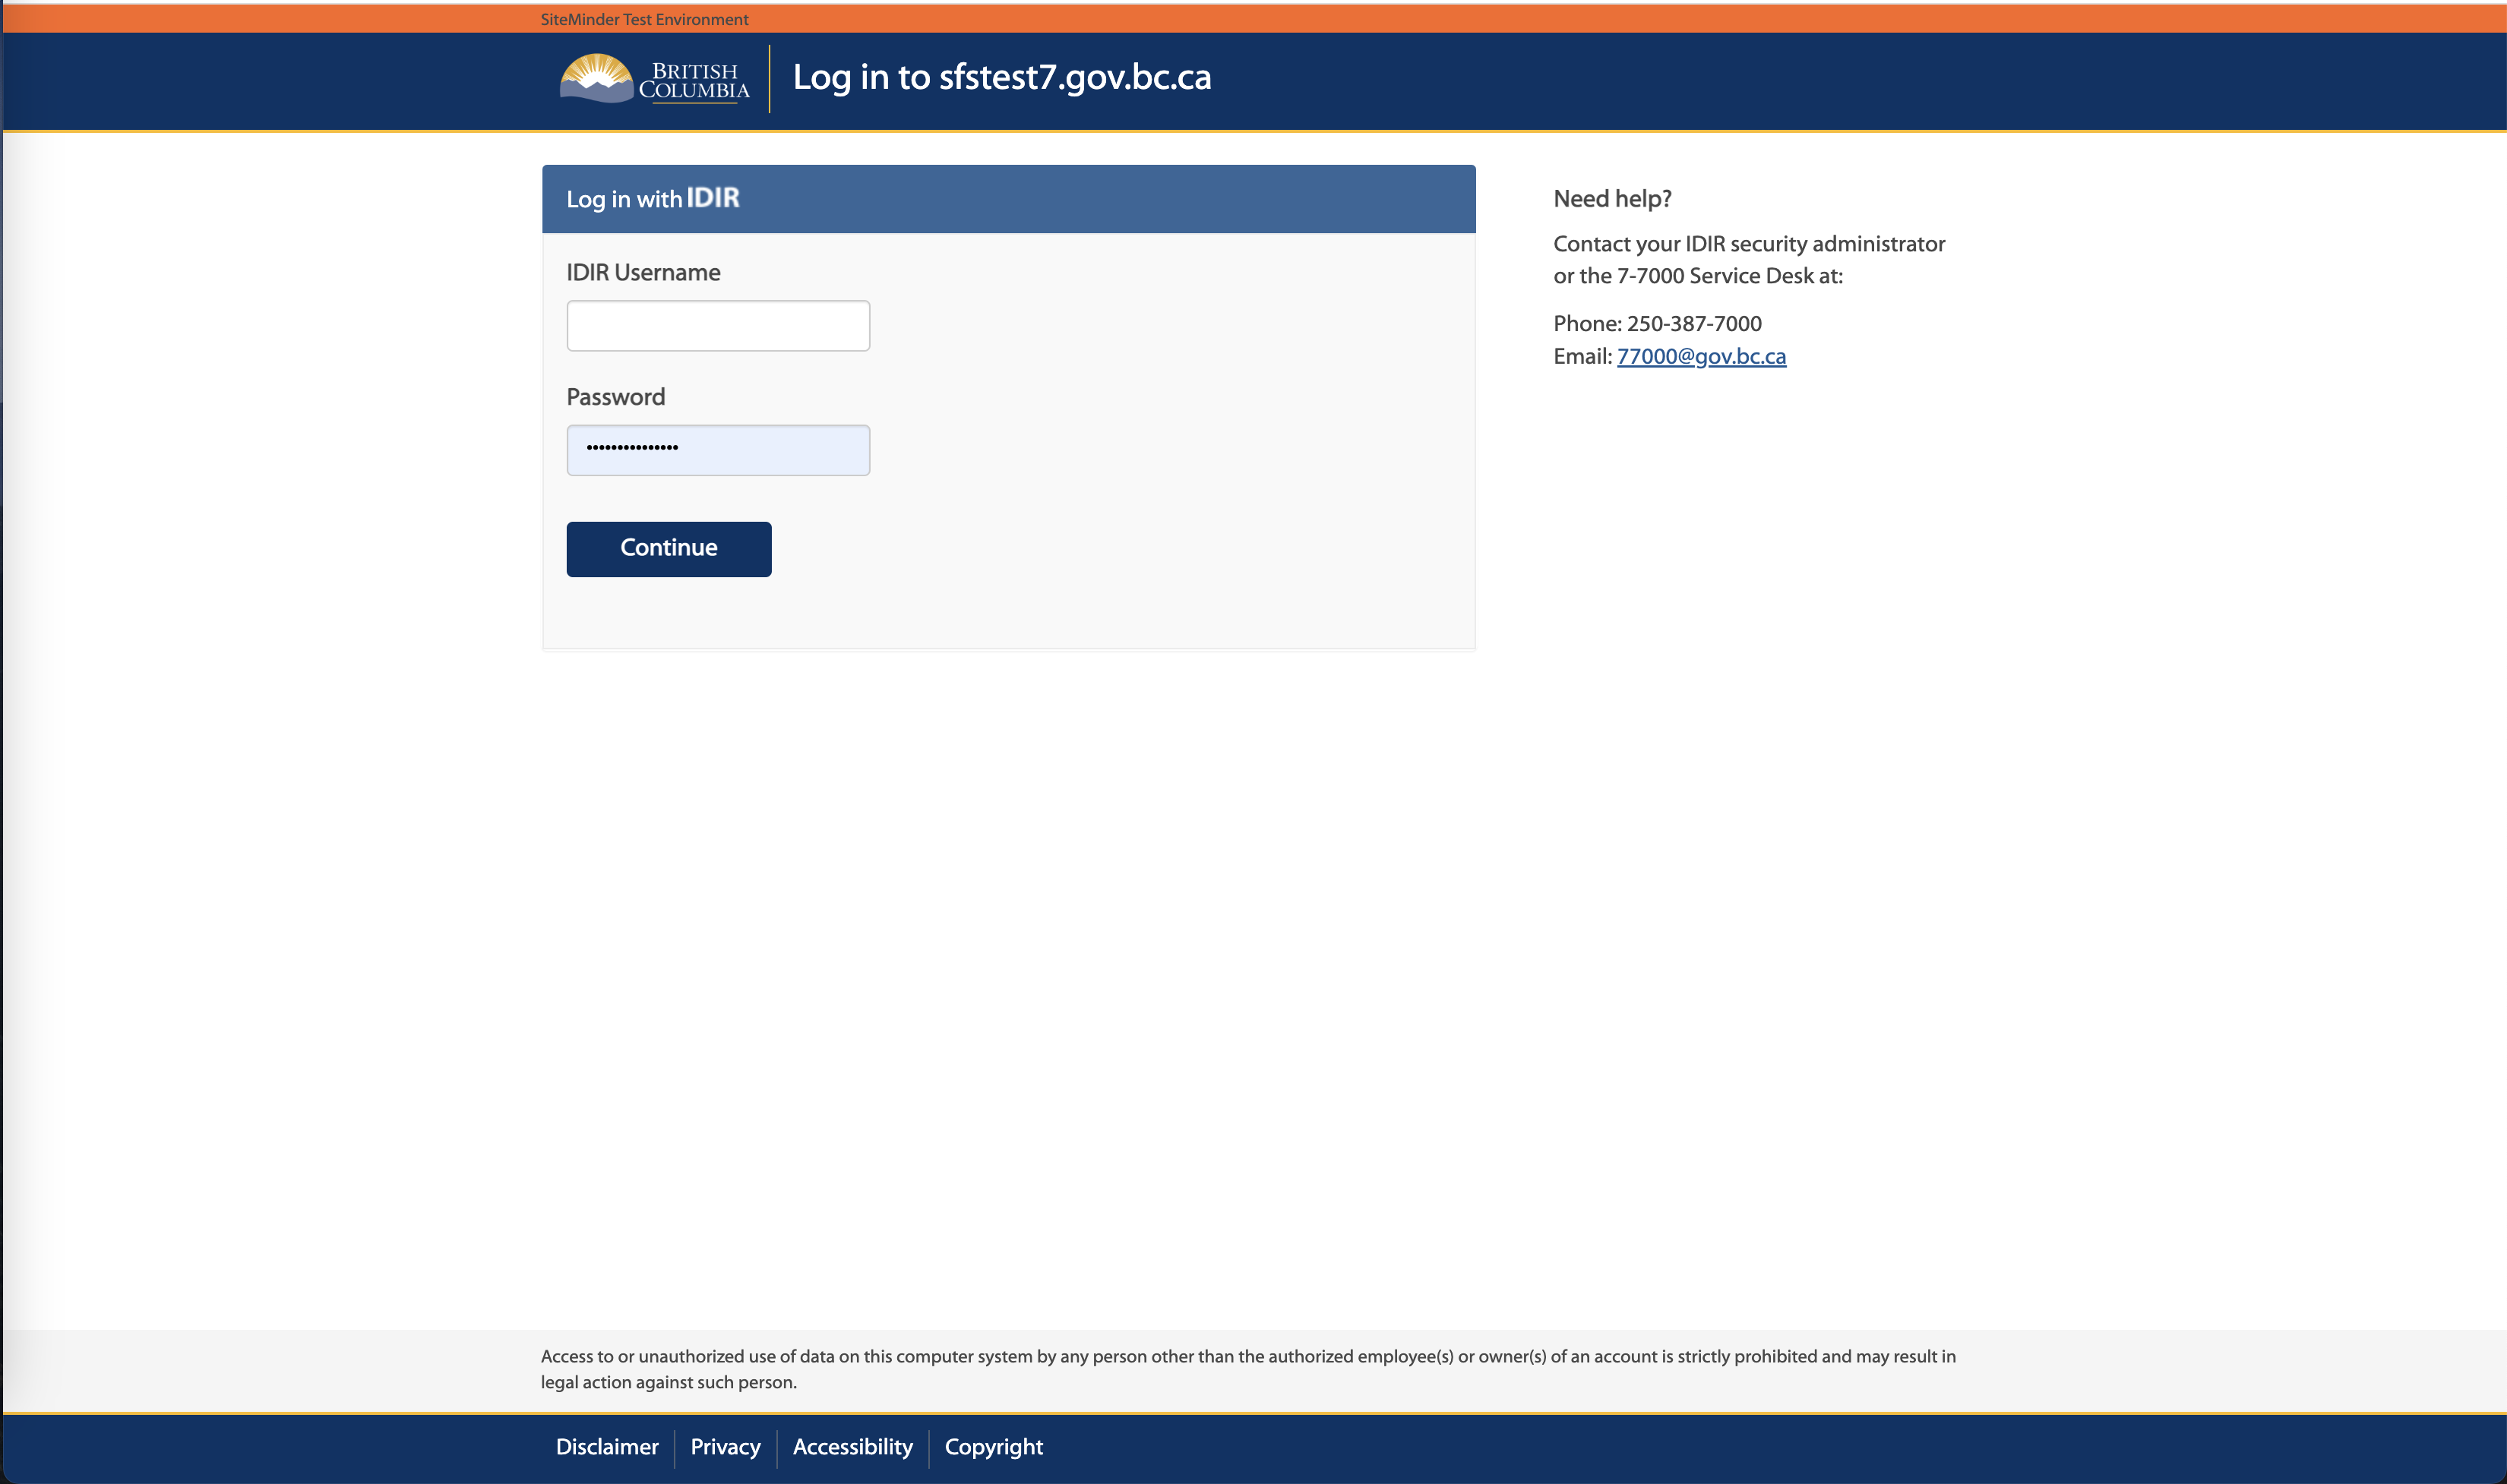
Once logged in, the initial screen will be displayed, which shows the button “My Buckets”.
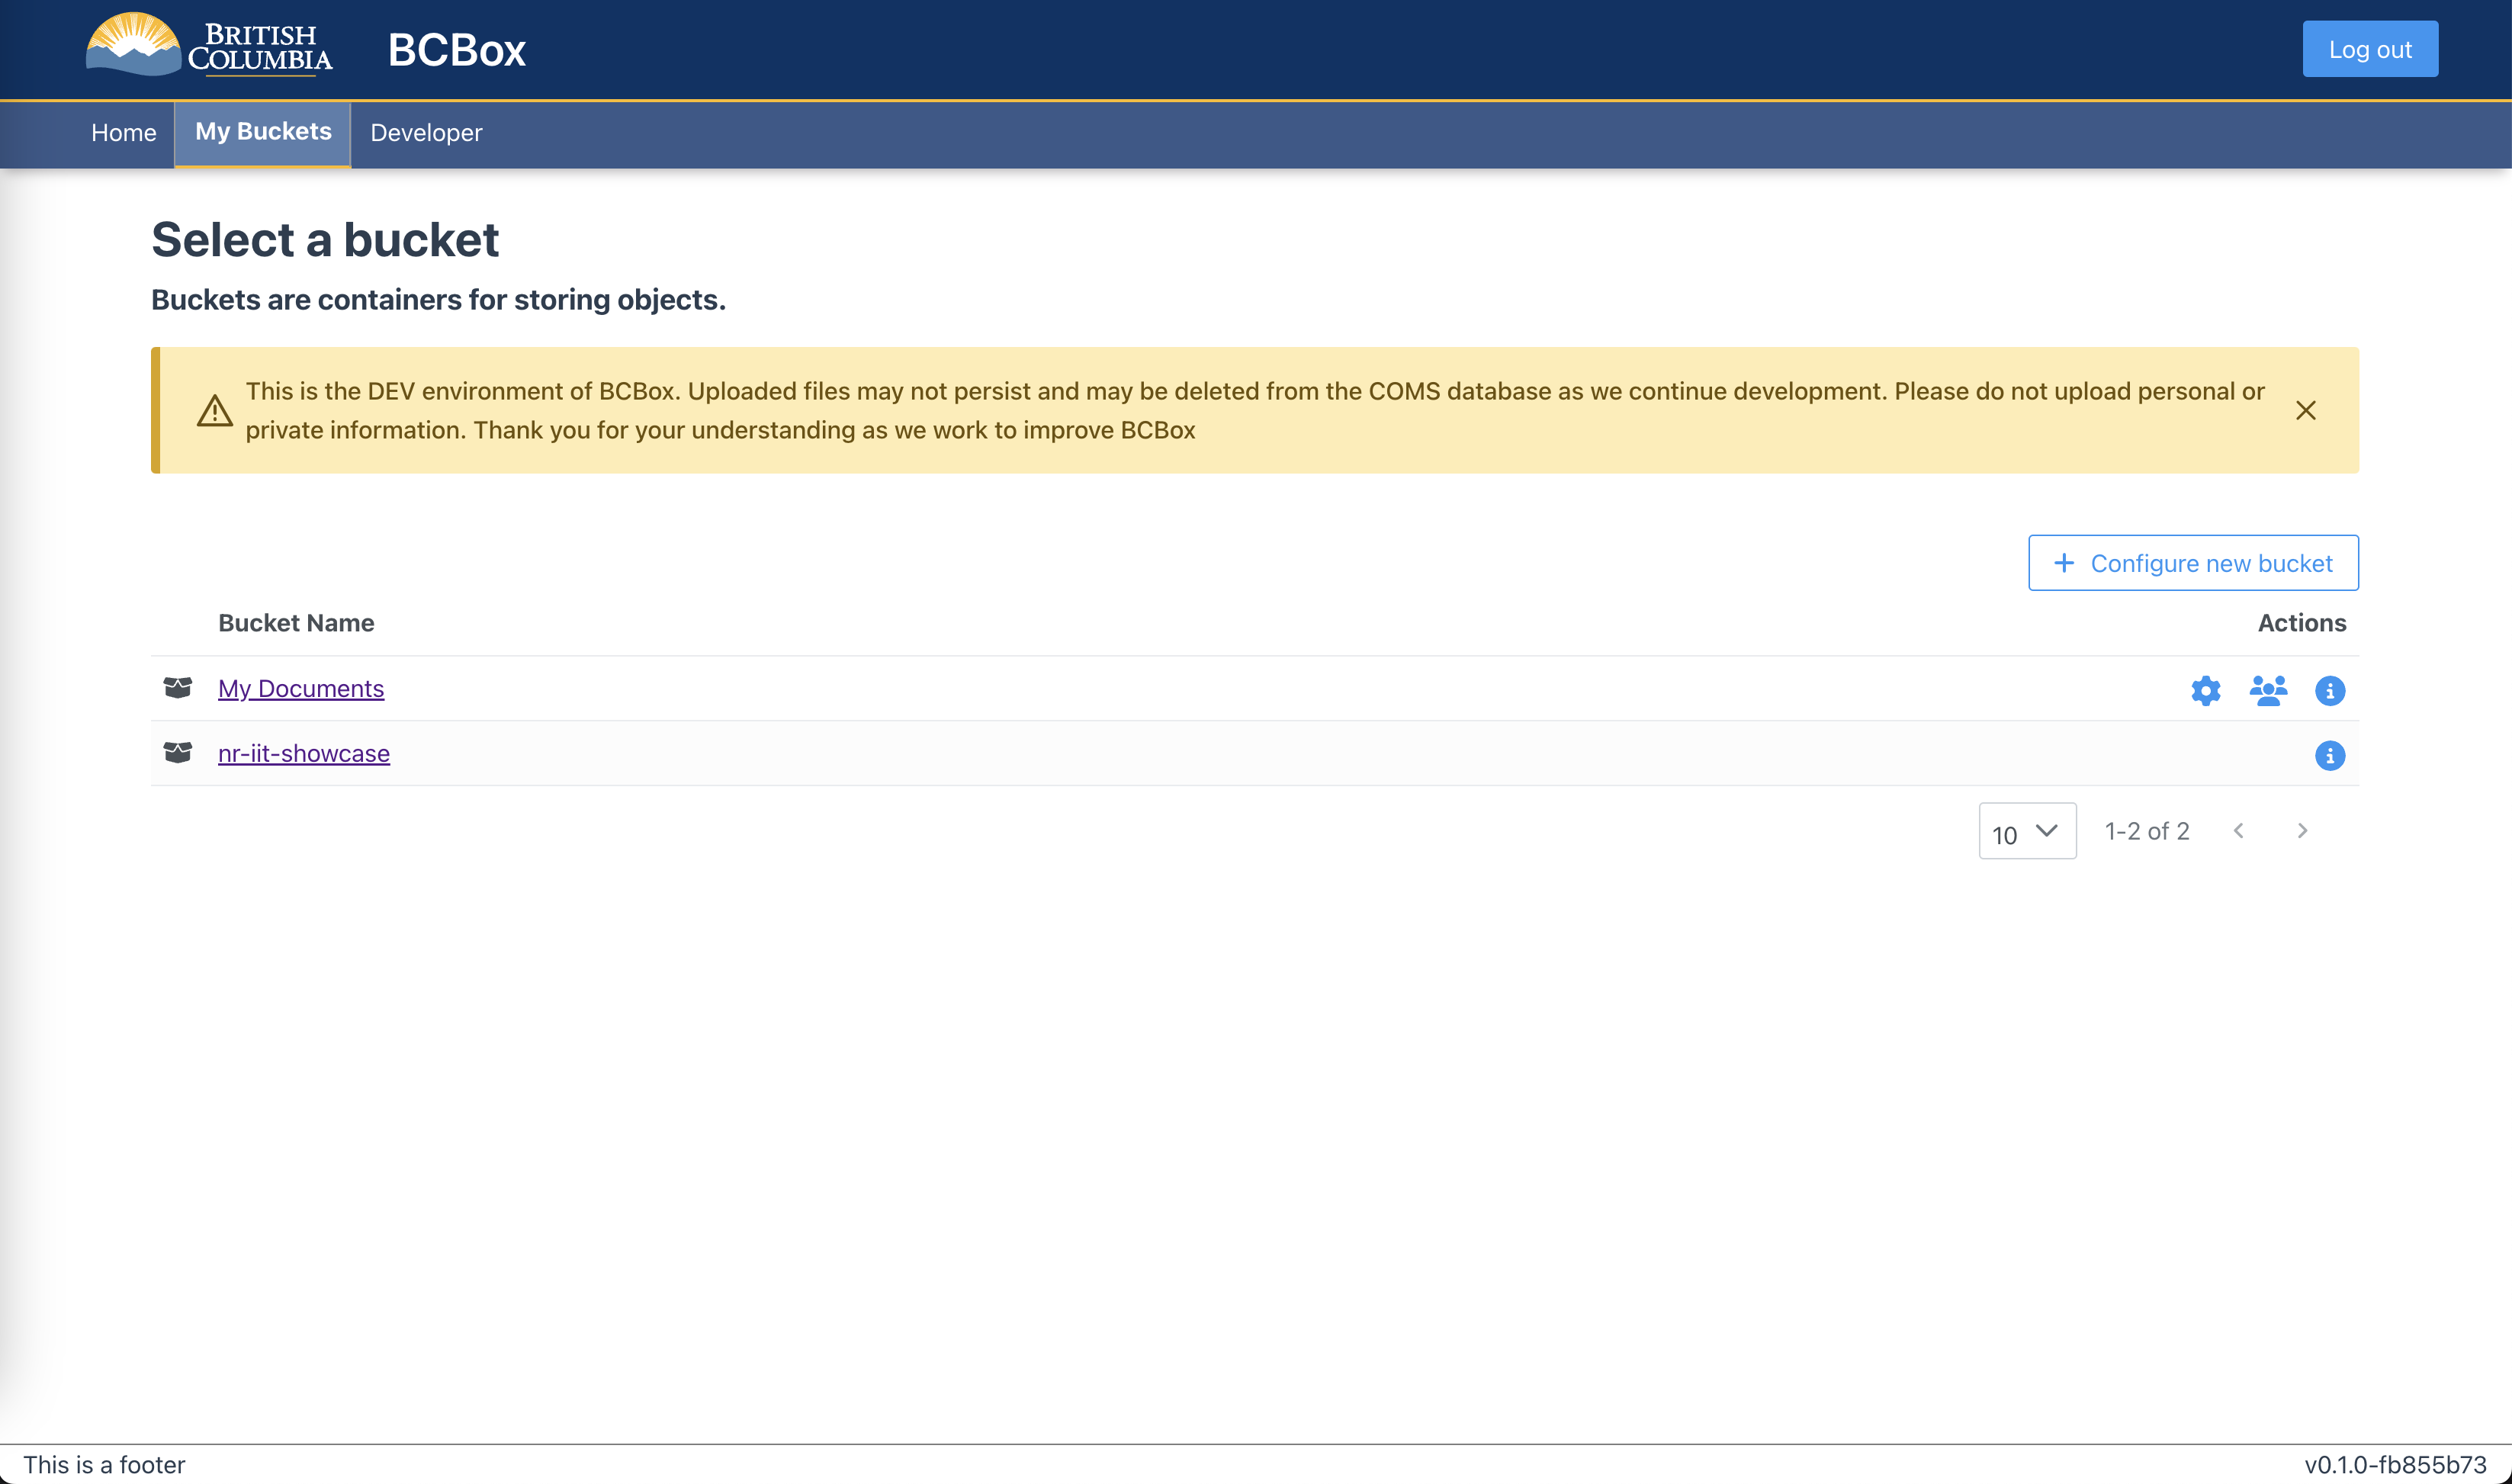
Clicking on the "My Buckets" will bring up a page with existing buckets or new buckets to be configured.
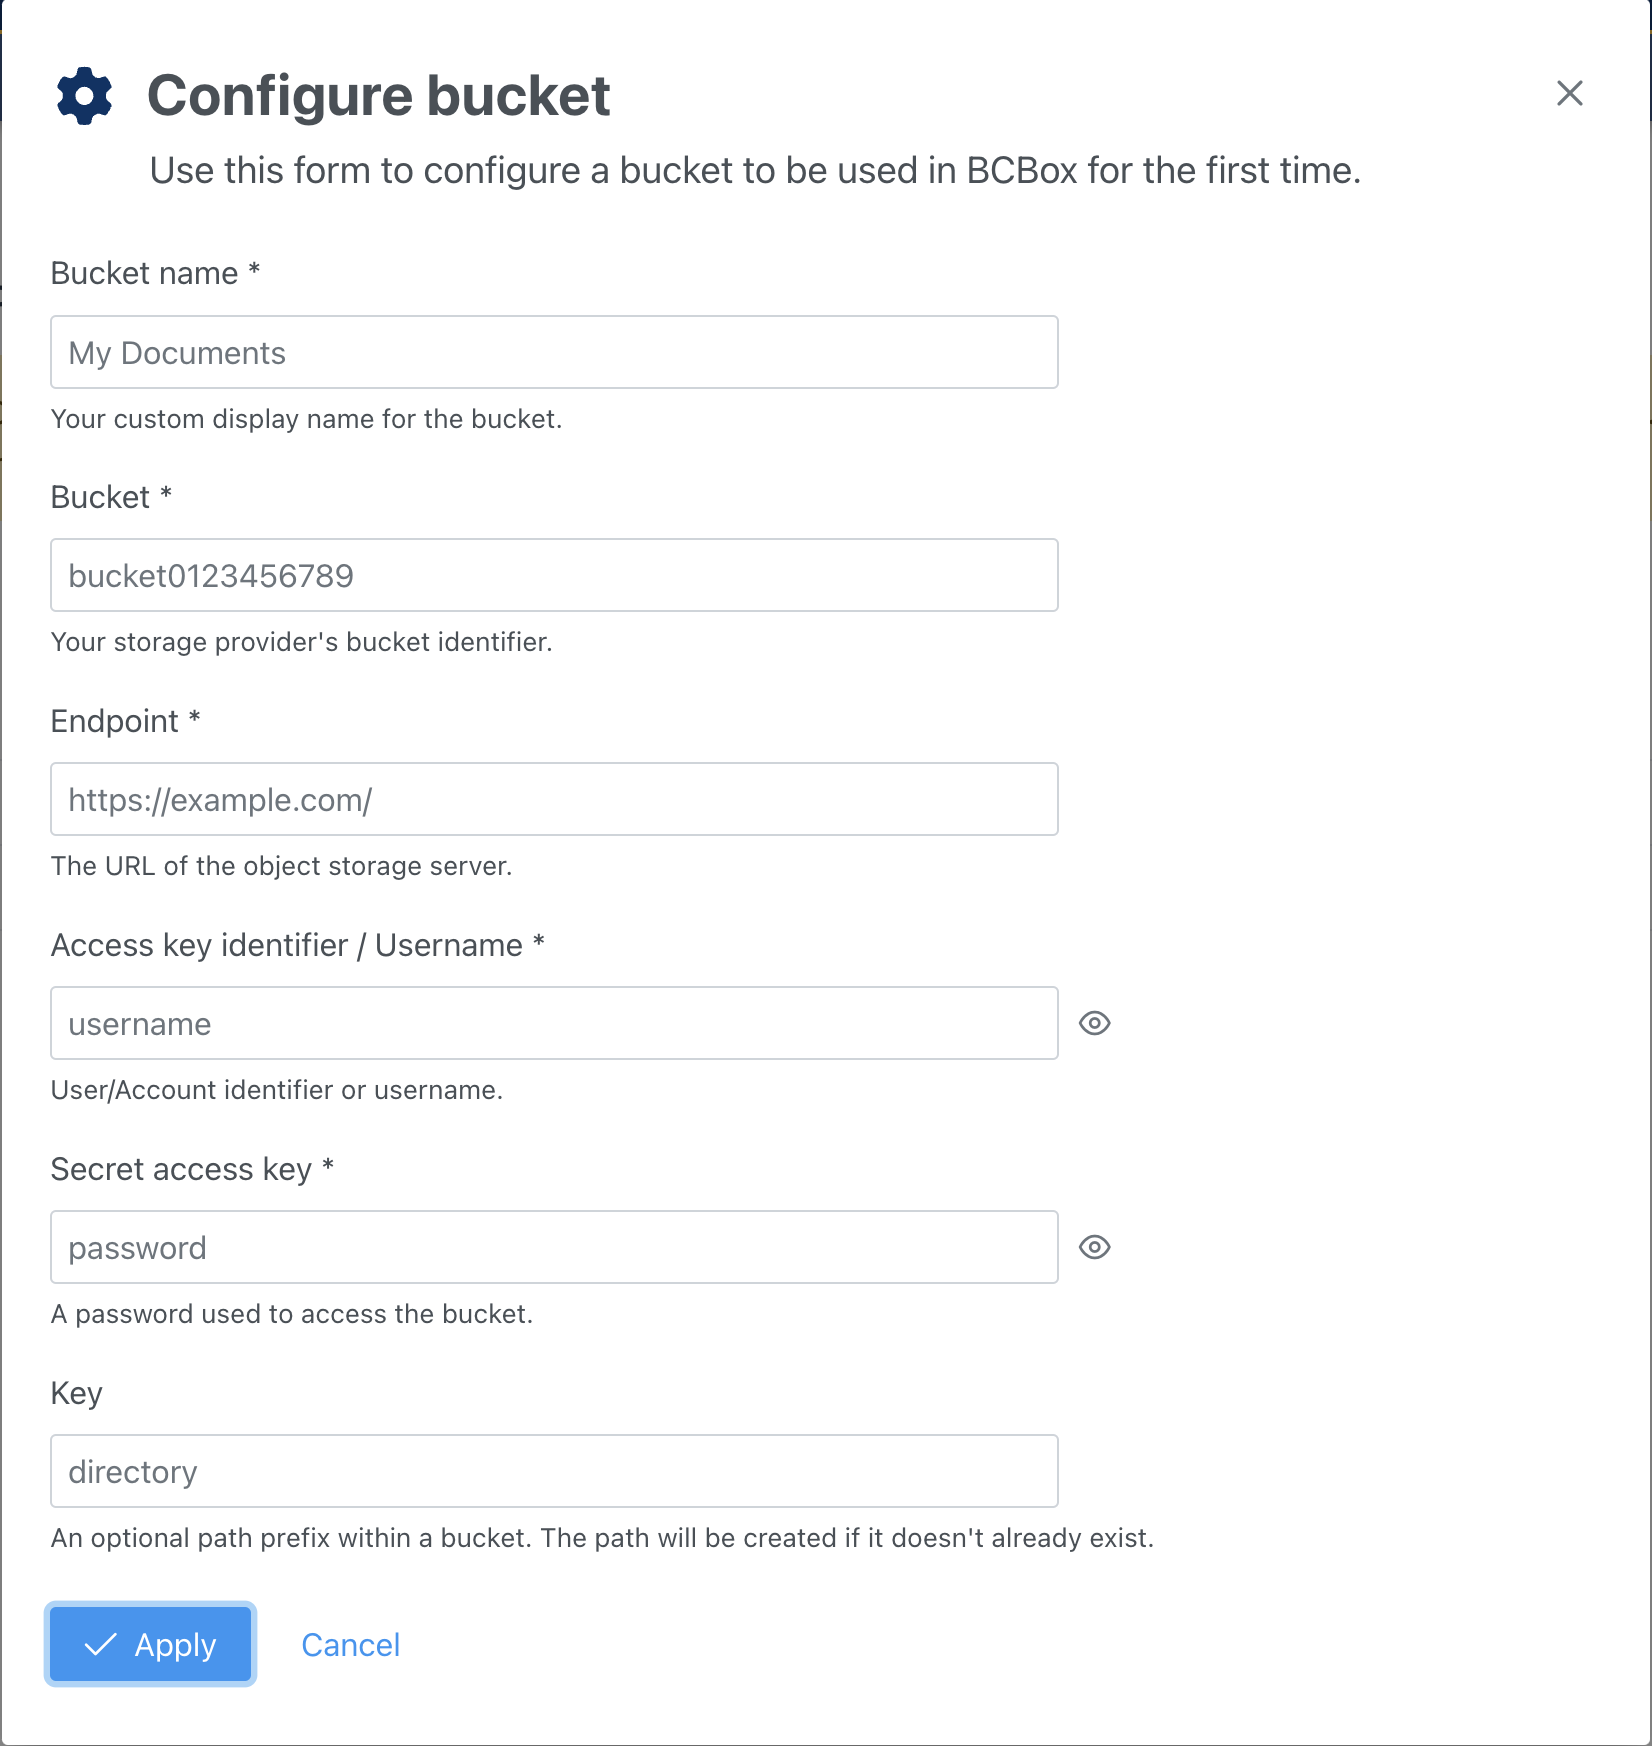
To add a new bucket click on "Configure new bucket". Once the button has been clicked, the dialog will be displayed, requiring you to fill in the bucket configuration information.
- Bucket Name (mandatory) - your custom display name for the bucket.
- Bucket (mandatory) - your storage provider's bucket identifier.
- Endpoint (mandatory) - the URL of the object storage server.
- Access key identifier / Username (mandatory) - user/account identifier or username.
- Secret access key (mandatory) - a password used to access the bucket.
- Key (optional) - an optional path prefix within a bucket (the path will be created if it doesn't already exist).
Bucket details view provides you with a general properties of the bucket – bucket name, bucket id and managed by.

Permission model contains 5 discrete permission codes. Each of the codes represents a different set of permissions and actions that are allowed to be performed on the resource. For the most part, the permissions follow general CRUD principles and should be relatively self-explanatory.
| PermCode | Permission | Description |
|---|---|---|
UPLOAD |
Create | Grants resource creation permission. Normally only the owner will have this permission assigned. |
READ |
Read | Grants resource read permission. Ignored when in public mode for only objects. |
UPDATE |
Update | Grants resource update permission. Allows user to upload a new version and/or edit metadata/tags for the object, or to edit bucket details. |
DELETE |
Delete | Grants resource deletion permission. Allows user to delete objects and versions. |
MANAGE |
Manage | Grants resource permission management. Allows the user to add/remove these permissions to other users. |
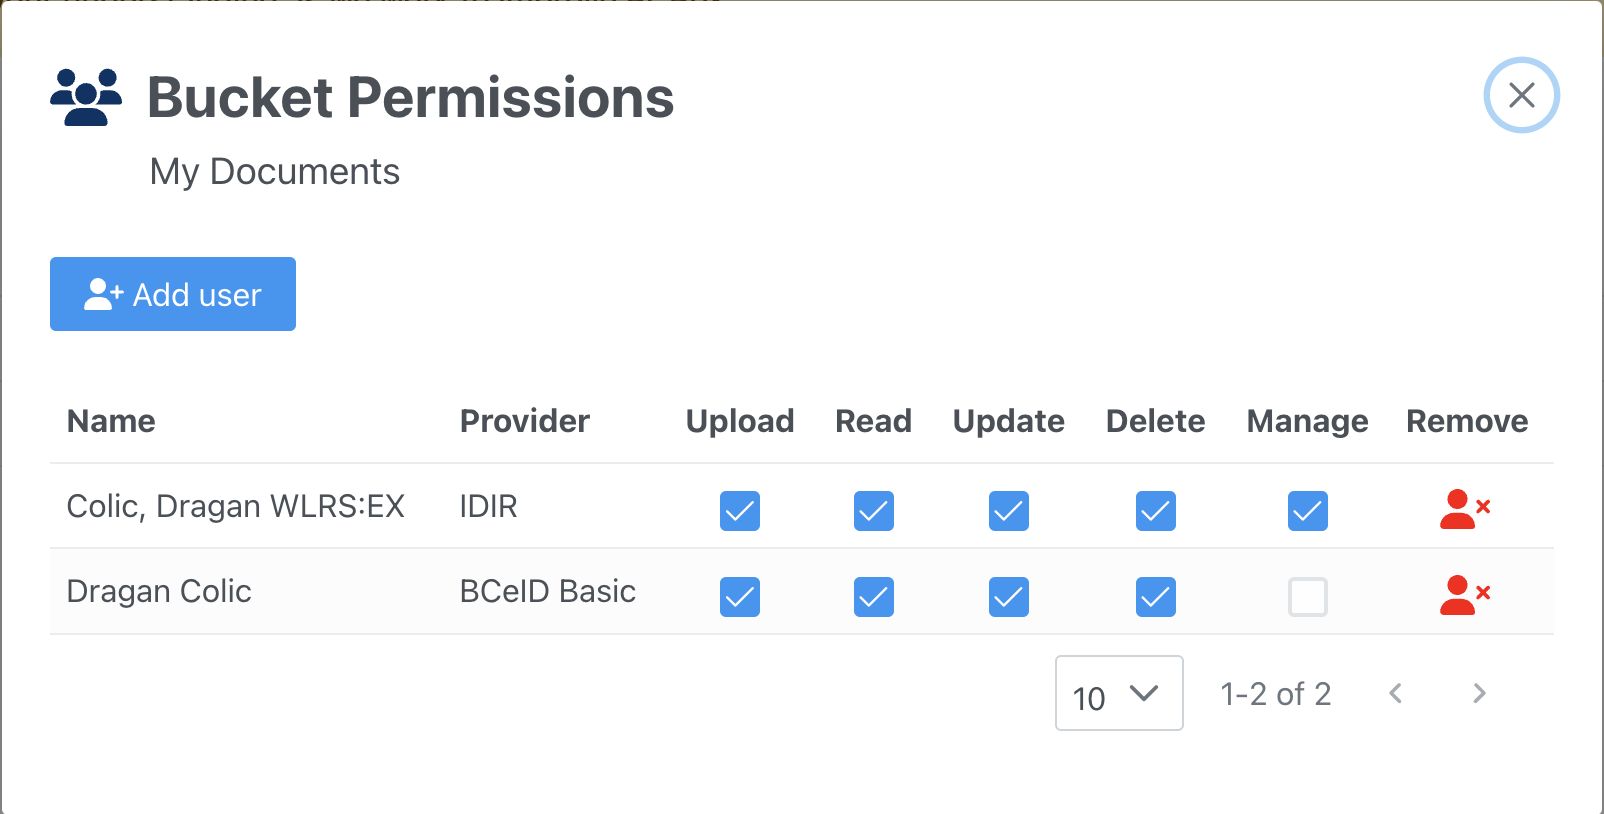
The Bucket Permissions dialog allows the bucket administrator to manage bucket permissions - add or remove additional users/viewers to the bucket. To add an user click on the "Add user" button, search for an IDIR/BCeID user by typing in the user's email address. Select one from dropbox and click "Add".
Once the user added check/uncheck the "Read", "Update", "Delete", and/or "Manage" permissions checkboxes to add or remove bucket permissions to the added user.
To delete the users' permissions, click on the x-person icon. Only user-added permissions can be deleted. When deleting user-defined permissions, each of the permission will be deleted but not and the user itself.
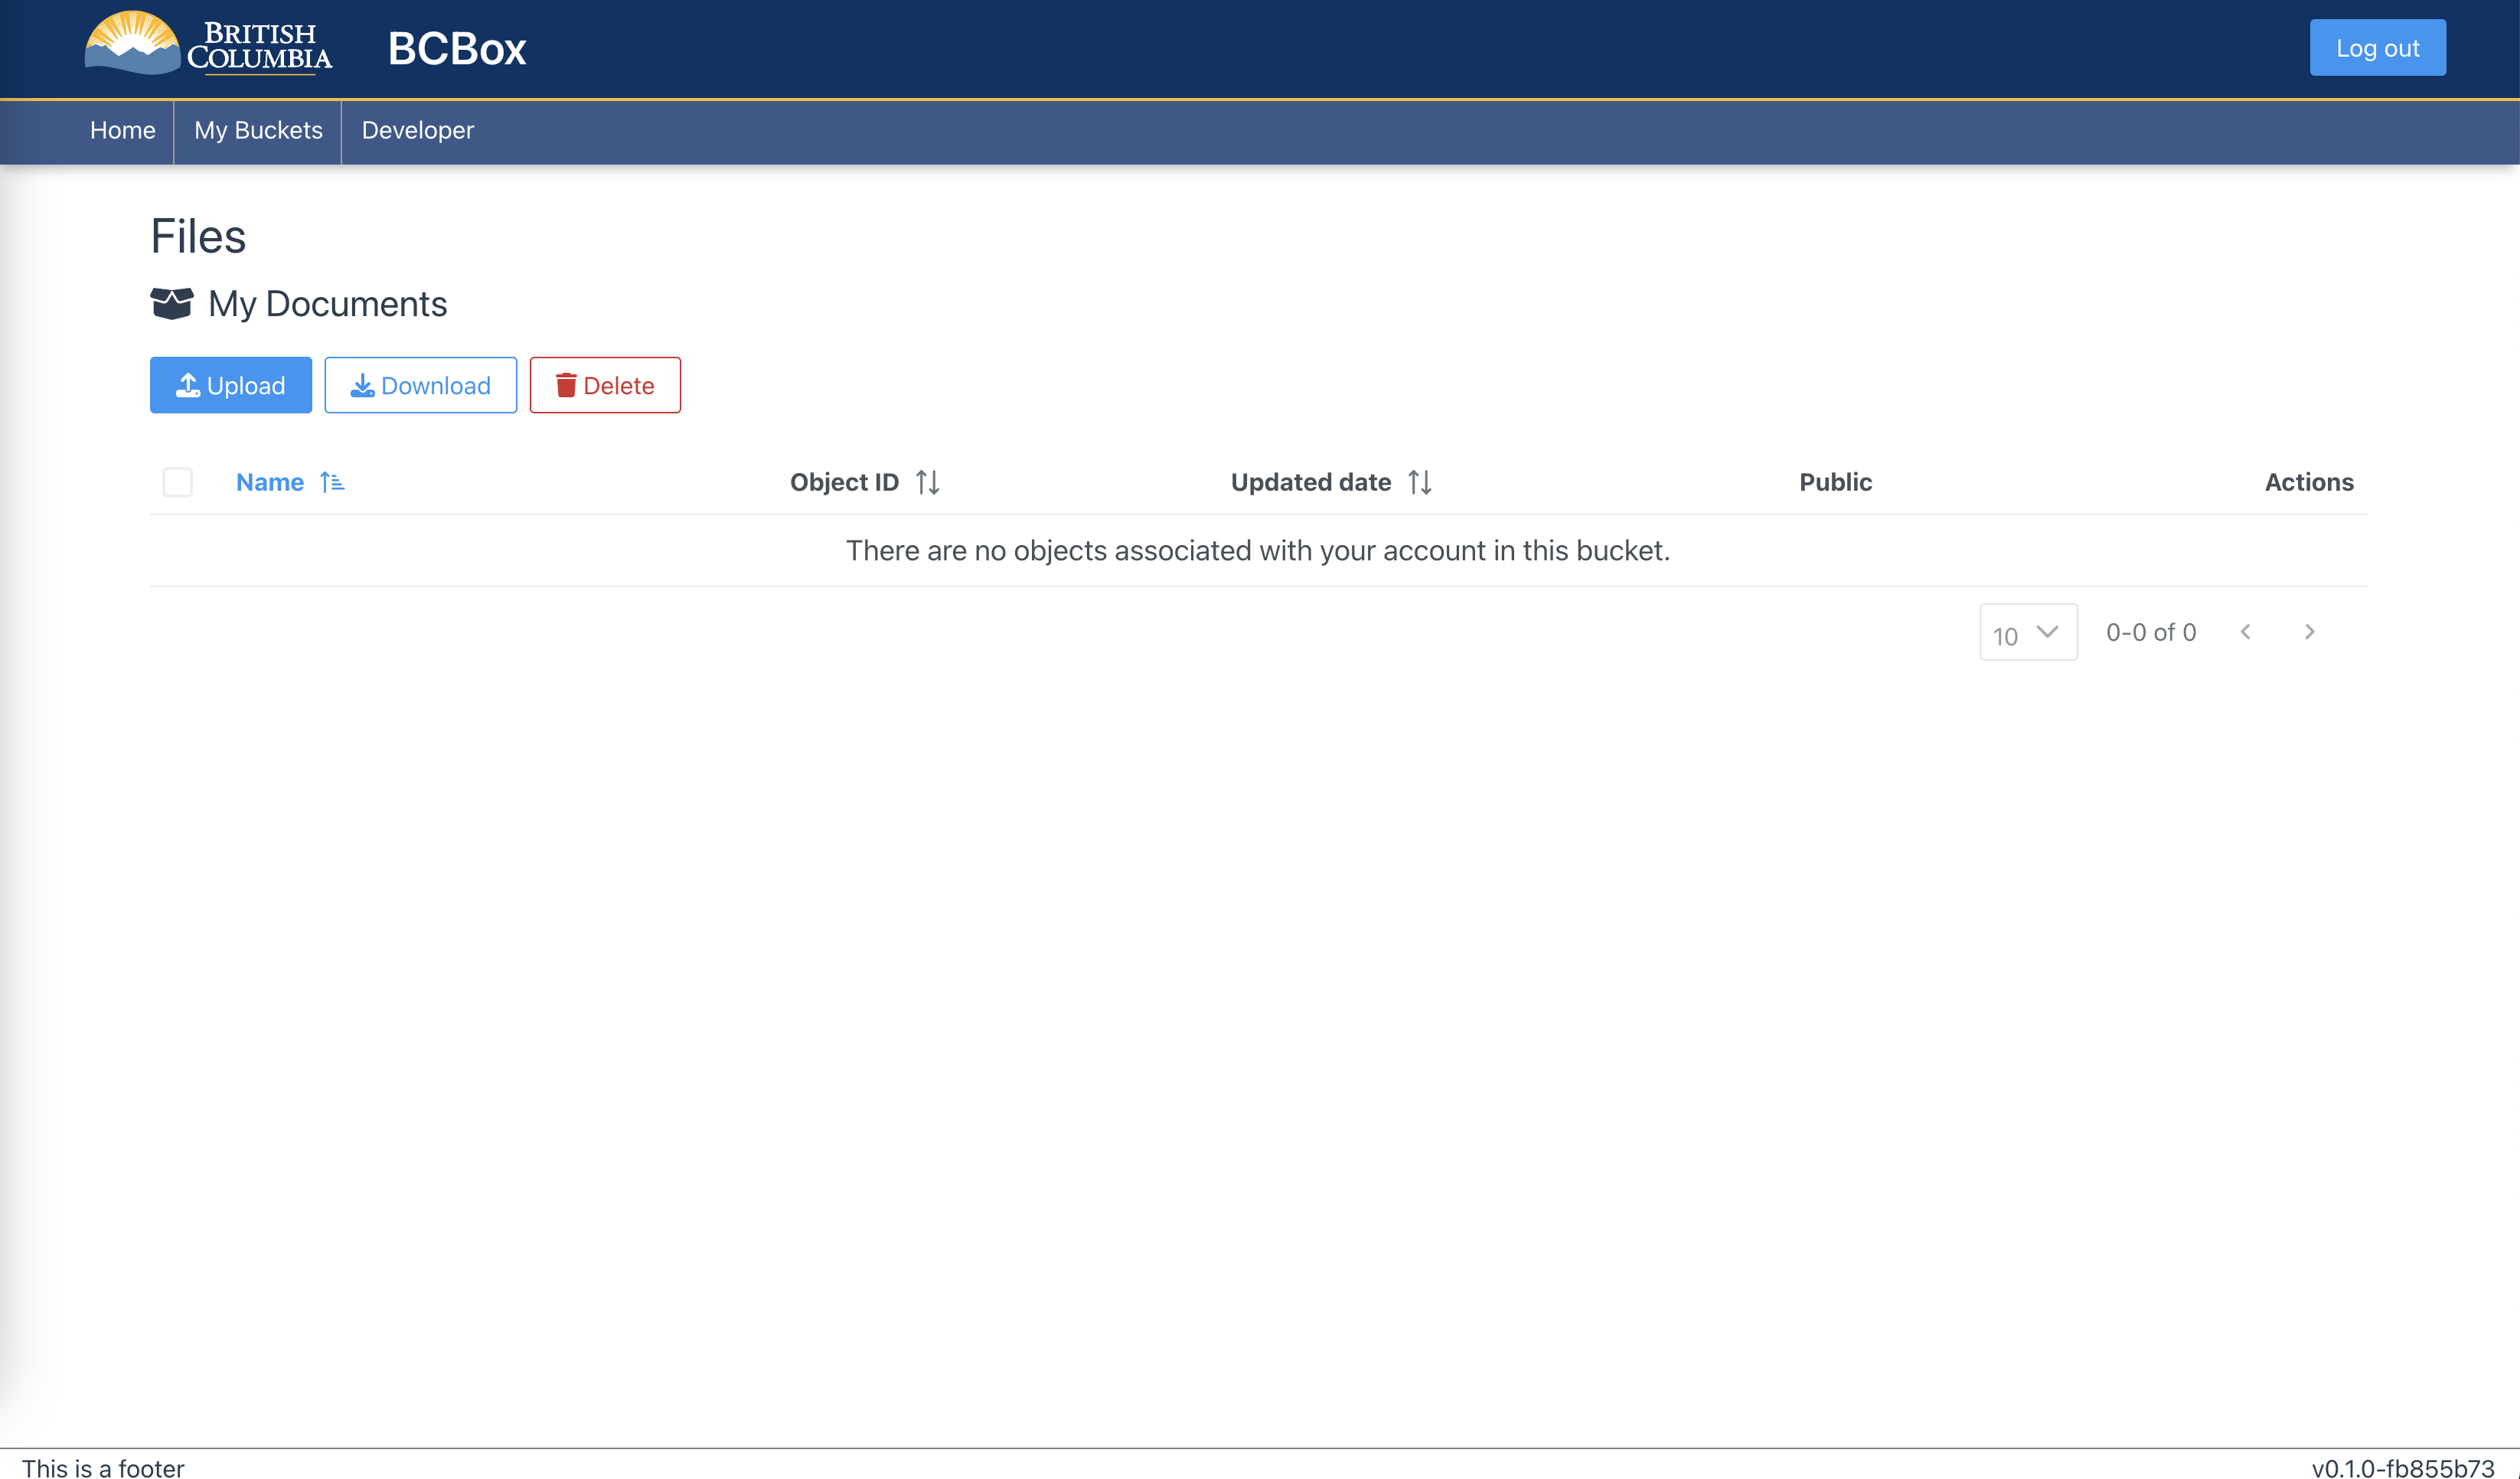
Files/Objects are the elementary entities stored in S3. You can upload objects of up to 5 GB in size in a single operation. You can upload any object type.
To add a new object click on "Upload". A file upload dialog will show up. You can either drag&drop a file from your local system or click on "Choose" to select and upload a file you want to store. Once file chosen, click on "Start upload". The green status bar "Complete" will confirm the file was successfully saved and now added file should be displayed in the files table.
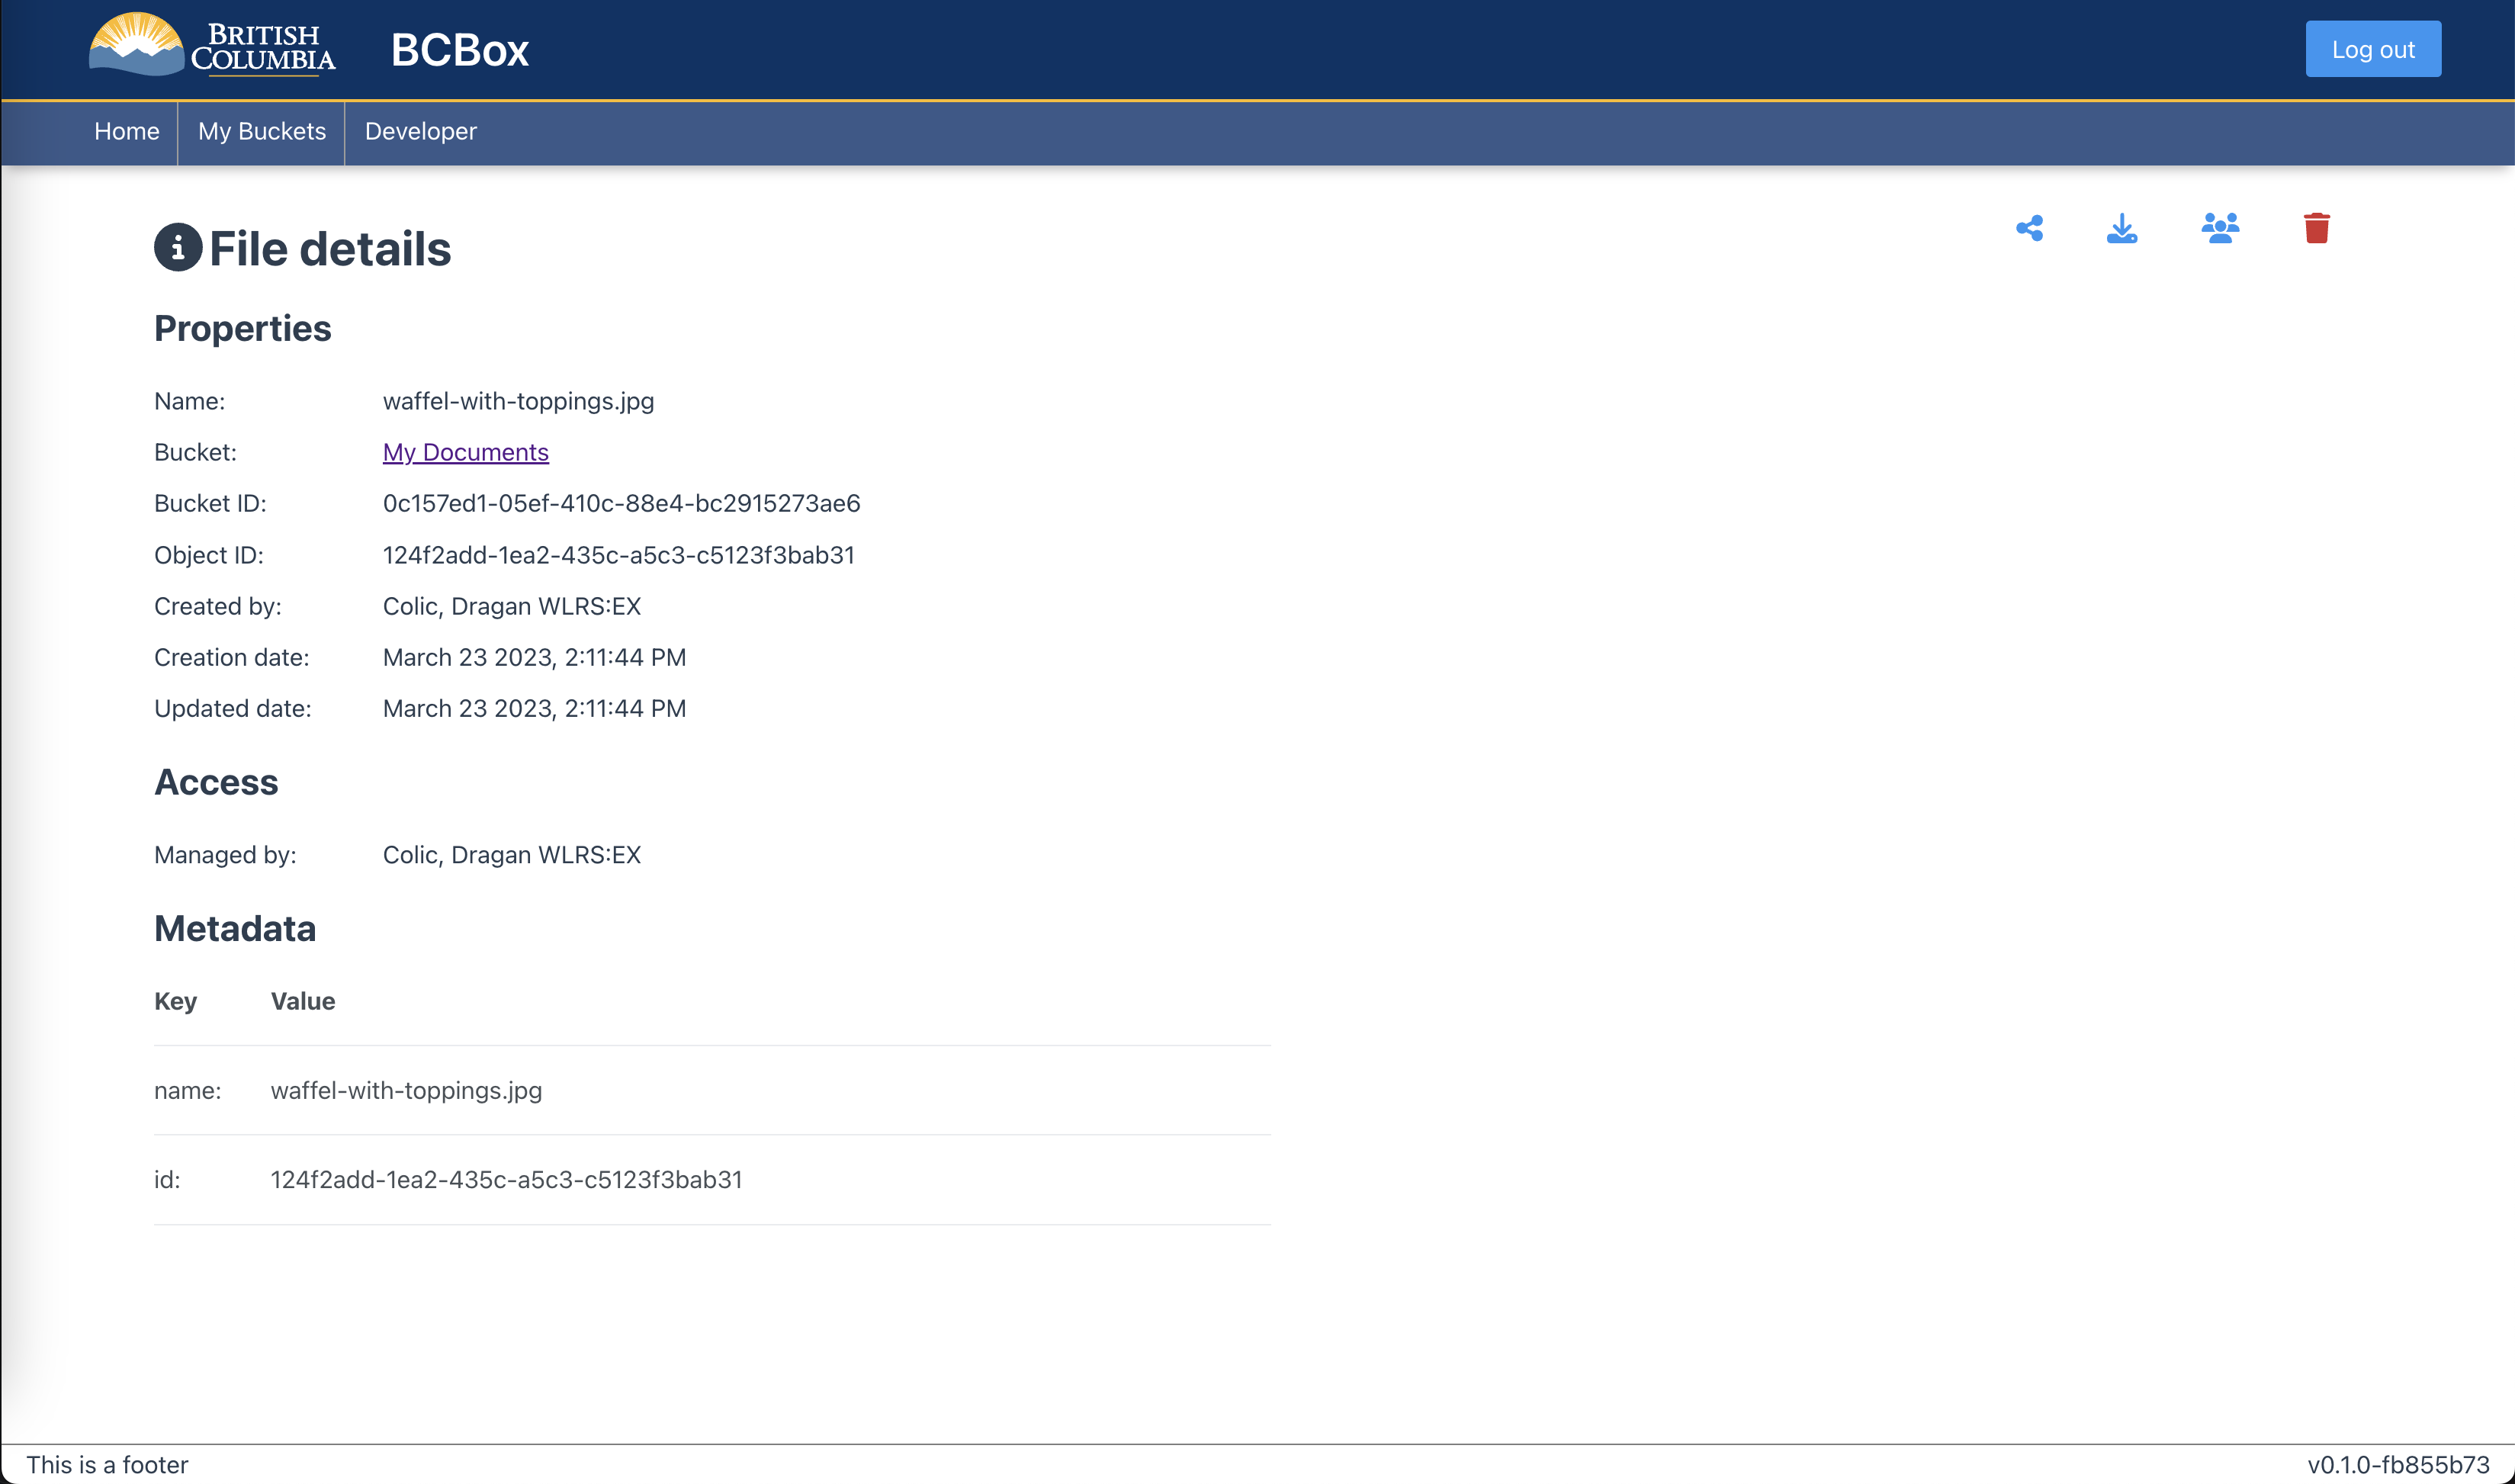
A file details include properties and metadata required for file storage such as object id, update date, and other relevant information. On the right-hand side you may proceed to share, download, set object permissions, or delete the file.
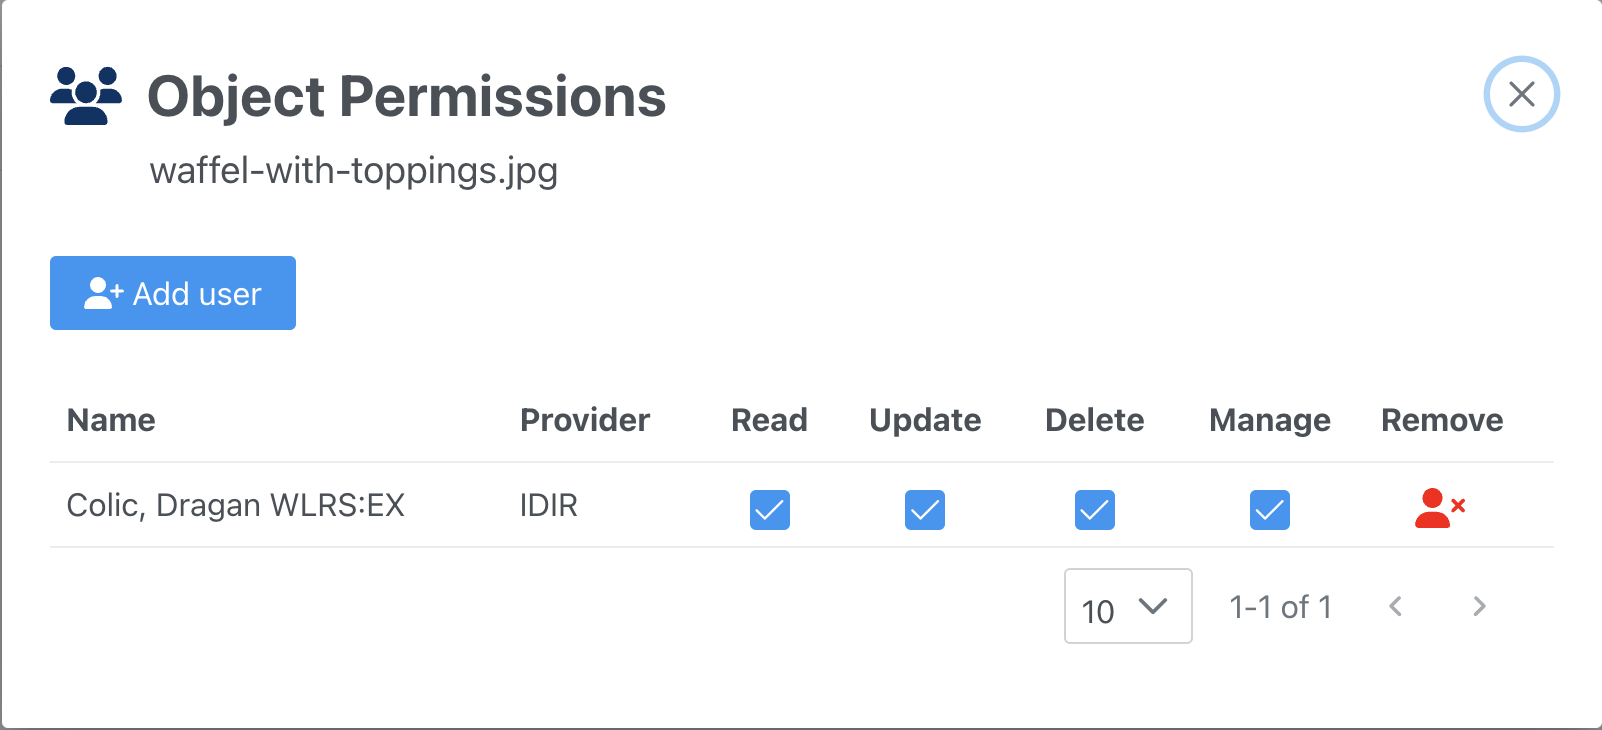
To grant access rights to the file/object click on the object permissions button. The object permissions dialog will appear and display two features, "Add user" and user-permissions table.
To add or remove an user click on the "Add user" button, search for the user whose account should be added. Type in an email address of IDIR/BCeID user and select one from dropbox then click "Add". To add a permission(s) to added user, click on the specific "Read", "Update", "Delete", and/or "Manage" checkbox.
To delete the users' permissions, click on the x-person icon. Only user-added permissions can be deleted. When deleting user-defined permissions, each of the permission will be deleted but not and the user itself.
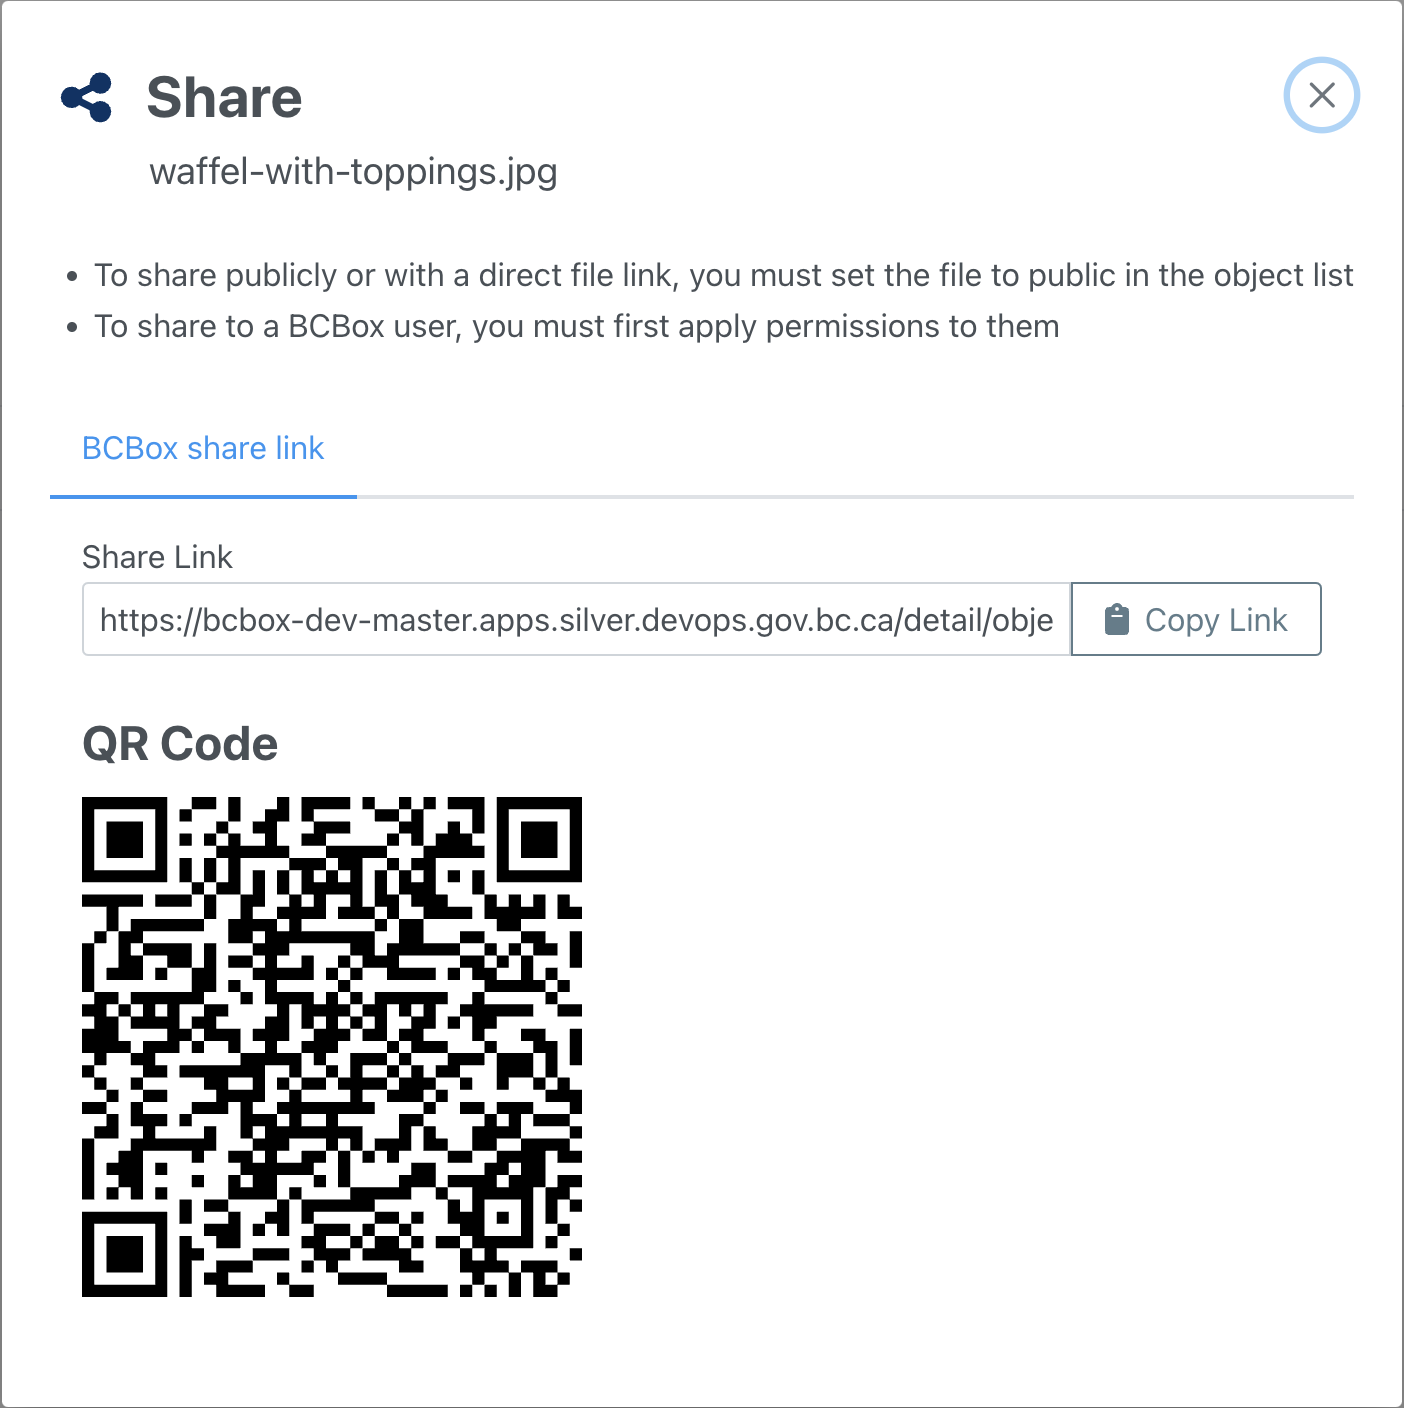
If you want to share a file with someone else, you have to give them the correct URL address and/or a QR code. To share to a BCBox user, you must first apply permissions to them. To share publicly or with a direct file link, you must set the file to public in the object list. Click on "Copy link" to get the public link, or email them the QR code. The user who will access the file when entered the provided URL into a browser will see the shared file and be able to perform the file operations.
Return Home