Google recently released the deepdream software package for generating images like
which uses the Caffe Deep Learning Library and a cool iPython notebook example.
Setting up Caffe, Python, and all of the required dependencies is not trivial if you haven't done it before! More importantly, a GPU isn't required if you're willing to wait a couple of seconds for the images to be generated.
Let's make it brain-dead simple to launch your very own deepdreaming server (in the cloud, on an Ubuntu machine, Mac via Docker, and maybe even Windows if you try out Kitematic by Docker)!
I decided to create a self-contained Caffe+GoogLeNet+Deepdream Docker image which has everything you need to generate your own deepdream art. In order to make the Docker image very portable, it uses the CPU version of Caffe and comes bundled with the GoogLeNet model.
The compilation procedure was done on Docker Hub and for advanced users, the final image can be pulled down via:
docker pull visionai/clouddream
The docker image is 2.5GB, but it contains a precompiled version of Caffe, all of the python dependencies, as well as the pretrained GoogLeNet model.
For those of you who are new to Docker, I hope you will pick up some valuable engineering skills and tips along the way. Docker makes it very easy to bundle complex software. If you're somebody like me who likes a clean Mac OS X on a personal laptop, and do the heavy-lifting in the cloud, then read on.
We will be monitoring the inputs directory for source images and
dumping results into the outputs directory. Nginx (also inside a
Docker container) will be used to serve the resulting files and a
simple AngularJS GUI to render the images in a webpage.
Prerequisite:
You've launched a Cloud instance using a VPS provider like DigitalOcean and this instance has Docker running. If you don't know about DigitalOcean, then you should give them a try. You can lauch a Docker-ready cloud instance in a few minutes. If you're going to set up a new DigitalOcean account, consider using my referral link: https://www.digitalocean.com/?refcode=64f90f652091.
Will need an instance with at least 1GB of RAM for processing small output images.
Let's say our cloud instance is at the address 1.2.3.4 and we set it up so that it contains our SSH key for passwordless log-in.
ssh [email protected]
git clone https://github.com/VISIONAI/clouddream.git
cd clouddream
./start.sh
To make sure everything is working properly you can do
docker ps
You should see three running containers: deepdream-json, deepdream-compute, and deepdream-files
root@deepdream:~/clouddream# docker ps
CONTAINER ID        IMAGE                 COMMAND                CREATED             STATUS              PORTS                         NAMES
21d495211abf        ubuntu:14.04          "/bin/bash -c 'cd /o   7 minutes ago       Up 7 minutes                                      deepdream-json
7dda17dafa5a        visionai/clouddream   "/bin/bash -c 'cd /o   7 minutes ago       Up 7 minutes                                      deepdream-compute
010427d8c7c2        nginx                 "nginx -g 'daemon of   7 minutes ago       Up 7 minutes        0.0.0.0:80->80/tcp, 443/tcp   deepdream-files
If you want to stop the processing, just run:
./stop.sh
If you want to jump inside the container to debug something, just run:
./enter.sh
cd /opt/deepdream
python deepdream.py
#This will take input.jpg, run deepdream, and write output.jpg
From your local machine you can just scp images into the inputs
directory inside deepdream as follows:
# From your local machine
scp images/*jpg [email protected]:~/clouddream/deepdream/inputs/
First, install boot2docker. Now start boot2docker.
boot2docker start
My boot2docker on Mac returns something like this:
Waiting for VM and Docker daemon to start...
.............o
Started.
Writing /Users/tomasz/.boot2docker/certs/boot2docker-vm/ca.pem
Writing /Users/tomasz/.boot2docker/certs/boot2docker-vm/cert.pem
Writing /Users/tomasz/.boot2docker/certs/boot2docker-vm/key.pem

To connect the Docker client to the Docker daemon, please set:
    export DOCKER_TLS_VERIFY=1
    export DOCKER_HOST=tcp://192.168.59.103:2376
    export DOCKER_CERT_PATH=/Users/tomasz/.boot2docker/certs/boot2docker-vm
So I simply paste the last three lines (the ones starting with export) right into the terminal.
export DOCKER_TLS_VERIFY=1
export DOCKER_HOST=tcp://192.168.59.103:2376
export DOCKER_CERT_PATH=/Users/tomasz/.boot2docker/certs/boot2docker-vm
Keep this IP address in mind. For me it is 192.168.59.103.
NOTE: if running a docker ps command fails at this point and it says
something about certificates, you can try:
boot2docker ssh sudo /etc/init.d/docker restart
Now proceed just like you're in a Linux environment.
cd ~/projects
git clone https://github.com/VISIONAI/clouddream.git
cd clouddream
./start.sh
You should now be able to visit http://192.168.59.103 in your browser.
If don't have your own source of cool jpg images to process, or simply
want to see what the output looks like on a youtube video, I've
included a short youtube.sh script which does all the work for you.
If you want to start processing the "Charlie Bit My Finger" video, simply run:
./youtube.sh https://www.youtube.com/watch?v=DDZQAJuB3rI
And then visit the http://1.2.3.4:8000 URL to see the frames show up
as they are being processed one by one. The final result will be
writen to http://1.2.3.4/out.mp4
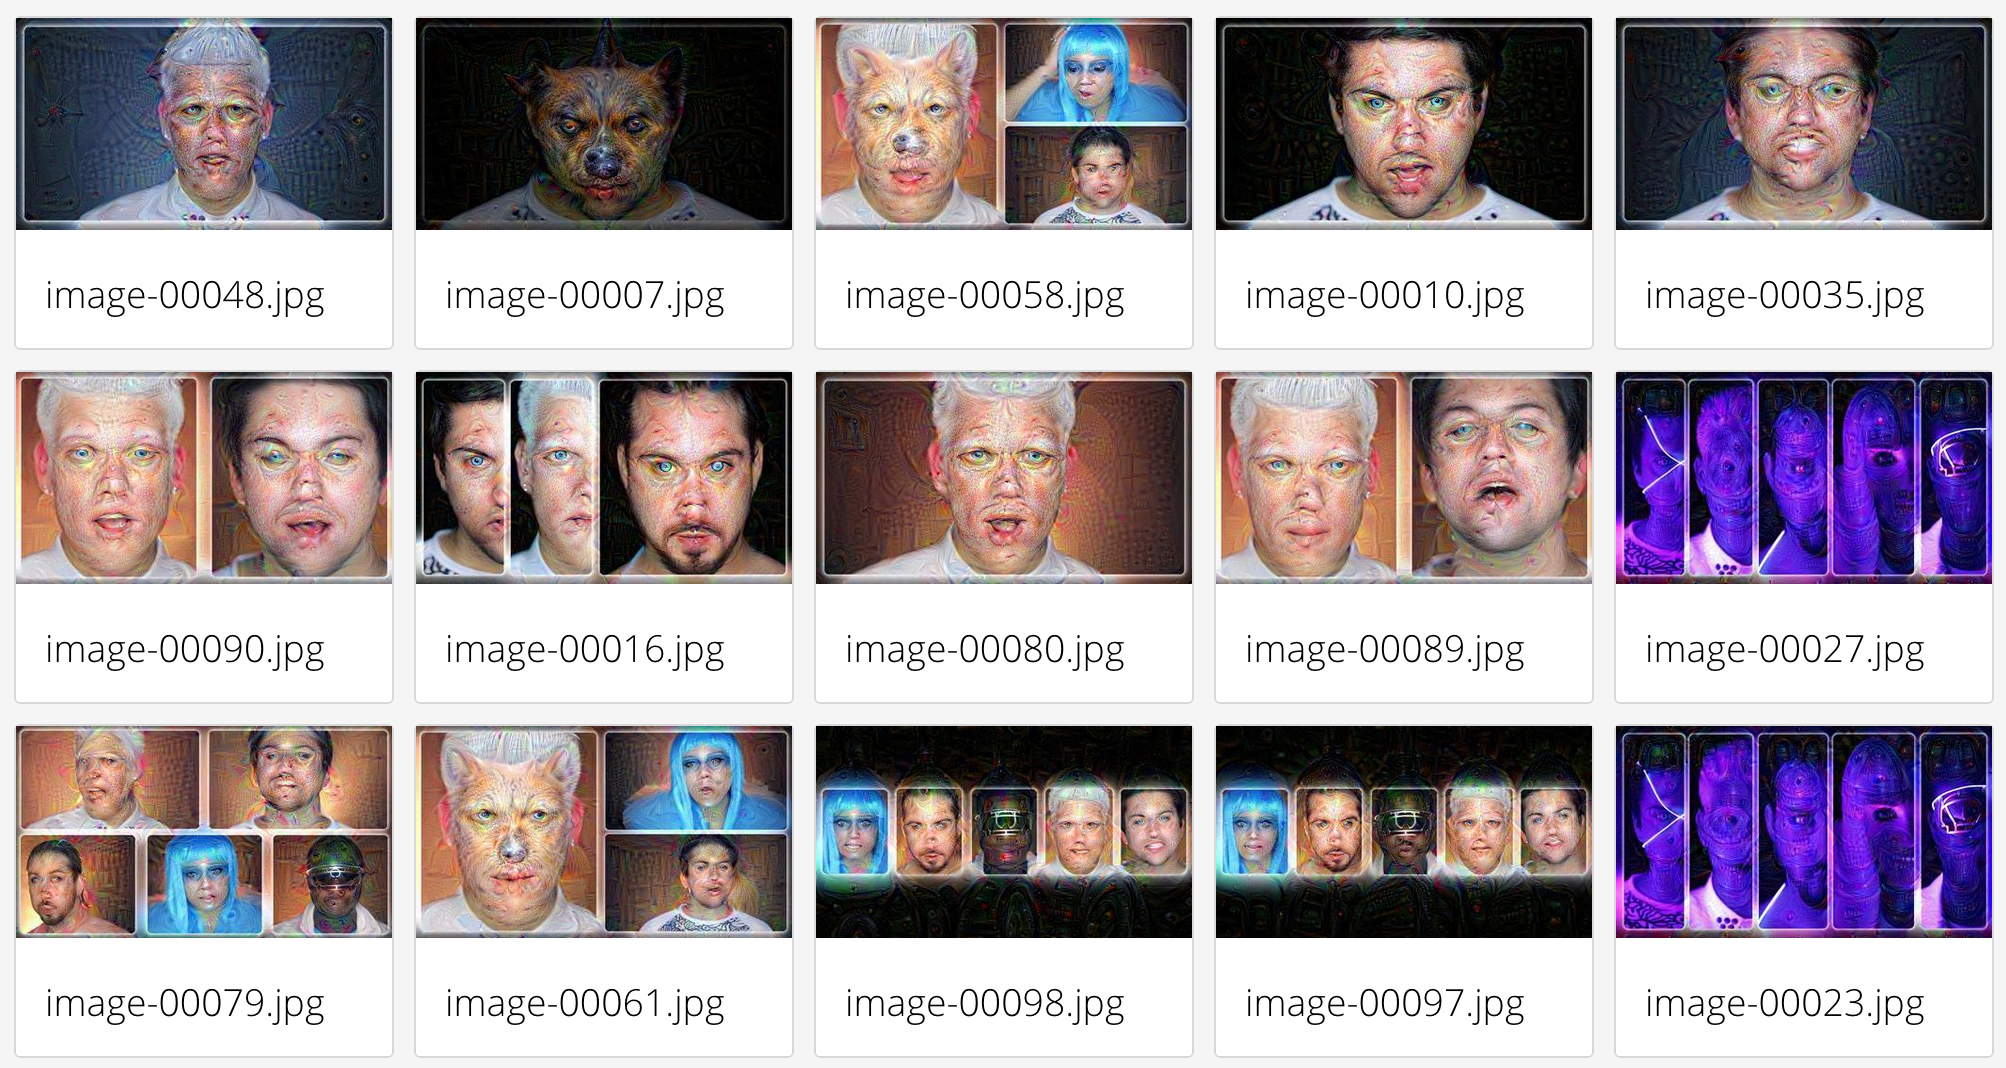
Here are some frames from the Daft Punk - Pentatonix video:
You should now be able to visit http://1.2.3.4 in your browser and
see the resulting images appear in a nicely formatted mobile-ready grid.
You can also show only N images by changing to the URL so something like this:
http://1.2.3.4/#/?N=20
And instead of showing random N images, you can view the latest images:
http://1.2.3.4/#/?latest
You can view the processing log here:
http://1.2.3.4/log.html
You can view the current image being processed:
http://1.2.3.4/input.jpg
You can view the current settings:
http://1.2.3.4/settings.json
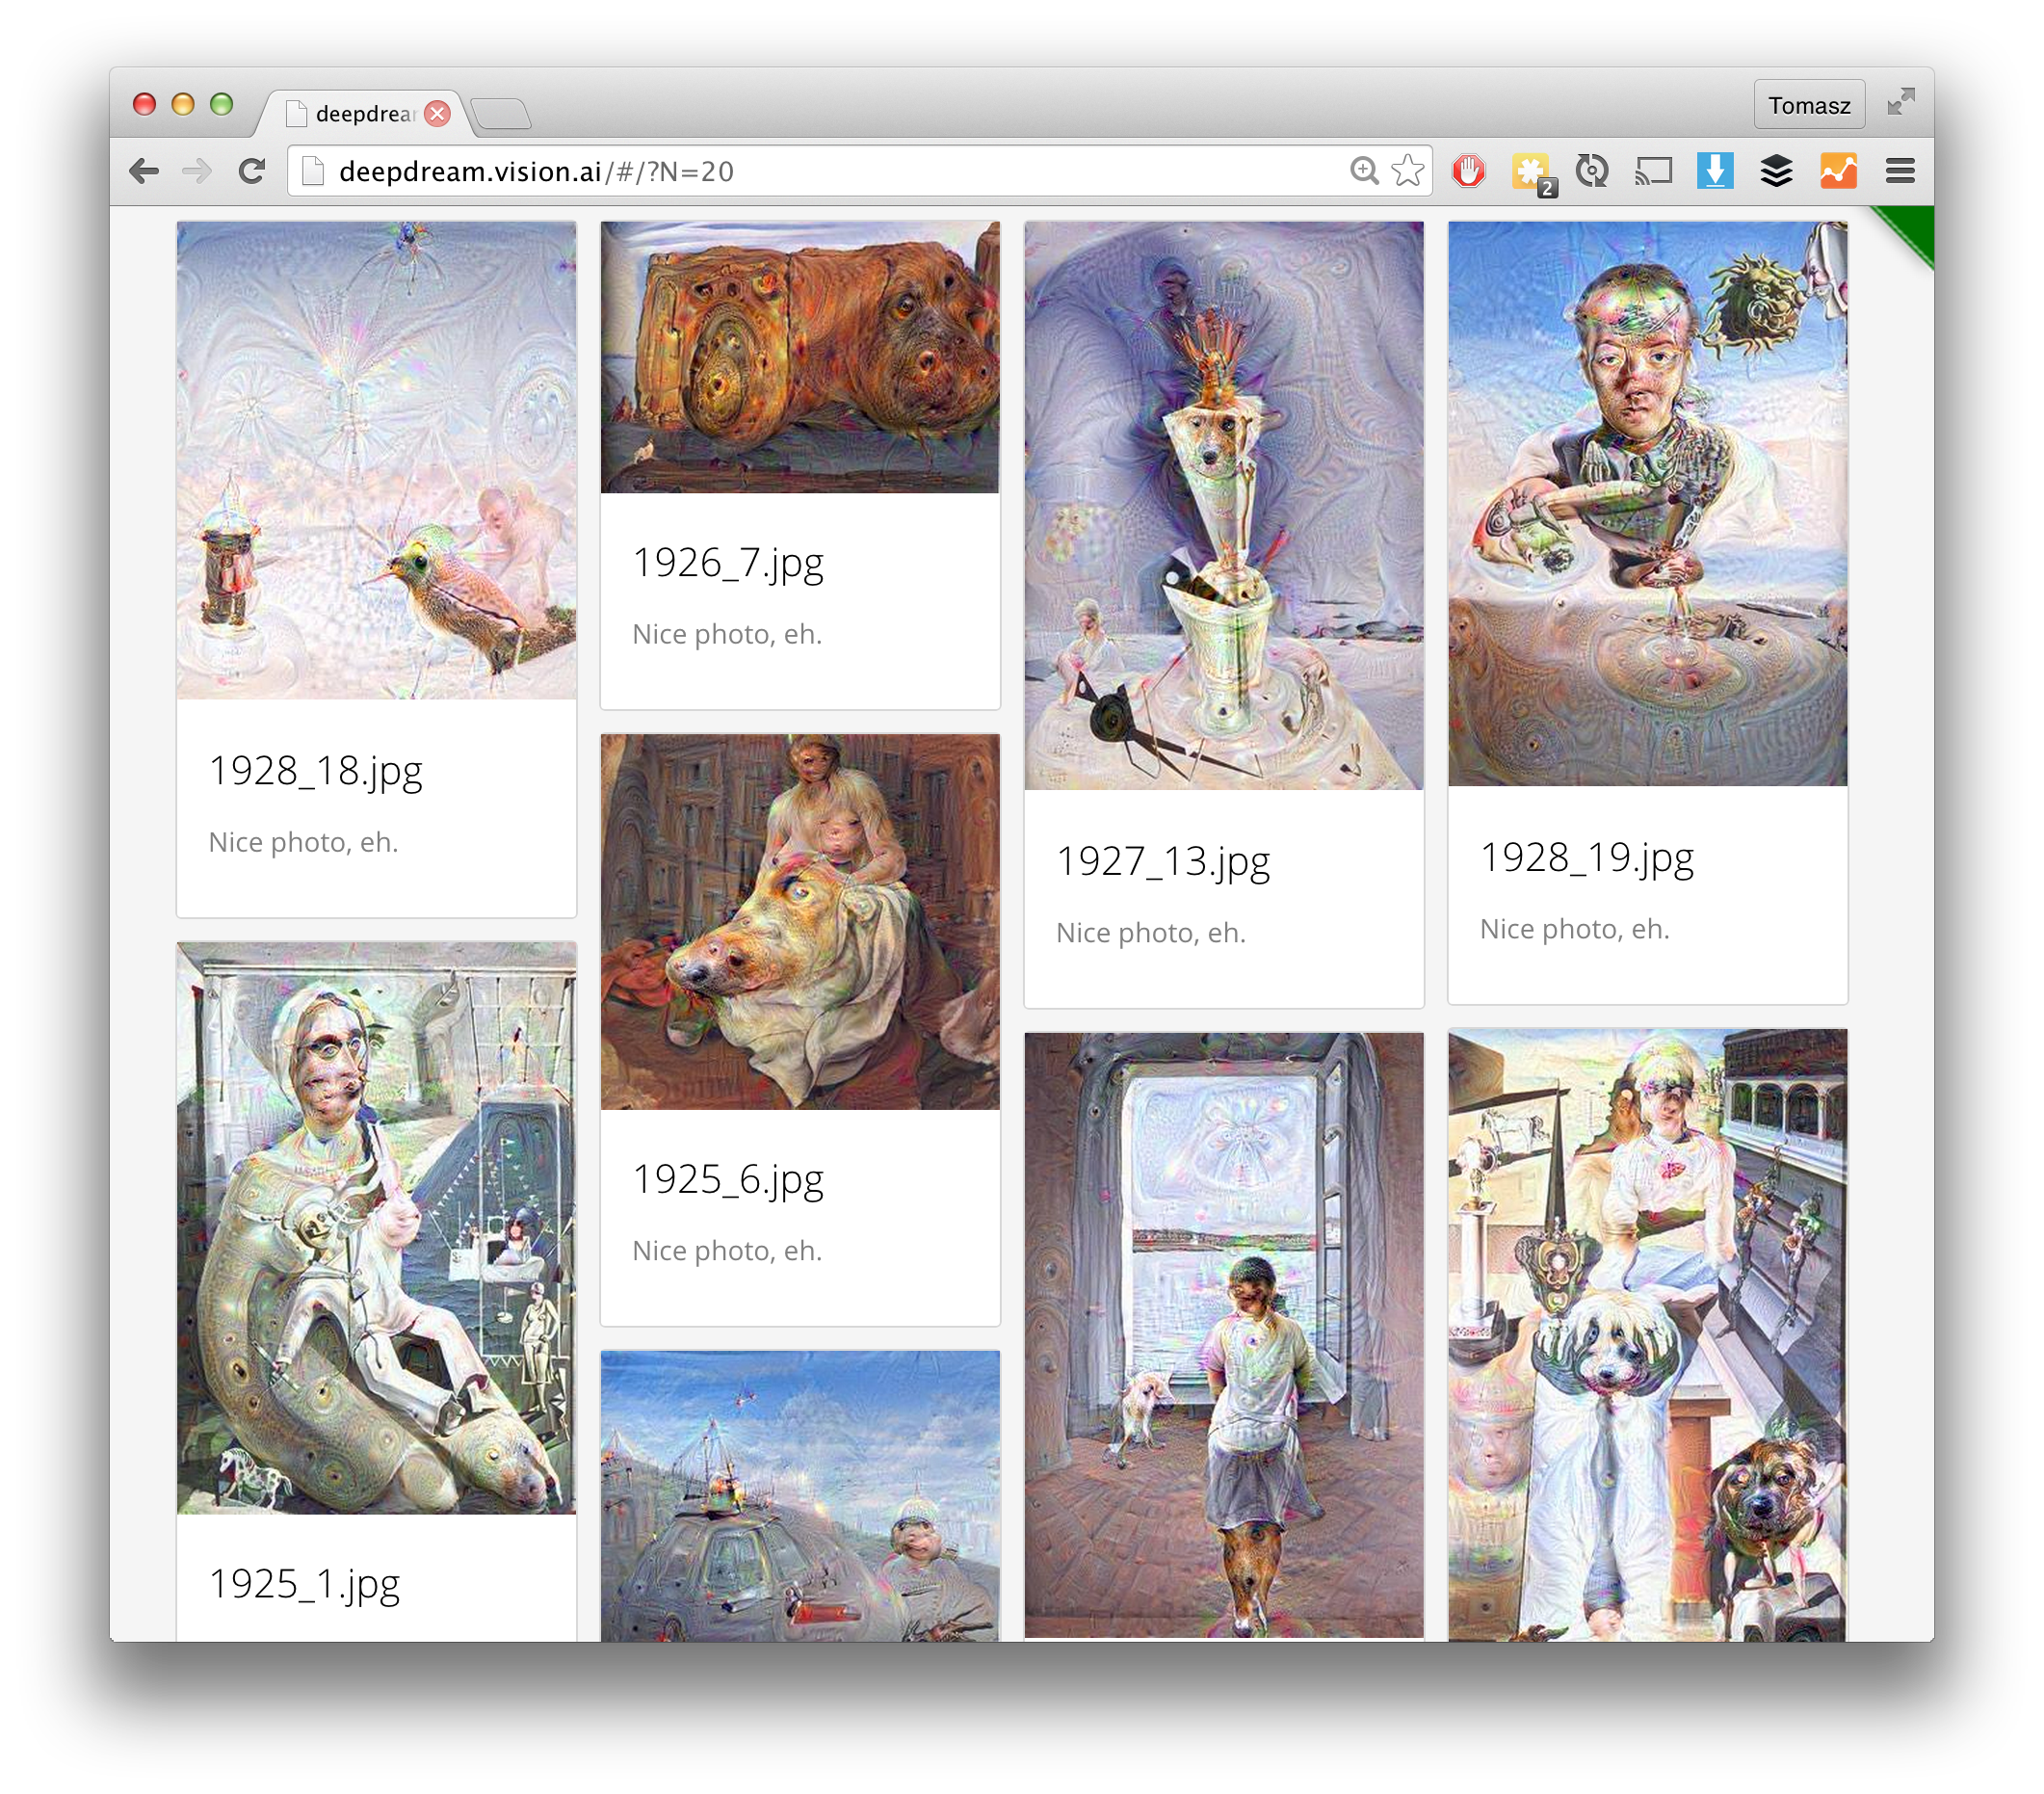
Here is a screenshot of what things should look like when using the 'conv2/3x3' setting:

And if you instead use the 'inception_4c/output' setting:

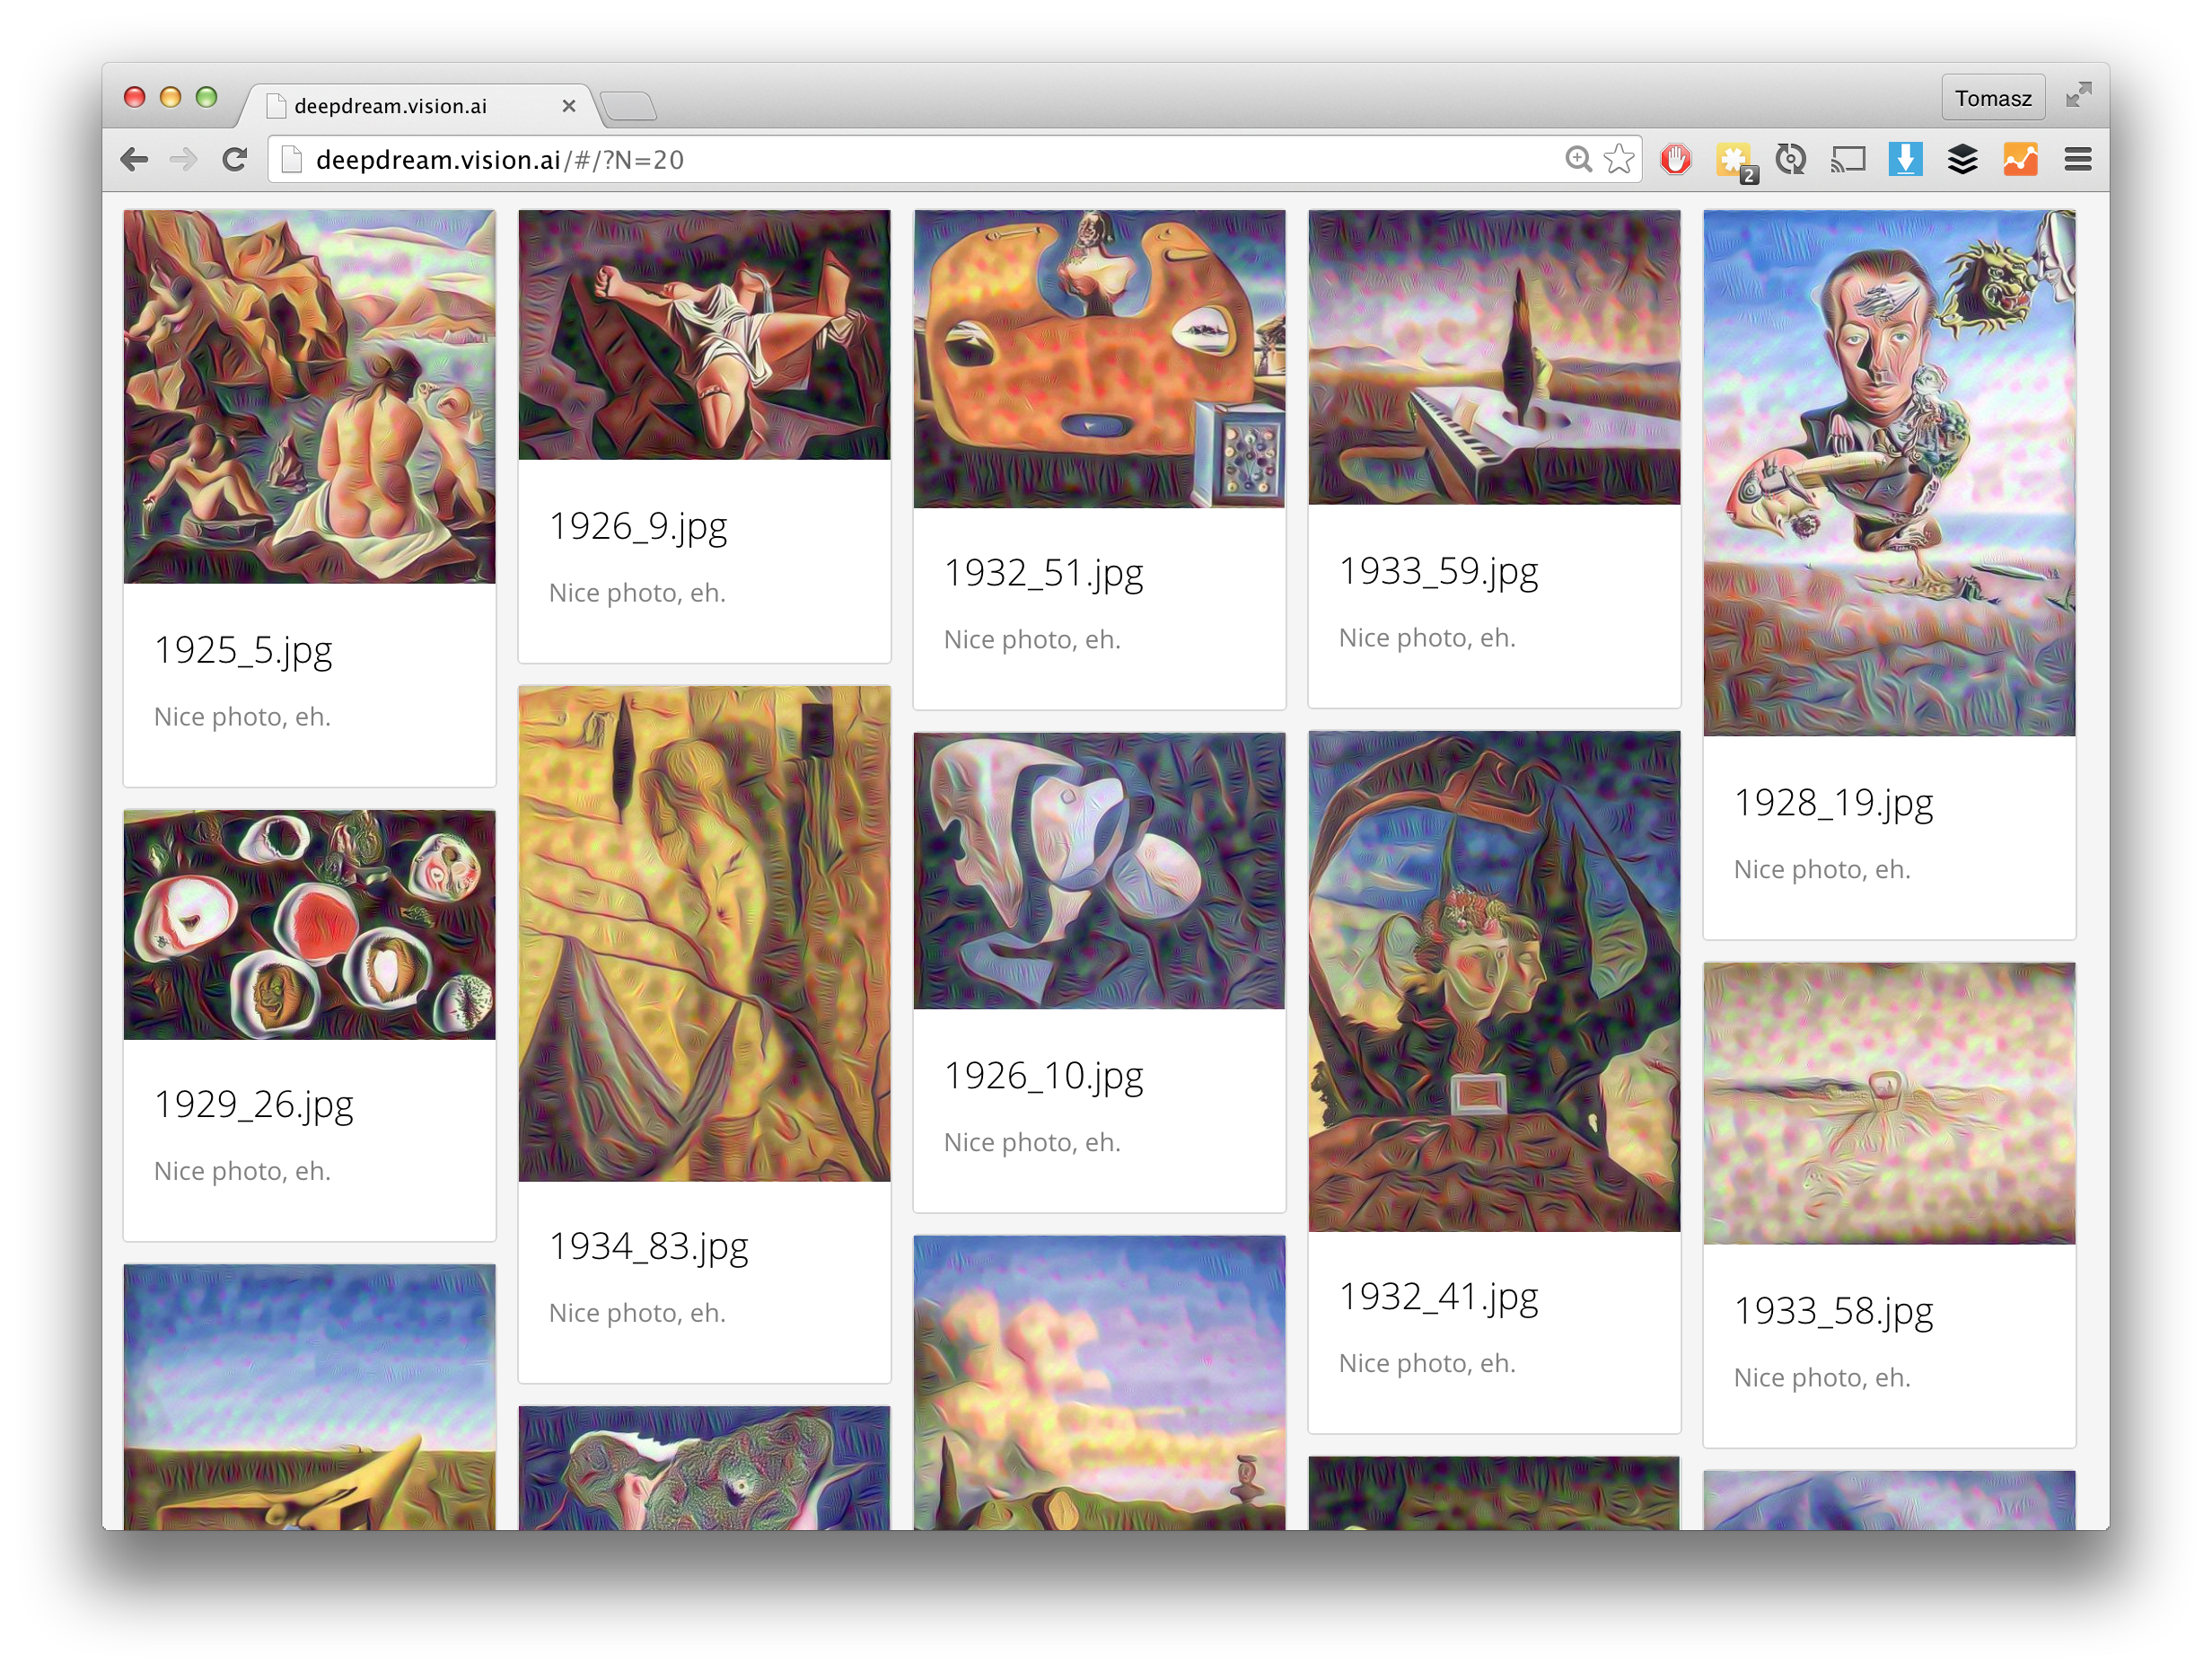
Additionally, you can browse some more cool images on the deepdream.vision.ai server, which I've currently configured to run deepdream through some Dali art. When you go to the page, just hit refresh to see more goodies.
Several people ran their own experiments on different images and different layers. For example, GitHub user ihaventkilledanybodysince1984 shows an example of different layer effects on a frog drawing.
Check out the frog face effect gallery on imgur.
Inside deepdream/settings.json you'll find a settings file that looks like this:
{
    "maxwidth" : 400,
    "layer" : "inception_4c/output"
}
You can change maxwidth to something larger like 1000 if you want
big output images for big input images, remeber that will you need more RAM memory
for processing lager images. For testing maxwidth of 200
will give you results much faster. If you change the settings and
want to regenerate outputs for your input images, simply remove the
contents of the outputs directory:
rm deepdream/outputs/*
Possible values for layer are as follows. They come from the
tmp.prototxt file which lists the layers of the GoogLeNet network used
in this demo. Note that the ReLU and Dropout layers are not valid for deepdreaming.
"conv1/7x7_s2"
"pool1/3x3_s2"
"pool1/norm1"
"conv2/3x3_reduce"
"conv2/3x3"
"conv2/norm2"
"pool2/3x3_s2"
"inception_3a/1x1"
"inception_3a/3x3_reduce"
"inception_3a/3x3"
"inception_3a/5x5_reduce"
"inception_3a/5x5"
"inception_3a/pool"
"inception_3a/pool_proj"
"inception_3a/output"
"inception_3b/1x1"
"inception_3b/3x3_reduce"
"inception_3b/3x3"
"inception_3b/5x5_reduce"
"inception_3b/5x5"
"inception_3b/pool"
"inception_3b/pool_proj"
"inception_3b/output"
"pool3/3x3_s2"
"inception_4a/1x1"
"inception_4a/3x3_reduce"
"inception_4a/3x3"
"inception_4a/5x5_reduce"
"inception_4a/5x5"
"inception_4a/pool"
"inception_4a/pool_proj"
"inception_4a/output"
"inception_4b/1x1"
"inception_4b/3x3_reduce"
"inception_4b/3x3"
"inception_4b/5x5_reduce"
"inception_4b/5x5"
"inception_4b/pool"
"inception_4b/pool_proj"
"inception_4b/output"
"inception_4c/1x1"
"inception_4c/3x3_reduce"
"inception_4c/3x3"
"inception_4c/5x5_reduce"
"inception_4c/5x5"
"inception_4c/pool"
"inception_4c/pool_proj"
"inception_4c/output"
"inception_4d/1x1"
"inception_4d/3x3_reduce"
"inception_4d/3x3"
"inception_4d/5x5_reduce"
"inception_4d/5x5"
"inception_4d/pool"
"inception_4d/pool_proj"
"inception_4d/output"
"inception_4e/1x1"
"inception_4e/3x3_reduce"
"inception_4e/3x3"
"inception_4e/5x5_reduce"
"inception_4e/5x5"
"inception_4e/pool"
"inception_4e/pool_proj"
"inception_4e/output"
"pool4/3x3_s2"
"inception_5a/1x1"
"inception_5a/3x3_reduce"
"inception_5a/3x3"
"inception_5a/5x5_reduce"
"inception_5a/5x5"
"inception_5a/pool"
"inception_5a/pool_proj"
"inception_5a/output"
"inception_5b/1x1"
"inception_5b/3x3_reduce"
"inception_5b/3x3"
"inception_5b/5x5_reduce"
"inception_5b/5x5"
"inception_5b/pool"
"inception_5b/pool_proj"
"inception_5b/output"
The final GUI is based on https://github.com/akoenig/angular-deckgrid.
The included Dockerfile is an extended version of https://github.com/taras-sereda/docker_ubuntu_caffe
Which is a modification from the original Caffe CPU master Dockerfile tleyden: https://github.com/tleyden/docker/tree/master/caffe/cpu/master
This dockerfile uses the deepdream code from: https://github.com/google/deepdream
MIT License. Have fun. Never stop learning.
--Enjoy! The vision.ai team


